Christine de Beer - effortless floral craftsman
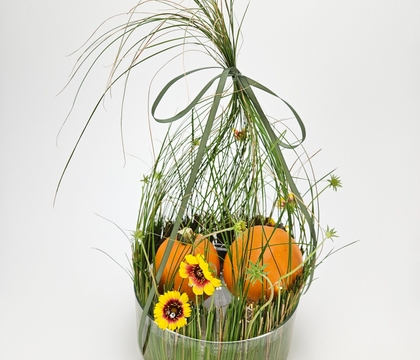
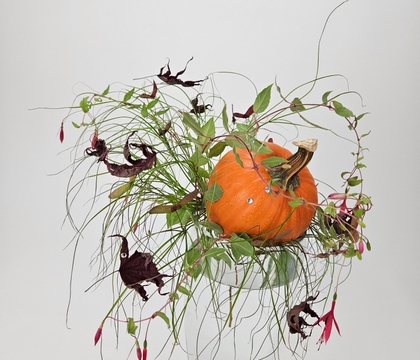
Rest a few bits of grass together to create a shelter for pumpkins, and fairy lights and delicate petals
- 14 October 2026
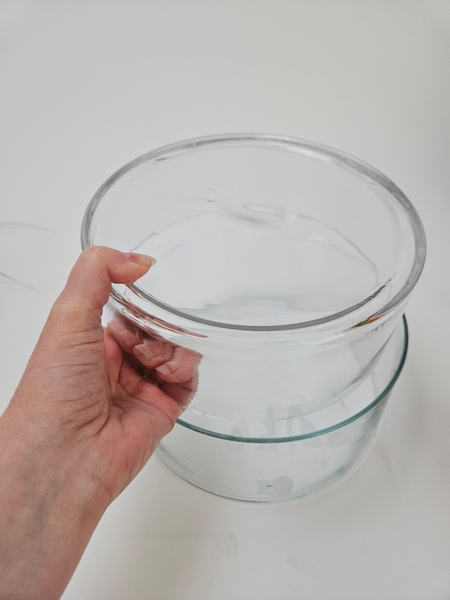
... oh yes, that good and reliable double vase trick makes an appearance again. The BEST way to levitate even the heaviest pumpkins in your display.
Book readers turn to page 169 to read all about the Double Vase trick. For more information about my book: The Effortless Floral Craftsman
... but to get you started I am also adding a link below for the detailed Tutorial.
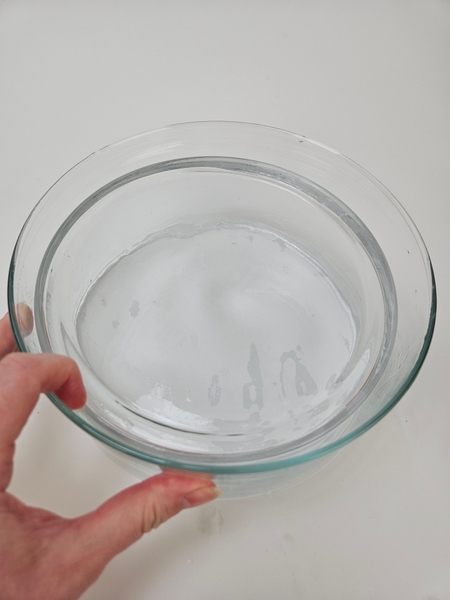
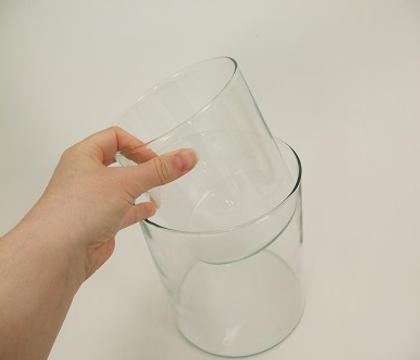
For this week's design I am using one vase just smaller to slip into a slightly bigger vase. Turn the inside vase so that the solid bottom faces up.
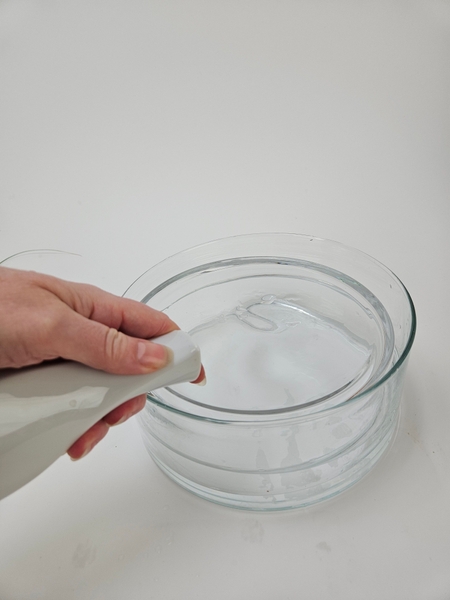
Pour water into the bottom vase so that the small gap between the two fills with water.
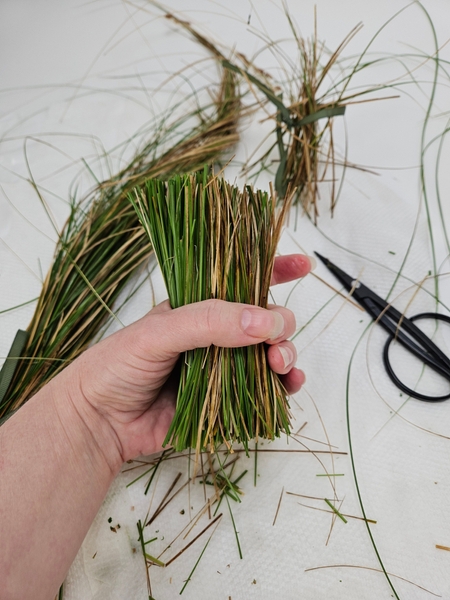
Cut a bundle of grasses (sedges, in this case) into sections.
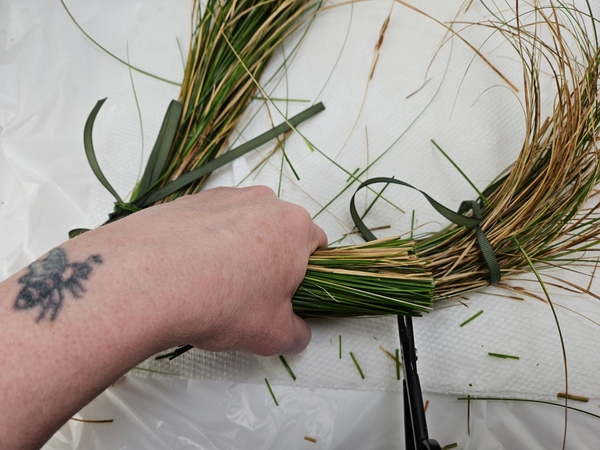
The easiest way to make sure all the grass sections are the same is to move the tie (that keeps the grasses together) above where you want to cut. Measure your cut bundle against the longer grasses and cut to length. This way it stays tied to the last bit for a neatly cut bundle.
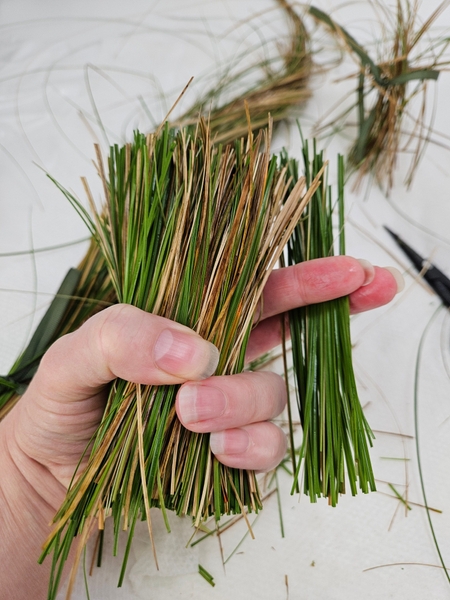
Section out a smaller bundle of the cut grasses...
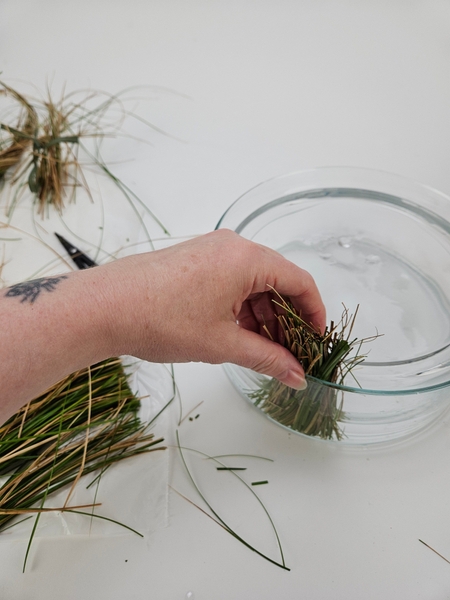
... and slip the small bundle of cut grass in the gap between the two vases.
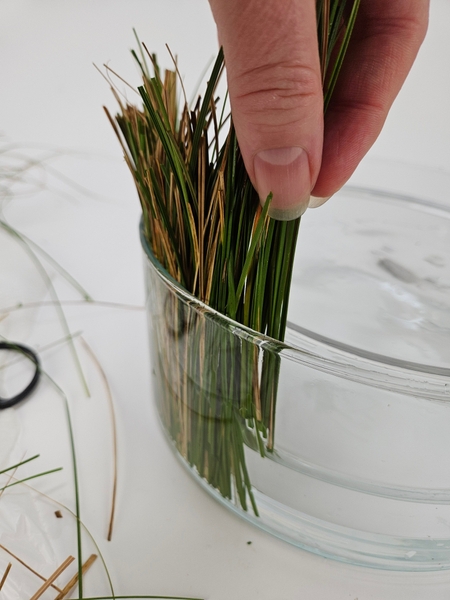
Make sure to keep the grasses upright as you slip them between the two containers.
Oooh! Do I have a good tip for you this week in our design note. I found a way to speed up slipping the grasses into the vases that will get the job done without any frustration.
Every Wednesday morning (Vancouver time), I send out a design note email as an early glimpse at the newest Design and a few notes that I picked up creating the Tutorial that might be useful to you.
If you’re new here, you can sign up below this post. And if you’ve been receiving these notes for some time, I hope they feel like a welcome break in your busy week.
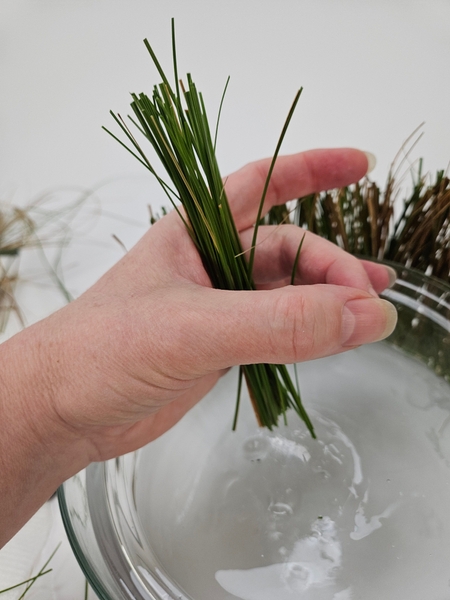
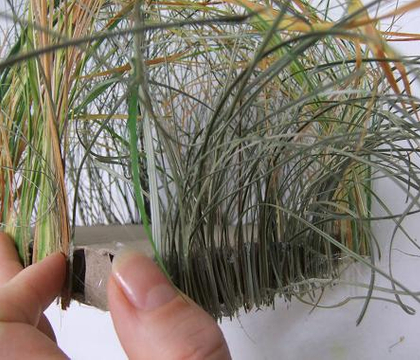
Another tip: It is easier to slip the grasses between the vases if they are in a tight bundle. If you need to re-gather a bundle make a circle with your hand so that the grasses rest on the flat surface of the container. Slip the grass sections into the circle to make up a bundle...
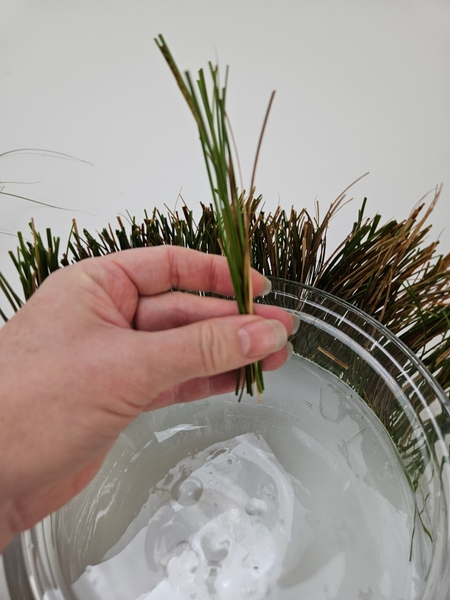
The grass rests on the flat surface and when you close your fingers you have a neat bundle.
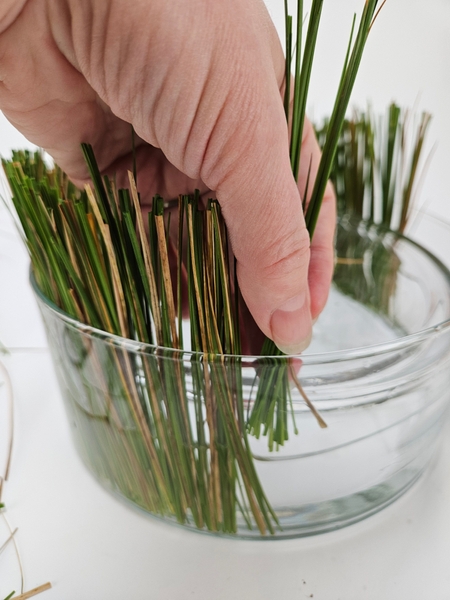
Ready to slip between the glass vases all the way around.
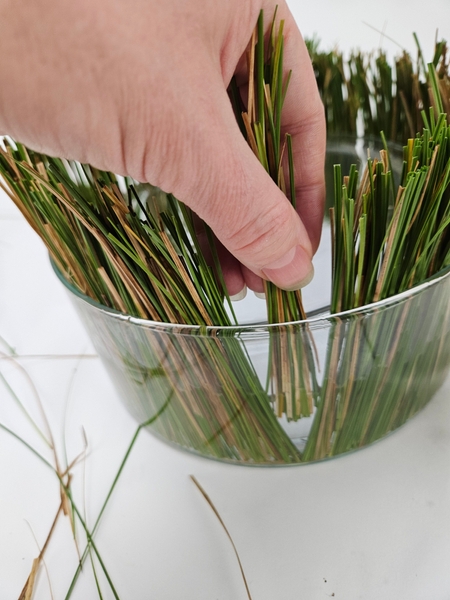
If the gap between the two glass containers are tight you might have to spread out the bundles to make space for grasses all the way around.
It is easy to adjust the grasses depending on the aesthetic you are going for. If you want a thick and dense layer of grass the gap should be bigger. If you want a thin and barely there layer the two vases should be a snug fit. I like the barely there grass layer because it creates a bit of mystery.... "how are these grasses standing upright like that!?!" to the whole design. Perfect for this time of year.
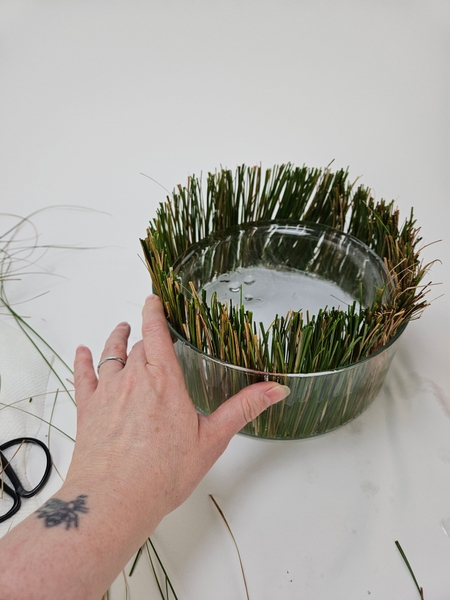
Once the layer of snipped grasses are in place the fun design part starts.
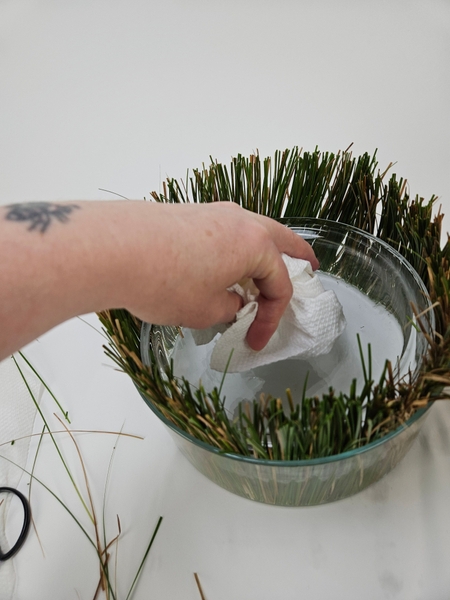
Wipe the glass display vase clean and dry.
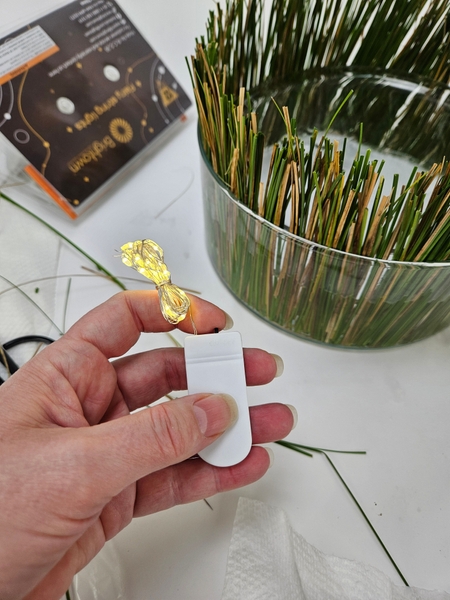
Test a string of tiny fairy lights to make sure they work....
I like these tiny battery pack lights. It is easy to get to the on/off switch through small gaps in your design because the switch extends outwards. Also it is nice and bright... and the battery lasts. See below for a link to the exact ones I stock up with every year so that I have enough lights to see me right through the twinkle seasons.
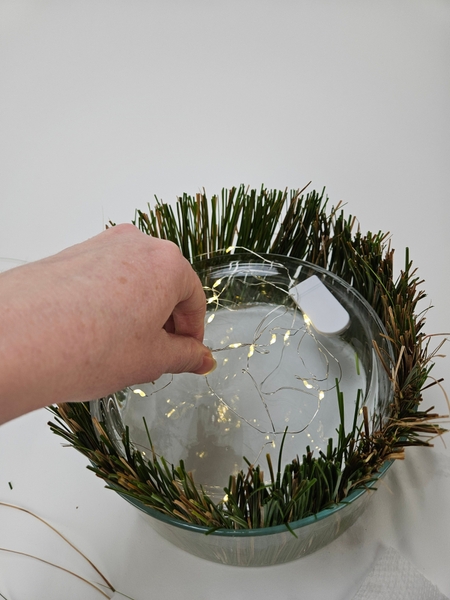
Scrunch up the lights and set it on the dry container base.
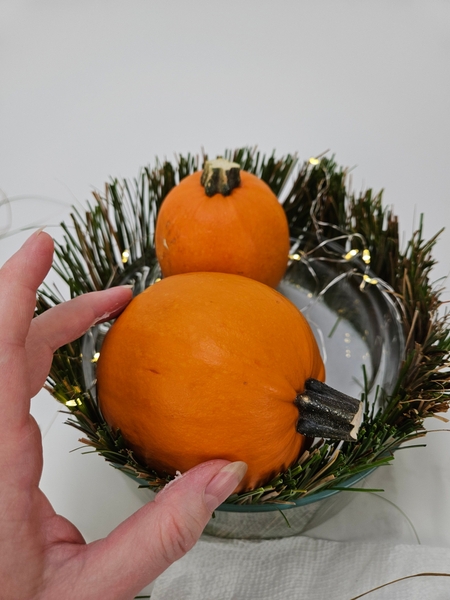
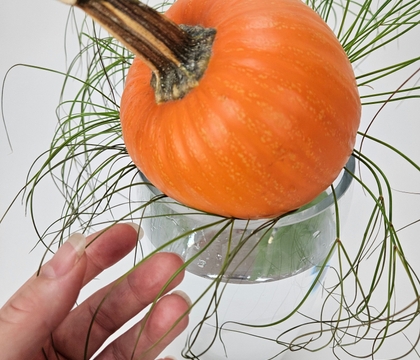
Arrange a pumpkin or two on the lights.
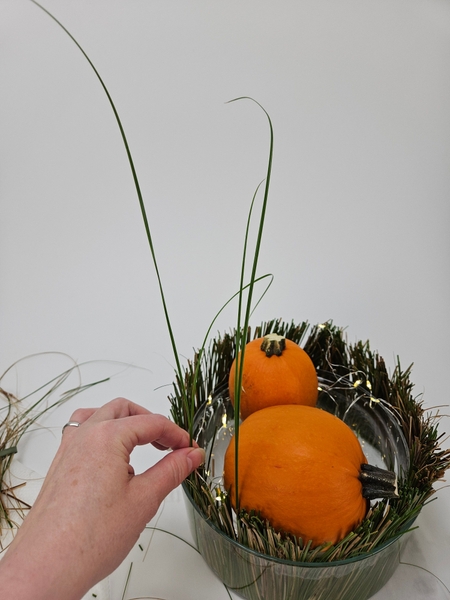
Slip a few taller sedges to stand upright in the shorter sections...
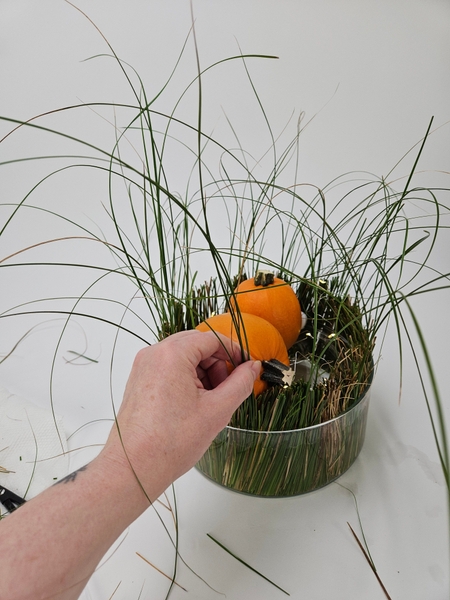
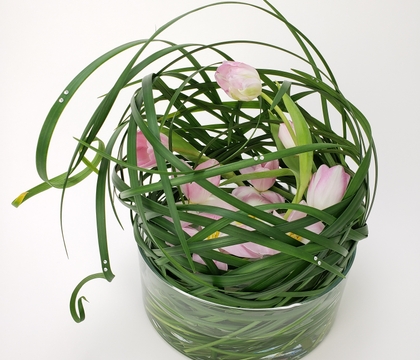
Create a grass veil all the way around the containers.
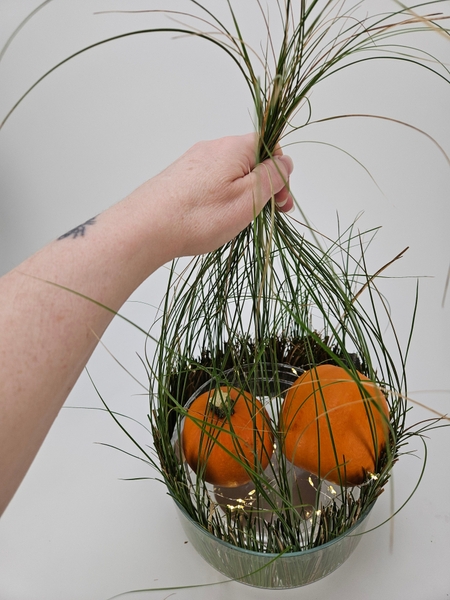
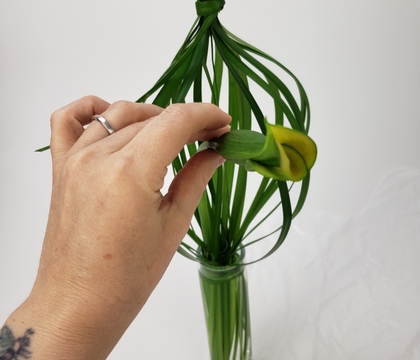
Gather the grasses up in a ponytail.
Again here is an opportunity to add your own "stamp" to the design idea. You can turn the display and make sure it is 100% straight and upright... or give it a jaunty side pony... mine I allowed to be just slightly off centre and rounded, like the stem of a pumpkin.
Gather the grasses lower down or higher up... completely up to you.
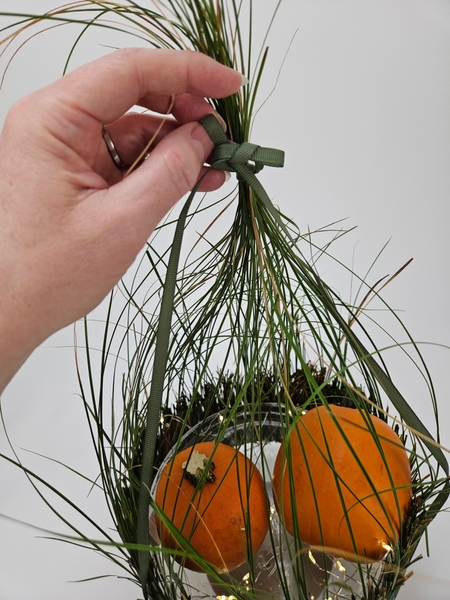
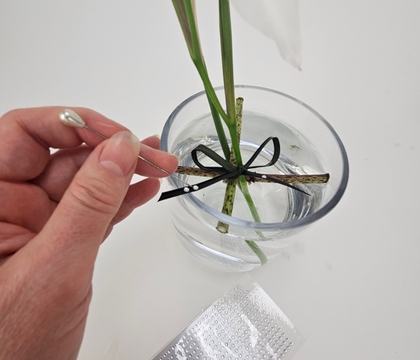
Secure the grass bundle with ribbon. I must say I am enjoying designing with this ribbon! I am normally not much of a bow-kind of girl (I know... weird, right?) But I sometimes want to add a little... something. This ribbon is perfect! It is a perfect match for healthy plant material green so it adds that "feel" to your design because your eye picks up the green in all the plant material without introducing any visual clutter. See below for the link to these exact ribbons.
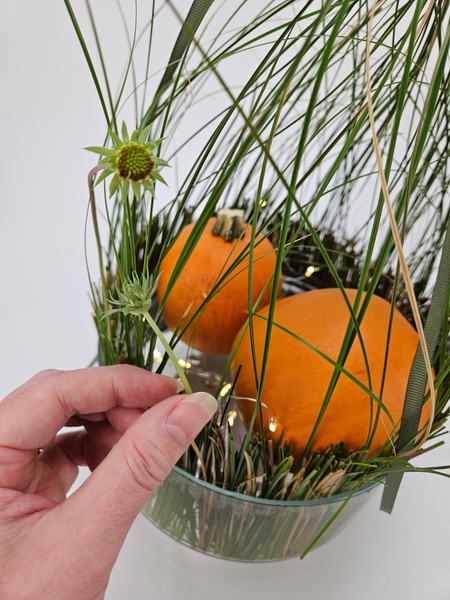
Slip the gaillardia flower buds into the water so that it is kept upright by the snipped grass bundles.
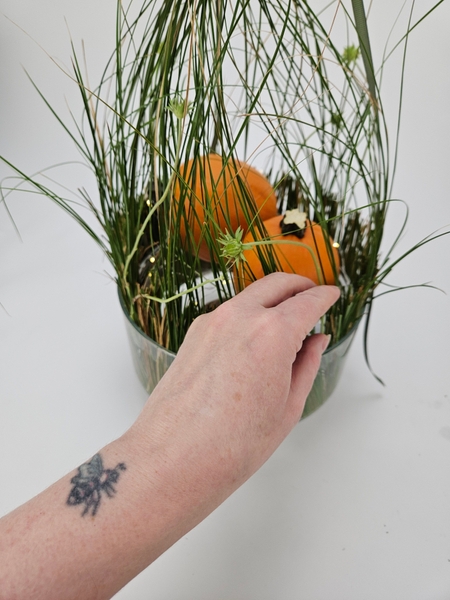
As always I like to turn my flowers so that they look like they are hovering butterflies chatting happily in the design.
Nothing in your design should ever look like it is desperate to escape. It should always be a welcoming ecosystem for all your design details... so that we feel welcome too when we look at it.
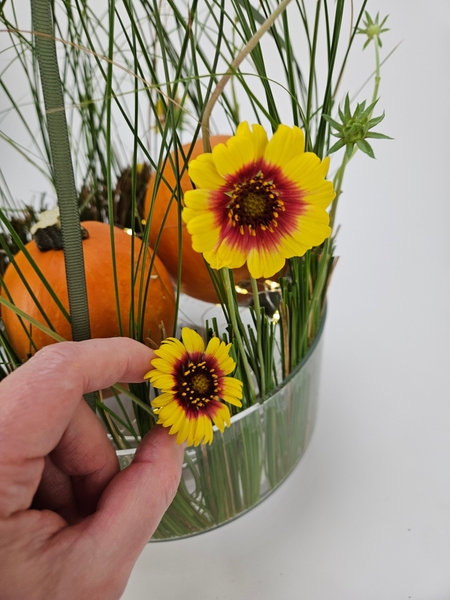
Tuck in a few open flowers to hover close to the heavier pumpkins.
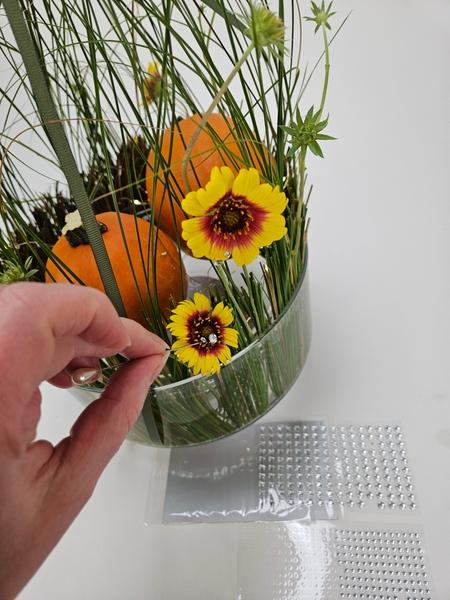
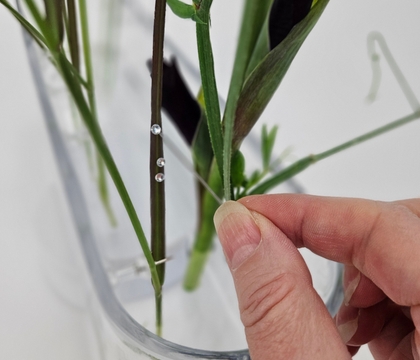
Add a few bigger raindrop crystals between the dew drop crystals... to match our design post for this week.
Sign up for my weekly newsletter
Every week I add a new design with related tutorials. Be sure to subscribe to receive an email notification with design inspiration.
This section contains affiliate links. If you choose to explore any of these tools, I may earn a small commission at no extra cost to you.