Christine de Beer - effortless floral craftsman
Weave a delicate horn of plenty that looks like it was foraged in an enchanted forest
- 17 September 2025
- and more

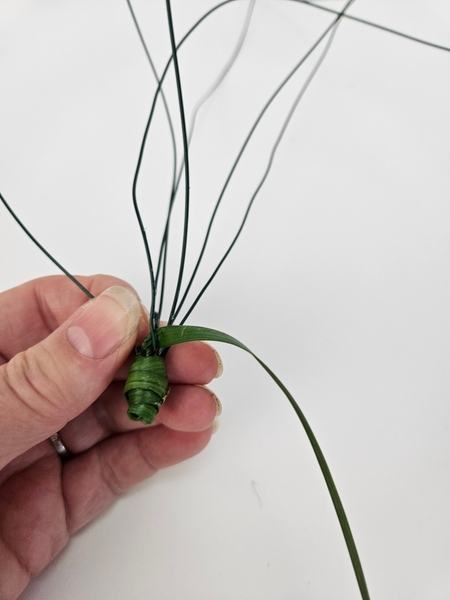
Measure out green garden wire. You want the wire to be generously long. Much longer than what you want the cornucopia to be.
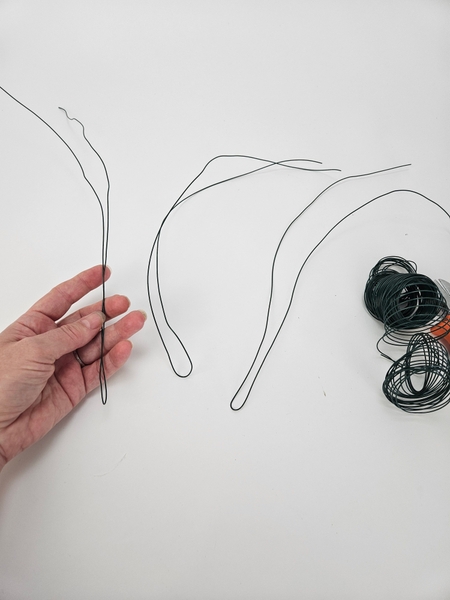
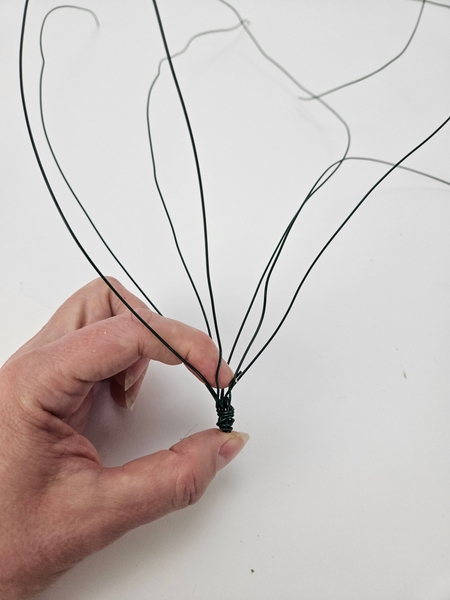
Cut and fold in half three sets of wire...
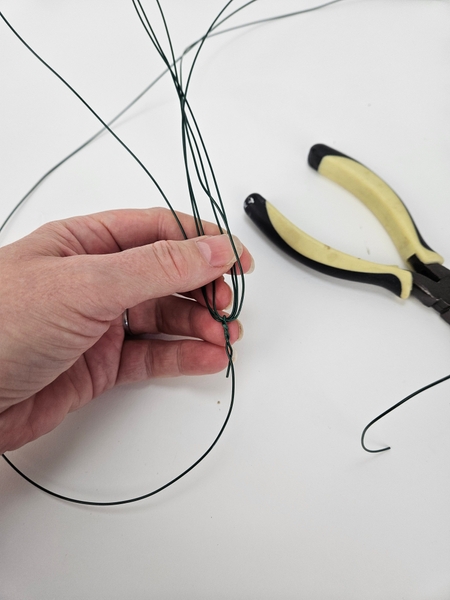
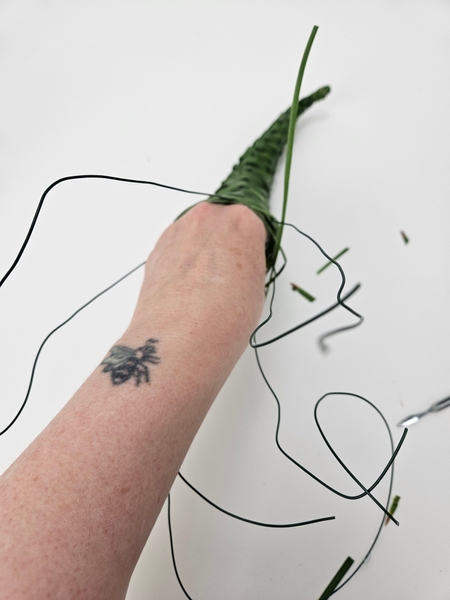
Cut one more wire and use that to combine all the wires into a bunch.
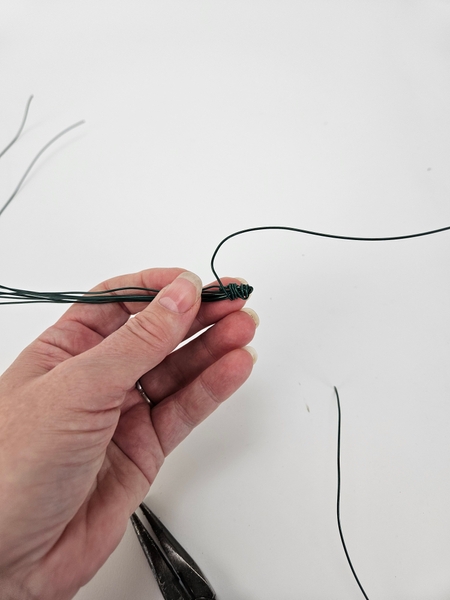
Wrap the folded point of the wires into a point.
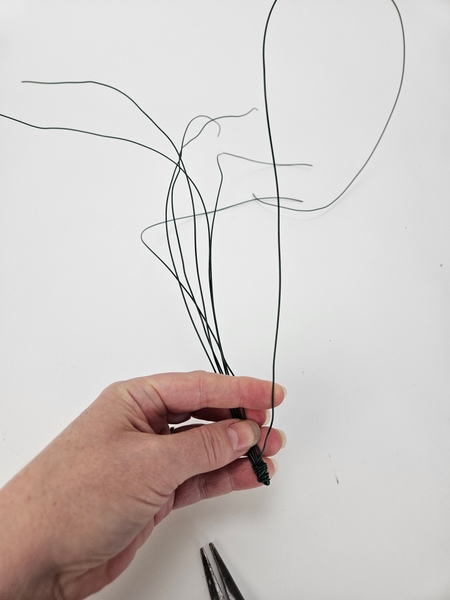
Bend this last wire up to combine it with the six wires.
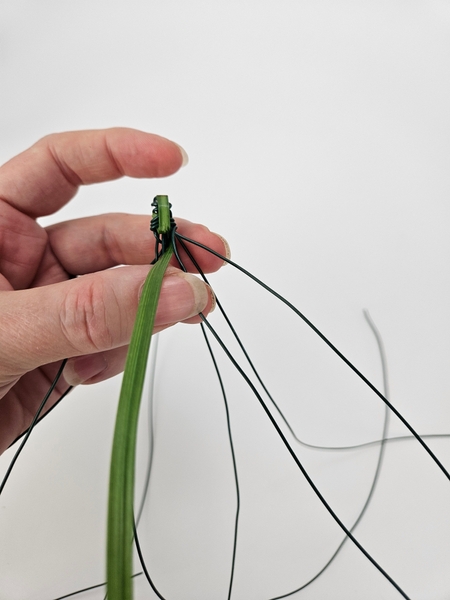
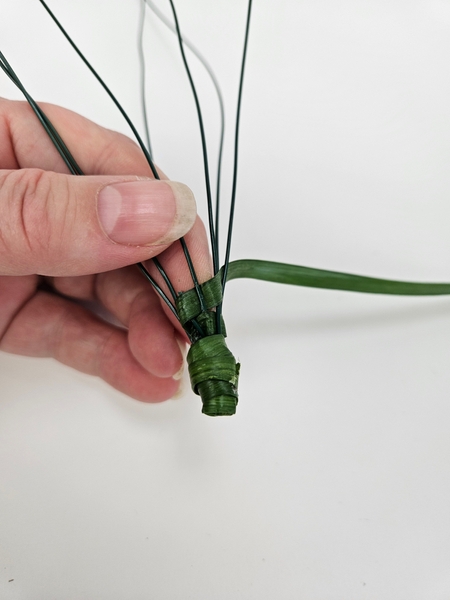
Open the wires slightly so that you can start to weave the cone with grass.

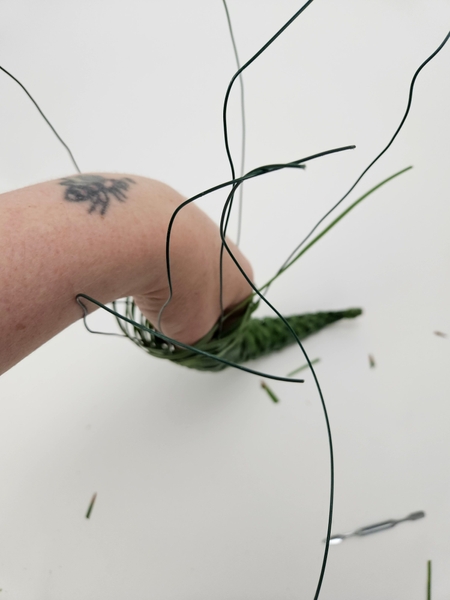
Press the grass into the wire end...
Fold it over the wire tip and back up to cover the wire...
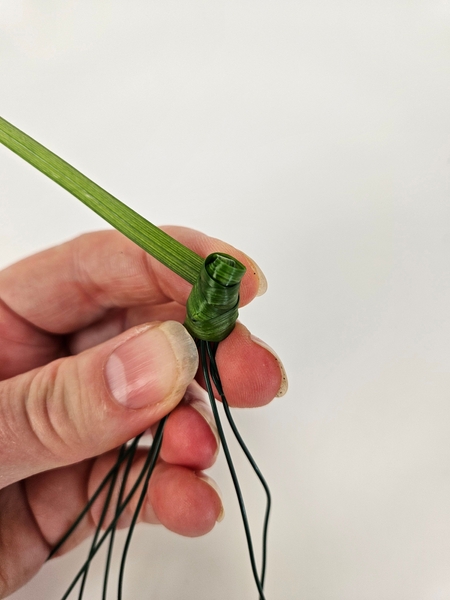
Wrap the rest of the wire tip with grass to conceal it...
... And secure the grass with a knot.
And if needed, a small drop of floral glue just to make sure it stays in place.
Hook a new blade of grass through the wire to start weaving...
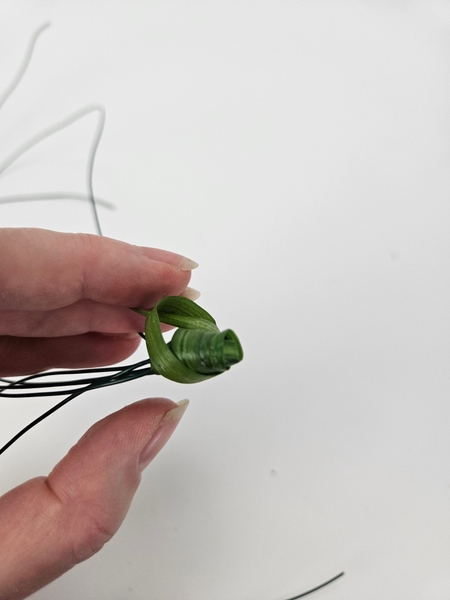
Glue blades of grass together (you can learn more in the Tutorials below) to create a long continuous grass strand. Weave the grass through the wires to craft the cornucopia...
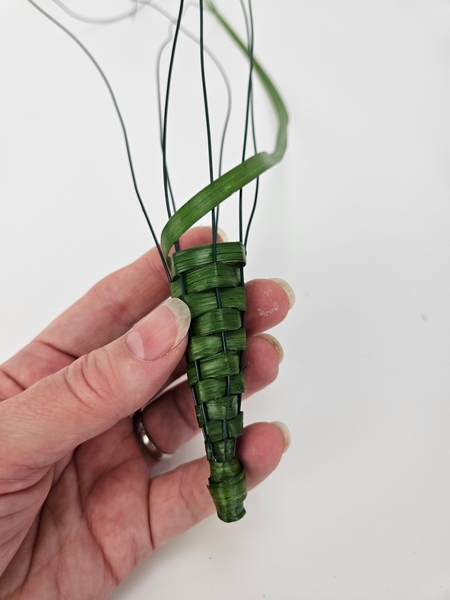
I mostly use a simple in and out weaving pattern when I make something for my floral designs. The main reason why is so that the fancy basket work does not steal the attention away from my flowers.
Of course you can create a fancier cornucopia, if that is more your style. Book readers turn to page 240 for a lovely pattern that is just as easy to make. Or to page 226 where I discuss weaving with grass in greater detail.
For more information about my book: The Effortless Floral Craftsman
... but to get you started have a look at the weaving Tutorial linked below for more inspiration.
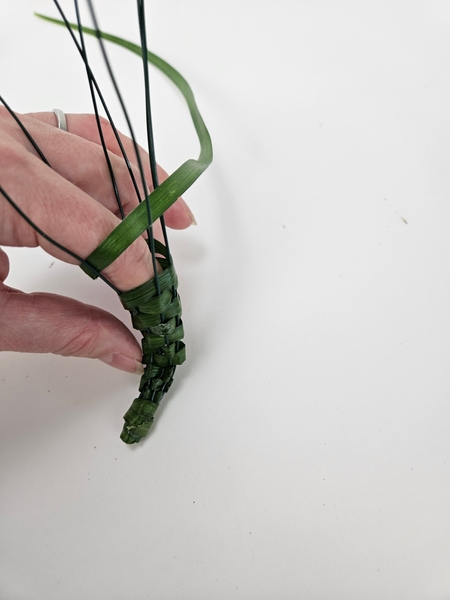
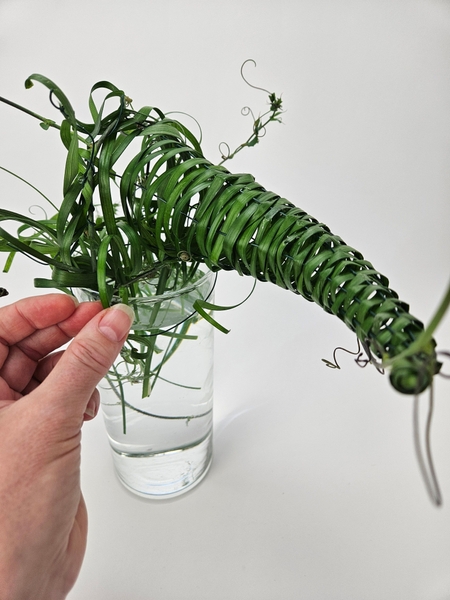
Gently curve the horn shape into the wire and grass as you weave...
The easiest way to curve the grass cone is to support the shape with your hand from the inside...
... resting the wire and grass cone on your working surface and then lifting it to roll it to create the curved shape.
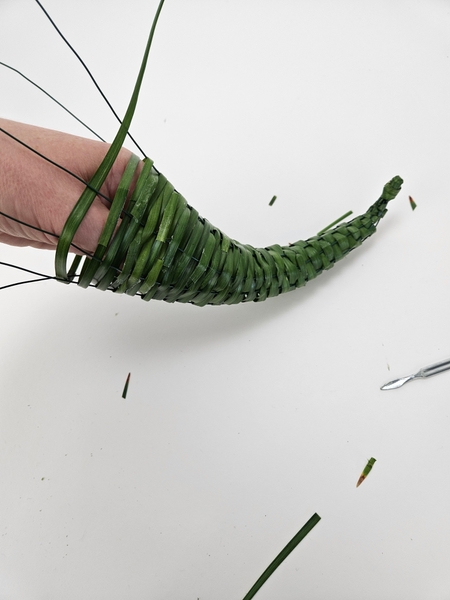
Your fingers support the wire so that the cone remains open while perfectly curved into the distinctive horn shape.

Fill a tall cylinder vase with fresh water...
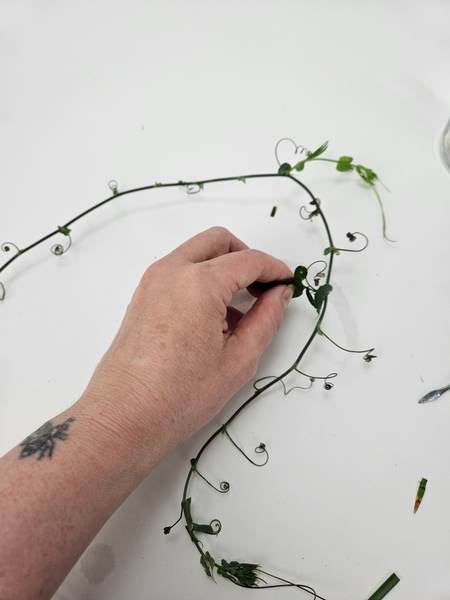
Remove the foliage from a passiflora vine...
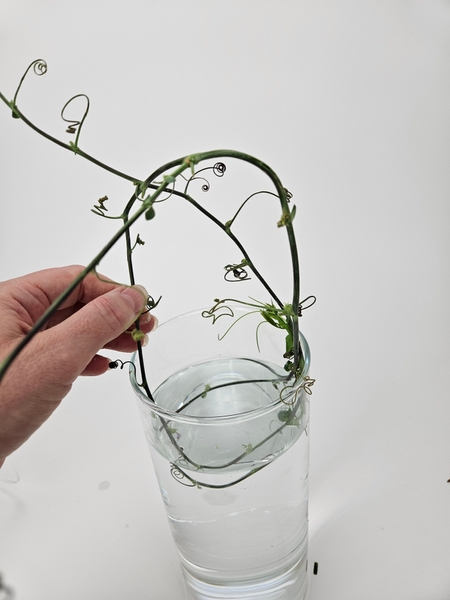
Roll the vine and insert it into the water filled container to kick firmly into position.
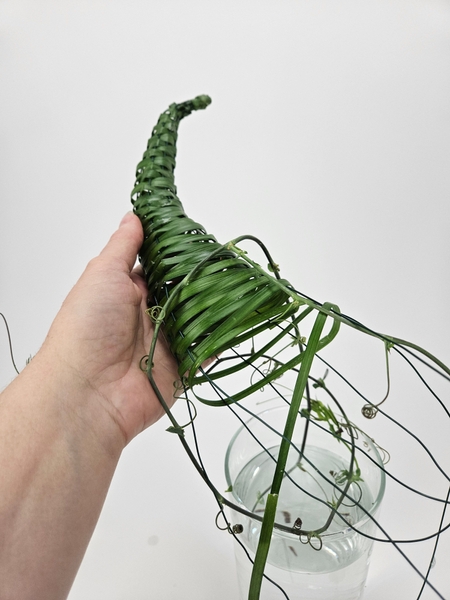
Carefully slip the unfinished cone shape into position.
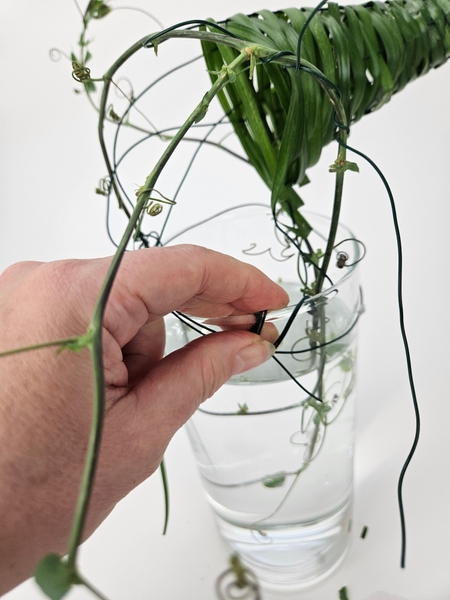
Use the leftover dangling wires to secure the cone to the vine and around the glass container.
Make sure the wires support the cornucopia into position.
The position of the horn shape is so important in this design. Make sure it will not start to droop. You need to be able to look through the flowers into the woven cone.
This week in our email I explain a bit more about the illusion that the inside of the cone helps to create and I show you how to lift and support the cone if you find it dips and you want to restore that magical "uptilt". I send out an email every Wednesday morning (Vancouver time) the moment the latest design is ready for you to view with a tip or tiny detail for you to be inspired by even before viewing the design. The sign up is below this post.
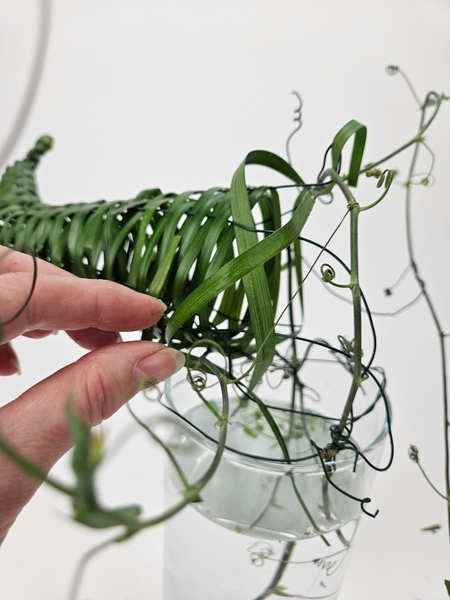
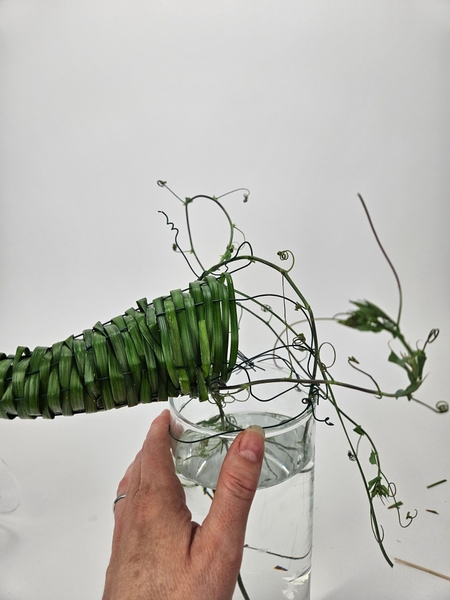
Loosely interweave a few grasses to create a more untangled opening to display the delicate flowers in.
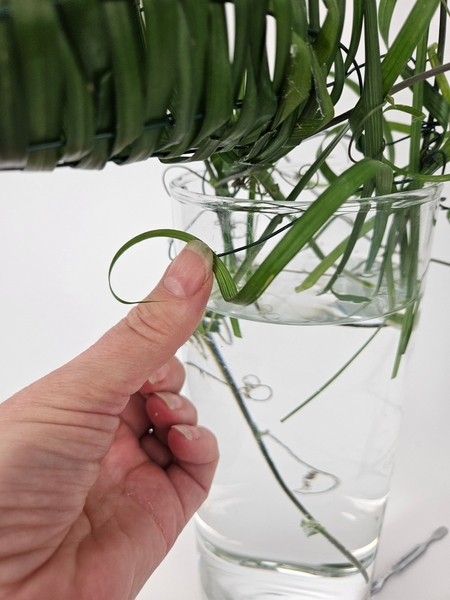
Gently stretch and curl the grasses and add that to wrap and conceal the support wires.
See the Tutorial below for more detailed instructions on how to curl lily grass into ringlets.

Design the vine around the cornucopia as you add the grass to that the grasses and the vines combine and interact.
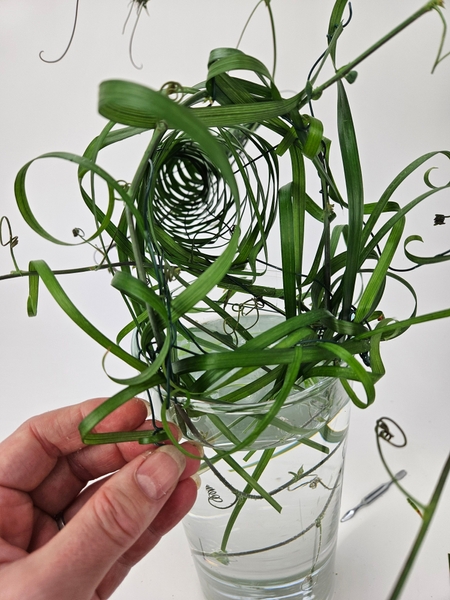
Create an opening that looks like it is out of a fairy tale... curling and uncurling and rearranging itself around the vine.
Interweave the opening from all angles so that it flairs open to create a more delicate support for the flower stems.
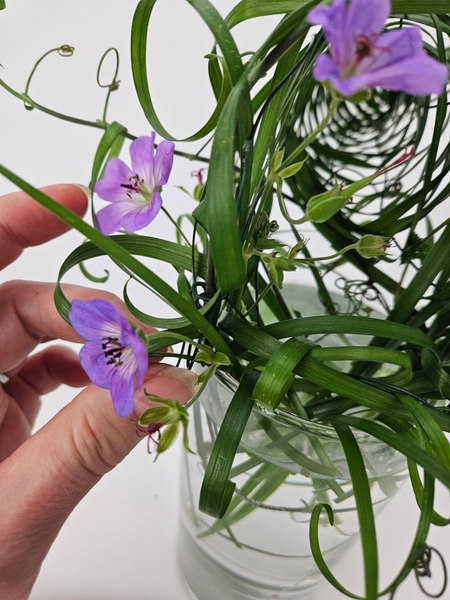
Slip in the delicate geranium flowers to hover like butterflies between the curled grasses...
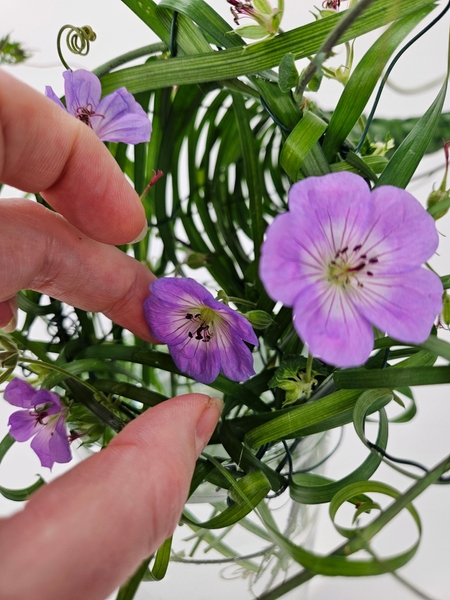
Making sure the stems are well below the water line to remain hydrated and supported by the tangle of grass below.
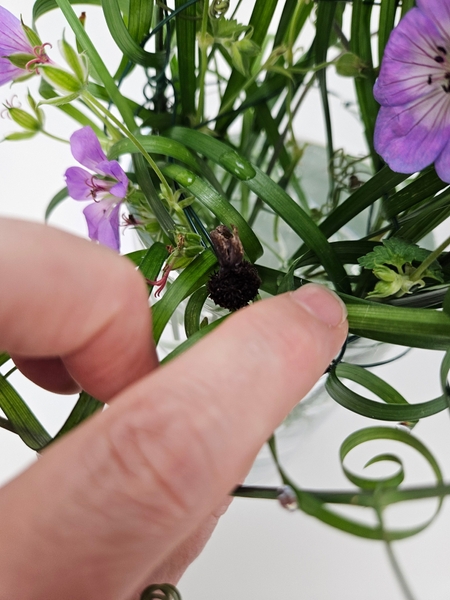
Add in a few canna seedpods for a bit of texture...
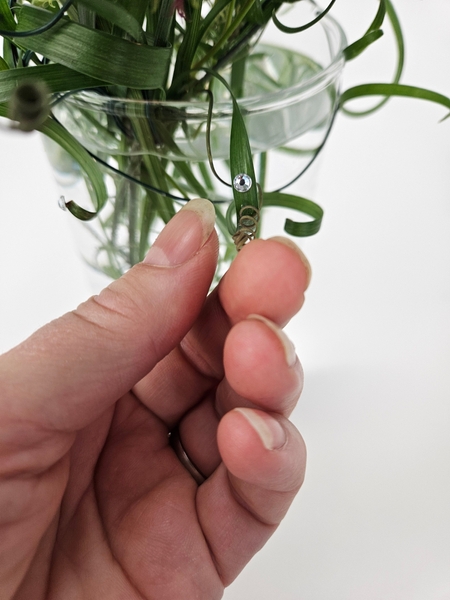
... And I finish my design off with a few dew drop crystals.
Sign up for my weekly newsletter
Every week I add a new design with related tutorials. Be sure to subscribe to receive an email notification with design inspiration.


 in a vase floral design basket")


