Christine de Beer - effortless floral craftsman
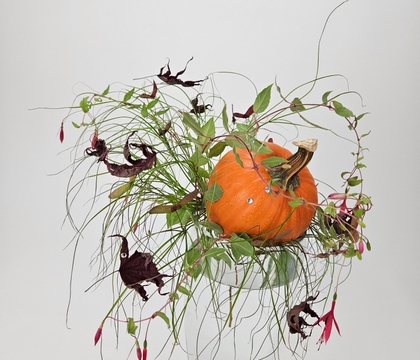
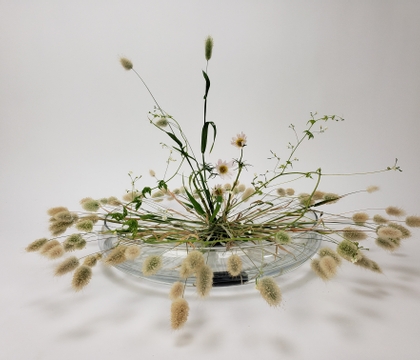
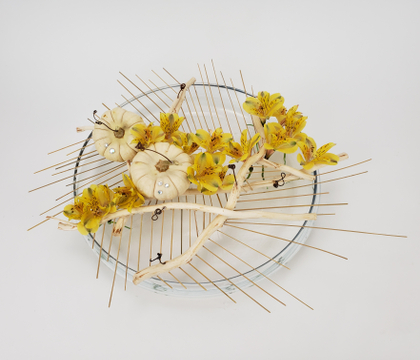
Rustle up (and down) a grass armature for a gravity defying pumpkin display
- 7 October 2026
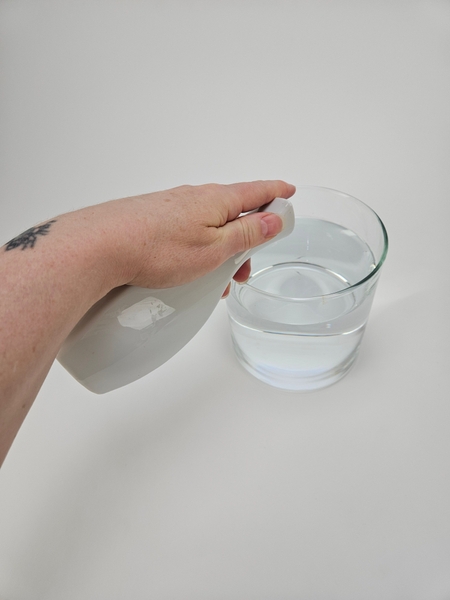
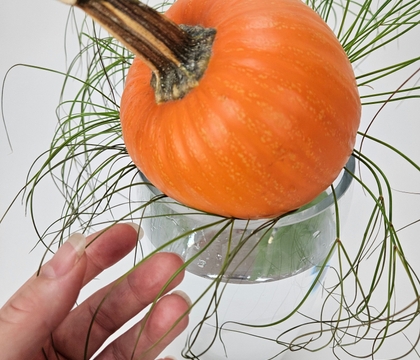
Fill a display vase that is just larger than your pumpkin with fresh water.
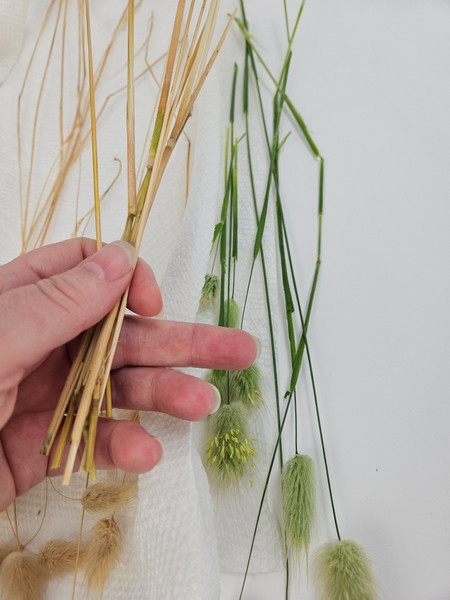
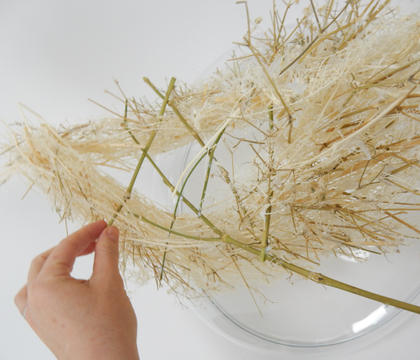
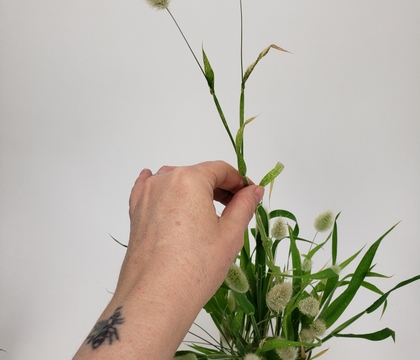
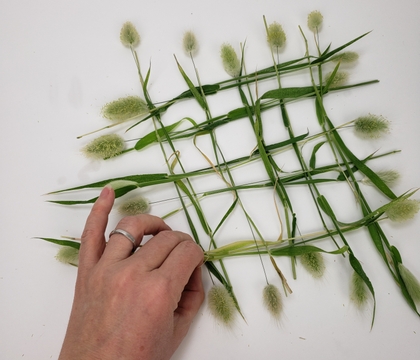
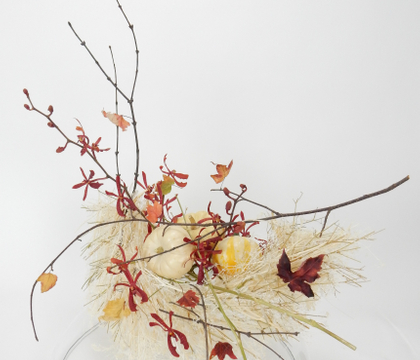
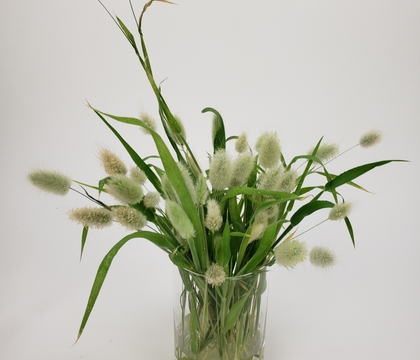
I am building my armature from green and dried bunny tail grasses. This is so fascinating to me. One bunch from my one balcony and the other from the balcony... right next to it! Autumn arrived earlier on my one balcony than my other. How???
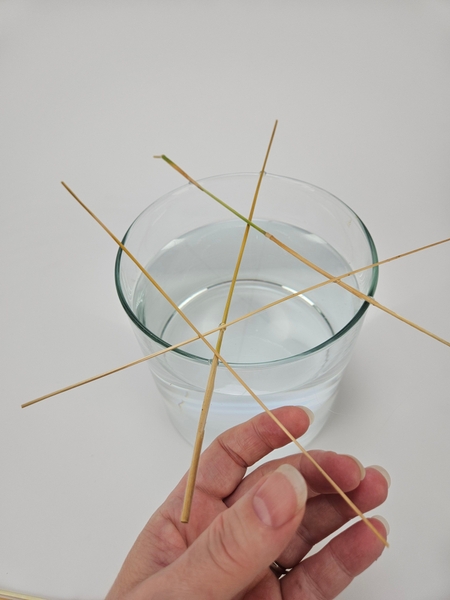
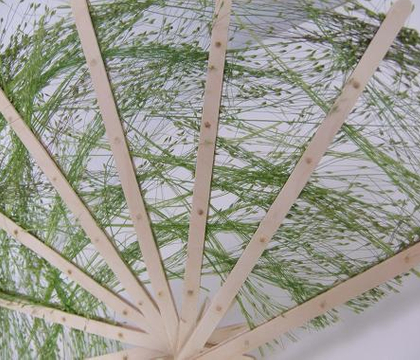
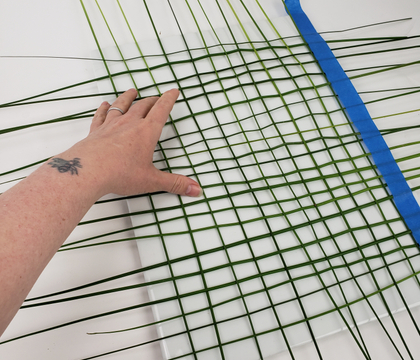
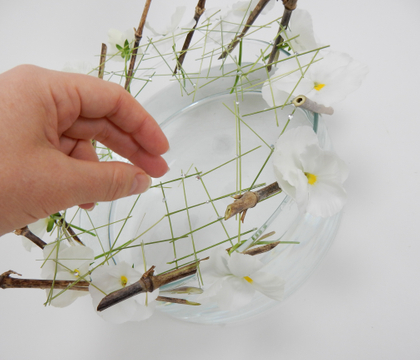
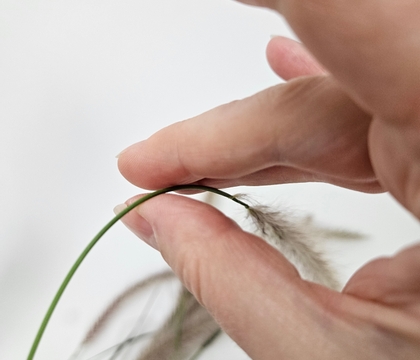
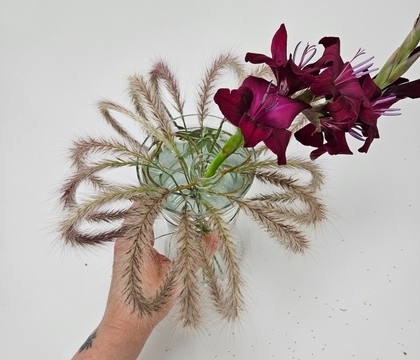
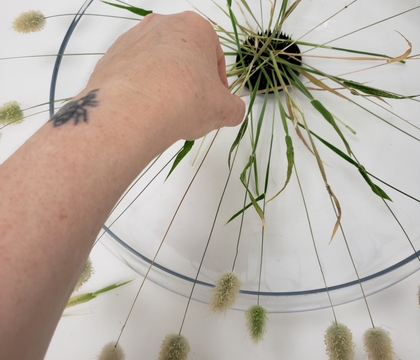
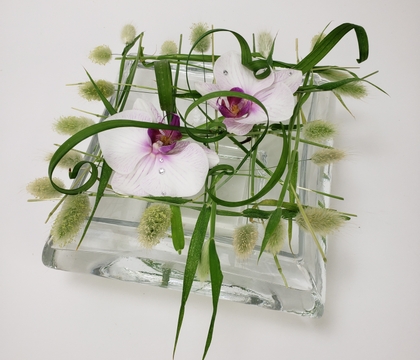
I am building a grid over the container with the strongest, cut ends of my grasses.
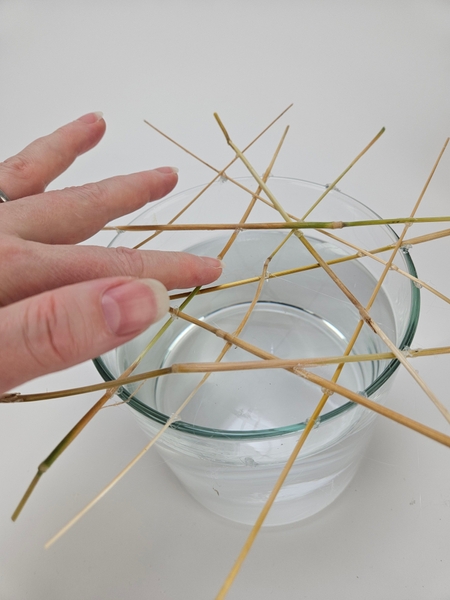
Secure the grass to the container with hot glue.
Of course I use hot glue because it is easiest to remove from the container (simply soak the container in warm water and scoop up the glue) and I can reuse the hot glue again for a no waste design room (melt the glue in a glue pan to use it again).
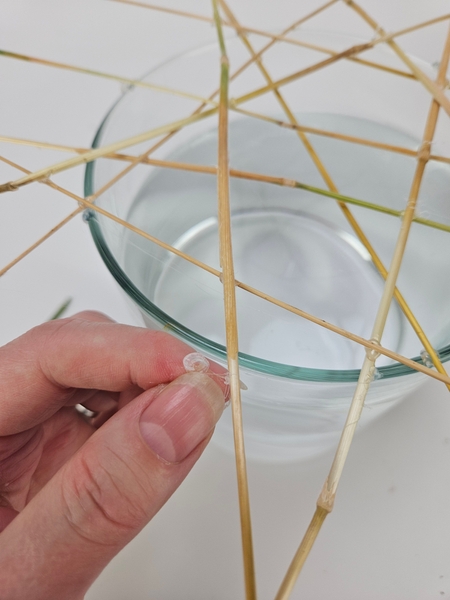
Design note: if you have to re-do a glue connection peel the glue away from the vase first. This way you keep your connections tidy and the glue blobs to a minimum.
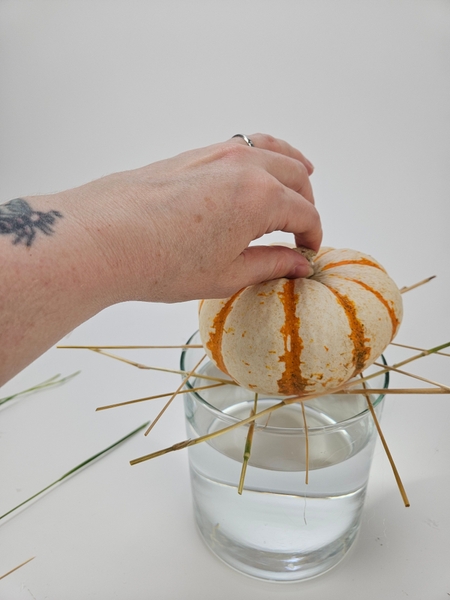
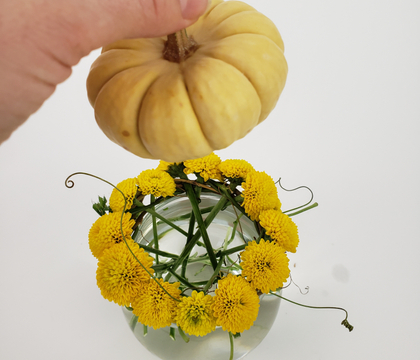
Test the pumpkin to make sure it is suspended well above the waterline. Only the dry grass will be rigid enough to carry the weight of the pumpkin... but the dry grass should not sit in water. It will become soft and will not carry the weight of the pumpkin.
Book readers turn to page 110 where we talk about preserving flowers and designing with dried plant material. For more information about my book: The Effortless Floral Craftsman
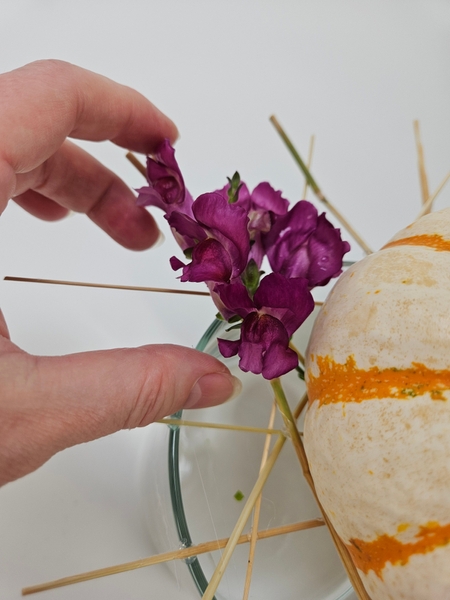
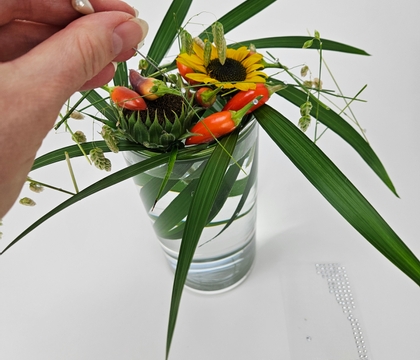
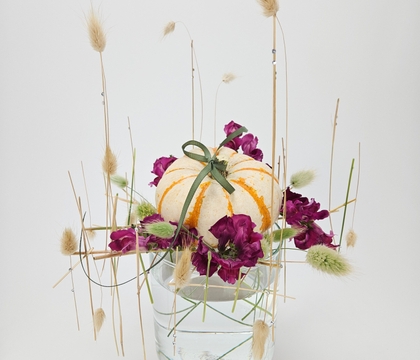
Arrange the last of this seasons snapdragon stems around the pumpkin so that they are supported by the grass but hydrating in the water.
Pretty colour, righ?
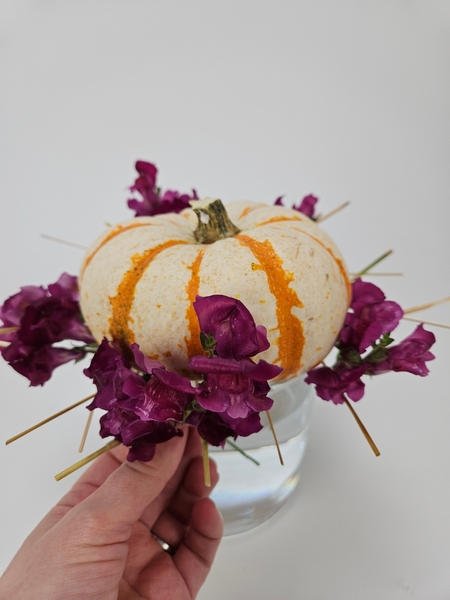
Nestle the dragons to cozy up to the pumpkin.
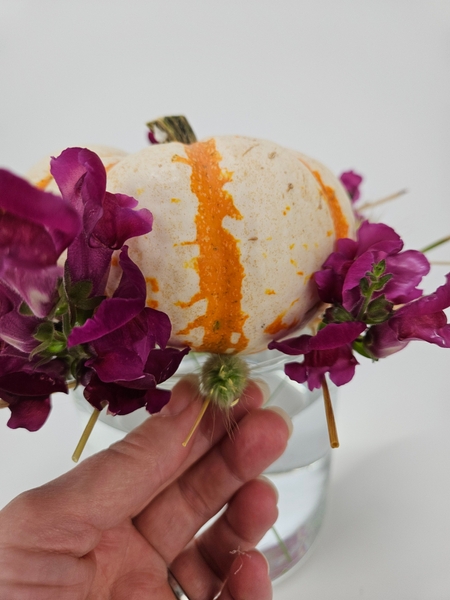
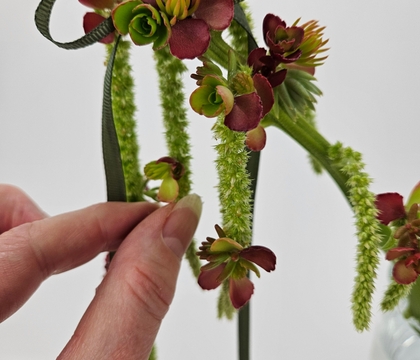
Arrange the fluffy green bunny tails all around the pumpkin and snapdragons.
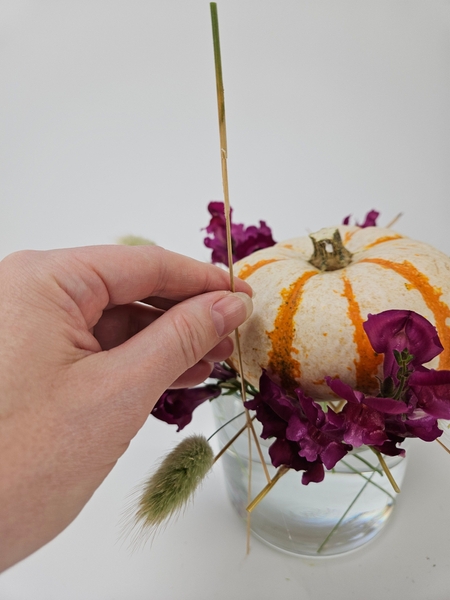
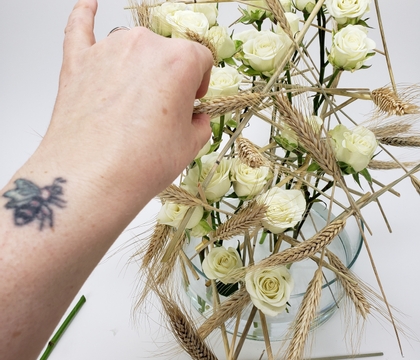
Glue the grasses to the grasses to stand up vertically all around the display.
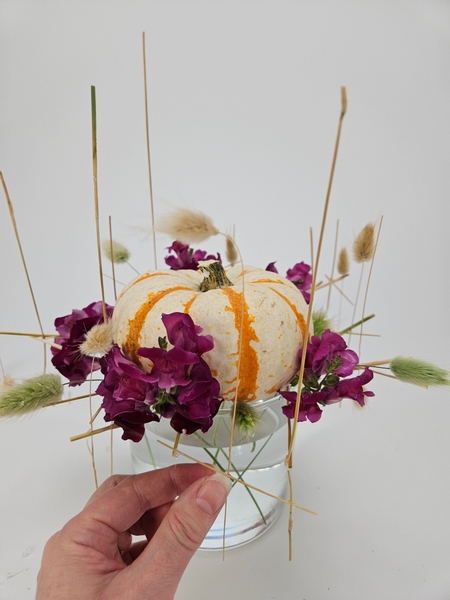
For my display I am gluing in both fluffy bunny-tails and stem ends. The important bit is that they must be secured upright. Or as upright as possible. The first part is to hold the stem exactly how you want it to stand for a few seconds so that the glue cures in the exact right position.
But my design note for you this week is about where on the stem I place the glue. I am using both small snipped grass and taller ones so I am allowing the grass to dictate where exactly I glue them.
Every Wednesday morning (Vancouver time), I send out a design note email as an early glimpse at the newest Design and a few notes that I picked up creating the Tutorial that might be useful to you.
If you’re new here, you can sign up below this post. And if you’ve been receiving these notes for some time, I hope they feel like a welcome break in your busy week.
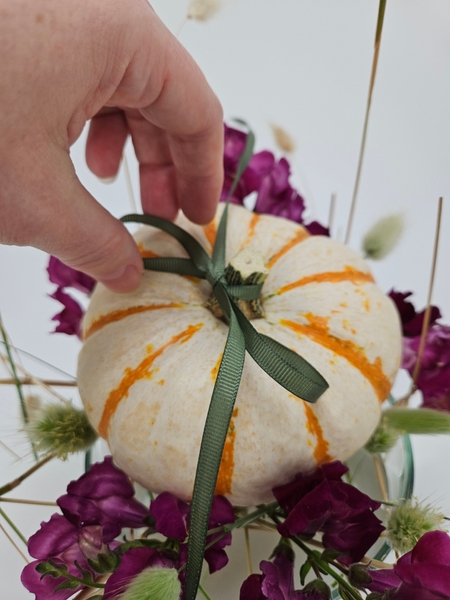
My jaunty little pumpkin gets a bow tie for the occasion...
See below for a link to this exact ribbon. I am sooooo happy I discovered these. They are EXACTLY healthy plant material green. Meaning they always go with everything!
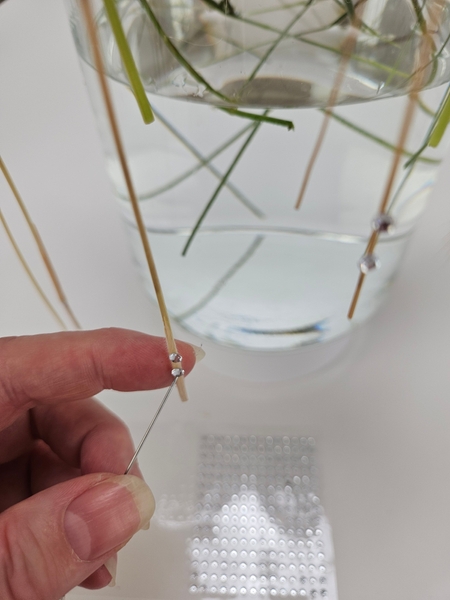
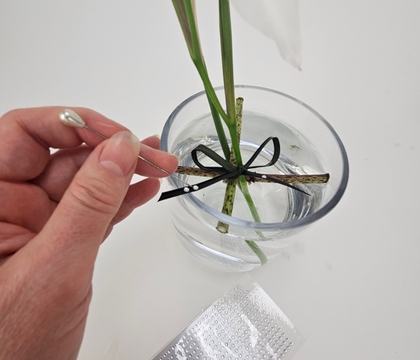
And I use a pin to add some dew drop crystals to the grasses for a magical sparkle to the design.
You can find the detailed Tutorial linked below.
Sign up for my weekly newsletter
Every week I add a new design with related tutorials. Be sure to subscribe to receive an email notification with design inspiration.
This section contains affiliate links. If you choose to explore any of these tools, I may earn a small commission at no extra cost to you.