Christine de Beer - effortless floral craftsman
Above and below eucalyptus curve butternut cradle
- 1 September 2021
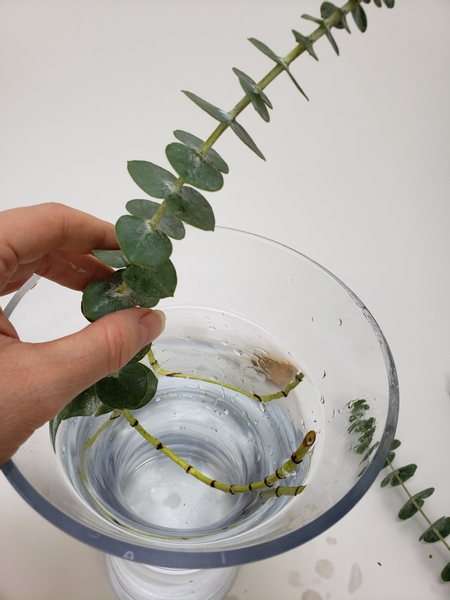
Curve an eucalyptus stem to wedge into a water filled container.
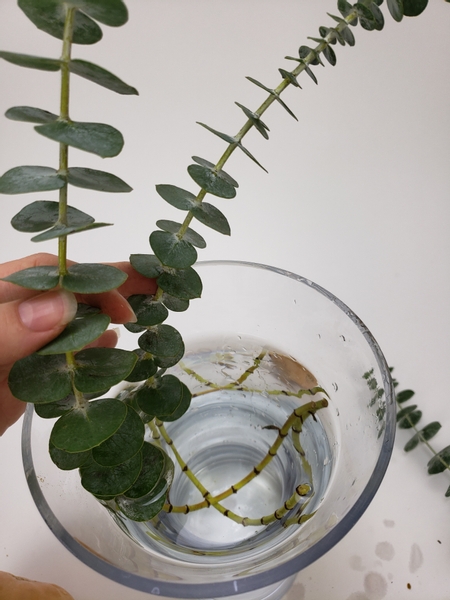
Add in another stem to cross over the first.
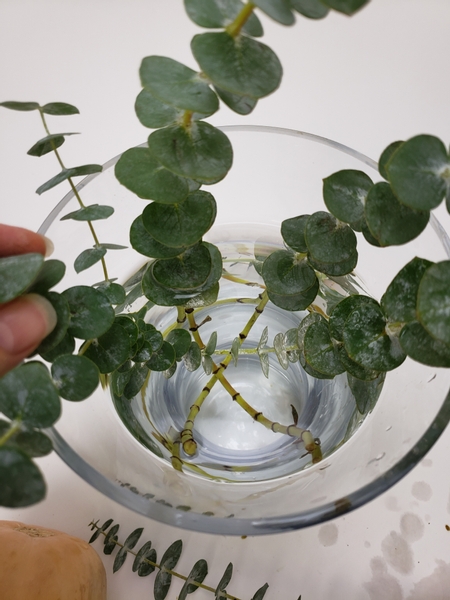
Once the two stems are secure add another stem of eucalyptus to shape a visual curve. I left the leaves on so that there is a curve both above and below the waterline.
because the stems are wedged into place it is easy to replace the water if needed.

Wedge a cross twig to keep the butternut (or pumpkin) suspended above the waterline so that it remains fresh.
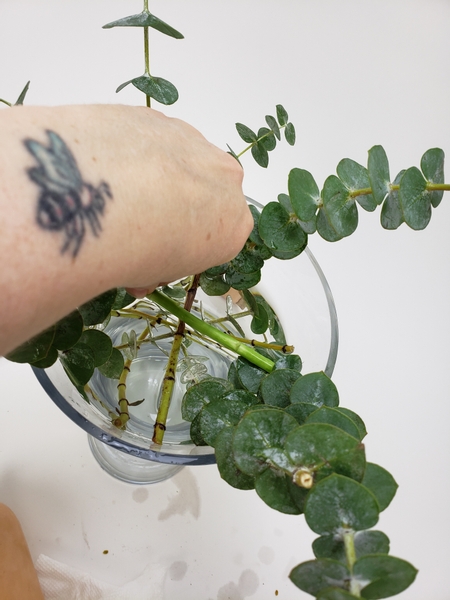
If needed add another cross stem just to make sure the pumpkin in secure.
You definitely don't want it to roll over and crush your plant material. Today in the email I also give you a tip of how to choose the natural position for heavier design details like fruit and vegetables. You can sign up for the once a week email below this post. Also I answer all questions and comments- but please be patient, some weeks it takes me a bit longer to work through my inbox.
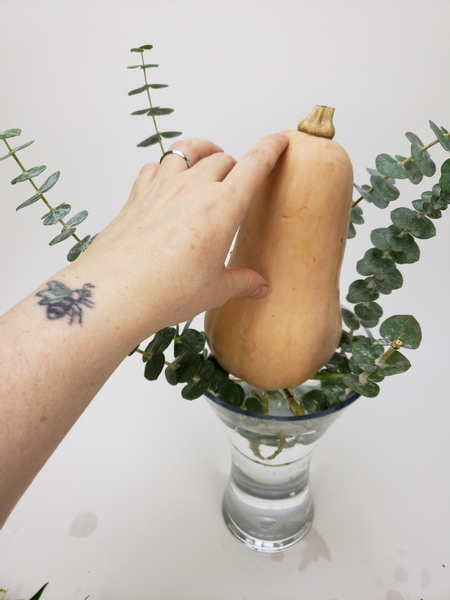
Add the butternut to cradle at a jaunty angle.

Curve the eucalyptus around the butternut to form a cradle. Simply slip the leaves between a set from another stem. No need for glue it stays perfectly secure.
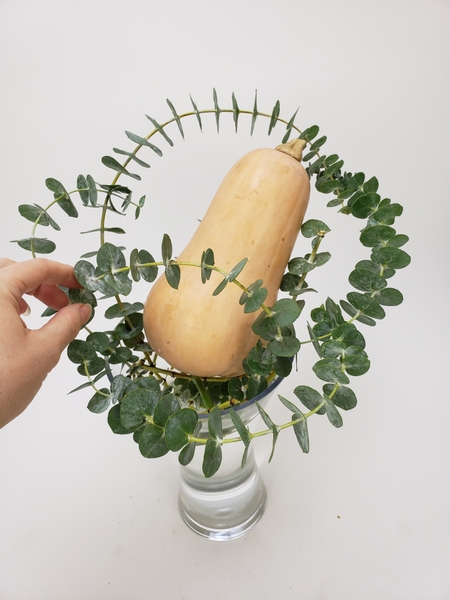
Simply roll and tuck the eucalyptus stems in a way that frames the butternut best.
This requires you to mirror the curve below in the container. Book readers turn to page 284 for more information on creating curves in stems. To get you started I have also linked a Tutorial below.
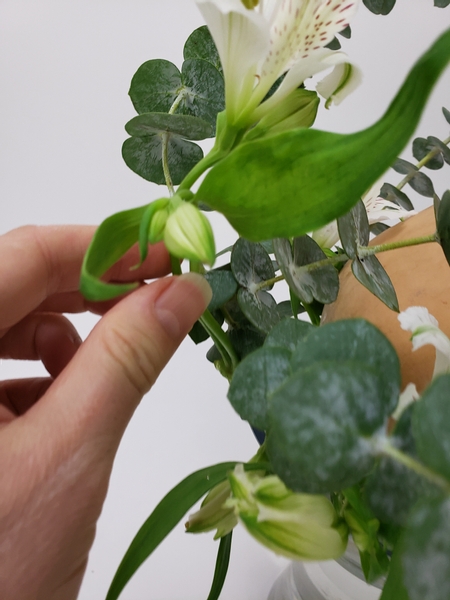
Slip the alstroemeria flowers between the eucalyptus stems so that it securely stays in place in the design.
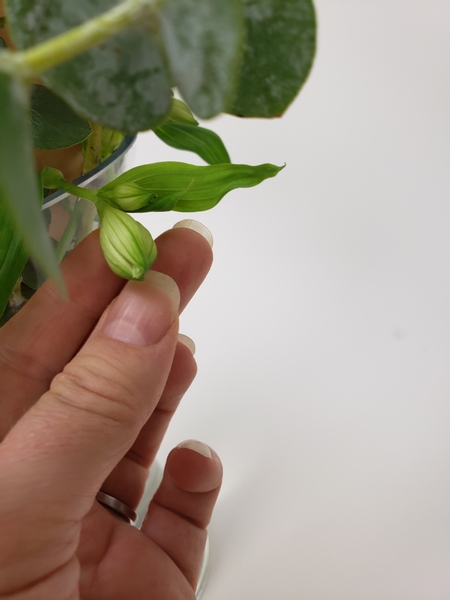
Add smaller flower buds all the way around the container.
Sign up for my weekly newsletter
Every week I add a new design with related tutorials. Be sure to subscribe to receive an email notification with design inspiration.


