Christine de Beer - effortless floral craftsman
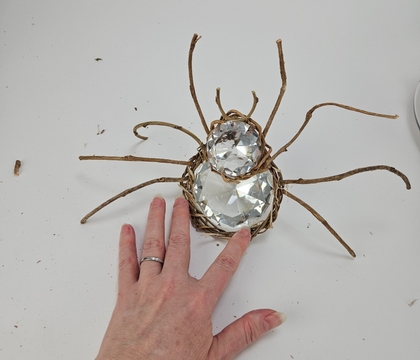
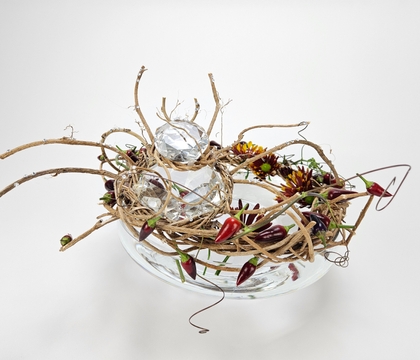
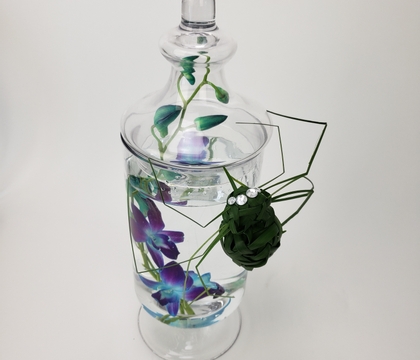
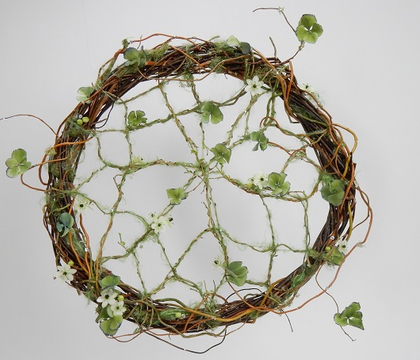
Incy Wincy Sparkle spider with a spicy wreath all around beside her
- 21 October 2026
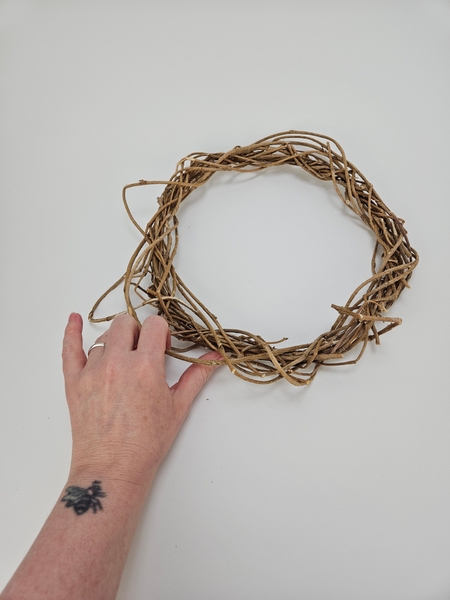
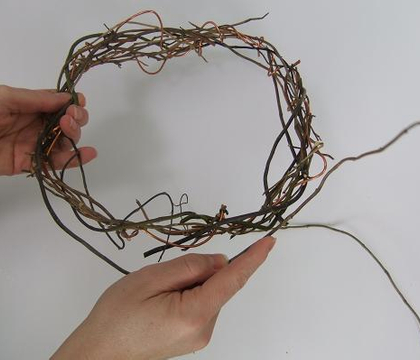
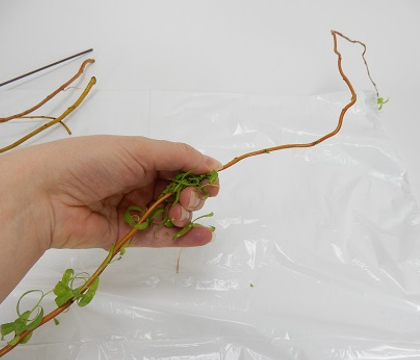
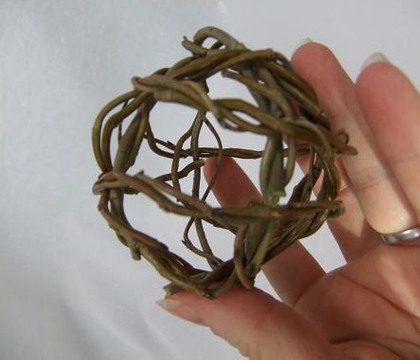
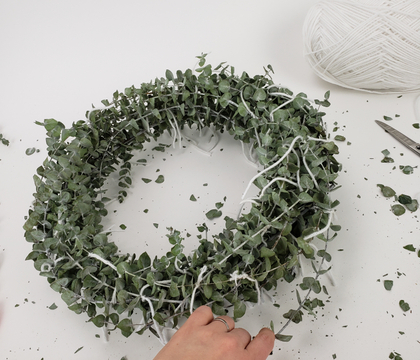
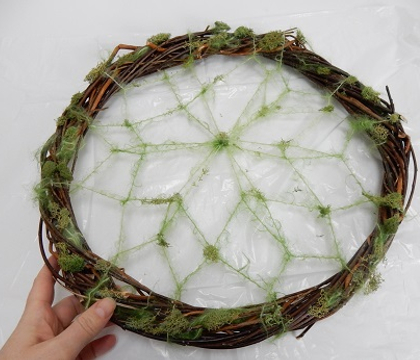
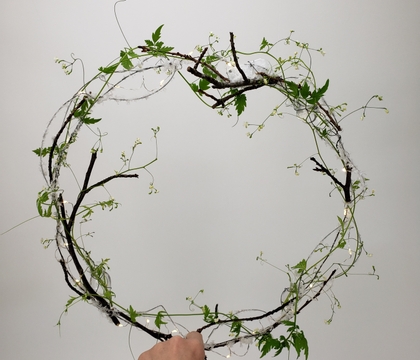
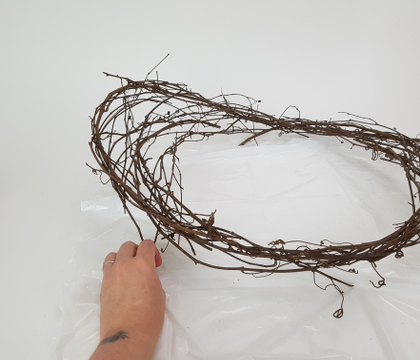
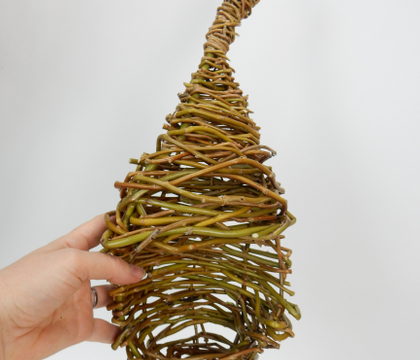
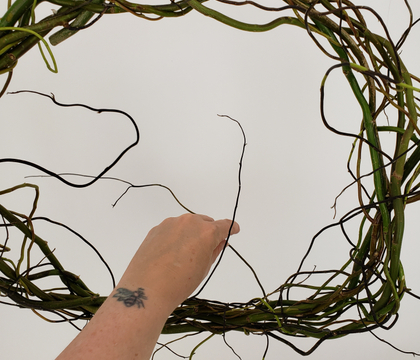
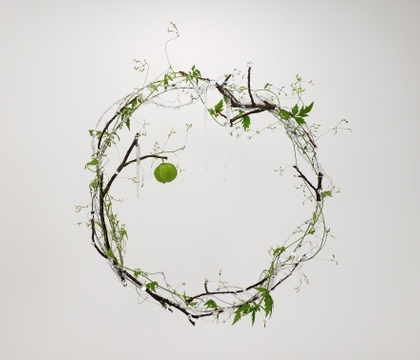
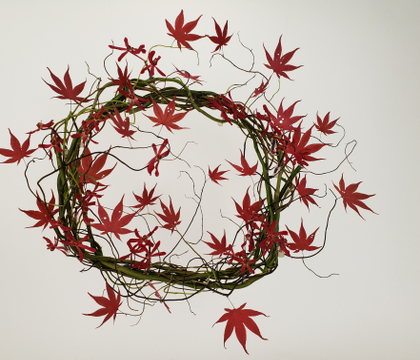
Weave a not at all perfect wreaths from vines. In fact the more imperfect the better. See the Tutorials below for detailed instructions on how to weave an imperfect wreath. I used ivy vines to weave my wreaths and set the wreaths aside to dry completely before designing. You are going to weave 4 wreaths in total for this design.
This week in our Design Note I show you the benefit of hand weaving your imperfect floral design ingredients.
Every Wednesday morning (Vancouver time), I send out a design note email as an early glimpse at the newest Design and a few notes that I picked up creating the Tutorial that might be useful to you.
If you’re new here, you can sign up below this post. And if you’ve been receiving these notes for some time, I hope they feel like a welcome break in your busy week
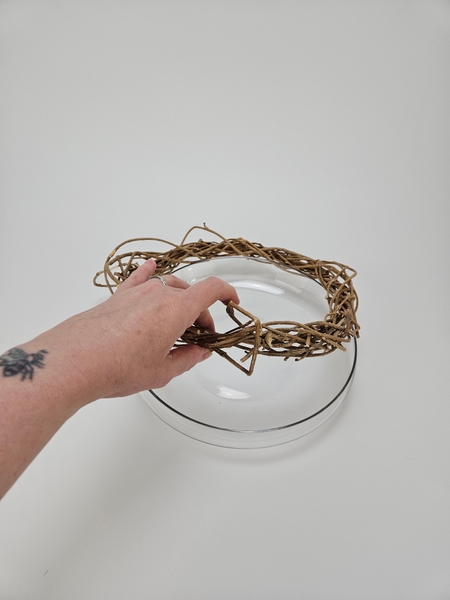
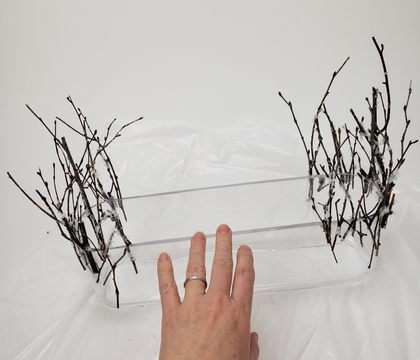
Rest the wreath comfortably on a shallow display container.
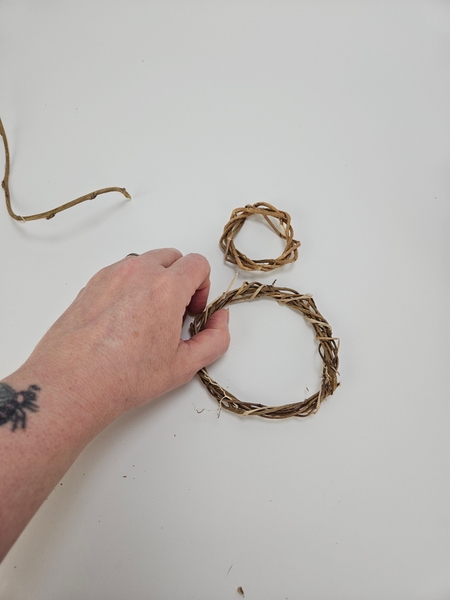
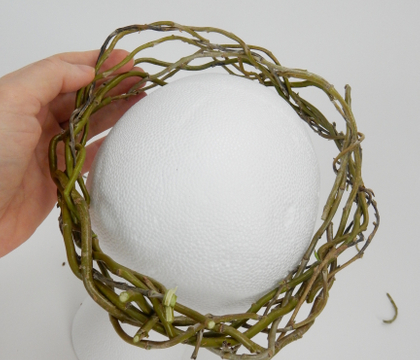
Weave three more smaller wreaths...
Two to make the body and one to let dry... and then unravel for the legs and fangs.
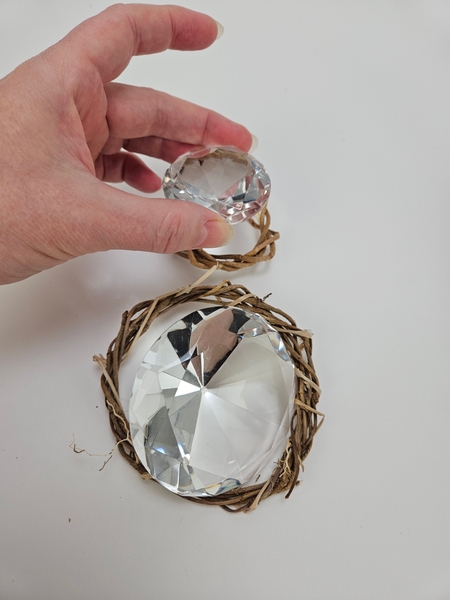
... each wreath just a bit larger (so that it frames them) than these crystals.
The "crystals" are actually glass paperweights. I often use them to weigh down floral details because they are heavy and adds serious drama to a design... but buy a smaller one and you have a diva of a spider. See the link below to the glass paperweights I use in my design room.
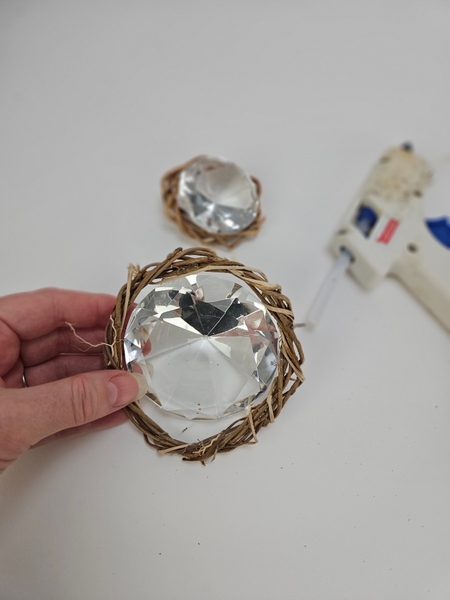
Use hot glue to secure the wreaths to the glass crystals.
I use hot glue because it removes so easily from glass. Simply soak it in hot water and it peels off. You can also use the hot glue again if you melt it down in a glue pan... no waste!
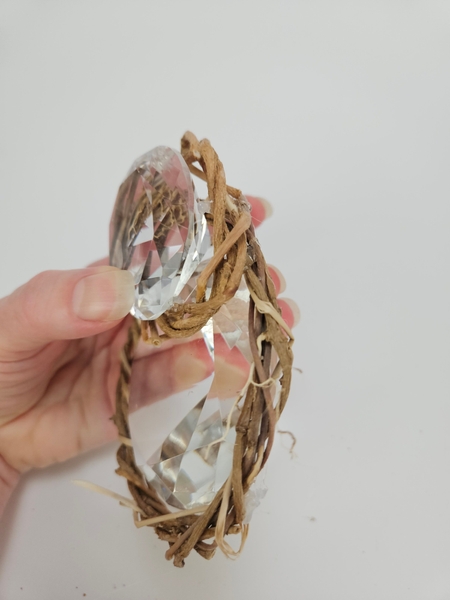
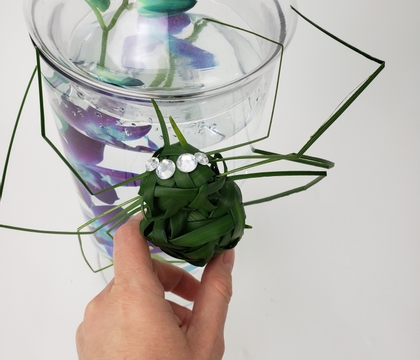
Glue the smaller crystal to the bigger one to create the spider.
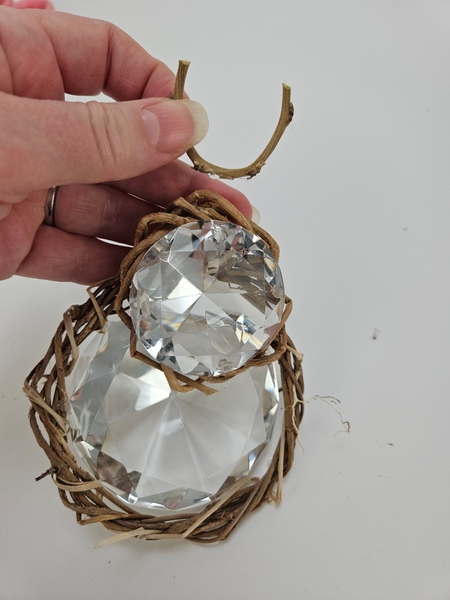
The one left-over wreath is cut into spider "bits" Unravel a bit of the wreath and glue in a tiny curved twig as fangs.
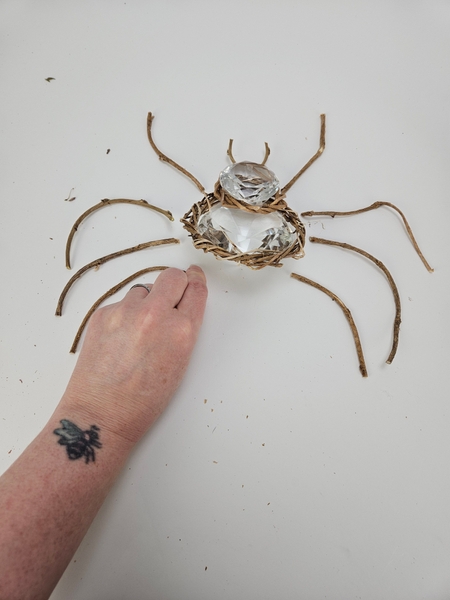
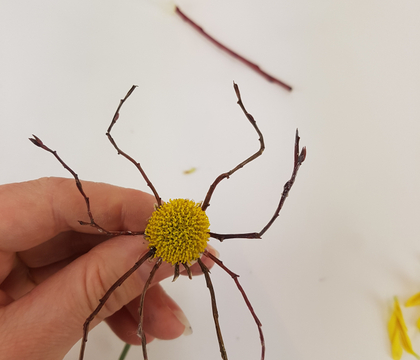
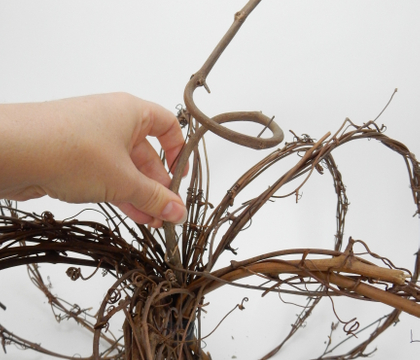
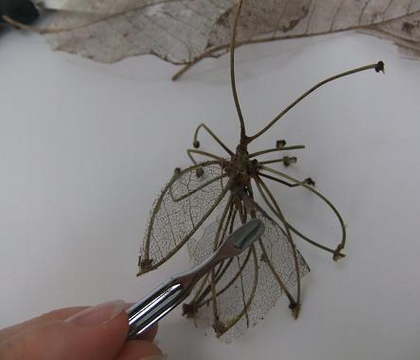
Unravel and inspect the wreath to cut interesting leg sections for the spider. This is so important! You can give your spider personality just by taking the extra bit of time to look for "interesting' leg bits that will make her climb into the design.
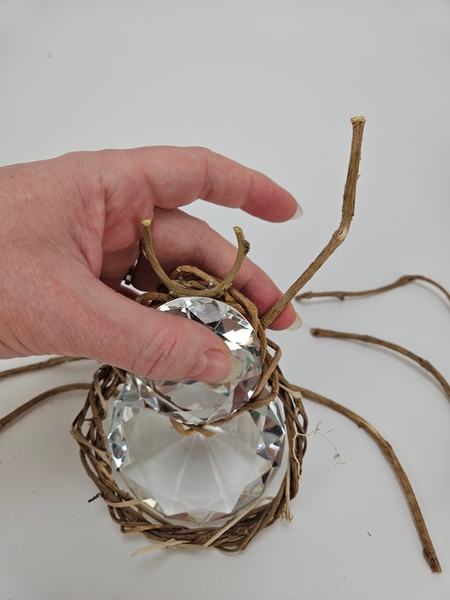
Glue the spider legs in with hot glue...
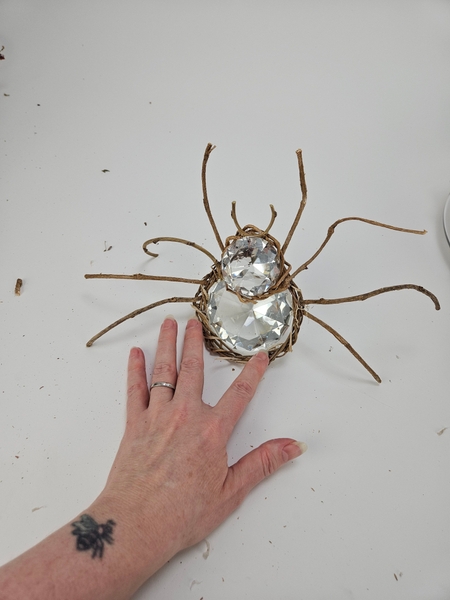
The idea is that the spider looks like it is moving... on her way...
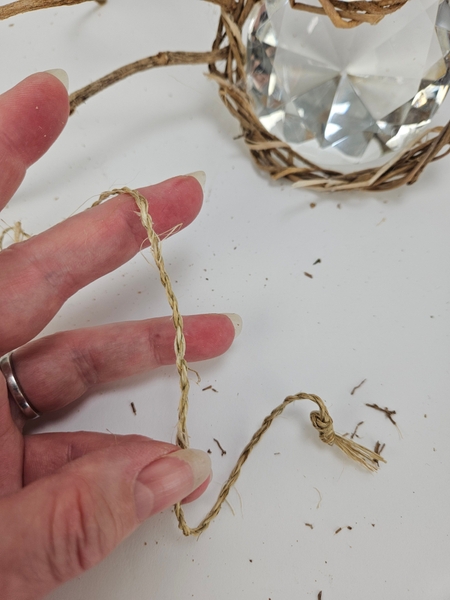
This is one of those tiny little details that adds so much to your designs... add fibers...
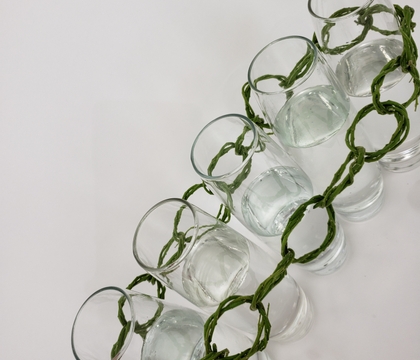
I make my own rope from plant fibers and keep them to use as rope... and as fibers.
Book readers turn to page 46 to learn how to make rope from fibers. For more information about my book: The Effortless Floral Craftsman
Unravel the rope so that you have fuzzy fibers...
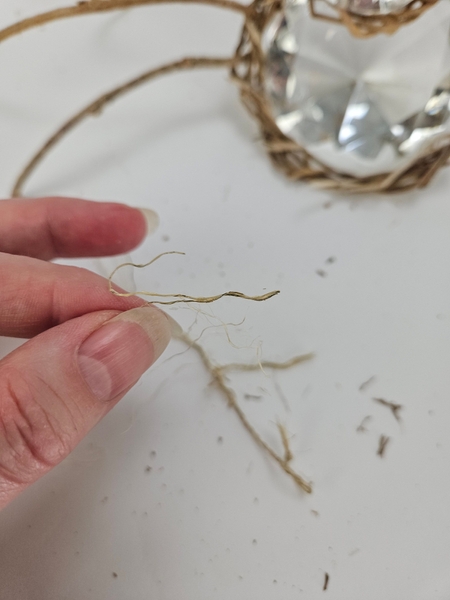
Perfect for hairy spider fluff!
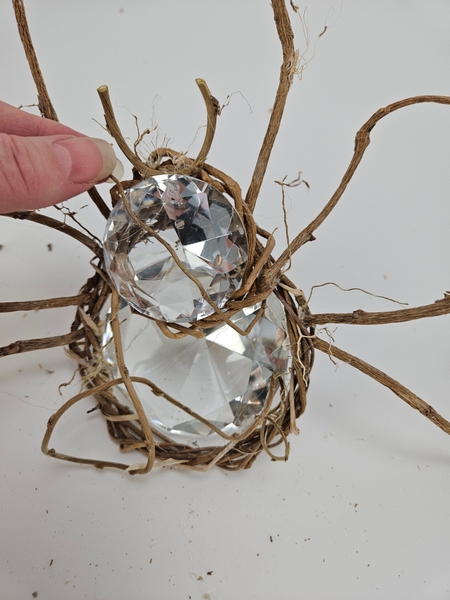
Glue in the fibers to the spider to give it a bit if a creepy imperfection around all that sparkle.
Slip a few more twigs from the wreath and add it in over the crystal part of the spider to break up the neat wreath frame around the crystals.
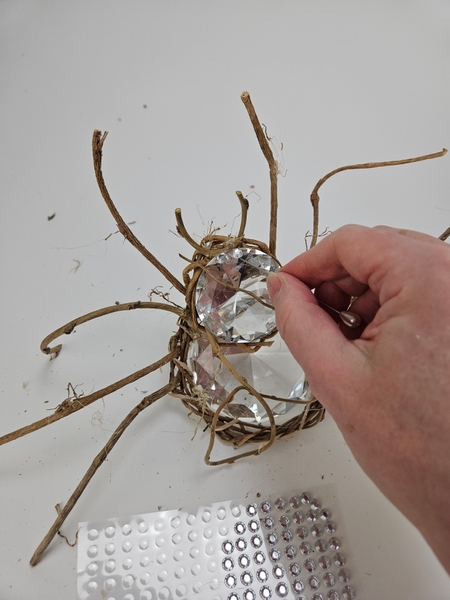
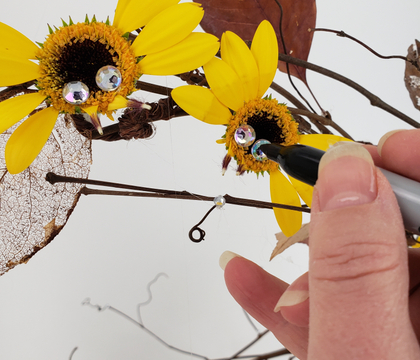
Give the spider dew drop crystal eyes...
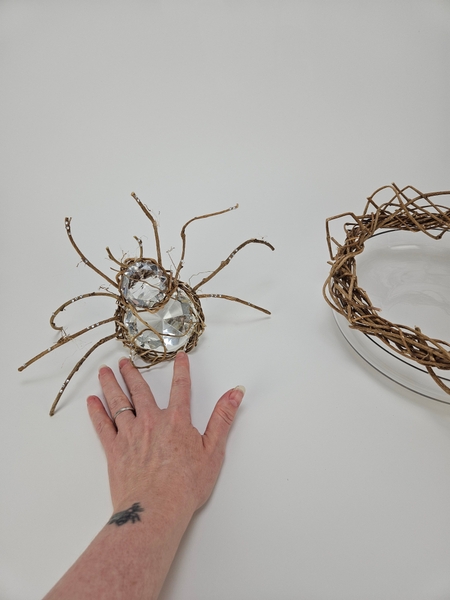
And tiny dew drop sparkle all over the rest of the spider. I am using the same twigs to craft the wreath and the spider so it disappears a bit. So... only add crystals to the spider because the camouflage should be good... but not so good that you miss the spider completely!
I am adding a link below to the exact crystals I use in my design room. They come in a set with bigger and smaller crystals so that you can match it to the project.
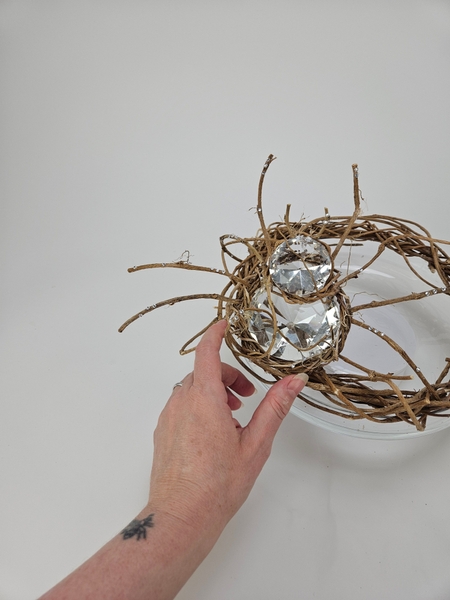
Glue the spider into the wreath on top of the shallow container...
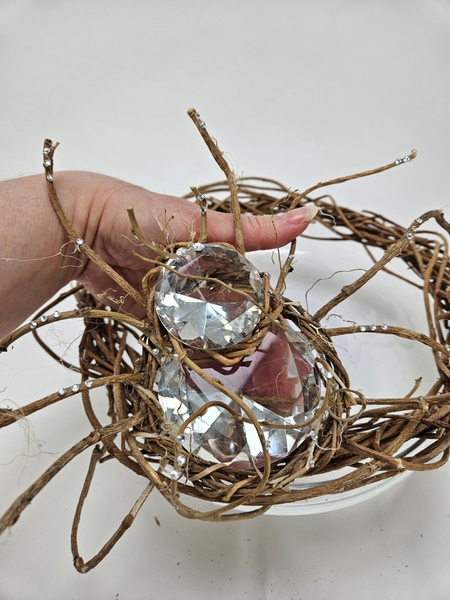
Make sure the spider looks like she is happily climbing into the design... not desperately trying to escape from the design.
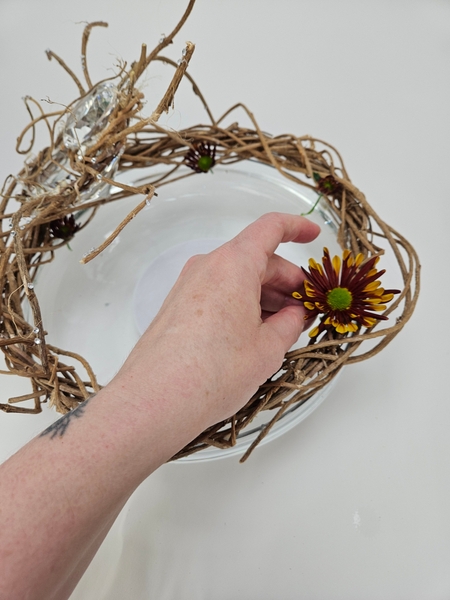
Place gorgeous chrysanthemum flowers to rest in the loose twigs of the wreath. It should stand perfectly upright and supported. Top up the water in the container so that all the stems are in water but the level is still below the dried wreath.
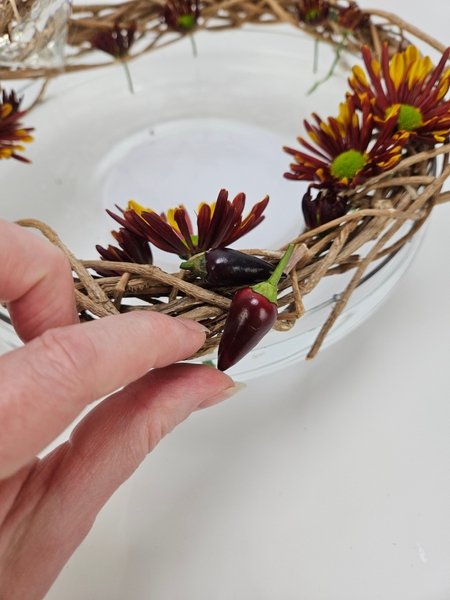
Glue in a few nearly black chillies.
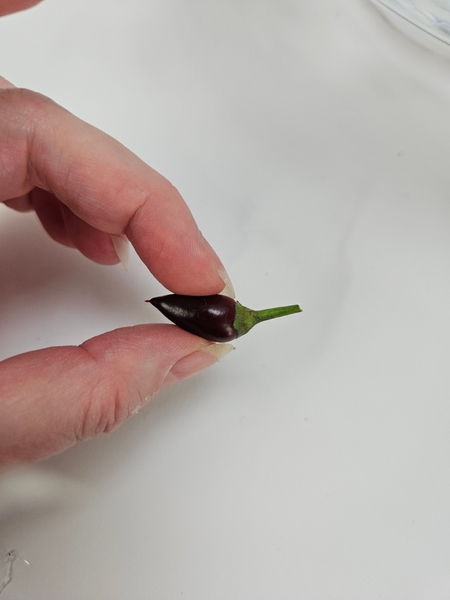
Design note: yes, you can add in the chillies to look like they grew on the wreath or I love the idea that they are a windfall... fruit fallen from the tree. It adds the feeling of abundance and enhances the autumn feel. To make sure the fruit looks light, inspect each chilly. Glue it with floral glue so that each chilly and add glue to its belly so that it curves up and look like it simply floated down. If you glue it in the other way around it looks like it is melting or sinking into the design and that might give the impression that it is decomposing. Always add floral details so that it looks fresh and floating.
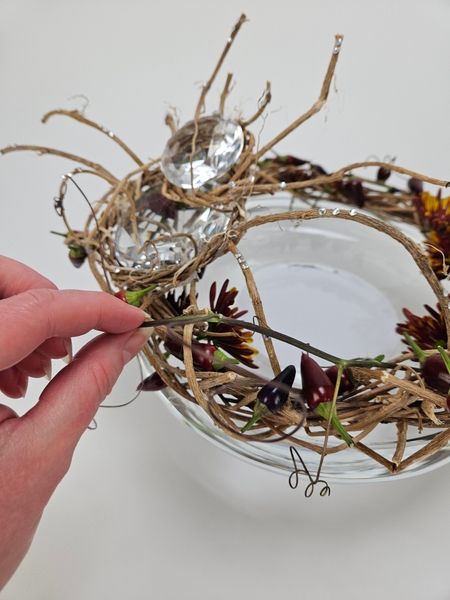
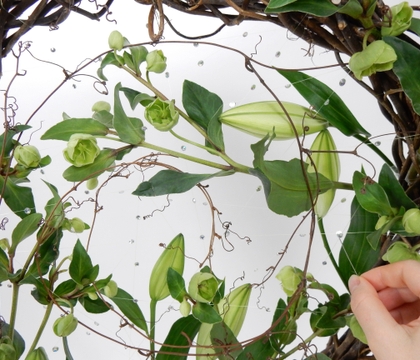
Arrange a sun baked passionfruit vine around the wreath design so that the tendrils interact with the design details to combine the display into a unit.
Sign up for my weekly newsletter
Every week I add a new design with related tutorials. Be sure to subscribe to receive an email notification with design inspiration.
This section contains affiliate links. If you choose to explore any of these tools, I may earn a small commission at no extra cost to you.