Christine de Beer - effortless floral craftsman
Clear Acrylic Purse Hook Curve a Loop Lantern
- 2 September 2026
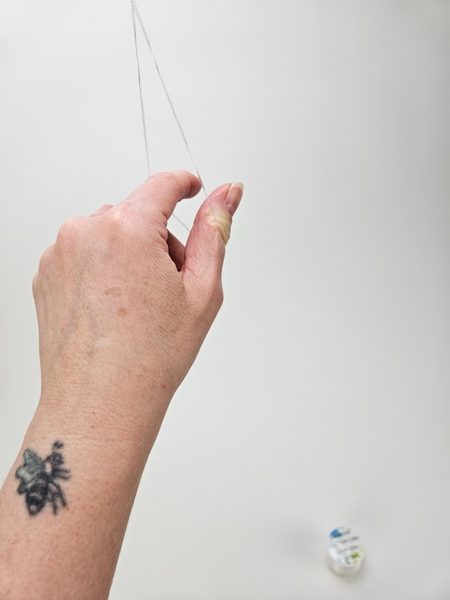
I am using a fishing line knot to create a hook for my design but you can also hook it over a rod, a branch or a nail, or even over your palm if you want to carry your lantern...
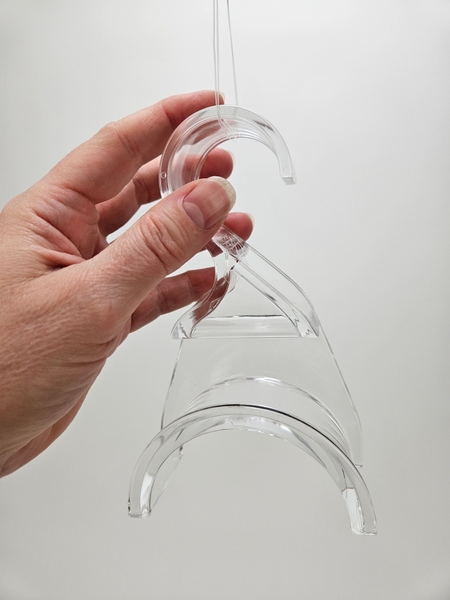
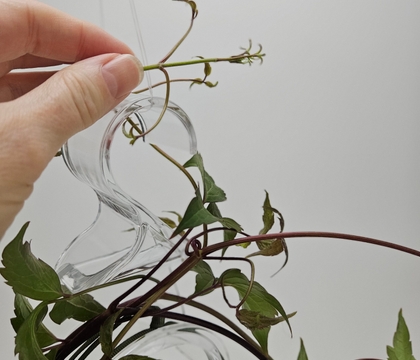
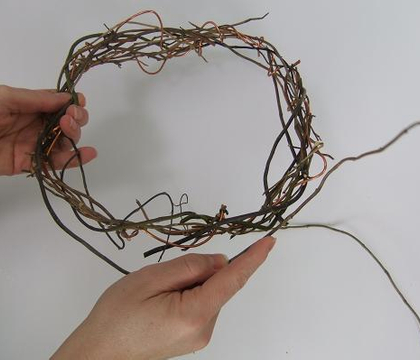
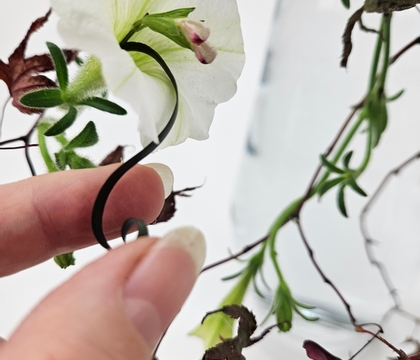
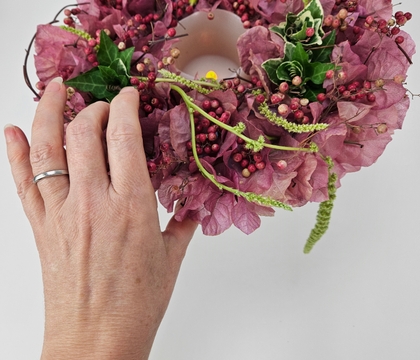
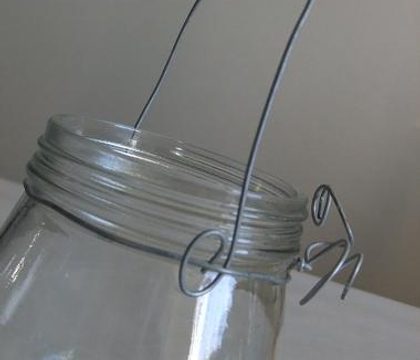
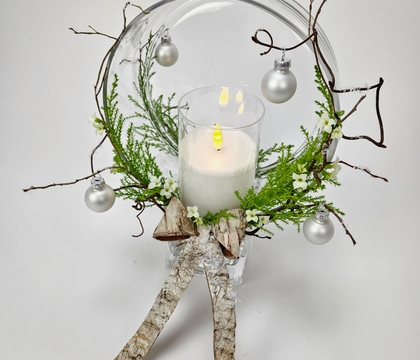
I am draping my vine loops over this clear acrylic hook. Notice the generous gaps in the hooks? Perfect for supporting plant material and even wide enough to hook a wreath (for a one step and... done version if you do not want to drape the fresh vines)
I do like this particular hook though. It is really well made and smooth enough to comfortably slip over the palm of your hand if you want to carry the lantern instead of hanging it. It is of course a "supposed to be" purse hook and it works great for that as well.
I am adding the affiliate link to the exact purse hooks I use for hanging displays below this post.
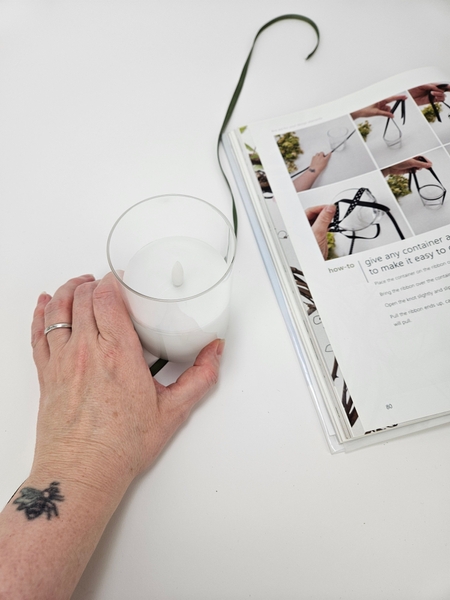
The battery operated candle is suspended with a simple knot to remove any clutter that might distract from the plant material.
Book readers turn to page 80 for these step by step instructions on how to hang a heavy container with a minimal knot.
For more information about my book: The Effortless Floral Craftsman
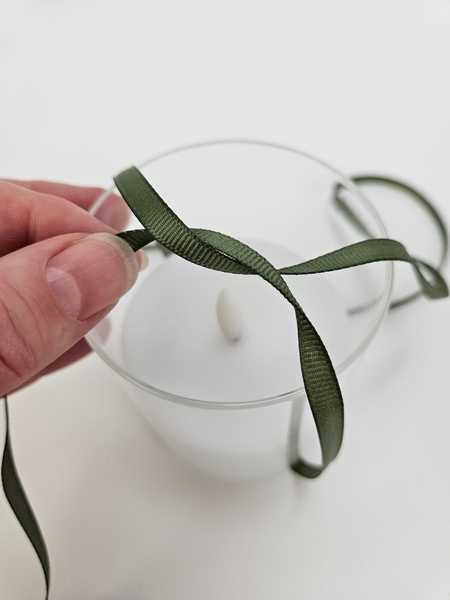
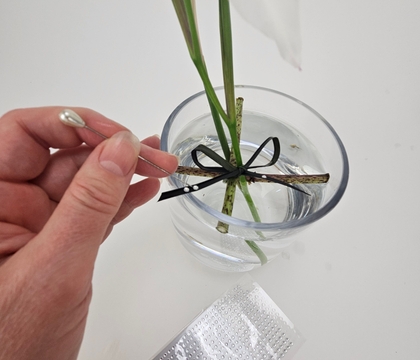
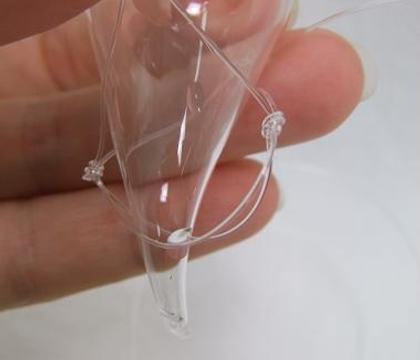
But to get you started here is the short version of how to knot the lantern: knot the ribbon above the battery operated candle...
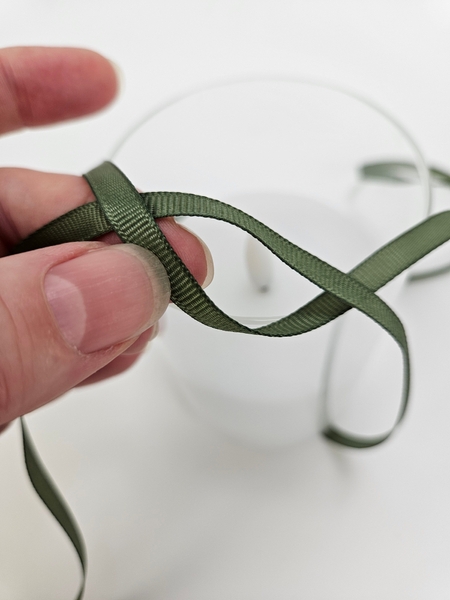
Open up the knot and carefully slip it around the glass votive.
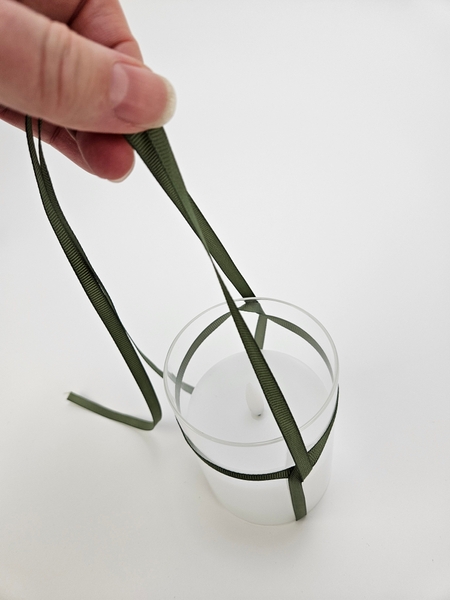
Pull the dangling ends up to catch the knot...
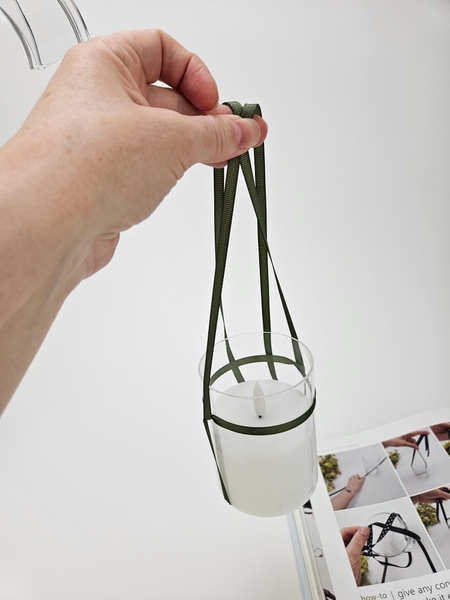
... the heavier the container the tighter the knot will pull around the container.
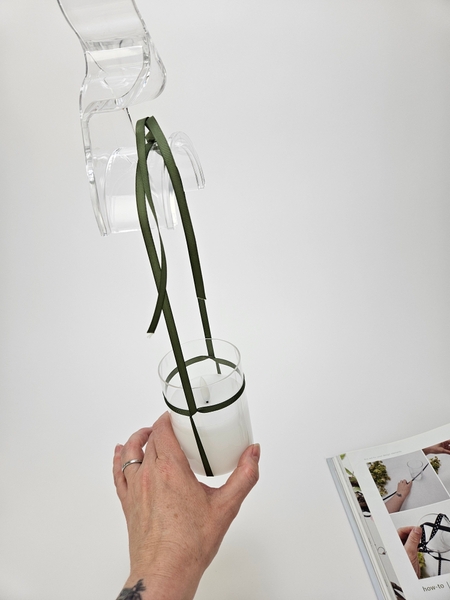
Knot the ribbon so that you can slip it over the acrylic hook to hang neatly and securely.
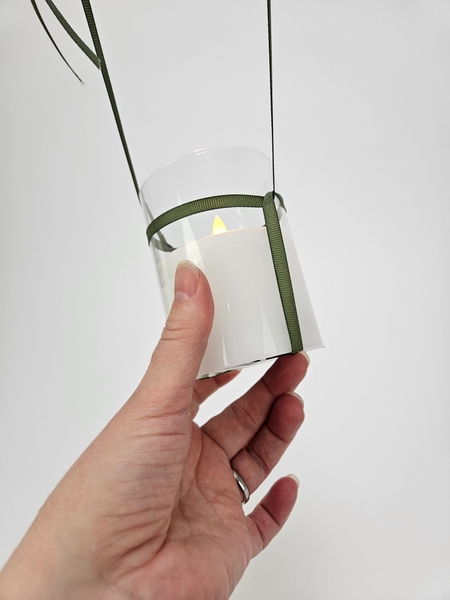
Adjust the ribbon to make sure you have easy access to the on off switch.
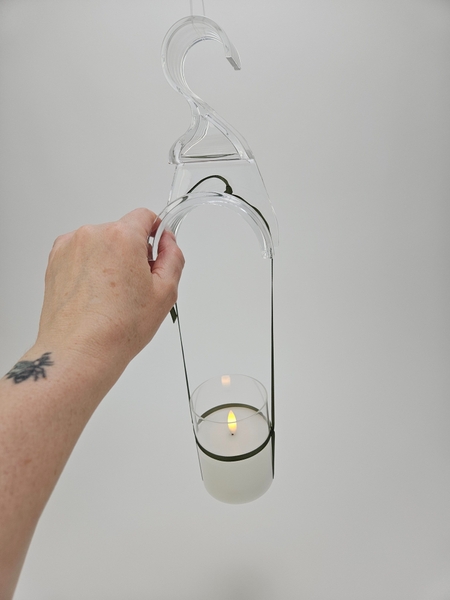
Adjust the candle so that it hangs straight before building the lantern design around it.
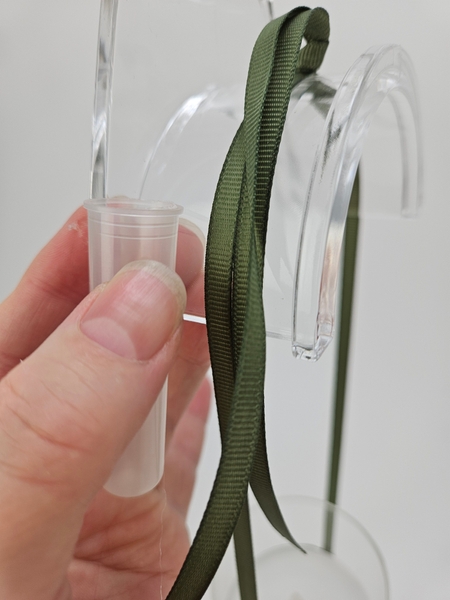
Use hot glue to glue in the water tubes on both sides to drape the plant material over the hook.
The glue is easy to remove. Simply soak the hook in warm water and it will pop off. The glue can then be reused in a glue pan if your goal is a zero waste design room.
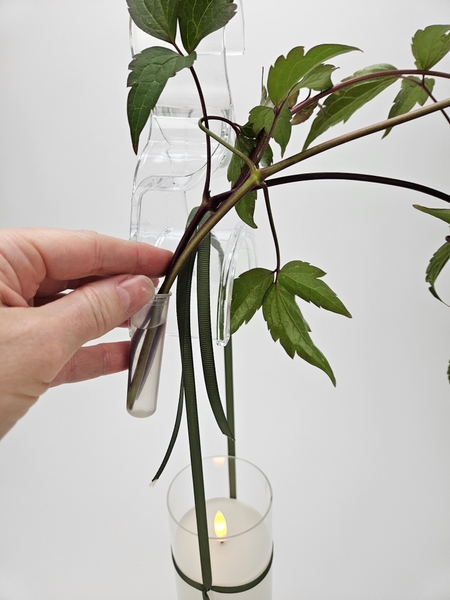
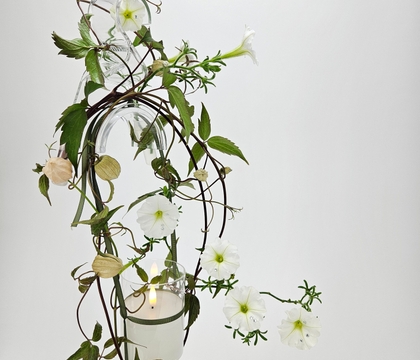
Fill the water tube with water and slip three clematis vines into the tube so that they remain hydrated.
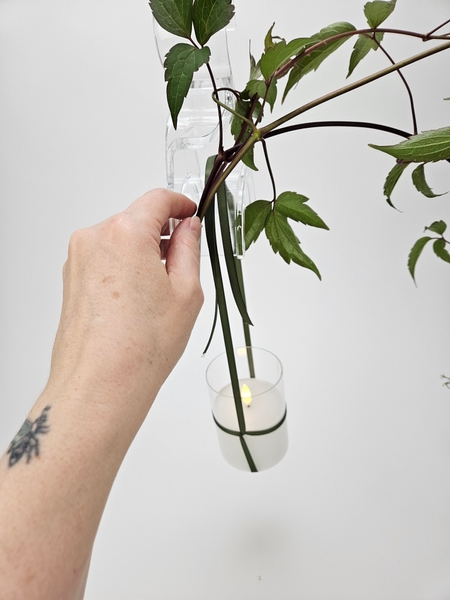
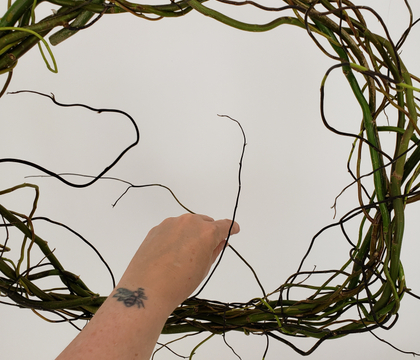
Use the sturdy gap in the hook to help manipulate the vines into a draping loop.
Design note: this end of the vines are usually less "drapey" than the tips. By guiding the stems through the clear acrylic shape you get a neat and controlled loop without snapping the stems.
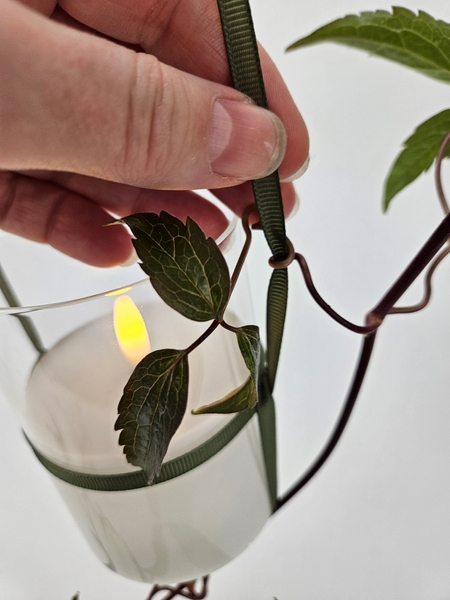
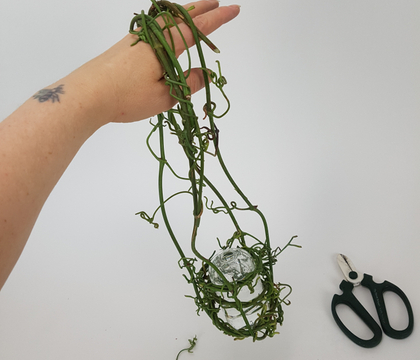
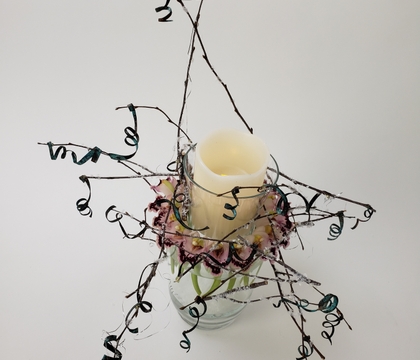
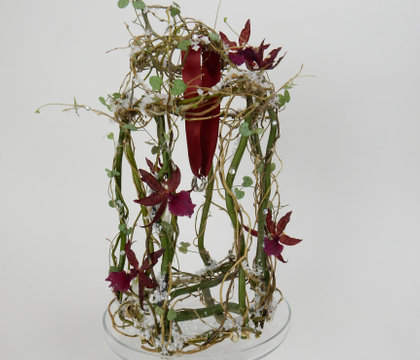
Guide the vines around the candle and back up towards the hook on the other side. Be careful though. Do not catch or crush any of the leaves. It should in no way look forced. The entire vine lantern should look like it simply grew this way. Use the vine to attach the clematis to the ribbon to keep the loop contained and deliberate.
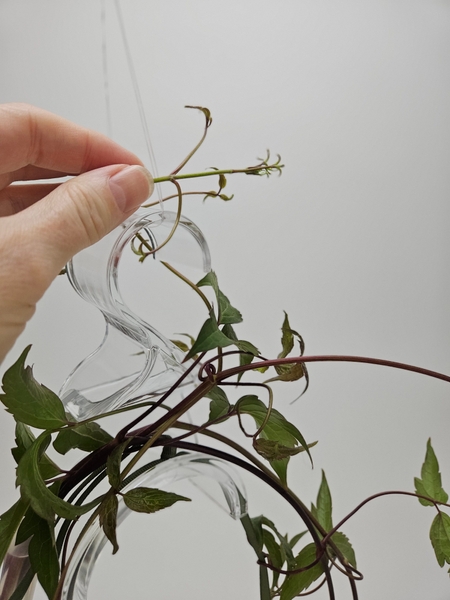
Keep the tips free and dangling so that they continue to grow in the design.
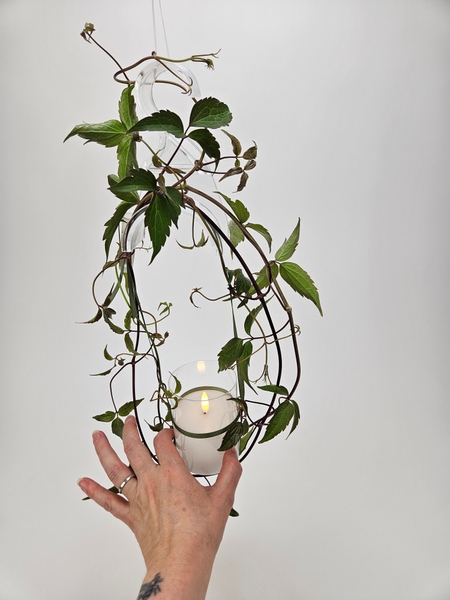
Your lantern is now ready for you to design in some personality...
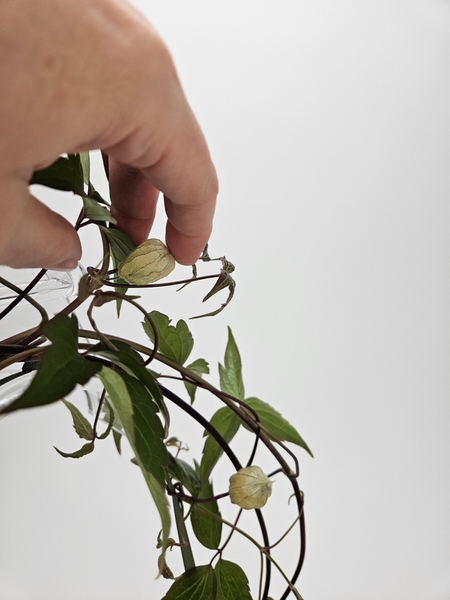
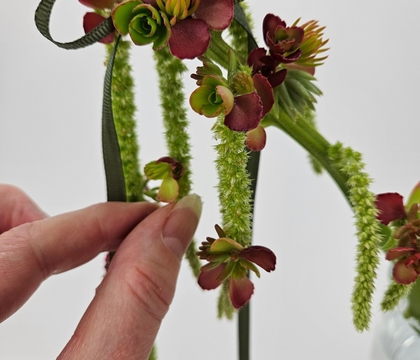
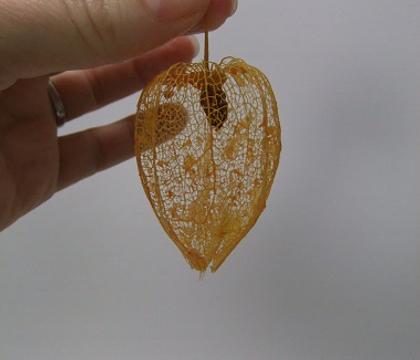
I am starting off with gluing in some Cape Gooseberry pods...
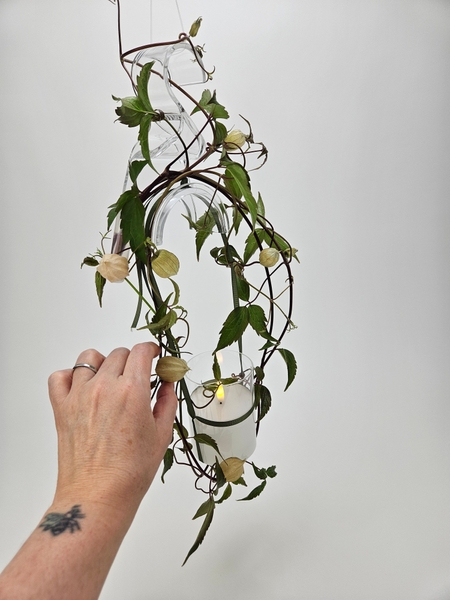
They are not so obviously "Autumn" bright as Chinese Lanterns but still add the same kind of magical forest quality to the design.
Design note: and they are much, much easier to grow!
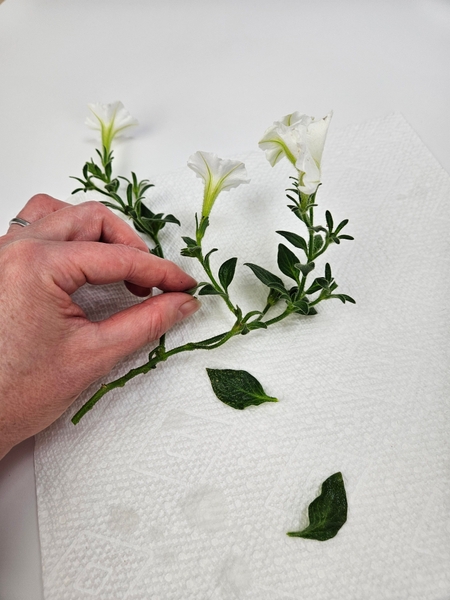
I am using overgrown petunia stems to give that last stretch of summer look. Condition and groom the stems. Pick off any foliage to really give you that s-t-r-e-t-c-h of the overgrown stems.
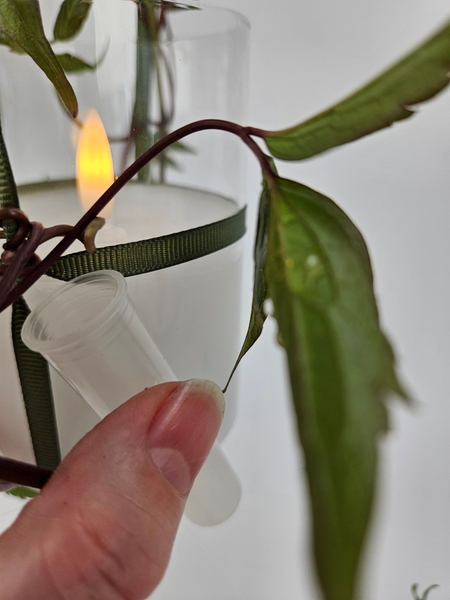
Glue in more watertubes to keep the fresh plant material hydrated.
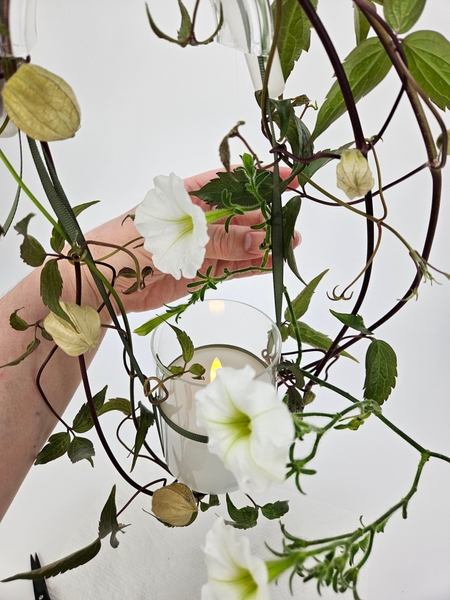
Slip the overgrown flowers into the vine lantern to intertwine with the ribbon and the vines naturally.
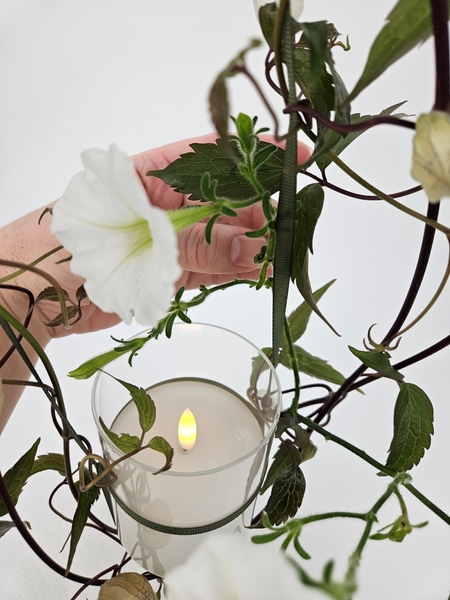
Of course we have to be mindful of craftsmanship and any bits of debris or water that falls into the candle spoil the magical effect.
This week in our design note email I show you how to clean your design to make sure it is absolutely perfect.
Every Wednesday morning (Vancouver time), I send out a design note as an early glimpse at the newest Design and a few notes that I picked up creating the Tutorial that might be useful to you.
If you’re new here, you can sign up below this post. And if you’ve been receiving these notes for some time, I hope they feel like a welcome break in your busy week.
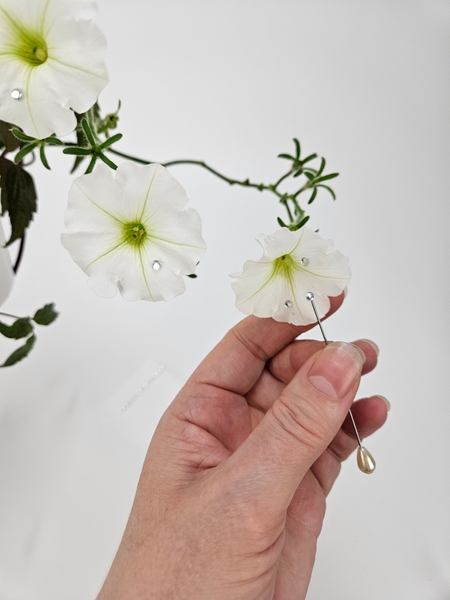
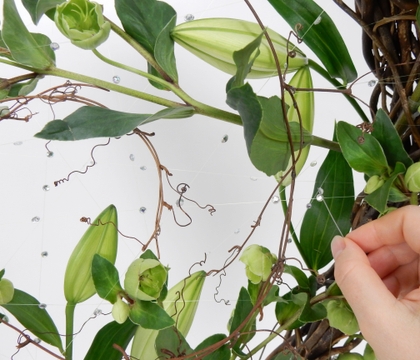
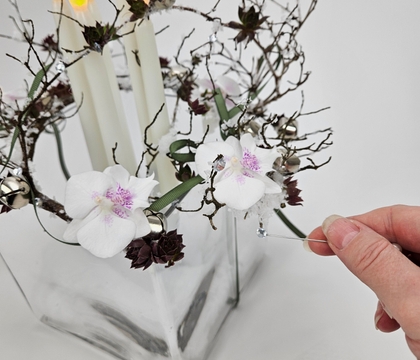
... and as a final touch I am adding my dew drop crystals to add some sparkle to the petunias in the lantern.
Sign up for my weekly newsletter
Every week I add a new design with related tutorials. Be sure to subscribe to receive an email notification with design inspiration.
This section contains affiliate links. If you choose to explore any of these tools, I may earn a small commission at no extra cost to you.