Christine de Beer - effortless floral craftsman
Winter Twig Panel with Space for a glowing Wish Upon a New Year’s Eve Star
- 31 December 2025
- and more
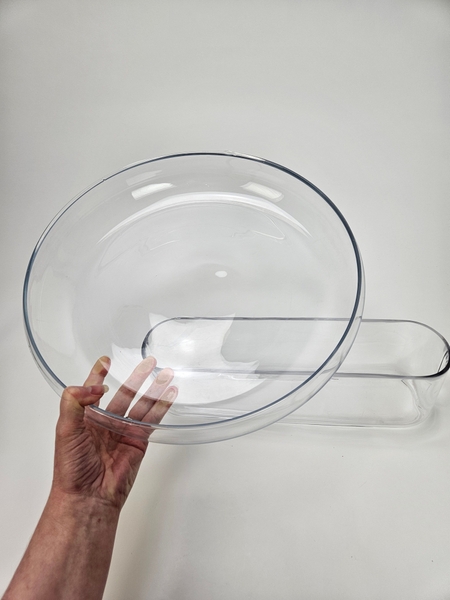
I am using a low bowl and a oval glass container for my display...
But first...
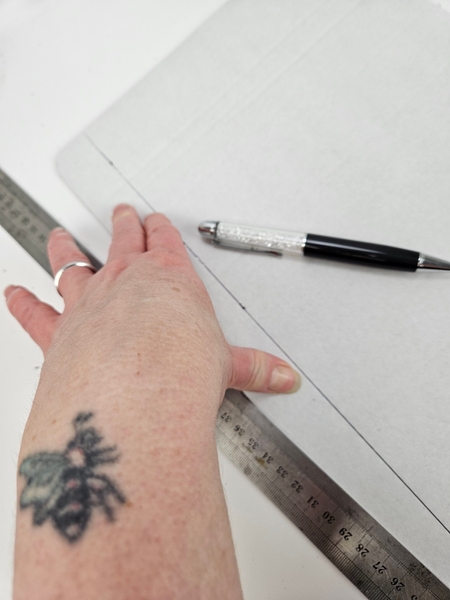
Mark out long strips on sturdy cardboard...
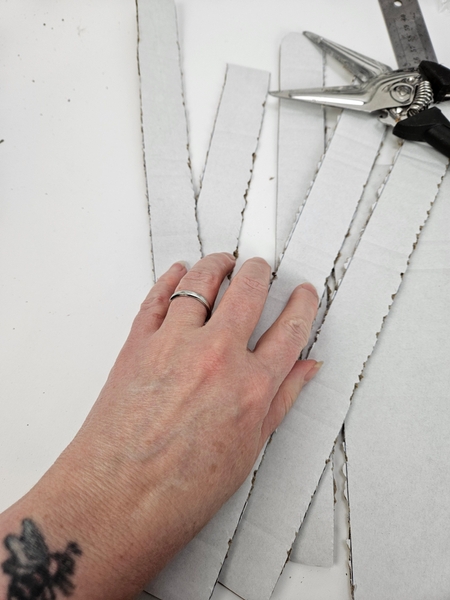
Cut the cardboard strips.
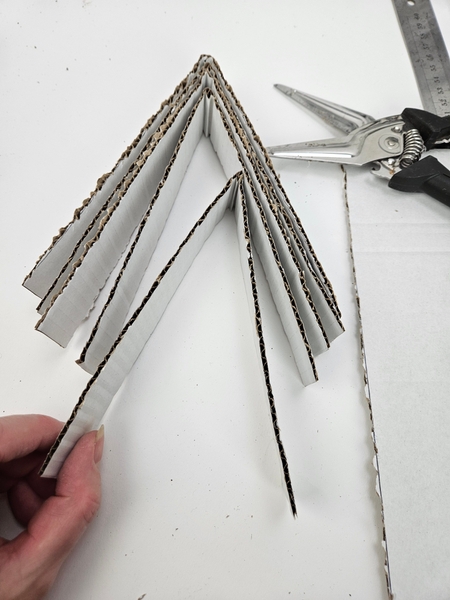
Fold each cardboard strip in half..
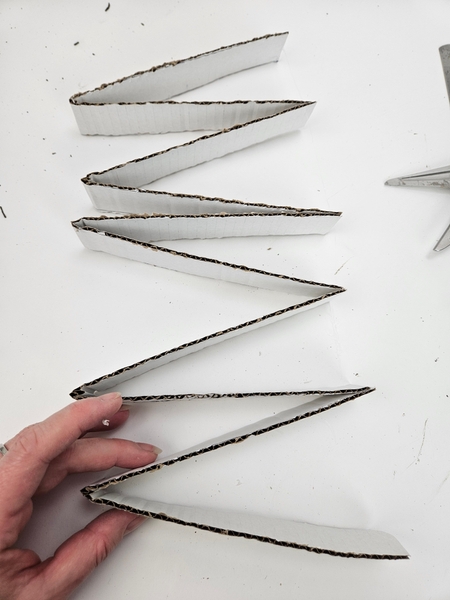
Glue the folded strips into a concertina wave...
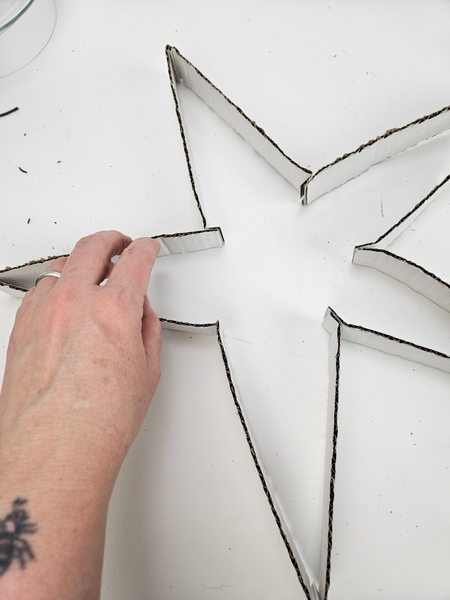
Connect the last two strips to close it into the star shape.
I want this shape to be really robust so I am reinforcing it with more strips of cardboard...
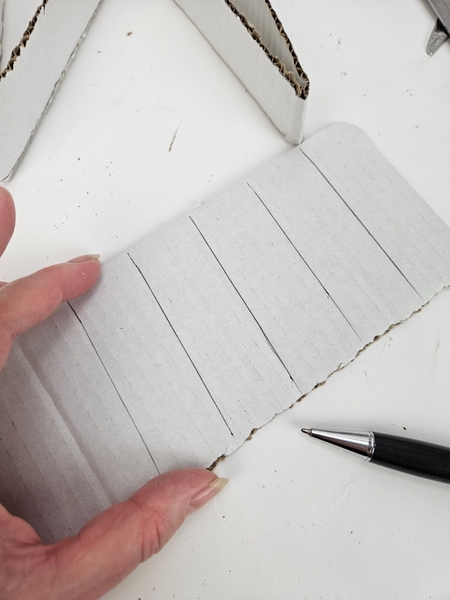
Mark out the shorter strips on sturdy cardboard.
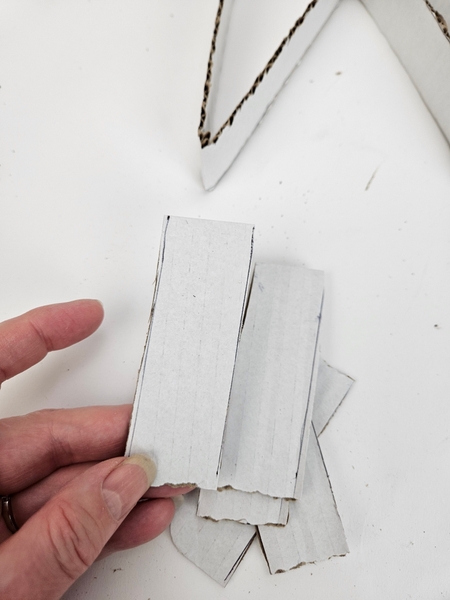
Cut the shorter cardboard into strips...
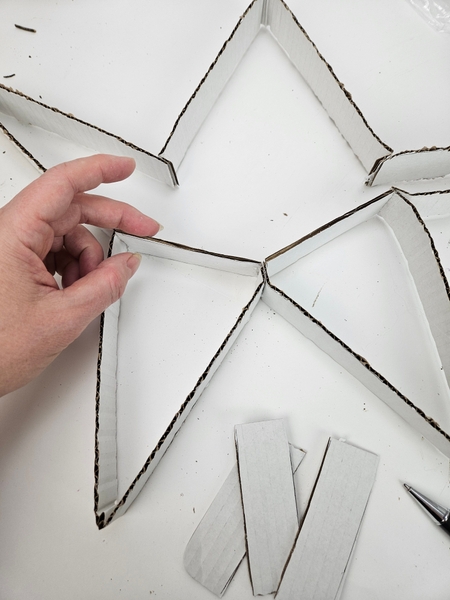
Glue the strips inside the star shape to make it more robust.
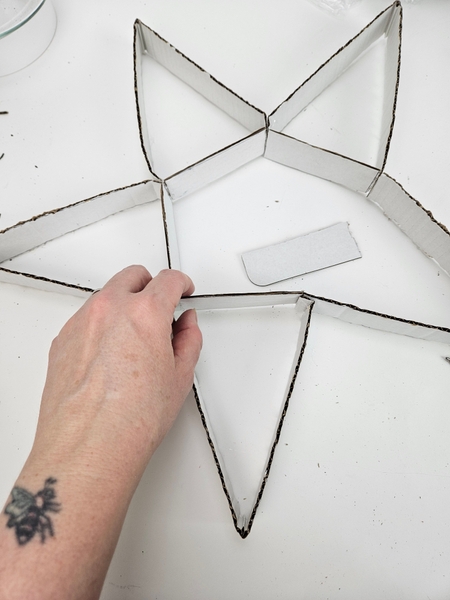
Supporting the star shape in the middle...
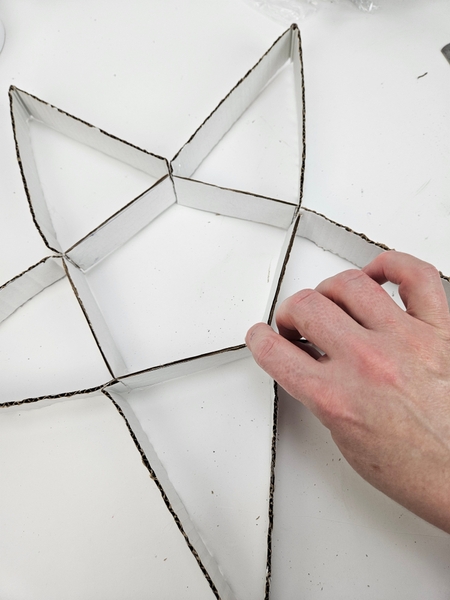
And opening the star shape all the way around.
I am using the cardboard star as a guide to shape my twig star on.
Every Wednesday morning (Vancouver time), I send out a design note as an early glimpse at the newest Design and a few notes that I picked up creating the Tutorial that might be useful to you. This week, I wanted to show you why I did not merely draw out a star on cardboard. We really need a more robust star for this design.... If you’re new here, you can sign up below this post. And if you’ve been receiving these notes for some time, I hope they feel like a welcome break in your busy week.
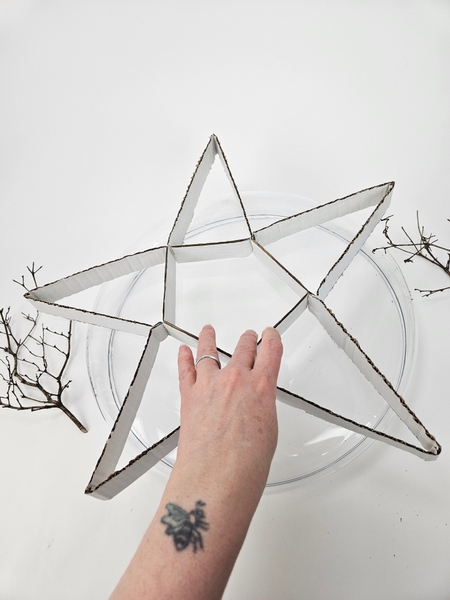
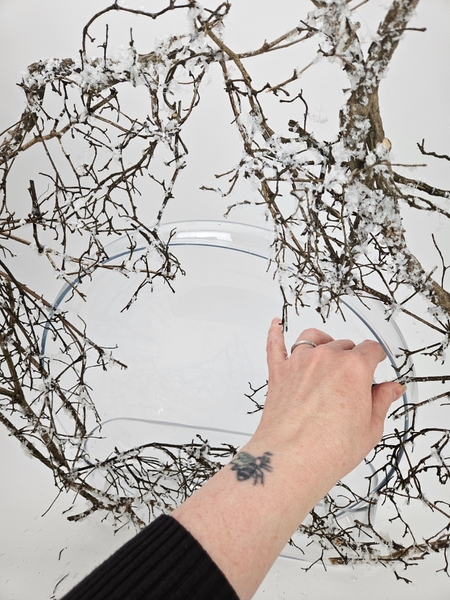
Place the star on a your flat round container.
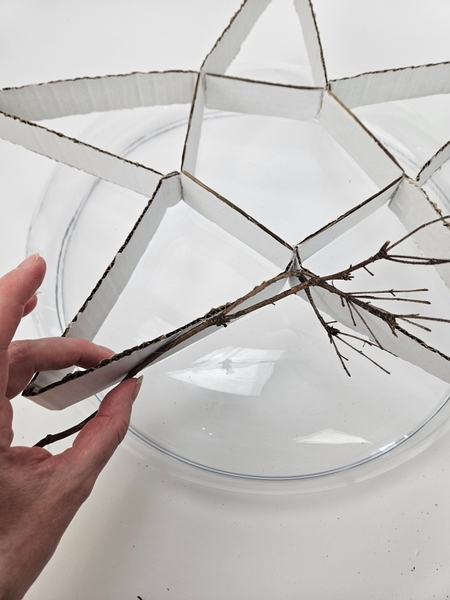
And match twig shapes to follow the paper star shape.
Glue the twigs only to another twig. Do not glue the twigs to the cardboard or glass. It should be easy to remove.
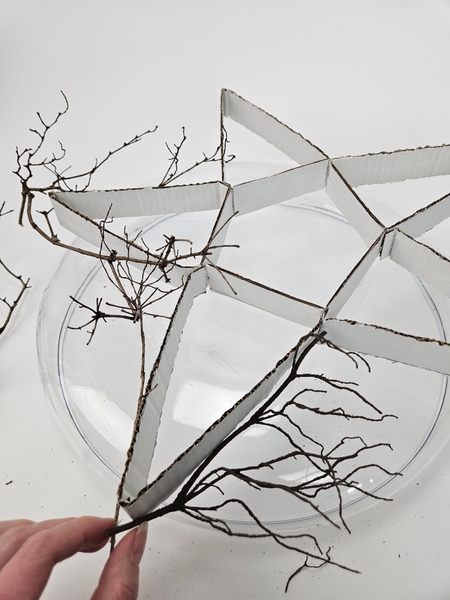
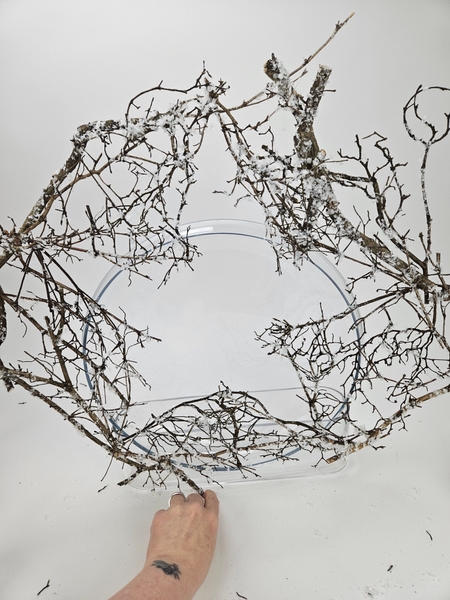
First focus on outlining the star with glued in twigs..
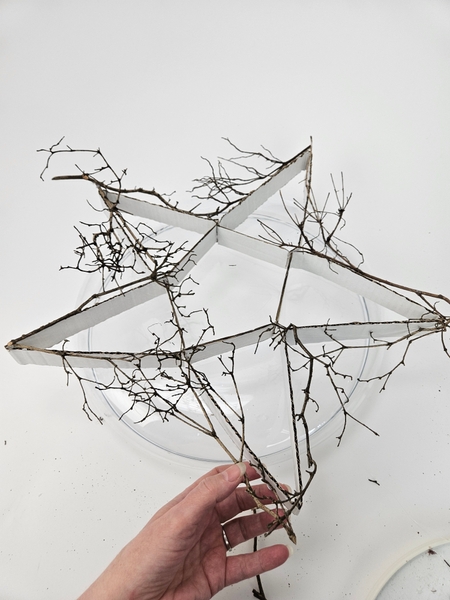
When you can clearly see the star shape glue in more twigs to fill in between the gaps.
Lightly rest the twig star on a flat working surface to glue in the the twigs. You want a flat but robust shape.
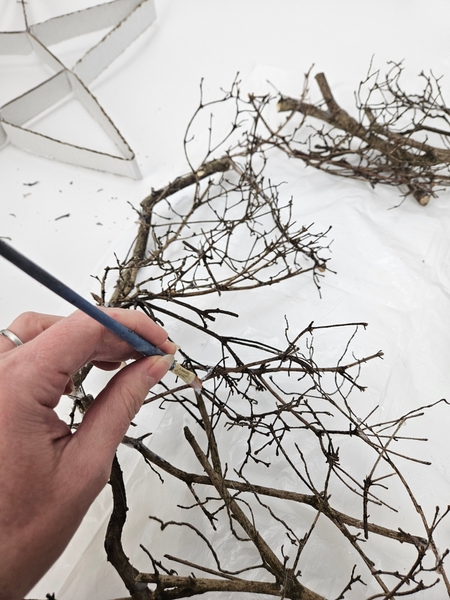
Paint the star panel with wood glue...
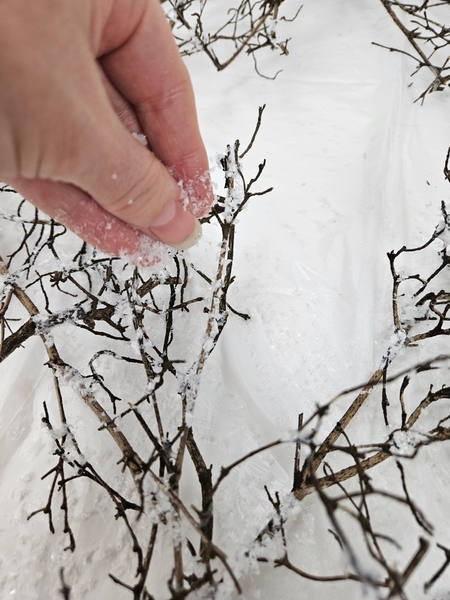
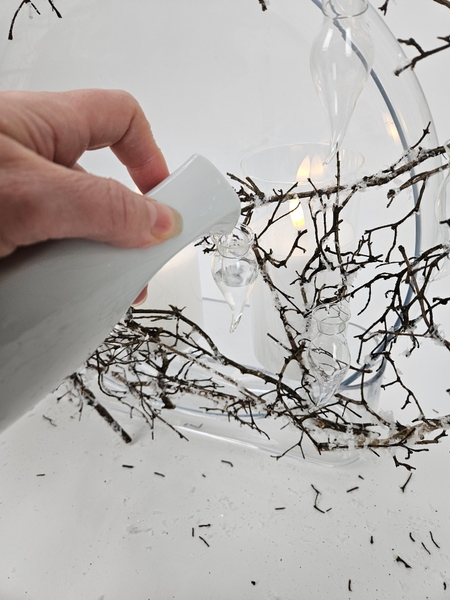
And sprinkle on some artificial snow to gently dust the twigs.
See the Tutorial below for more detailed instructions on how to add snow to twigs.
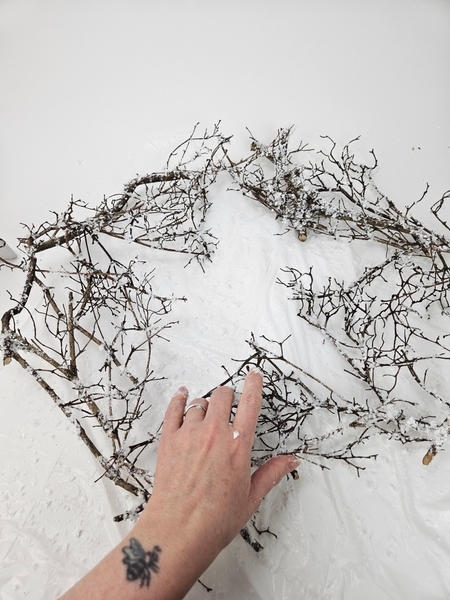
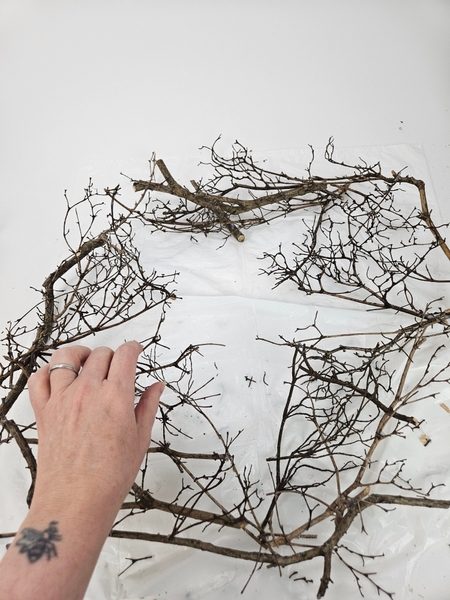
Set the star panel aside to dry completely
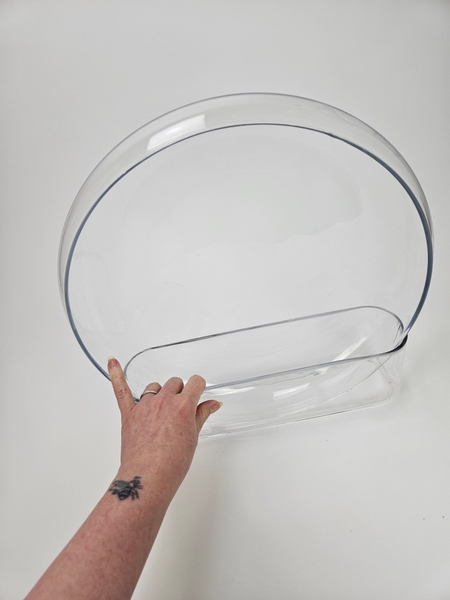
Slip the low container into the oval container to create an upright glass circle. You can choose to use the flat side as the front... or in this design I am using the hollow inside to display my candles.
Lift the twig star panel up and glue it to the low glass container.
Glue the twigs with hot glue to the glass in as many places as possible. Many tiny connections are more secure that just a few larger blobs of glue.
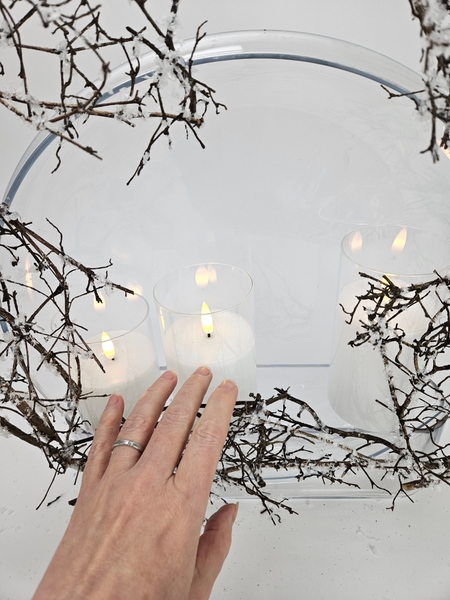
Slip the candles to rest between the two containers. We do this so early on to make sure that you can always reach in to switch the candles on and off in the display without ruining the design.
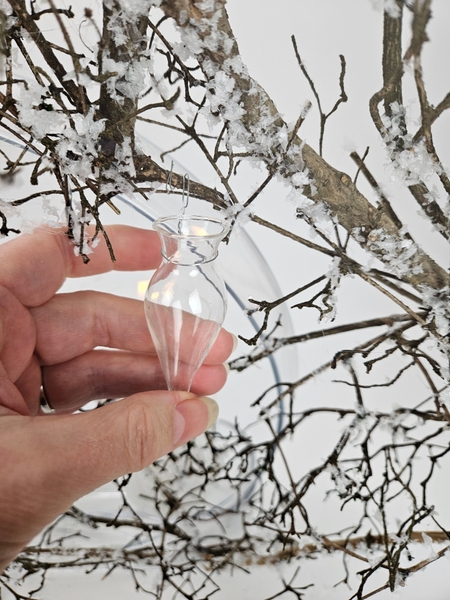
Wire in a few small glass vases...
I am using my treasured glass seahorse vases. And yes, you will need a tiny vase container for this. You will need a bit more water to keep the flowers hydrated.
Book readers turn to page 196 where I show you a few alternatives to the glass seahorses that you can use as creative hydration solutions.
For more information about my book: The Effortless Floral Craftsman
Pour water into the small vases.
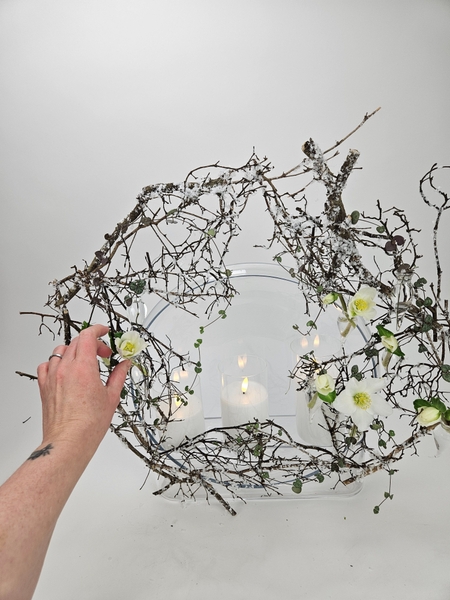
Place a few rosary vines to drape over the design and place the Helleborus flowers so that most of the stems are in deep water and the naturally down tilted faces, face up.
Helleborus are notoriously difficult to condition. And there are many, many tips for conditioning the gorgeous flowers. If you are designing with Helleborus for a competition or event where they absolutely must "go the distance" choose more mature flowers without visible yellow pollen. The better developed the seedpod inside the sepals the better it will last.
But if it is for a display at home where you can keep an eye on the condition of the flowers you can be more adventurous.
My top tips: Pick the flowers first thing in the morning when they are fully hydrated. Cut the stem as long as possible. Strip away the foliage.
This is usually enough for me. I do not cut a slit in the stem or place it in boiling water. For me both these treatments invite bacteria and yes, the flowers condition quicker but it will have a shorter lifespan.
My only other "treatment" is to design with the flowers in deep water.
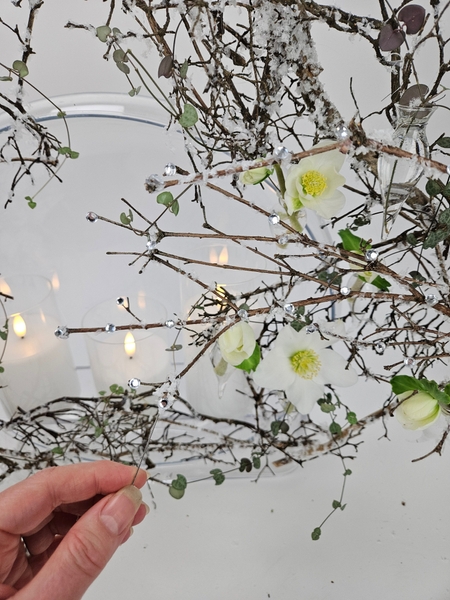
Finish the design with a few dew drop crystals. See the Tutorial below for detailed instructions.
Sign up for my weekly newsletter
Every week I add a new design with related tutorials. Be sure to subscribe to receive an email notification with design inspiration.


