Christine de Beer - effortless floral craftsman
Weaving a fan
- 24 September 2025
Oh yes big day today... we are celebrating the launch of my brand-new-custom-designed floral craftsmanship learning platform with a free feature that will help you personalize your learning experience here on the My Creative Workbook website.
Click the person icon top right of the page to sign in and unlock your brand new Search feature to find the inspiration you need, in this week’s case “drying hydrangeas”. There it is! But wait… there’s more (he he he). You will also see a list of supporting Tutorials that will set you on a learning path to become an expert in this technique. Now you need some sort of a bookmark so that you can add and manage all your favourite design inspiration, right? When you open these I-have-to-try-this-next-time Tutorials and Design inspirations you can click on the green heart on the side of each post to save it to your personal (and private) Favourite list so that you can come back to it at any time.
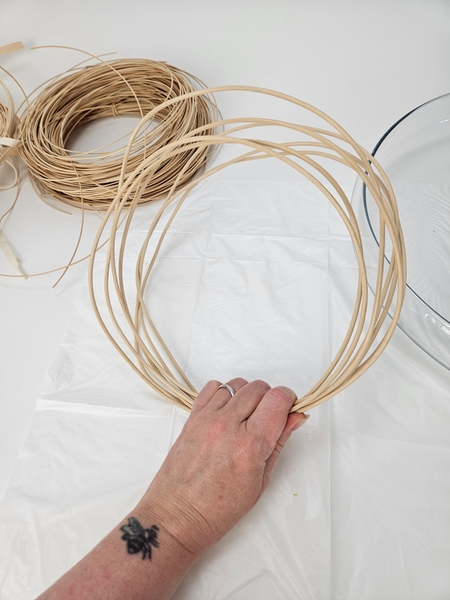
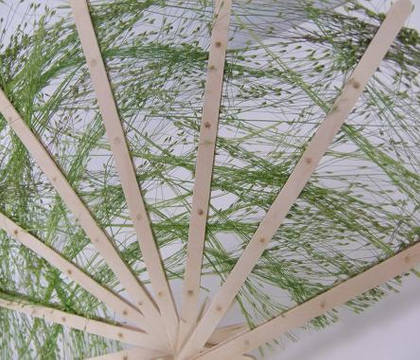
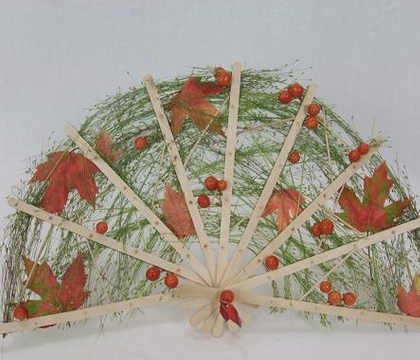
Now that we have our hydrangeas ready... let's weave our fan. For my fan frame I am using both thin and thicker rattan.
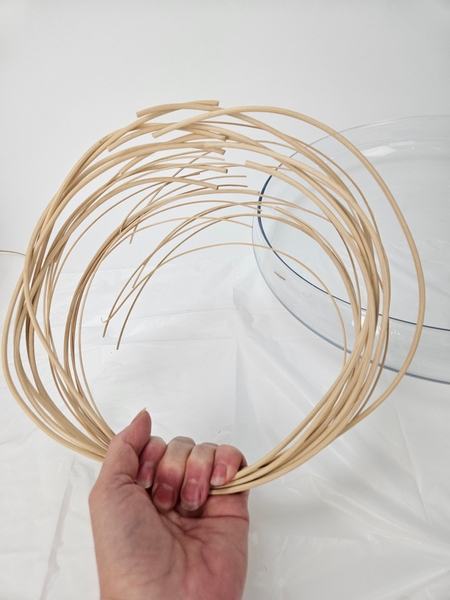
No need to count it out simply cut a bundle to size and measure out the middle point. We will separate it into smaller bundles once the handle is fixed.
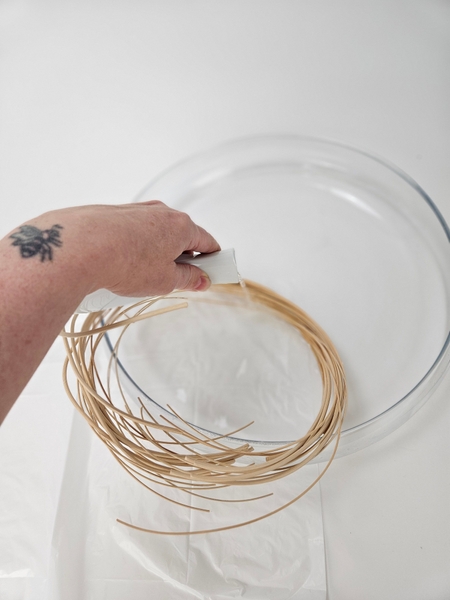
Place the middle point in a shallow container and pour warm water over this point to soak until the water cools.
Keep the warm water nearby so that you can soak any additional rattan in water, if needed.
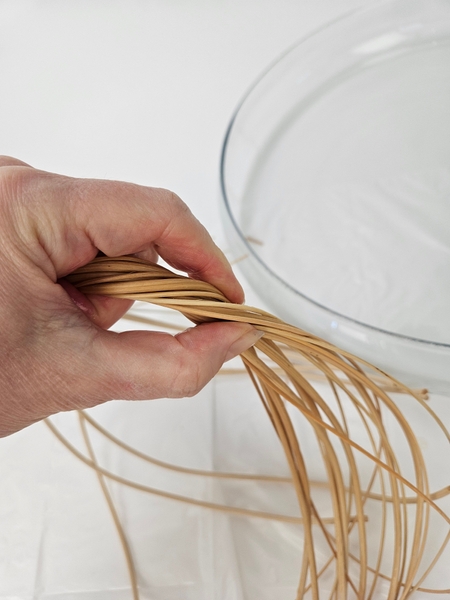
Grip the rattan with both hands and wring it (like you would a wet rag) to give this twist.
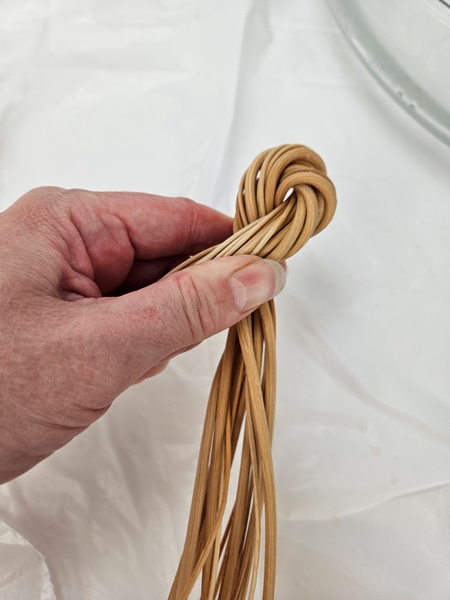
Fold the one side of the twist over the over to bring it together and create a loop...
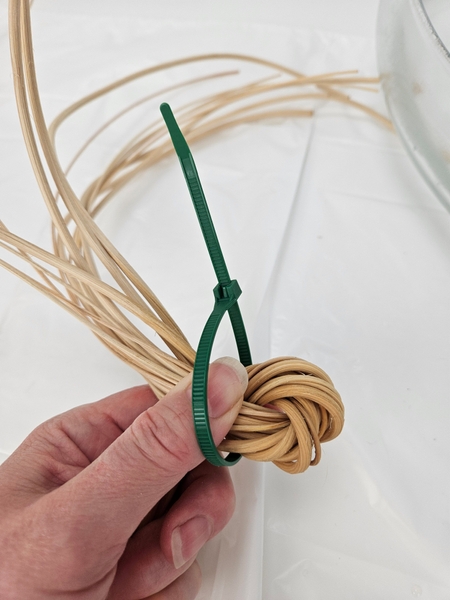
Hold on tight though. The bundle is under a lot of tension. Use a cable tie to secure the fan handle.
Design tip: If you find that your cable ties are too small to secure this large bundle of rattan type "Extend cable ties to secure bigger bundles of twigs or thicker stems" into the new search function... Pretty cool tool, right?
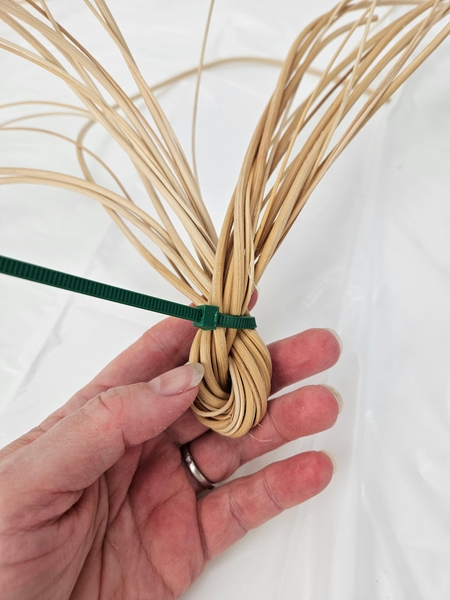
Pull the cable tie tighter than tight. You want this twist to permanently set into handle as the rattan dries.
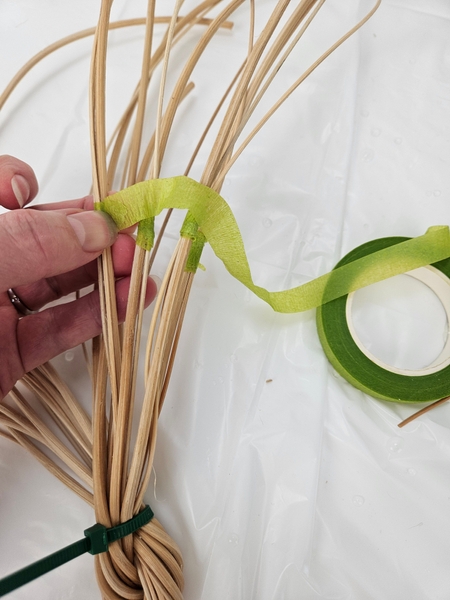
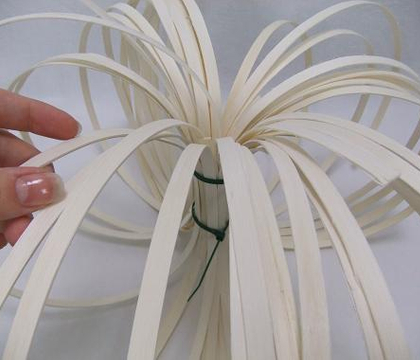
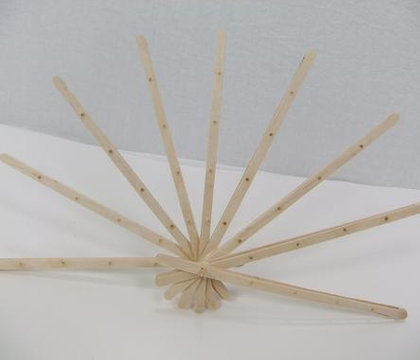
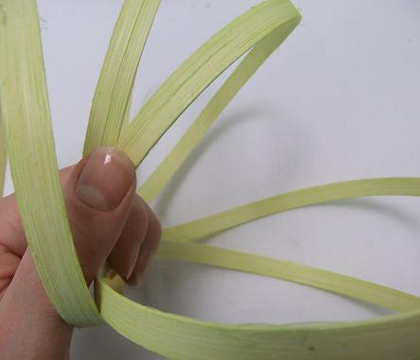
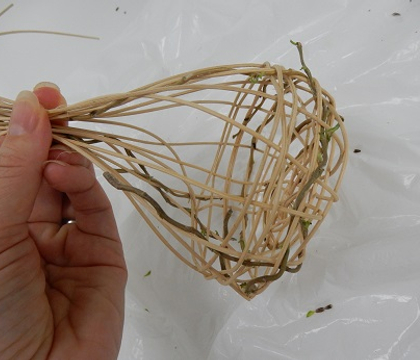
Bundle up the rattan into ten bundles to start weaving. I will show you later why I create bundles instead of simply using single strands.
Design tip: use florist tape (or clips, scroll down, if you prefer a no waste option, I show you that option a bit later when we need something stronger than tape) to temporarily separate the rattan into bundles if you find you get confused with what goes where. But it is not really necessary. Once you start weaving the first row the rattan is bundled into position.
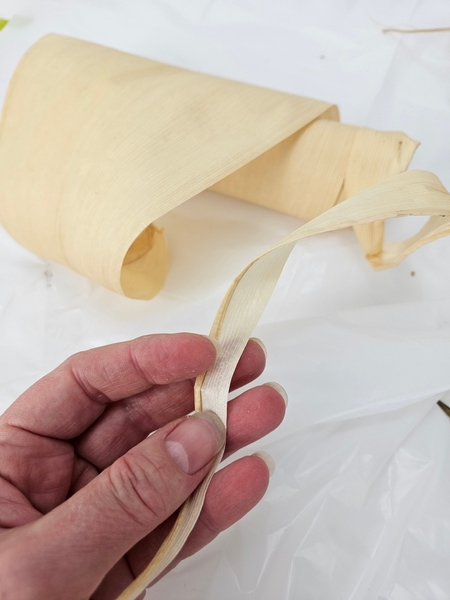
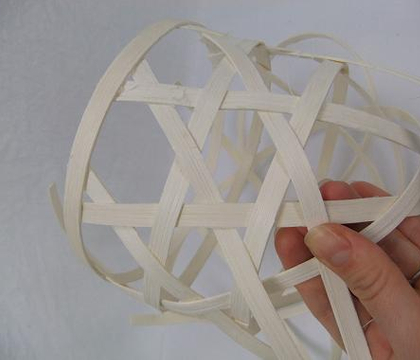
For the first few rows I am weaving with ripped bamboo husk. You can also use dried iris leaves, corn husks or even dried gladiolus foliage. Any strong fibre will work.
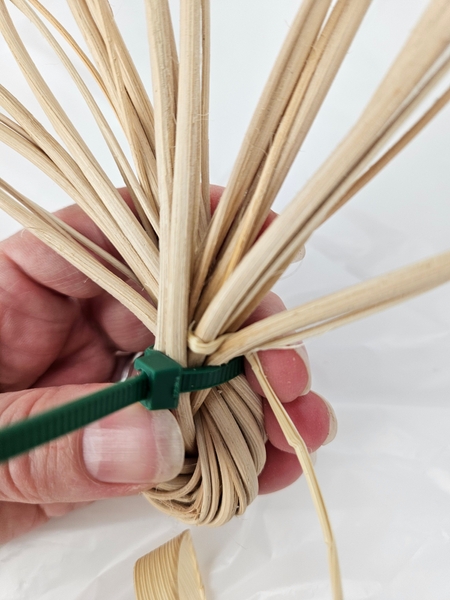
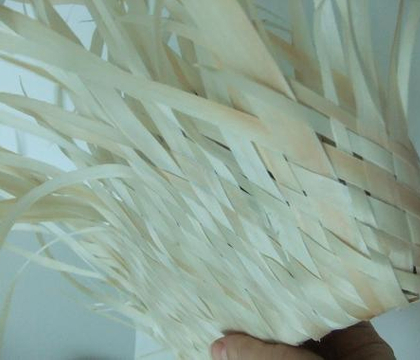
Pinch the fibre between the rattan and start weaving from one end to the other.
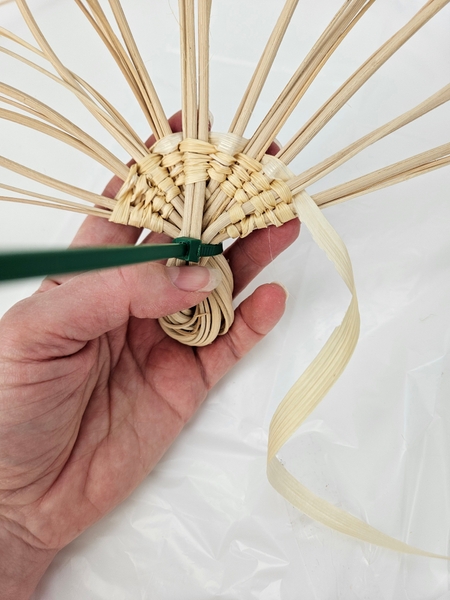
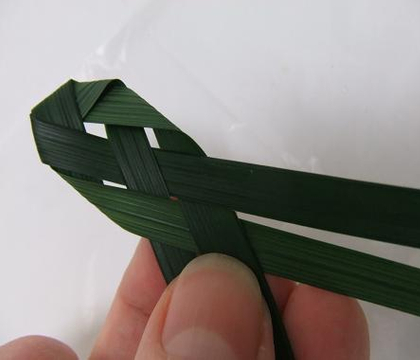
Because the floral details that I will add later are so intricate I am using a basic in and out weaving pattern for the fan itself.
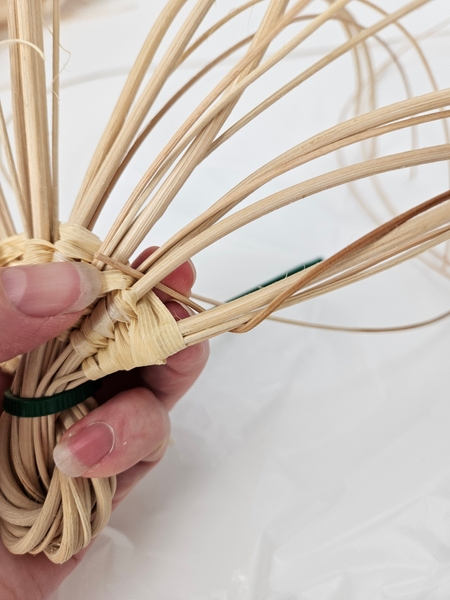
Alternating between weaving thin rattan...
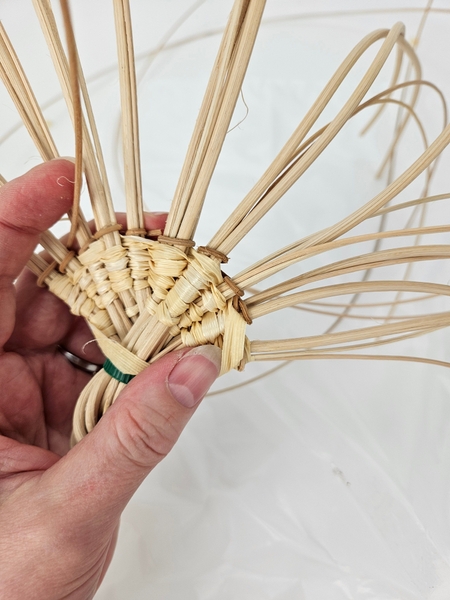
... For a few rows...
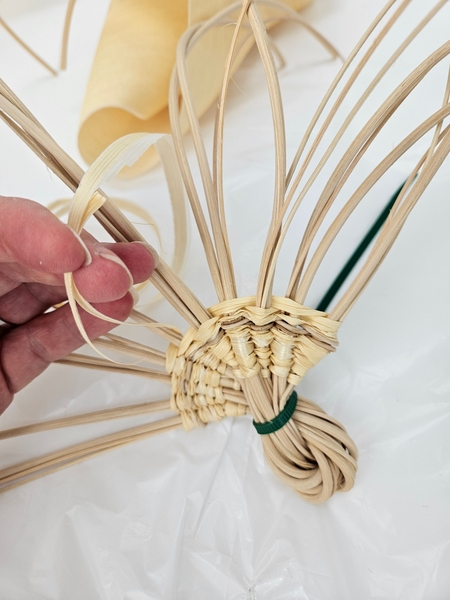
And switching back to bamboo fibers for a few rows. This is purely decorative. Play around and create your own unique pattern... whatever you like!
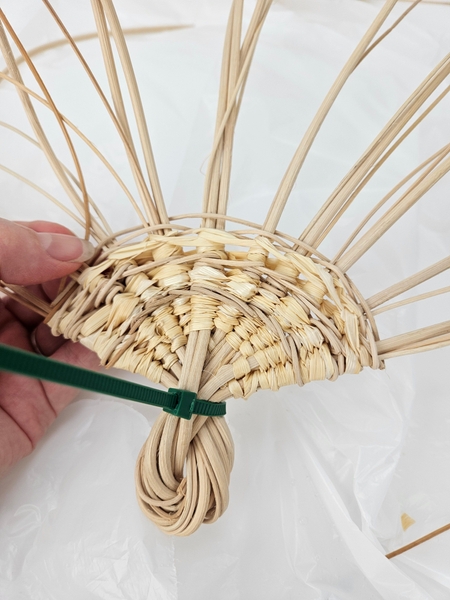
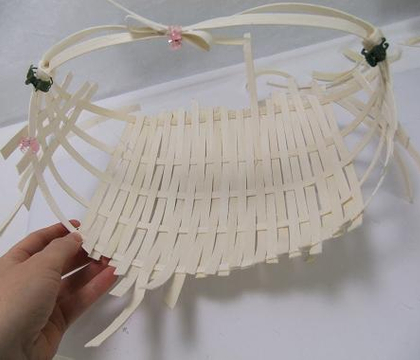
It is easier to weave with the fibers when you establish the fanned out shape. When you have a beautiful fanned out shape start weaving with the rattan to complete the fan.
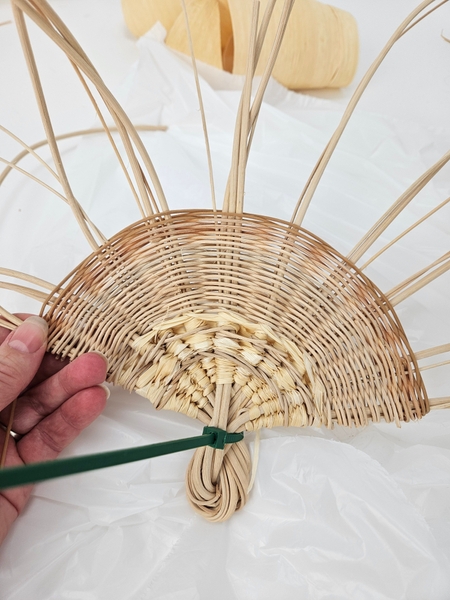
If you find the rattan is too brittle soak it in warm water and weave it in wet to dry in the fan shape.
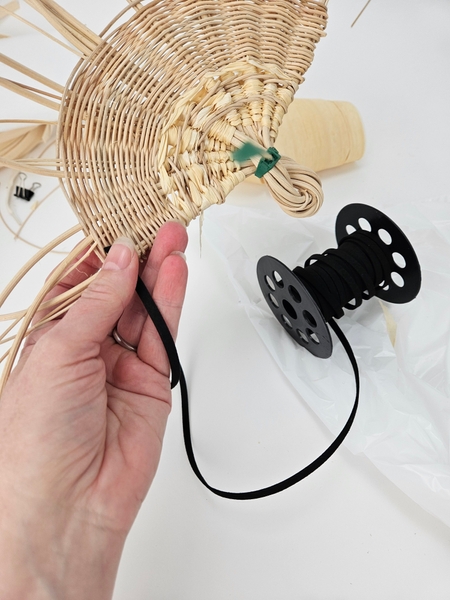
You can continue to weave with the rattan but for my design I wanted to incorporate some black leather and change up the weaving pattern slightly to add design gaps (for twigs...)
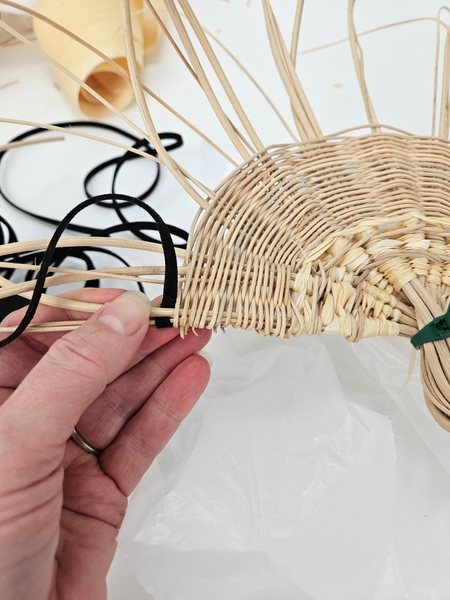
Pinch the leather strip between two rattan pieces to secure...
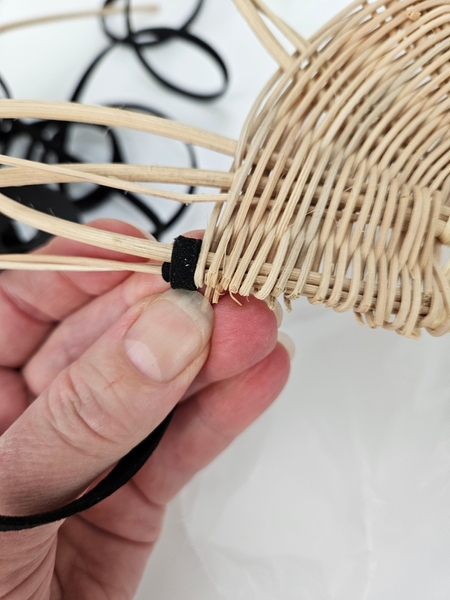
Wrap the leather around the pinched end piece... and start a new weaving pattern...
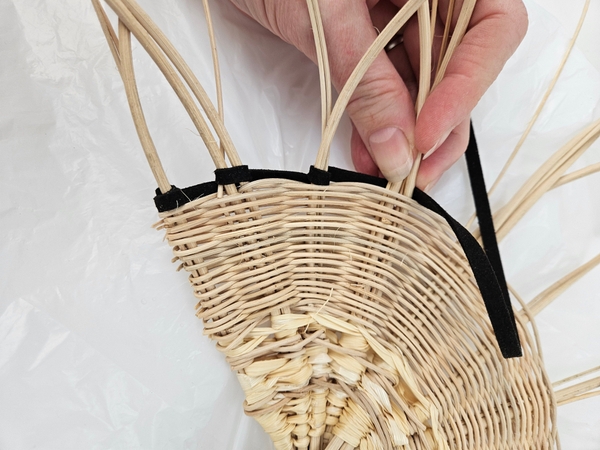
Wrap the leather around the rattan bundle and extend it to the next rattan bundle...
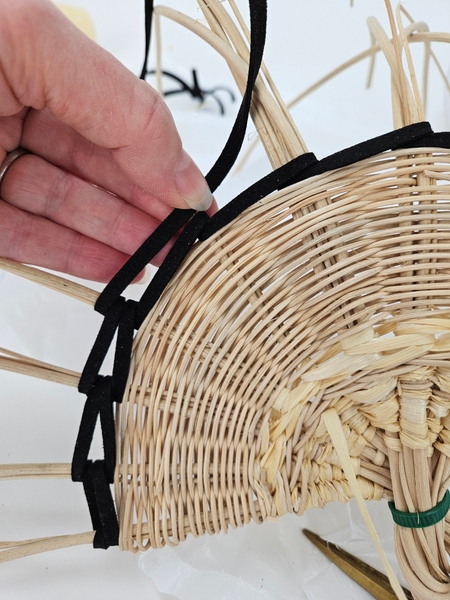
For the next row wrap the leather the other way around and extend it to the next row of rattan.
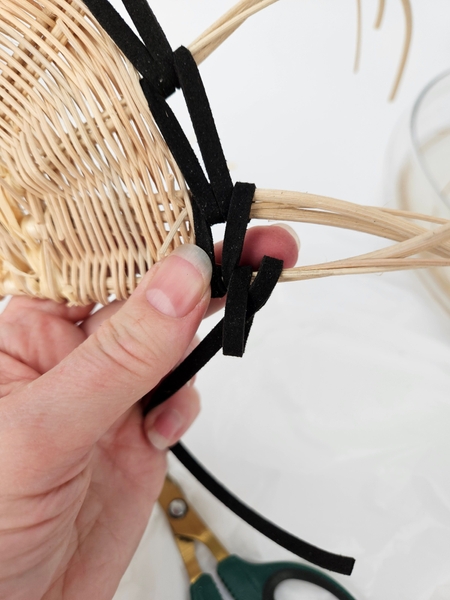
When you come to the end of the row knot the leather to secure and cut it short.
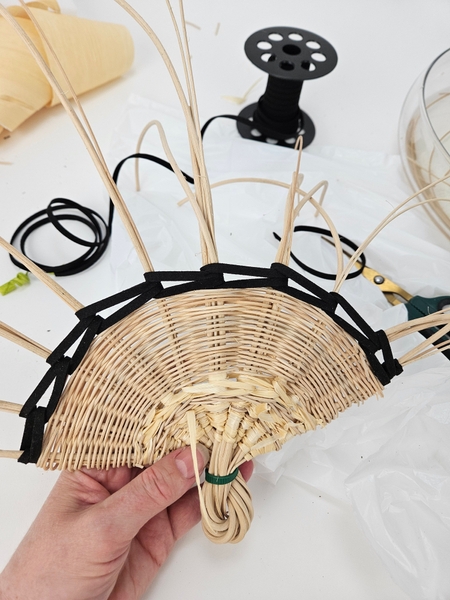
This weaving pattern creates a pretty chain like row of leather in the fan adding a bit of an edge to the design...
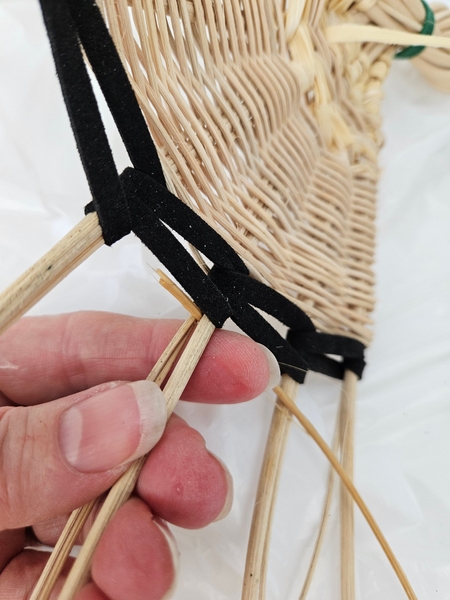
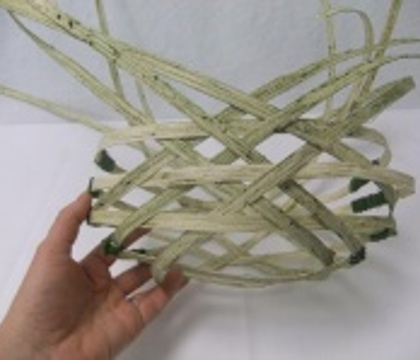
Continue with the rattan in and out weaving pattern. Pinch a soaked piece of rattan (three strands in) and start weaving it through the fan shape to the one end and then from one end to the other.
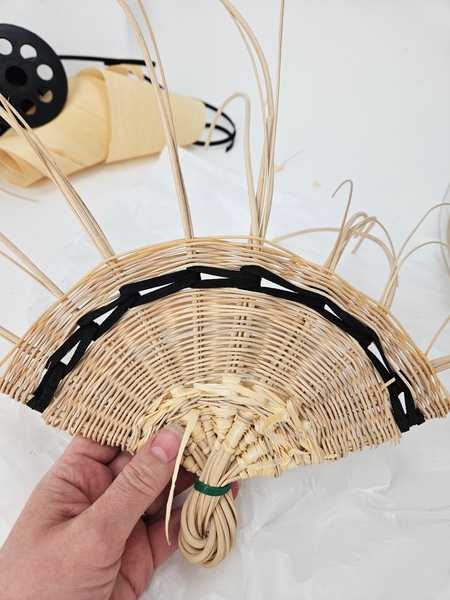
Again you can weave the fan just like this to the size you want... but for my design...
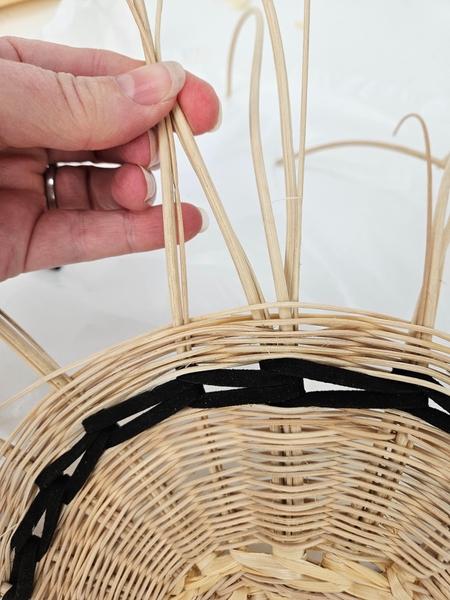
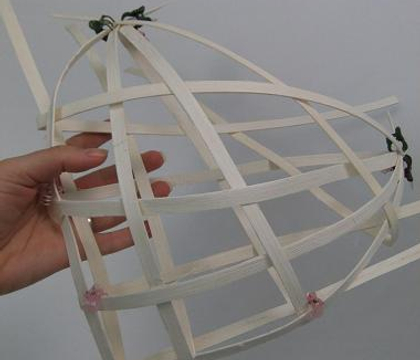
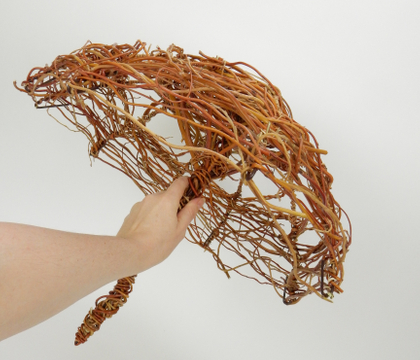
Next I am changing up the weaving pattern by dividing the larger bundles of rattan...
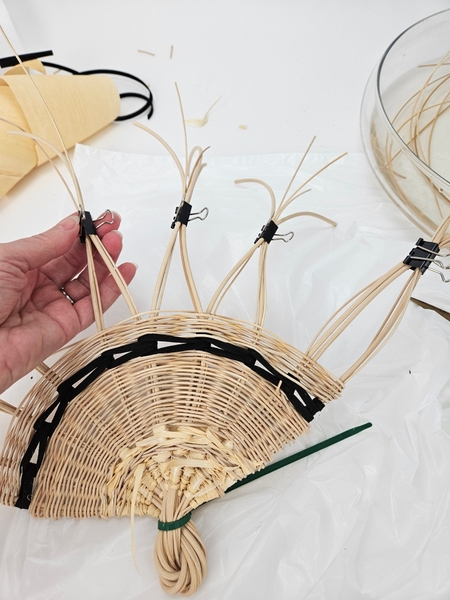
And combining the rattan into new bundles. Creating a petal like flair in the fan.
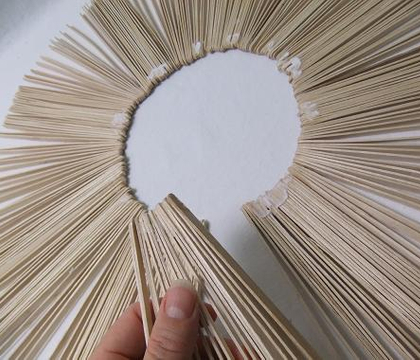
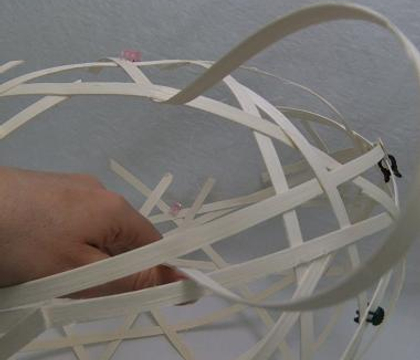
The rattan is dry by now so it might be easier to secure the new bundles (it takes a bit of force to keep them separated) with clips.
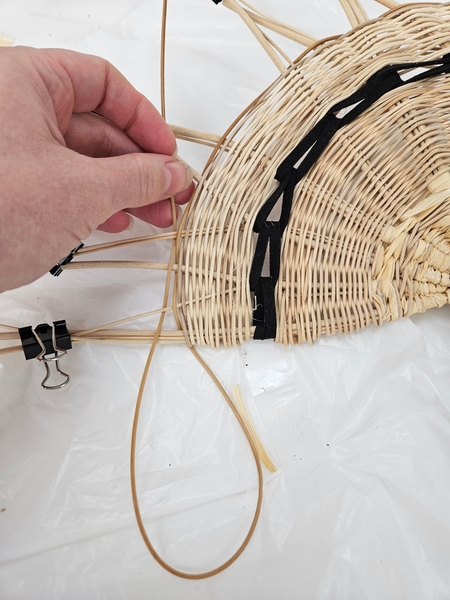
Use soaked rattan and continue the in and out weaving pattern incorporating the new flared open petal shape of the fan.
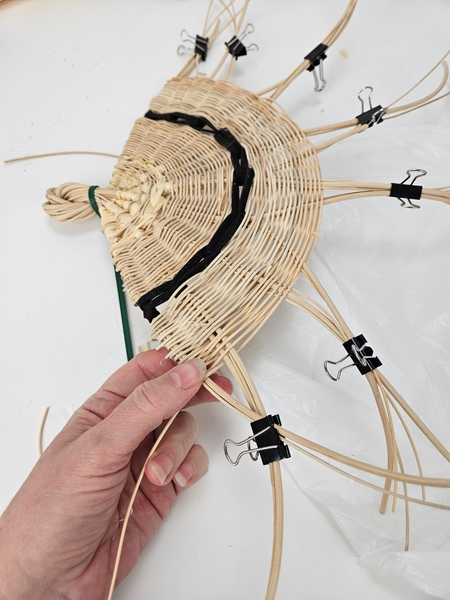
And now we weave in and out and through... all the way...to...
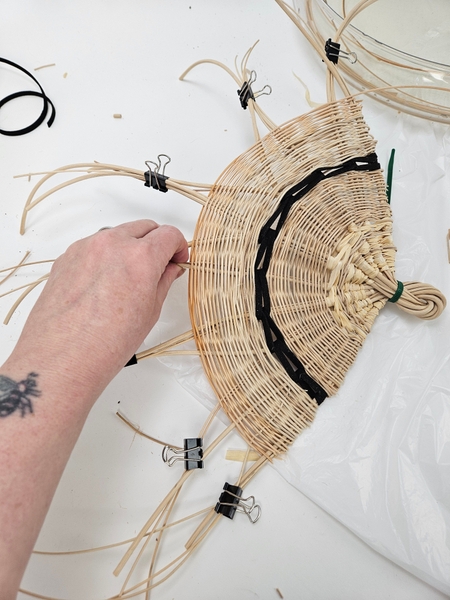
... towards the narrowing of the rattan petals at the top...
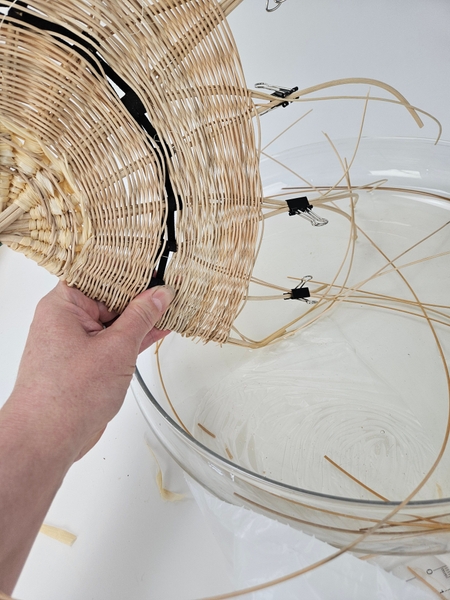
You can weave to the end of the petals but for my design... I dipped the ends in hot water to soak...
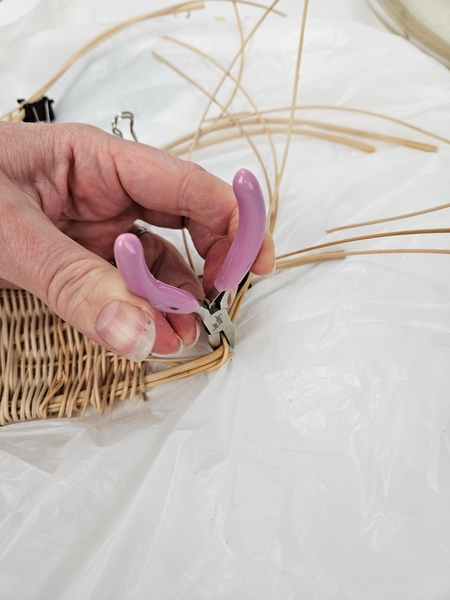
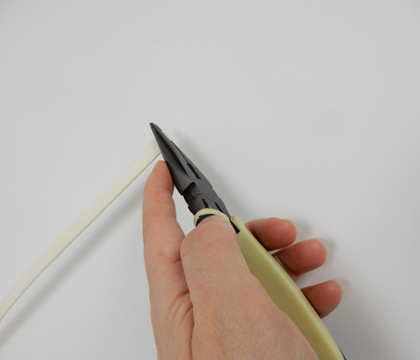
Use pliers to bend the rattan ends to a sharp angle inwards...
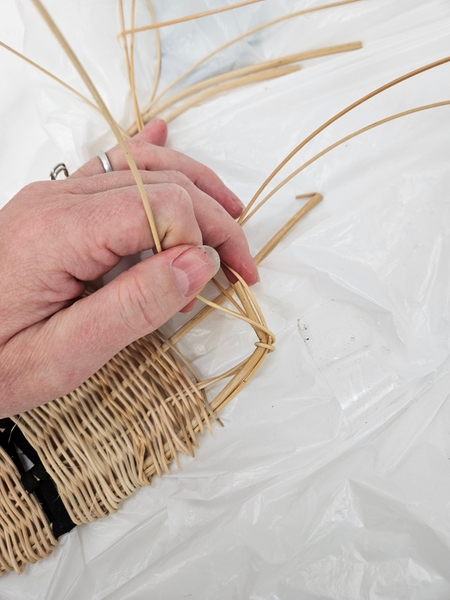
And start wrapping the angled rattan with one of the soaked strands from the bundle...
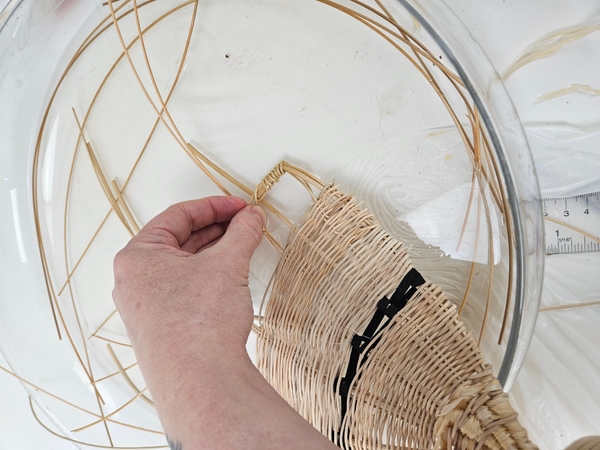
When you reach the next strand dip it in the warm water to soak...
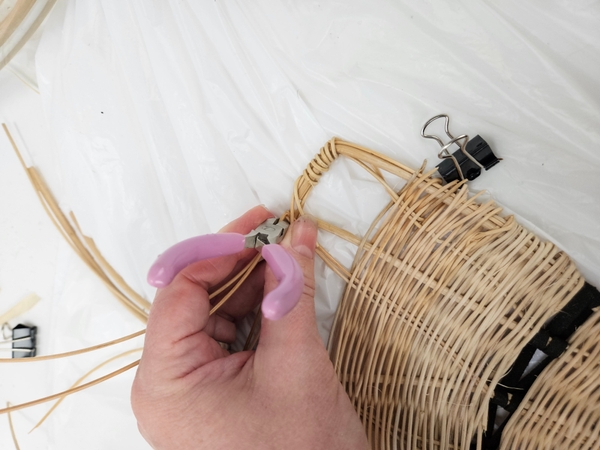
Curve the bundle towards the next bundle at a sharp angle with pliers...
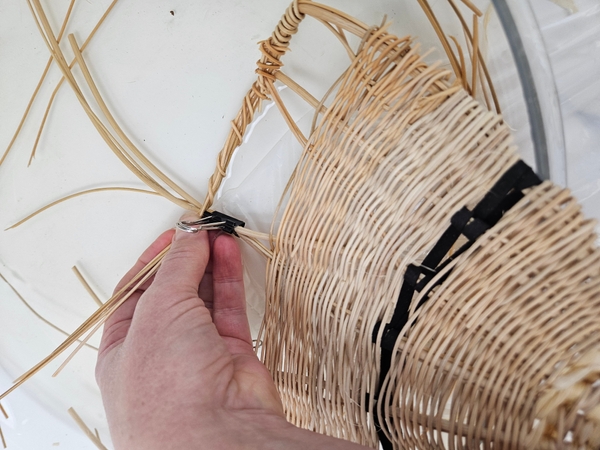
And secure the bundle at the new angle with one of the rattan pieces.
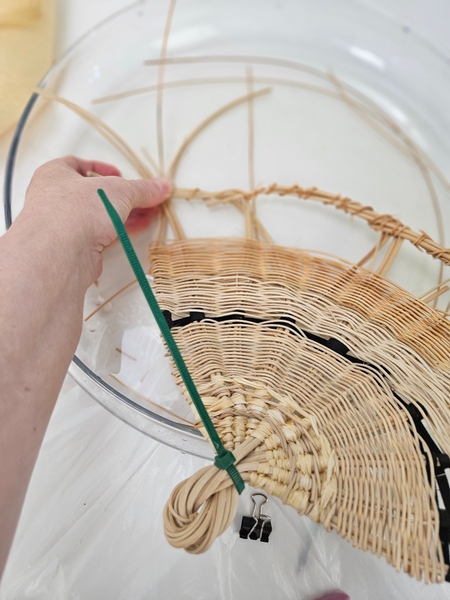
Move from bundle to bundle until you have all of them curved flat and wrapped to secure...
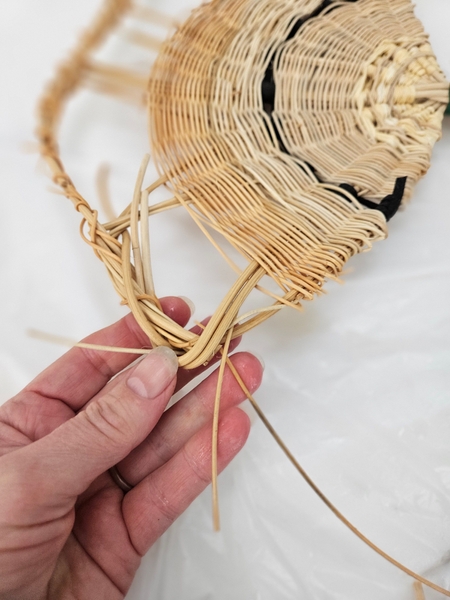
Curve the last bundle into the rest...
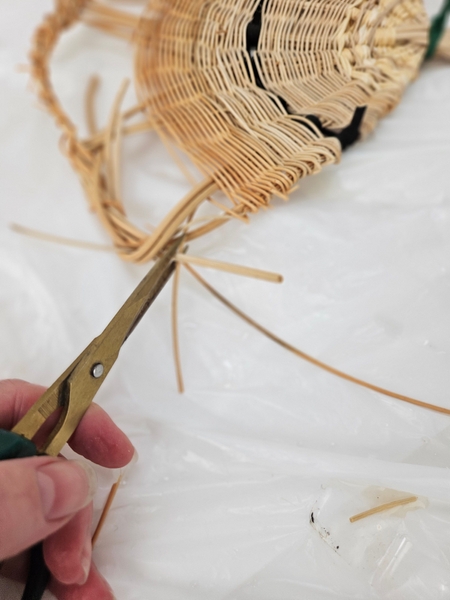
Can away any rattan pieces that will make the edge too bulky.
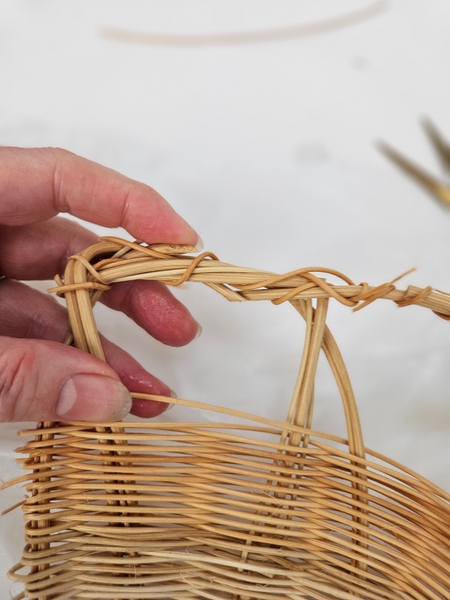
And wrap it away with one of the rattan pieces to secure.
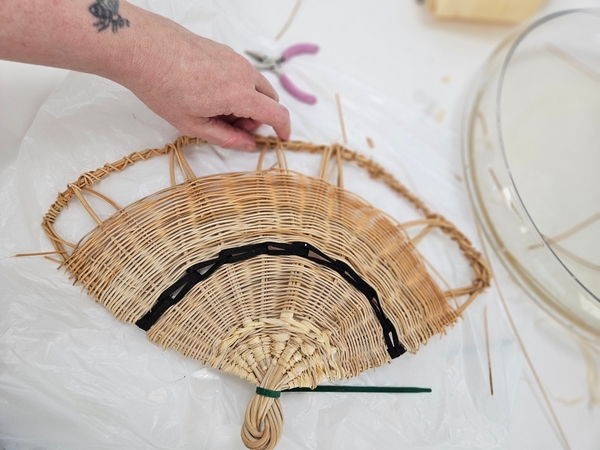
Place the fan on a flat surface and make sure it is level. You can still adjust it at this point by dipping the fan into warm water and bending gently.
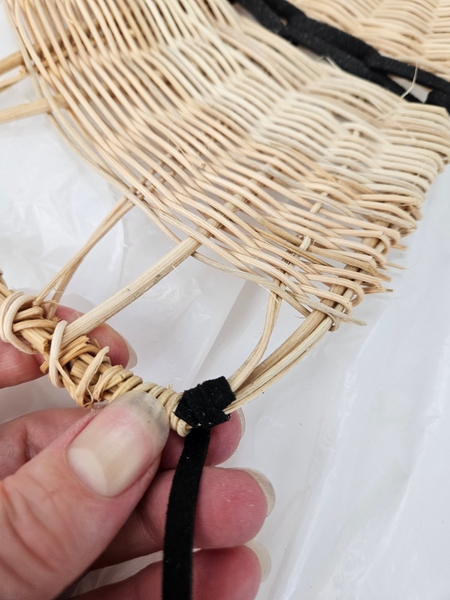
Pinch and wrap another leather strip like you did before...
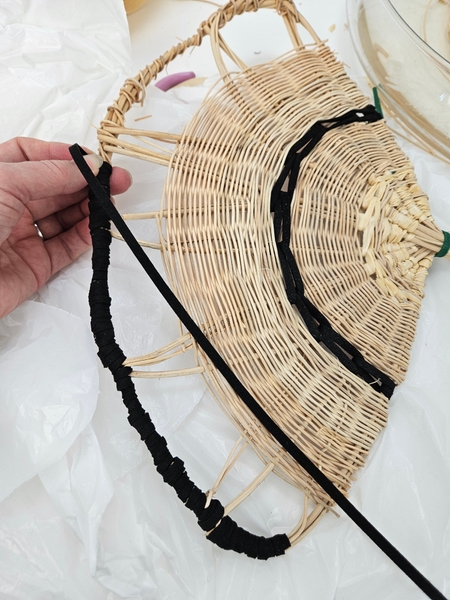
And wrap to cover the top edge with leather.
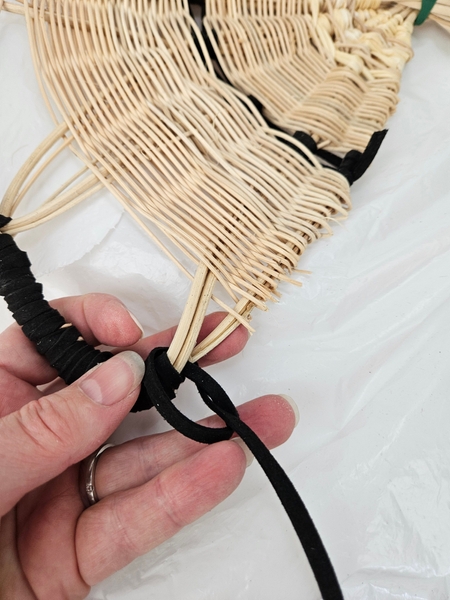
Knot the leather strip at the other end to secure...
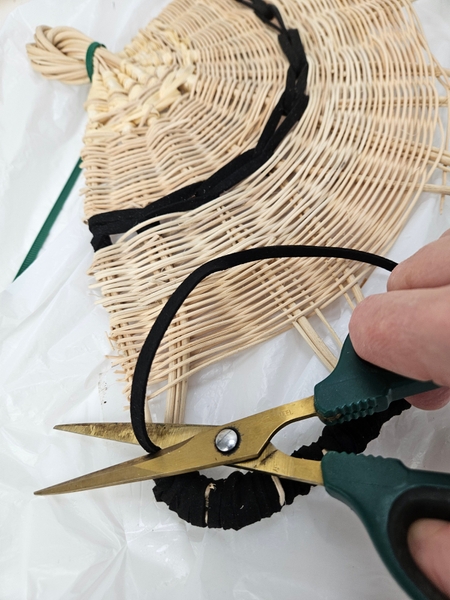
And cut away the dangling bits of leather to neaten the edge.
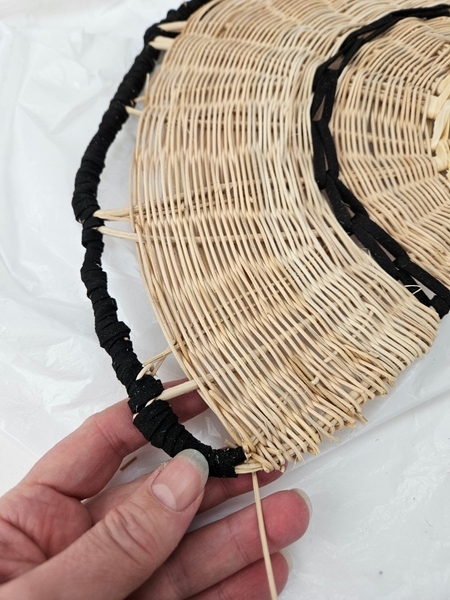
Weave in more rattan as high as you can to the top edge leather...
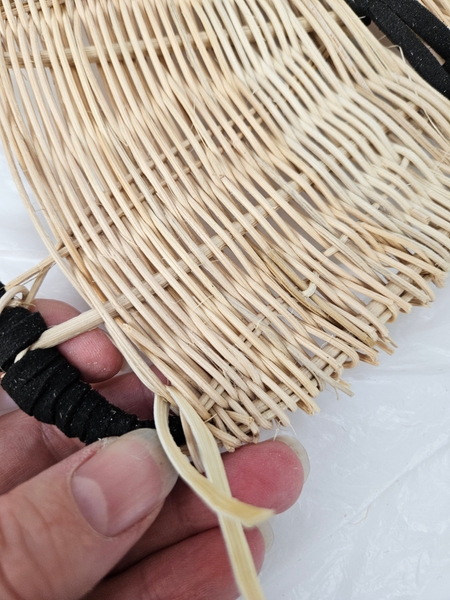
And finish the fan with another row of bamboo fibers. You can either finish it by completing the in and out weaving pattern right to the top or again weave in a gap like you did with the leather...
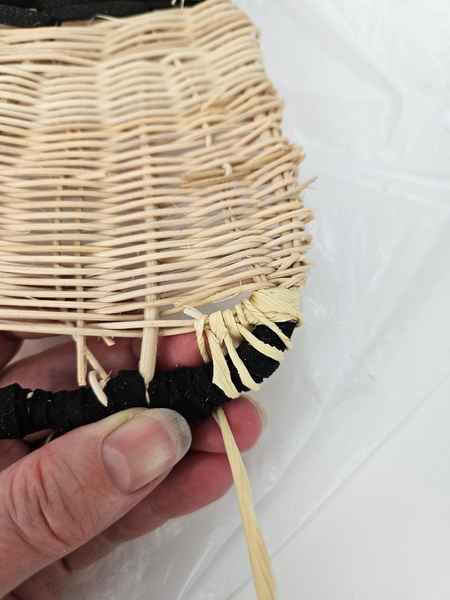
By weaving the bamboo husk around the rattan and then looped around the leather covered edge...
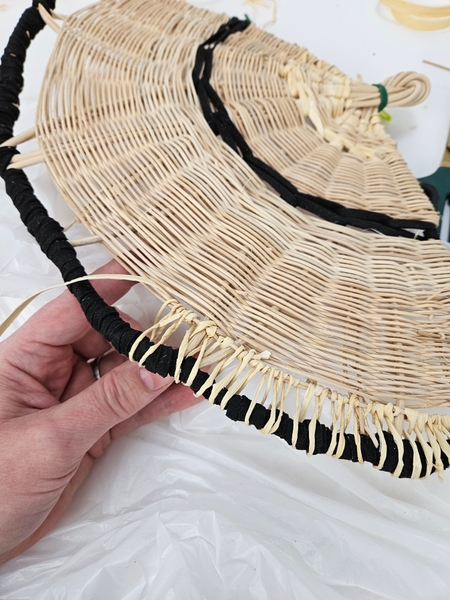
All the way around the top, leather covered edge of the fan...
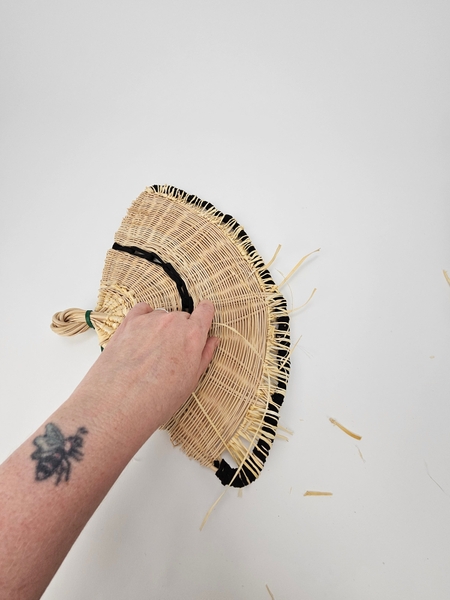
From the one end right around to the other end.
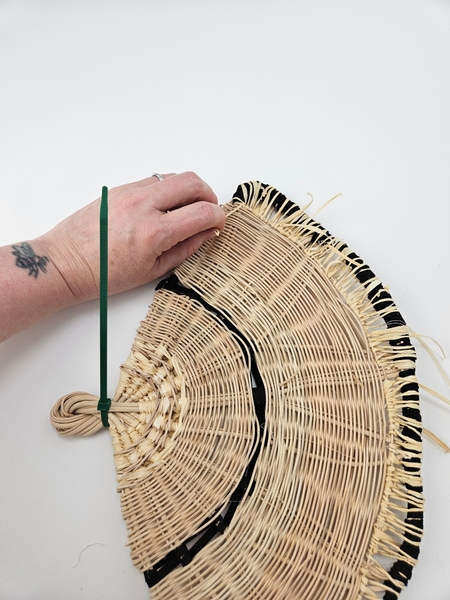
Secure the bamboo husk strip with a knot.
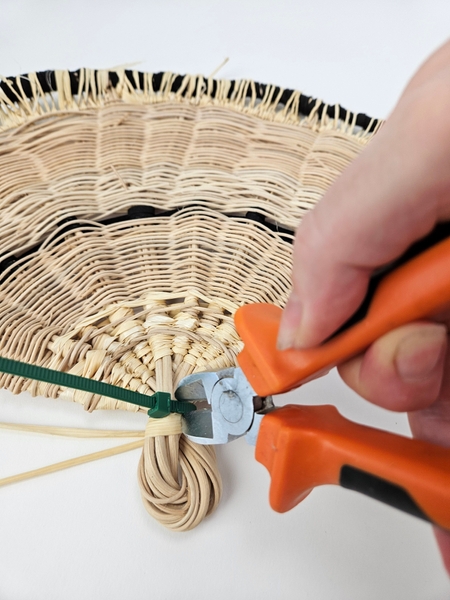
Clip away the cable tie...
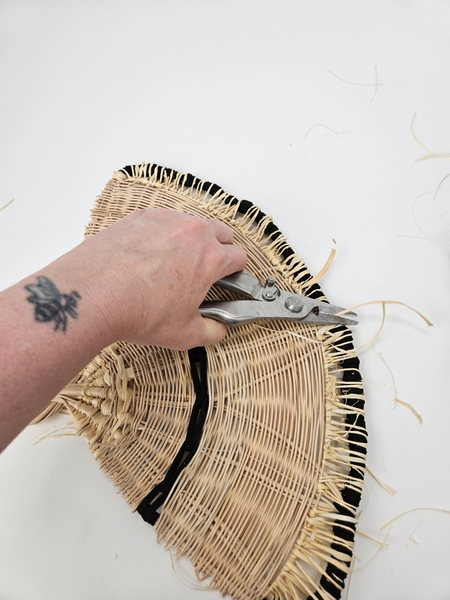
And clip away any dangling bits of left over weaving material...
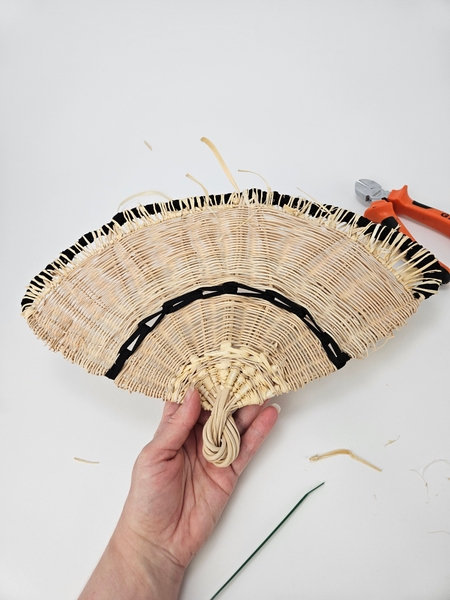
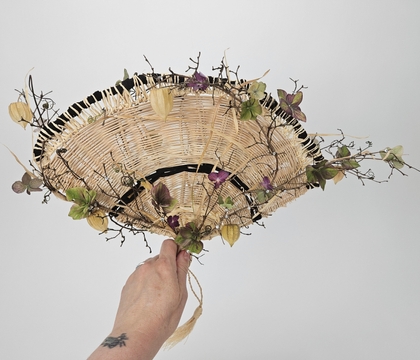
...and your fan is ready... to use... or design with...
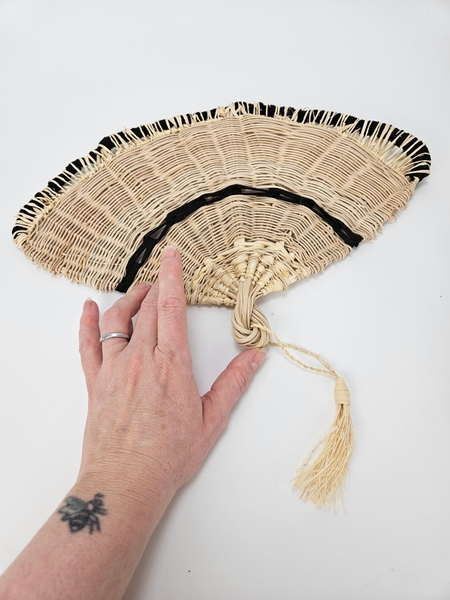
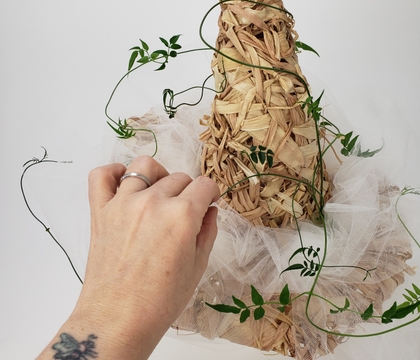
beginning with a tassel... maybe...?
Book readers turn to page 46 where I show you cordage techniques. Because making your own rope is a fantastic way to add personality to your designs! And page 384 for this tassel Tutorial.
For more information about my book: The Effortless Floral Craftsman
To get you started I also have a Tutorial below with detailed instructions on how to make a basic tassel.
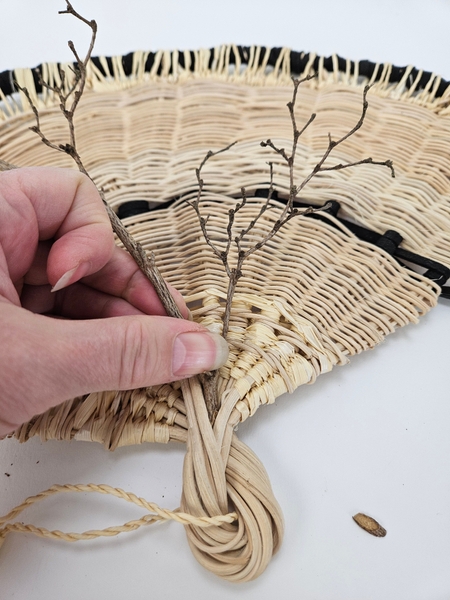
or... and why stop now... right?
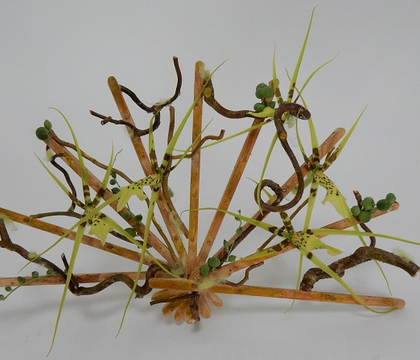
I wanted my fan design to take inspiration from calligraphy. Delicate stems of autumn flowers lightly decorating the fan... so...
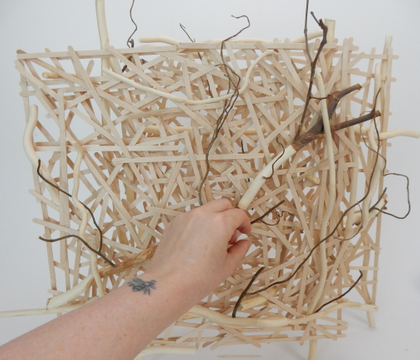
Add in a few dried twigs by cutting the end to a sharp point and pressing the stem into the rattan.
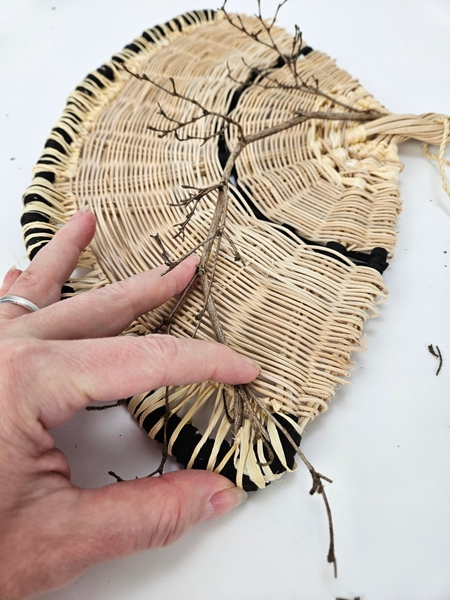
And weave the twigs through the gaps you wove into the fan...
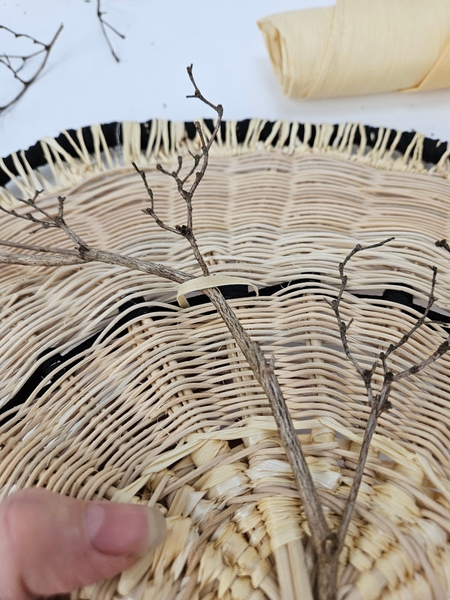
Secure the twigs with strips of the bamboo husk...
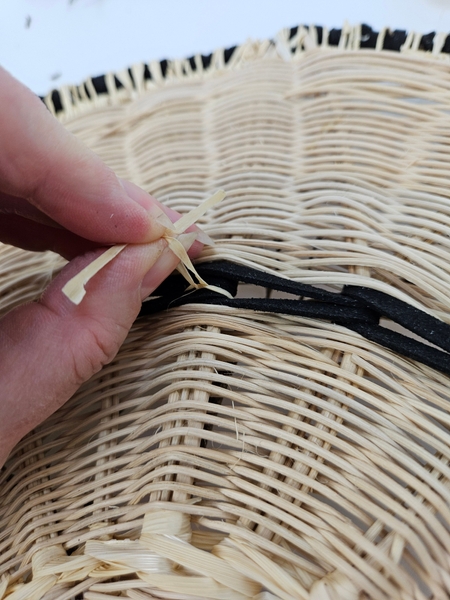
And knot to secure on the other side.
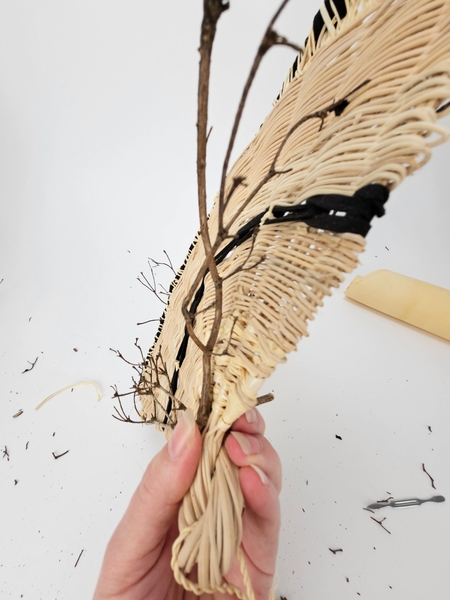
Flip the fan over and add twigs to the other side.
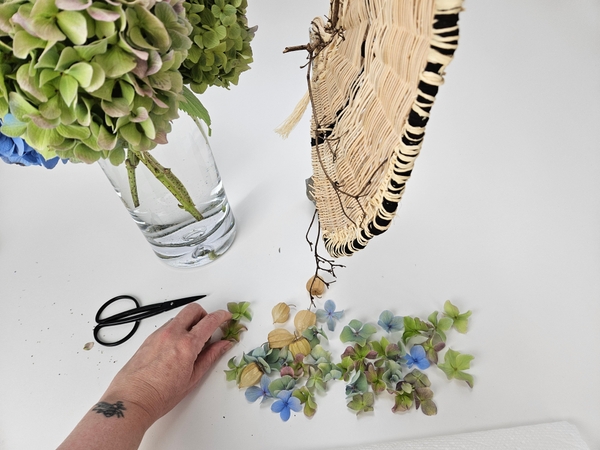
Next we add in the dried plant material. I already mentioned using our brand new search function for the Tutorial to dry the hydrangeas but... you can also try searching for the "drying physalis" Tutorial...
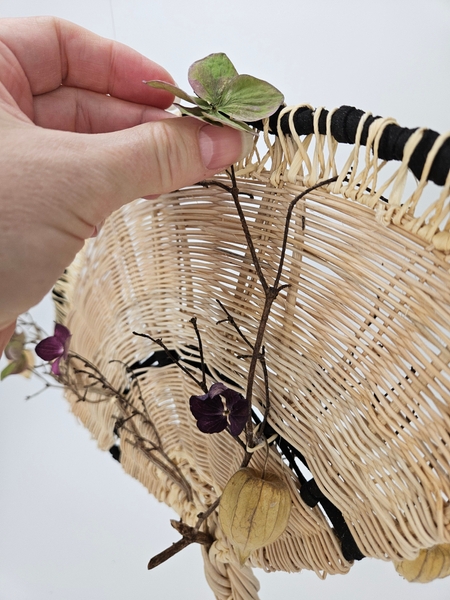
Glue in the flowers and the physalis.
This week in our email I explain a bit more about how to make sure you add vibrancy to a design when you use only dried plant material. You need to make a bit of an effort because the more permanent a design the more it tends to look lifeless. I send our an email every Wednesday morning (Vancouver time) the moment the latest design is ready for you to view and I include some small detail that I want you to pay extra attention to so that you can make the most of each week's design inspiration. The sign up for the email is below this post.
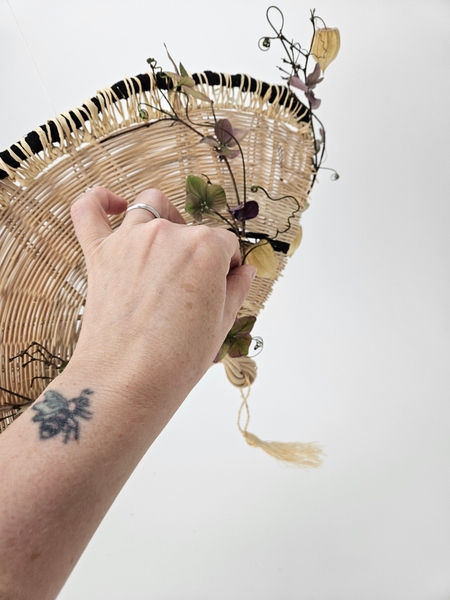
Glue in a few overgrown black tendrils for drama with hot glue.
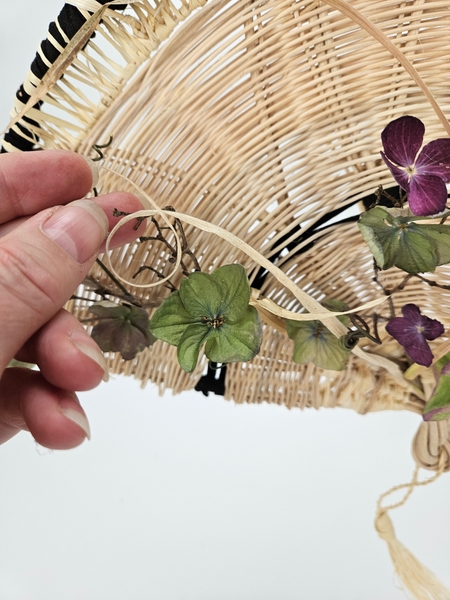
Add in a few windblown, twirling Autumn inspired bamboo husk strips to visually tie the fan and the calligraphy inspired twigs together so that it looks like a unit and not two separate designs.
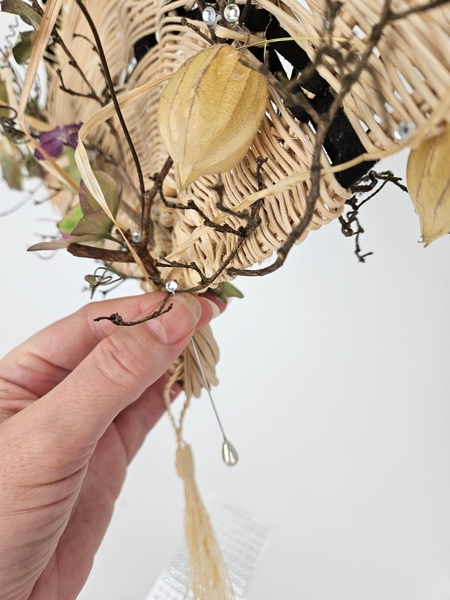
And as always I finish my design with a few sparkling dew drop crystals.
See the Tutorial below for more detailed instructions.
Sign up for my weekly newsletter
Every week I add a new design with related tutorials. Be sure to subscribe to receive an email notification with design inspiration.
