Christine de Beer - effortless floral craftsman
Floral Ice Cream Cones
- 14 January 2013
- and more
A weave creates a strong cone base for the design. There are two ways to shape a woven cone:
Roll the cone shape:
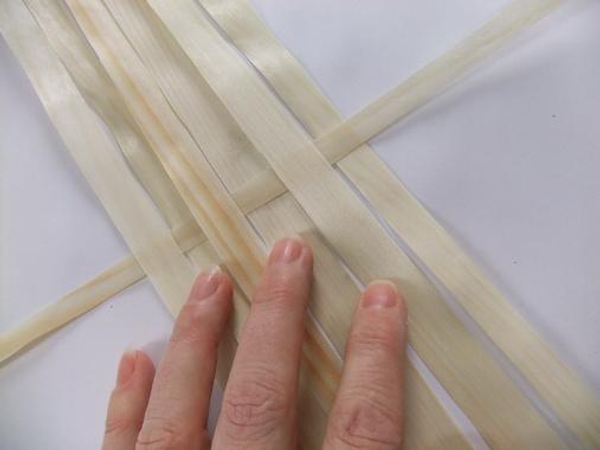
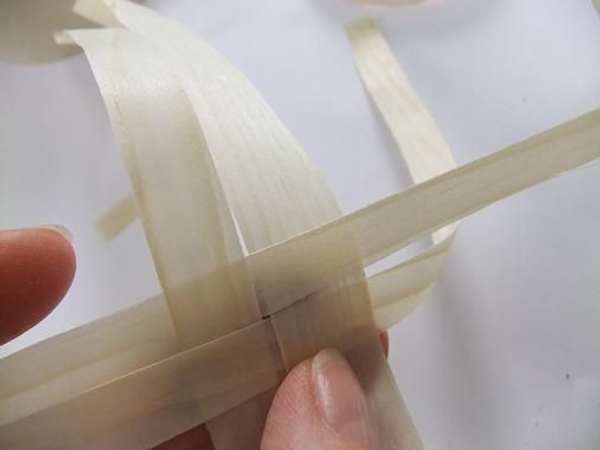
Rip a sheet of Kyogi paper or thin shaved wood into thin strips. Start to weave the strips in a plain weaving pattern.
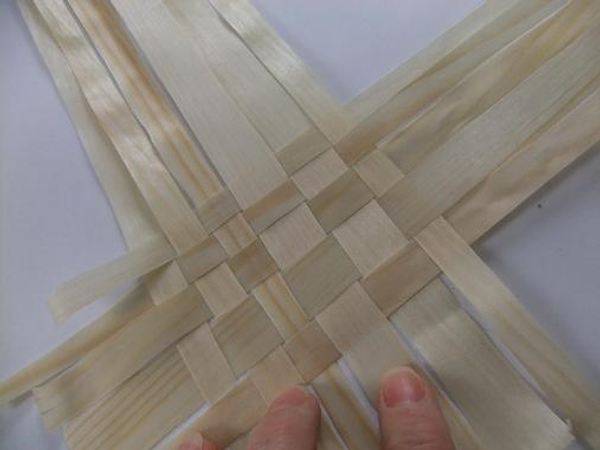
Add a few more strips and weave them in following a over and under pattern.
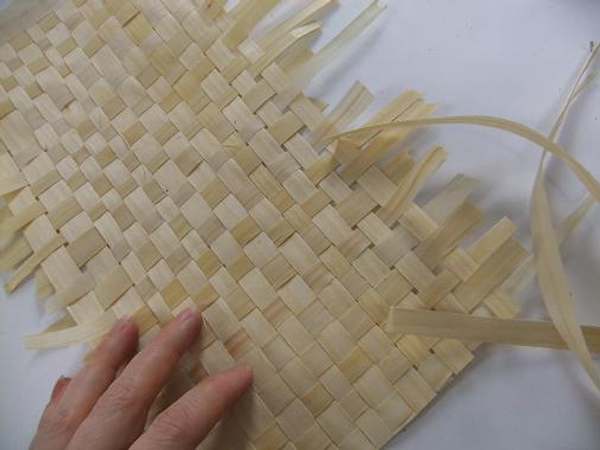
Woven mat ready to shape into cones
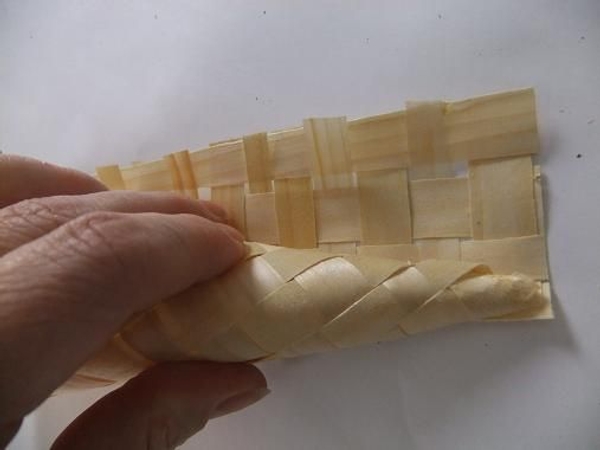
Cut the woven mat in three and tightly roll the cone shape
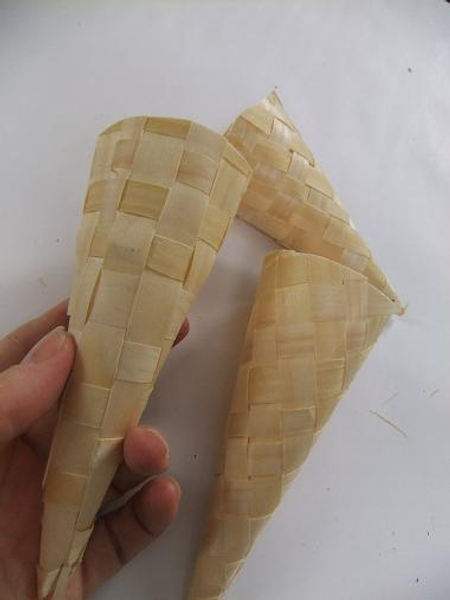
Glue the strands that overlap
Weave the cone shape:
Weaving the cone creates a wider opening
Weave four strands of shaved wood
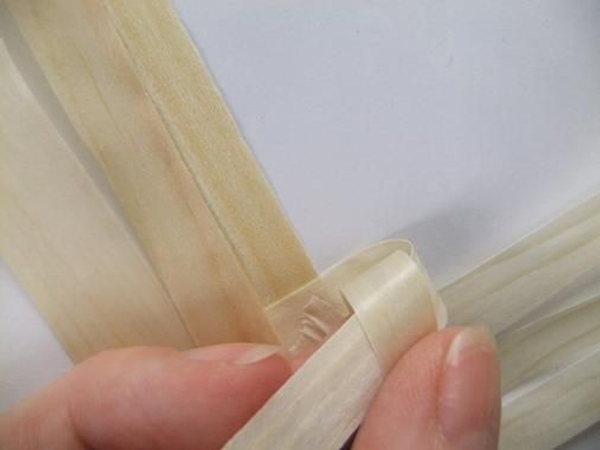
Secure the weave with a small bit of masking tape and fold the strips over to create a sharp triangle at the bottom of the cone
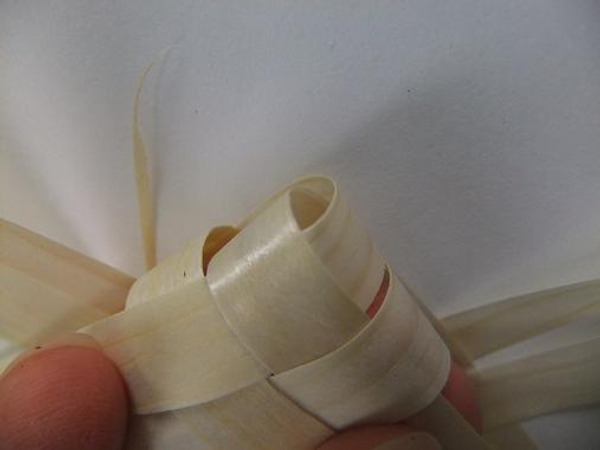
Fold over the rest of the strands and continue to weave the cone
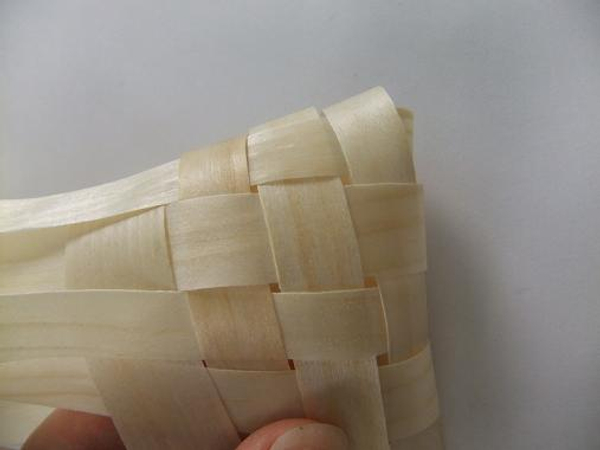
Add more strips and continue to weave. Pull the strips tight as you go. End off the cone by weaving any loose ends back in on itself
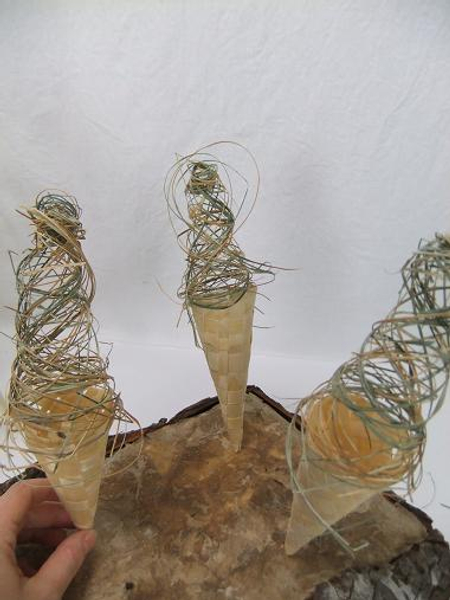
For the loosely woven ice cream top
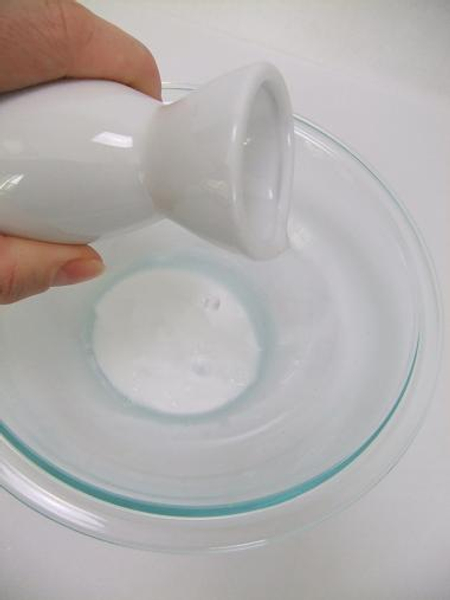
Pour wood glue into a bowl and thin with warm water
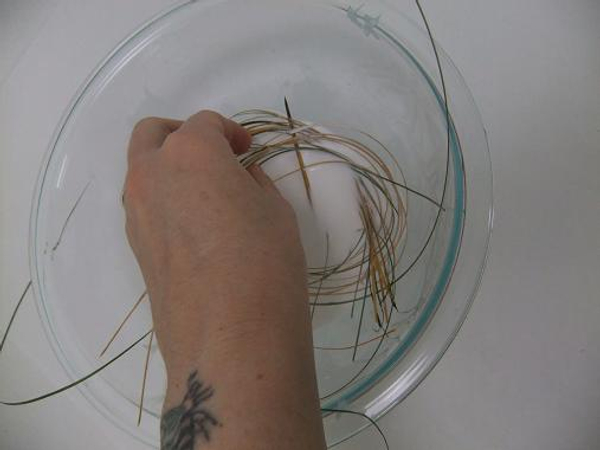
Soak ripped foliage strands in the glue mixture. I used ripped Cymbidium orchid leaves
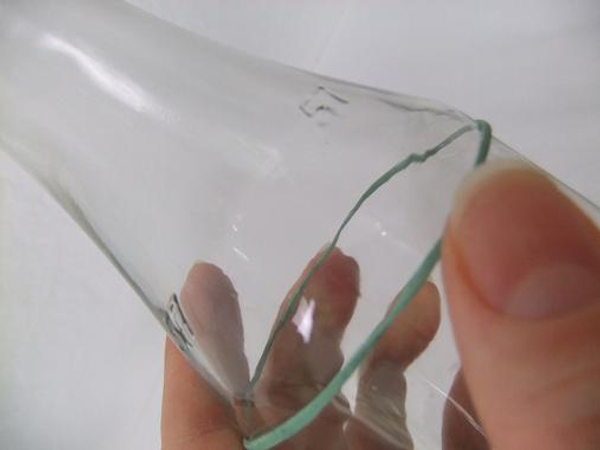
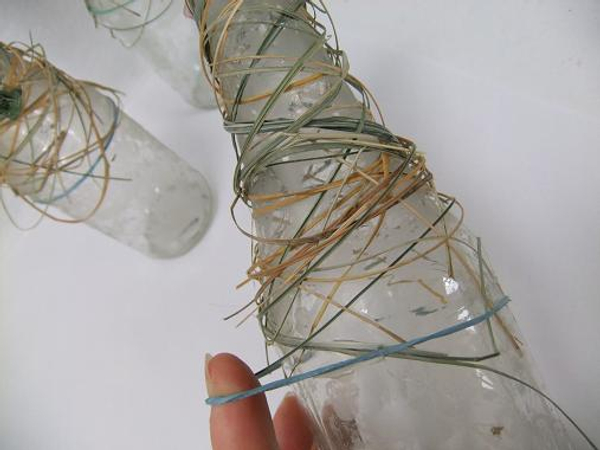
Place an elastic band around a glass bottle. This will make it easier to keep the ripped strand in place when you start to weave it
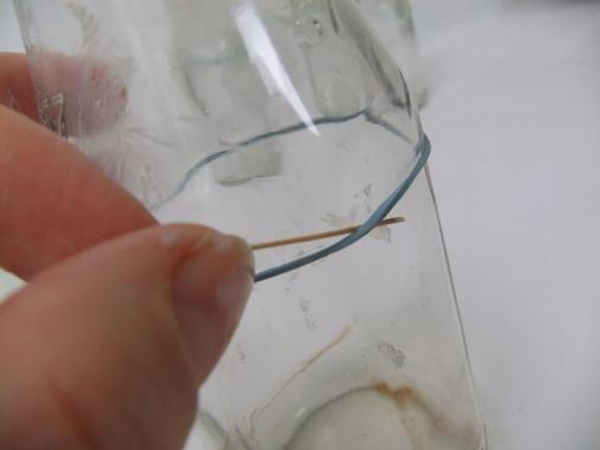
Catch the first strand under the elastic and wrap it up and around the bottle

Weave the strand over and under the previous strand to make sure it closely follows the shape of the bottle
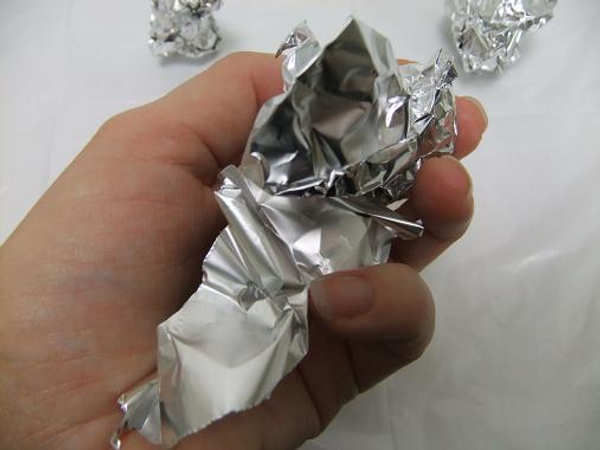
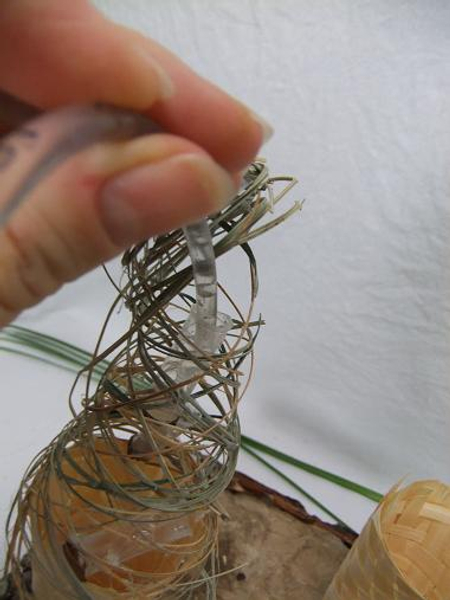
Crumble up a bit of foil
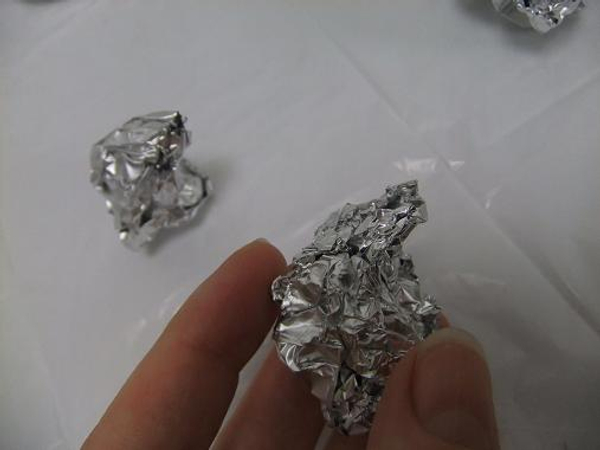
And shape it to create the tip of the ice cream
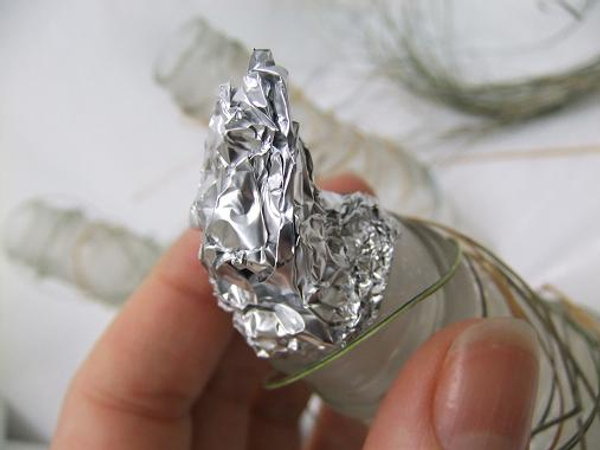
Continue to add strands all the way from the elastic band to over the foil tip
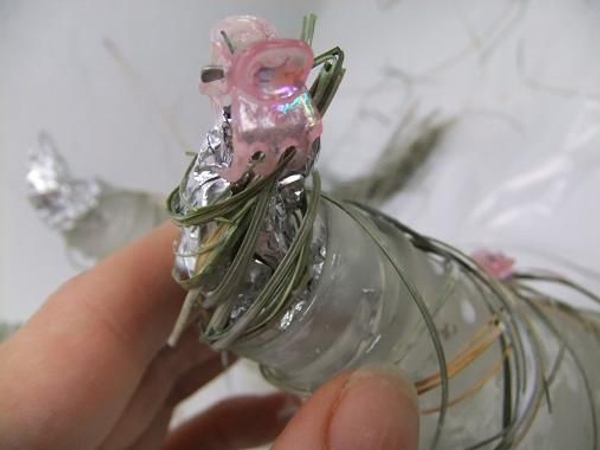
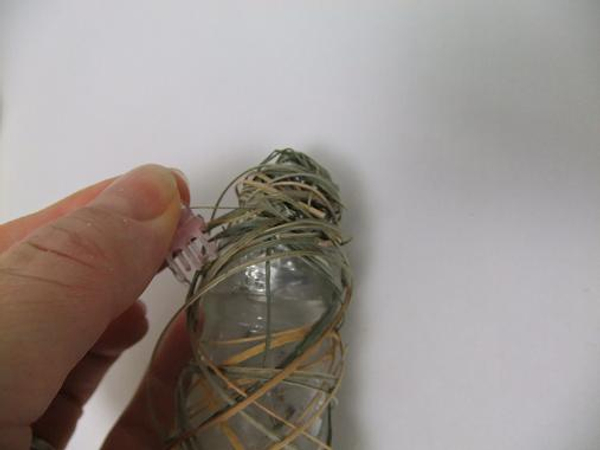
Hold the glue soaked strips in place with small butterfly hair clips while you wait for the glue to dry
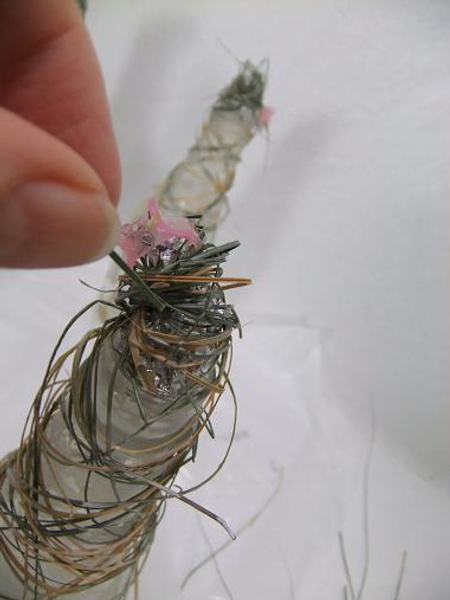
Continue to weave in strips to create a strong shape. Do not add too many strips at once. The weave should be more of a veil than a dense mass
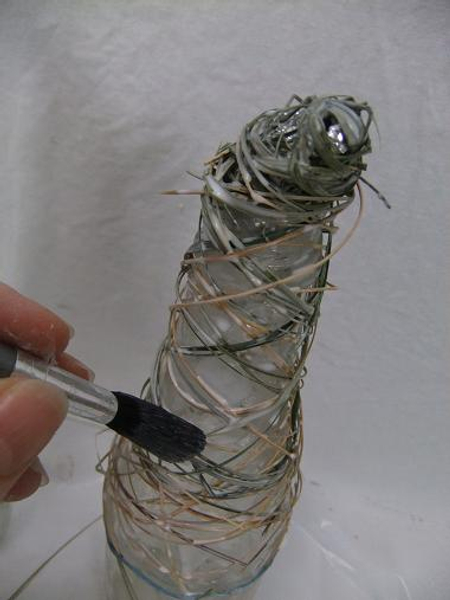
Paint the shape with thinned glue
Let the glue dry completely
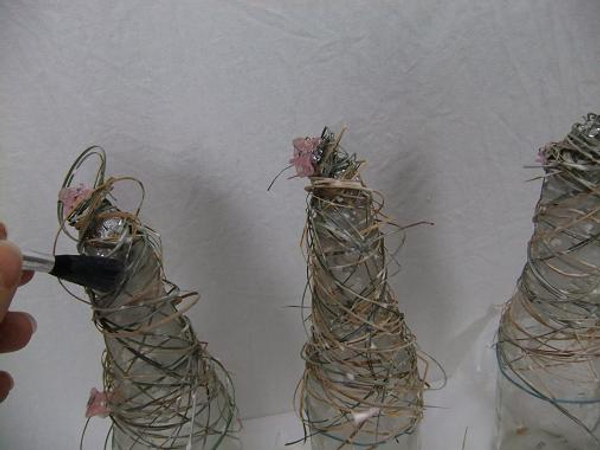
Remove the elastic band
And remove the butterfly hair clips
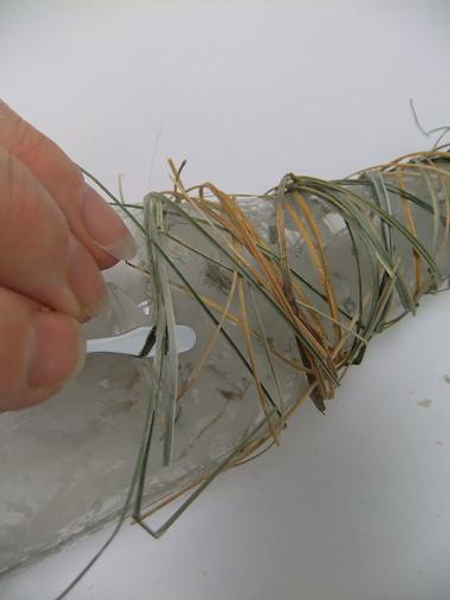
Wiggle the strands loose with a nail cuticle pusher
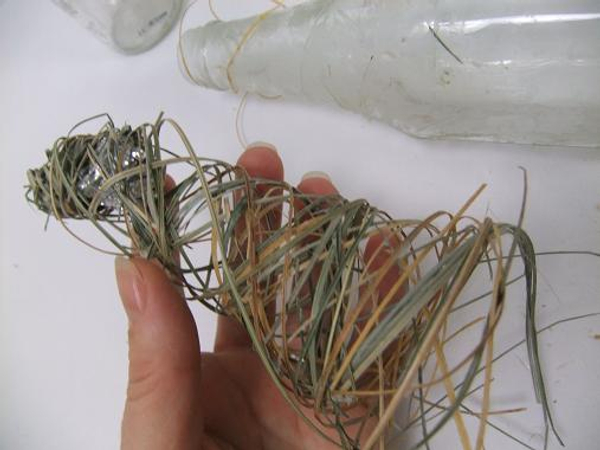
And remove the shape
Fit the shape on the cones and trim the strands neatly
Glue a few tiny test tubes into the shape before gluing the shape to the cone. Fill the tubes with water.
I used my drinking straw test tubes. See Tutorial below
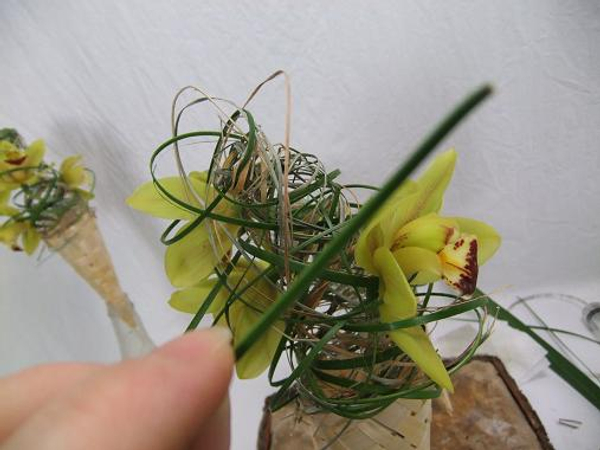
Place the Cymbidium orchids in the tubes and weave in a few more strands over and under the orchids to make sure they will not fall out.
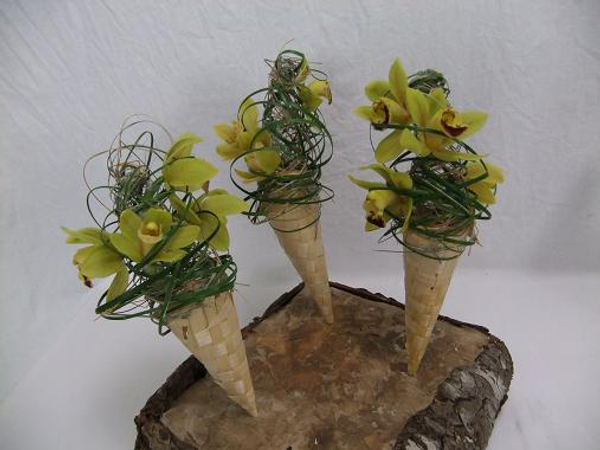
Display the orchid ice cream cones on a bark and paper covered Styrofoam stand
Sign up for my weekly newsletter
Every week I add a new design with related tutorials. Be sure to subscribe to receive an email notification with design inspiration.


