Christine de Beer - effortless floral craftsman
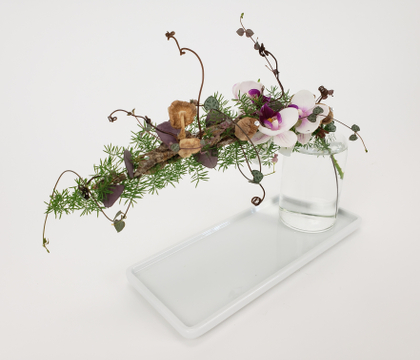
Draw a vine (or three) through a Bark base
- 30 September 2026
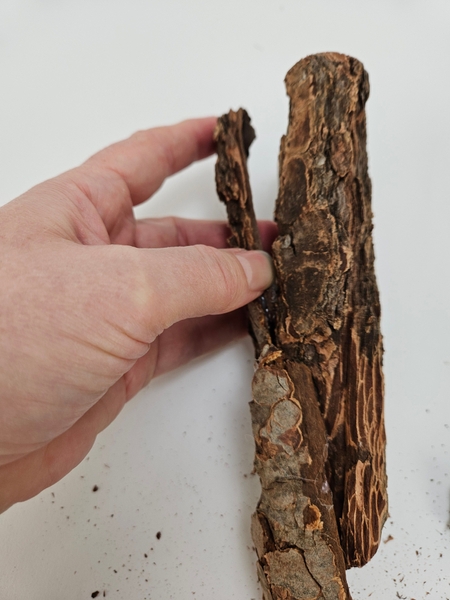
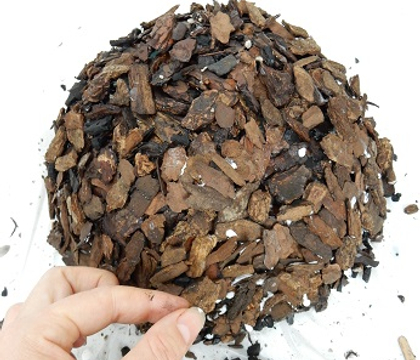
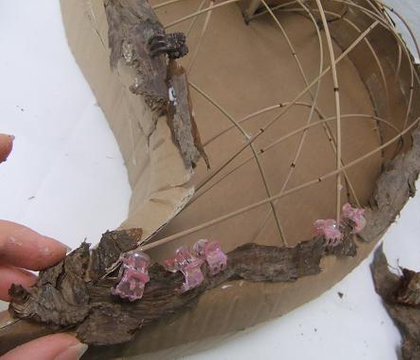
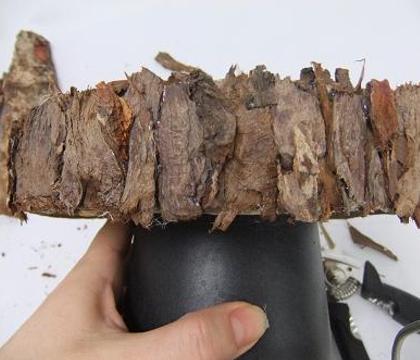
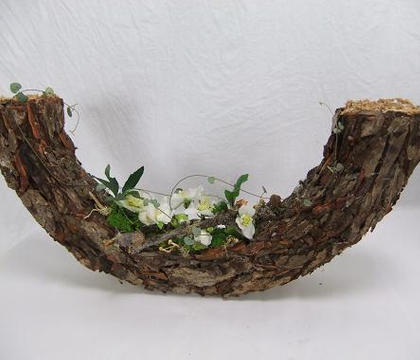
Fit bits of bark mulch together to craft a hollow bark tube...
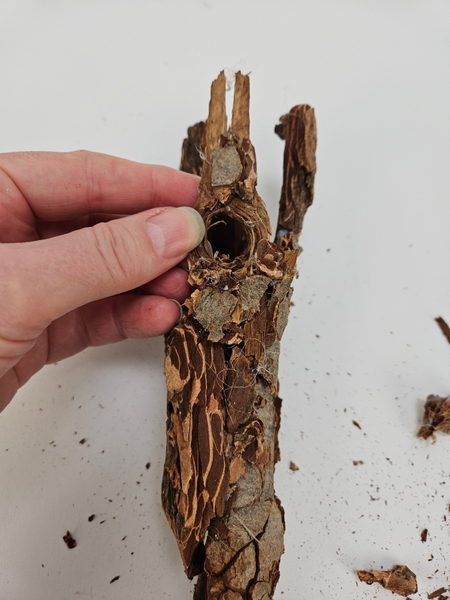
Secure the bark together with hot glue.
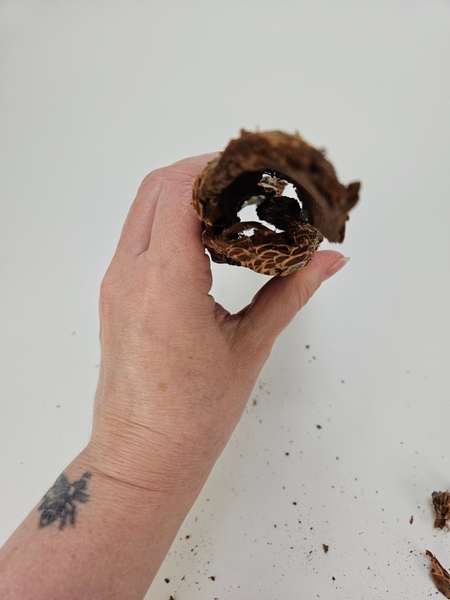
Make sure there is an unobstructed path right through the middle of the bark tube.
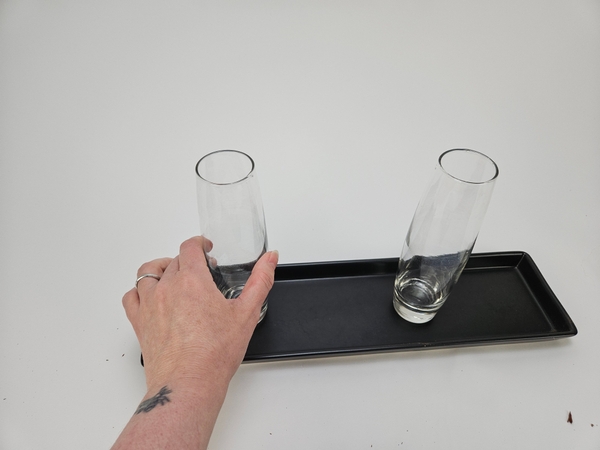
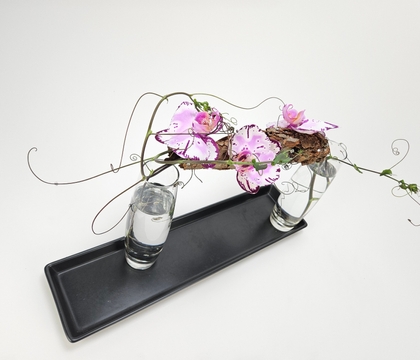
Set two bud vases on a display tray...
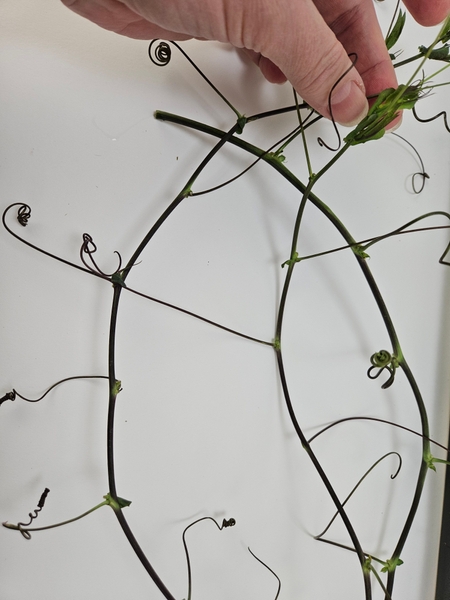
Groom three passiflora vines to remove the leaves but keep the tendrils long and wild.
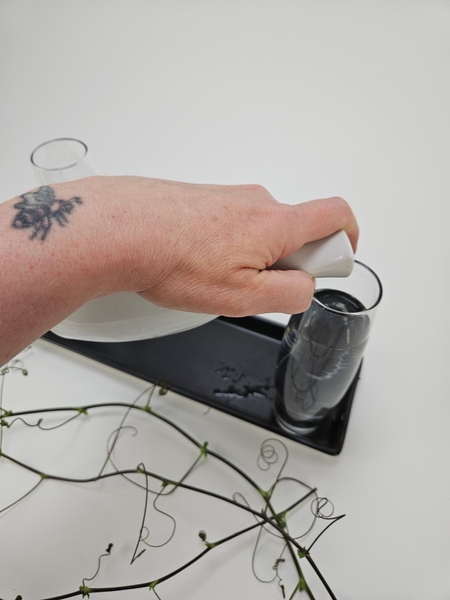
Pour water into the two tall bud vases.
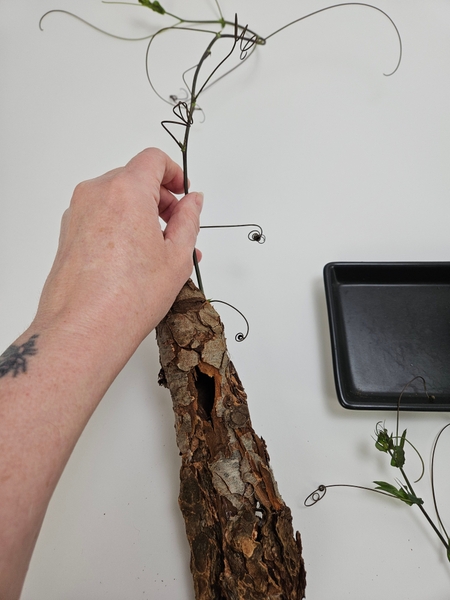
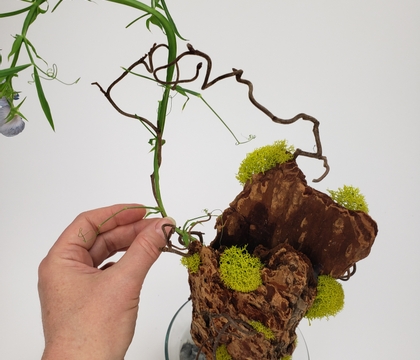
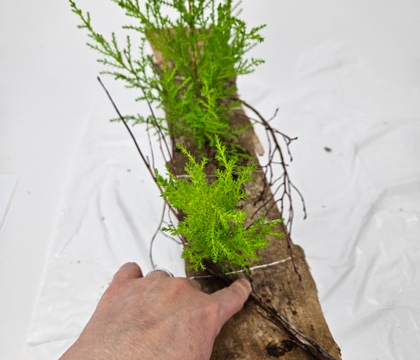
Thread the vines through the hollow opening in the bark...
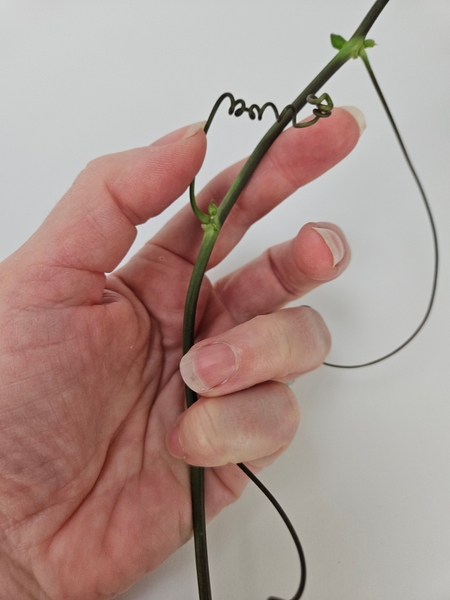
But make sure to thread it with the cut end first so that you do not break any of the dramatic tendrils.
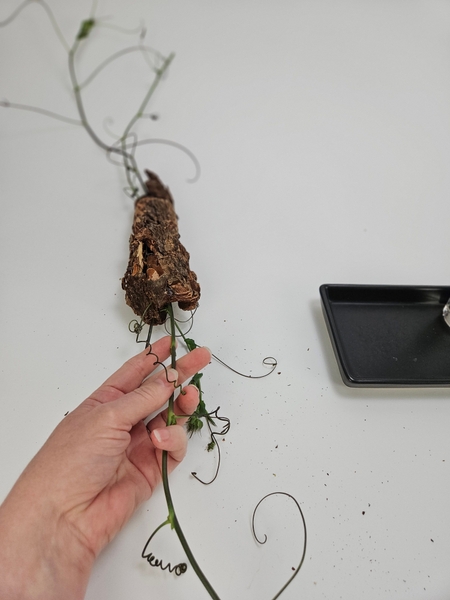
I am threading through three vines. Two from the one side and one from the other.
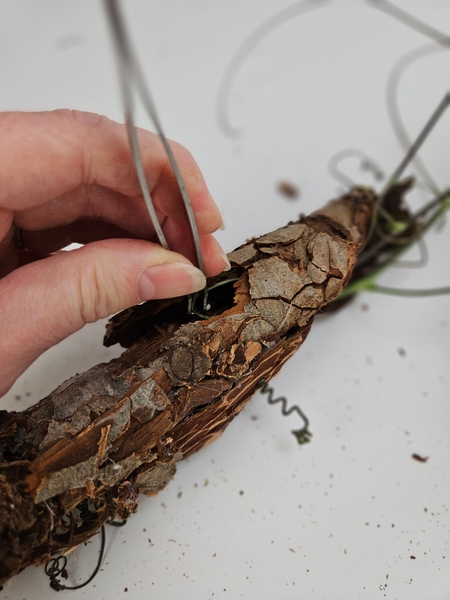
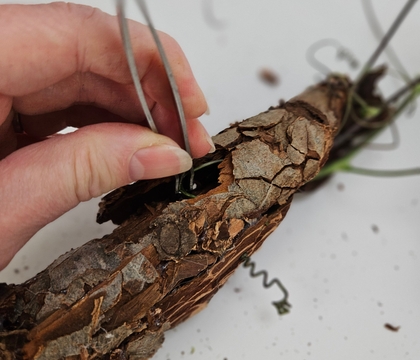
Use Flat Spade Tip Tweezers to reach into the bark and tweeze out the tendrils without pinching, cutting or damaging them.
These tweezers are actually for stamp collecting. But the spade tip works perfectly for hooking delicate plant material without any damage. I am adding a link for the exact tweezers I use below this post.
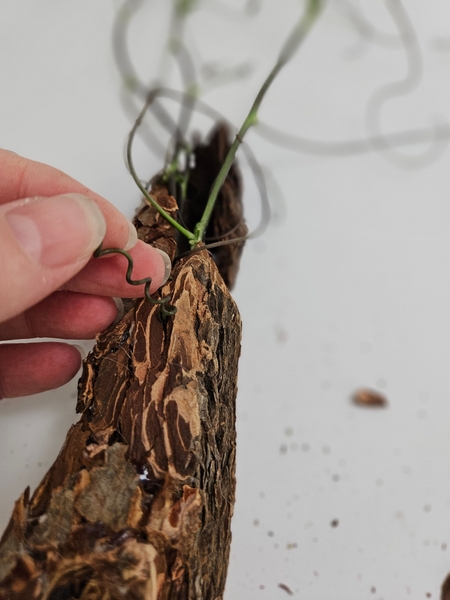
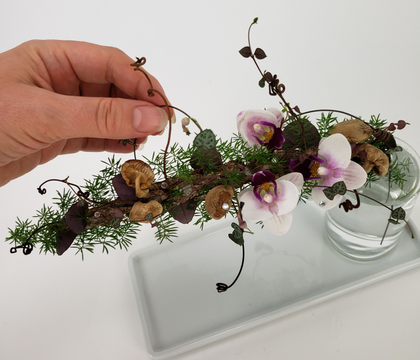
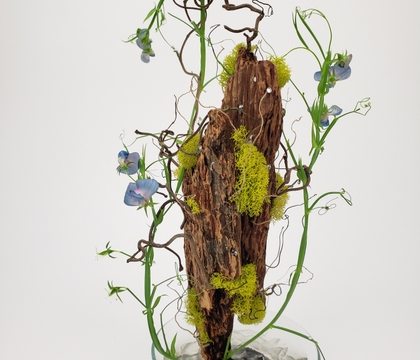
Arrange the tendrils to grow out of the bark log as if it grew like that.
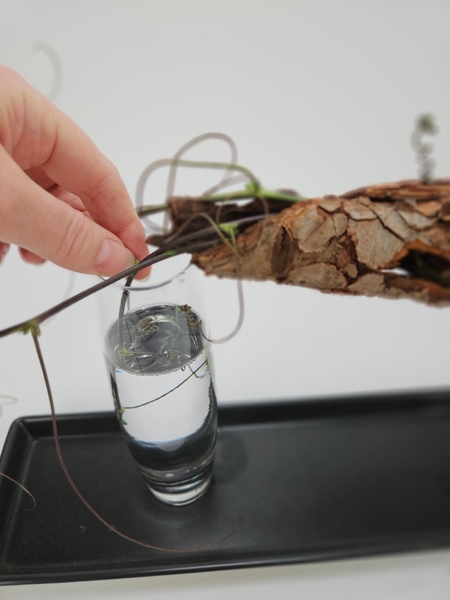
Bend the cut end of the vine over and place it into the waterfilled bud vase...
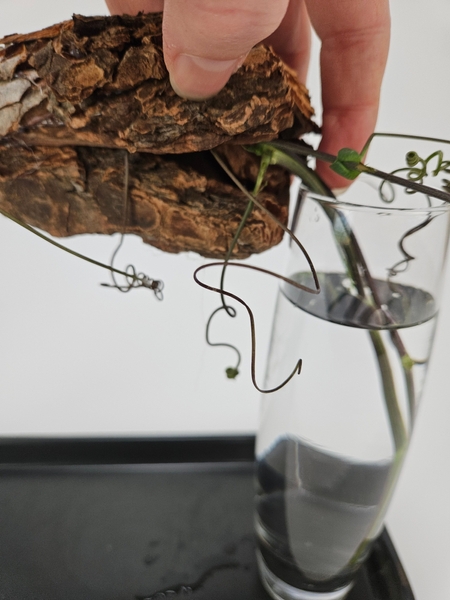
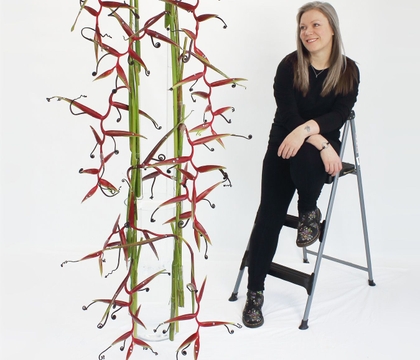
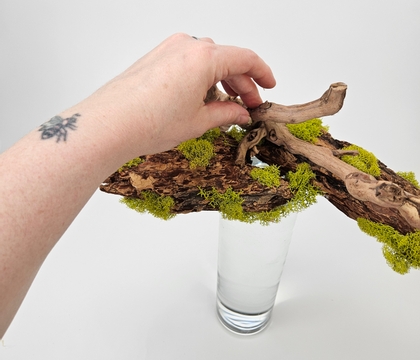
Bend the other two vines into the other bud vase on the other side and place them into the vases so that the bark log is suspended between the two vases.
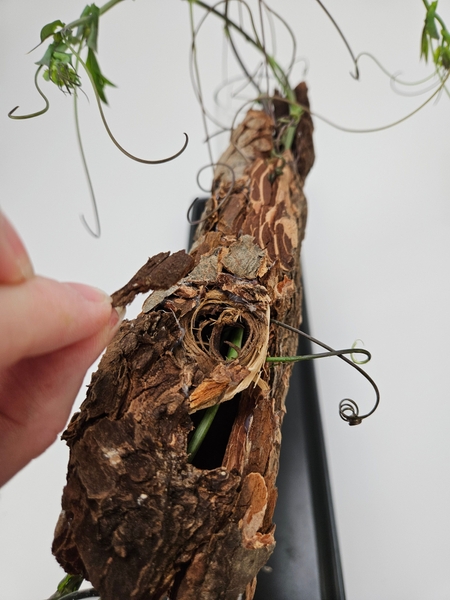
These Passiflora vines have now been through quite a bit. Give them time to rehydrate. The vines will perk up and continue to grow in the water in your design.
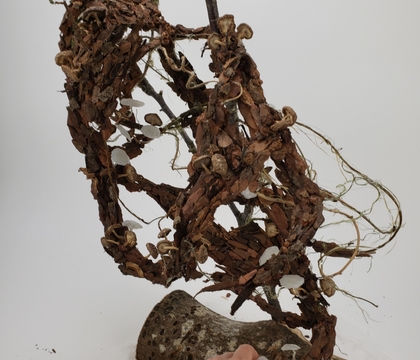
While the vines hydrate you have a bit of time to focus on craftsmanship. Go over the bark and conceal any blobs of glue or fault lines in the "log" with small bits of bark. It is so much easier to care for the tiniest details while the log is suspended at eye level... exactly as it will be displayed.
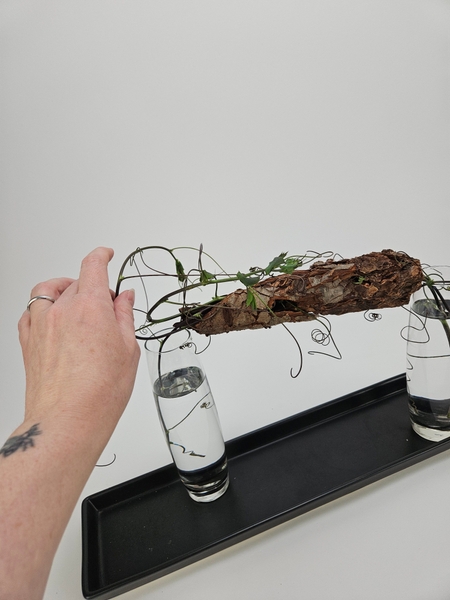
When the vines start to lift up design the tendrils to guide the way you want the vine to move and grow.
This week in our design note email I show you how I make sure the vases look "designed" as well and I show you my trick for adjusting delicate plant material under water.
Every Wednesday morning (Vancouver time), I send out a design note as an early glimpse at the newest Design and a few notes that I picked up creating the Tutorial that might be useful to you.
If you’re new here, you can sign up below this post. And if you’ve been receiving these notes for some time, I hope they feel like a welcome break in your busy week.
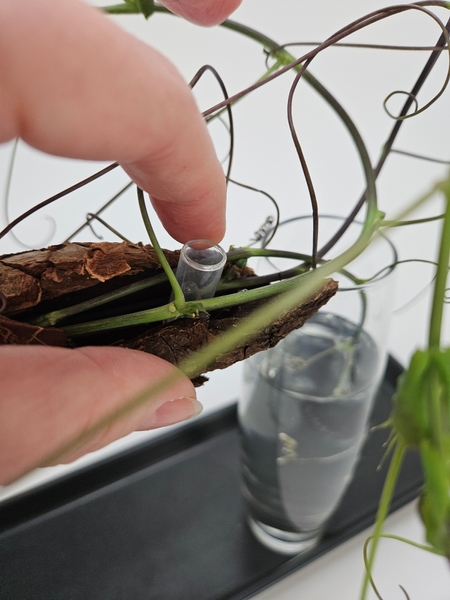
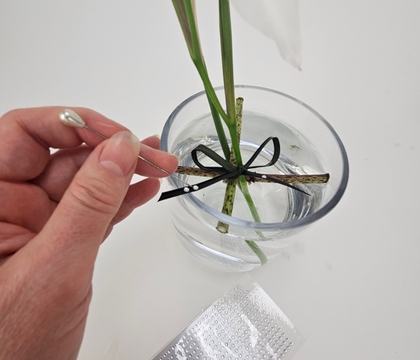
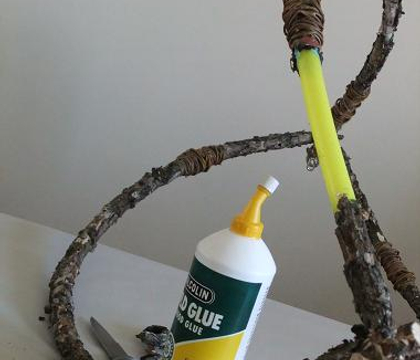
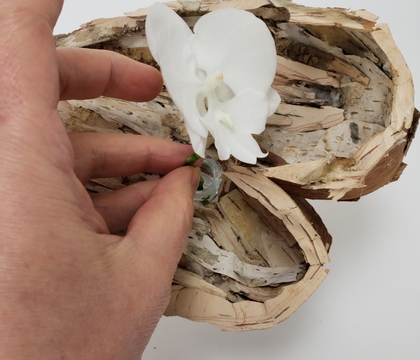
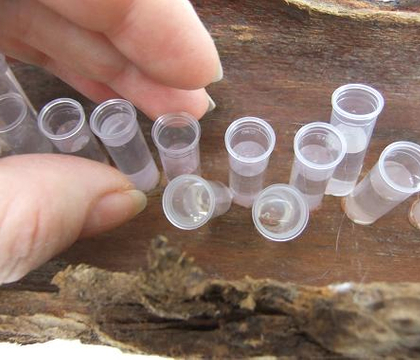
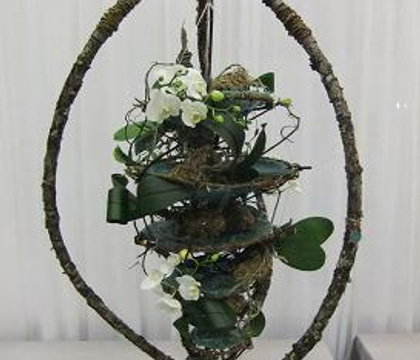
Glue in water tubes for the gorgeous orchids. Orchids are slow drinkers so they only need a tiny bit of water... Ideal for my "drinking straw or plastic pipe" water tube. See the Tutorial below for detailed instructions.
Book readers turn to page 173 where I show you more about adding water sources into armatures. For more information about my book: The Effortless Floral Craftsman
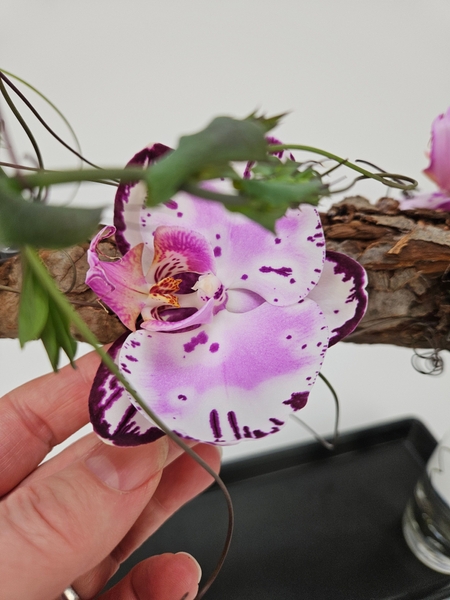
Slip the splotchy Phalaenopsis orchids (they look exactly as if their autumn colours are not yet set... and now they got caught in the rain, right?) into the water filled tubes.
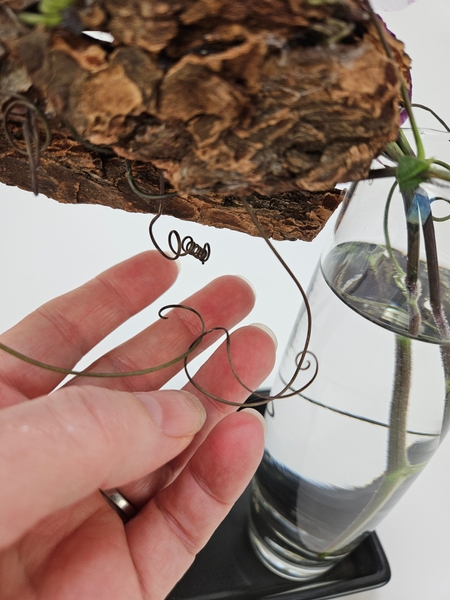
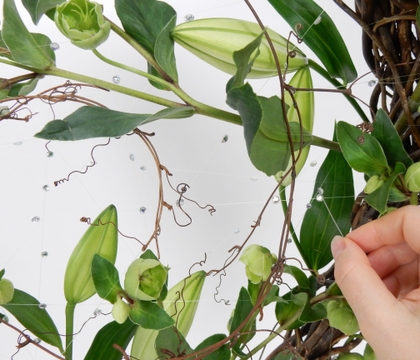
Arrange the tendrils so that they interact with the design...
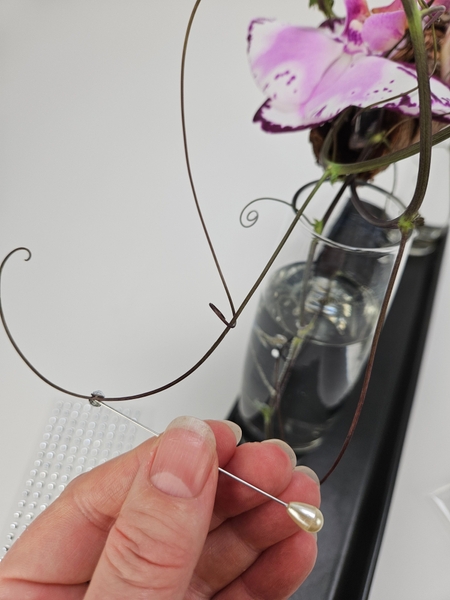
And I finish my design with a few dew drop crystals. A few on the flowers and the logs. And dew drop crystal "sandwiches" on the tendrils so that it is visible from both sides. See the Tutorial below for detailed instructions.
Sign up for my weekly newsletter
Every week I add a new design with related tutorials. Be sure to subscribe to receive an email notification with design inspiration.
This section contains affiliate links. If you choose to explore any of these tools, I may earn a small commission at no extra cost to you.