Christine de Beer - effortless floral craftsman
Using the new growth on blossom branches as a base for a woodland design
- 21 April 2021
Perfect way to use your blossom branches once the blossom petals start to drop.
New growth is always so beautiful that it is hard to resist adding them into a design. Only to find that they are wilted within a few minutes after cutting. Now I add so much more detail for the reason for this in my book (with a new design using new growth that I actually think is one of my favourites... ever! See page 74. Let me know what you think, book readers) but the trick is.... I grow it. It's all about limiting trauma, and yes, I have an entire chapter dedicated to this.

Measure the branch so that you can display the new growth.
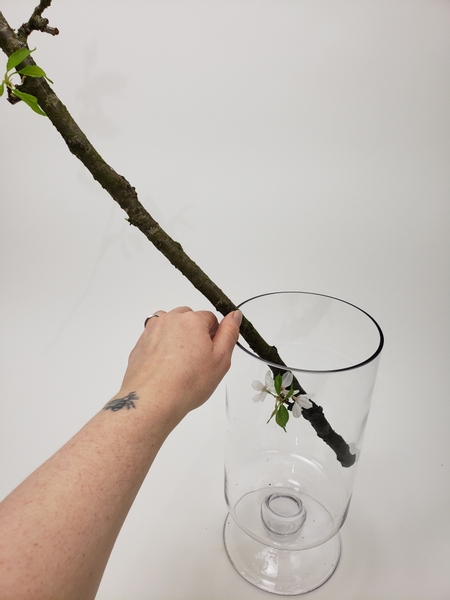
Give the branch a clean cut and place it in a clean vase.
Yes, I know. We hear the "clean cut" advice so often that it has become part of our design language. Do you know why, though? Once you know the why the how will make so much more sense to you. It is also really important for this design. So don't skip it. If you want to brush up on the reason why we condition flowers the way we do turn to the first pages of my book where I explain more about First Aid for your Design Elements.
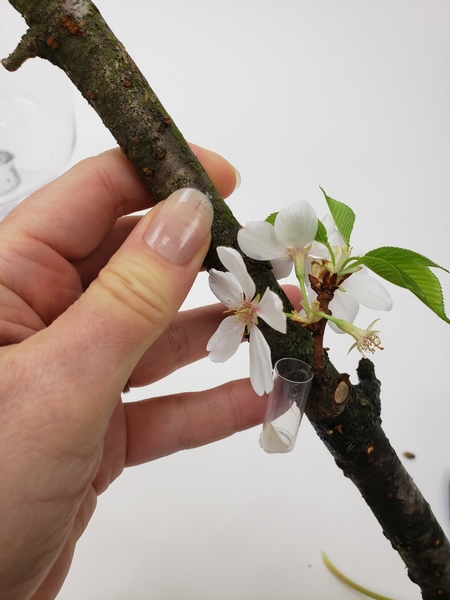
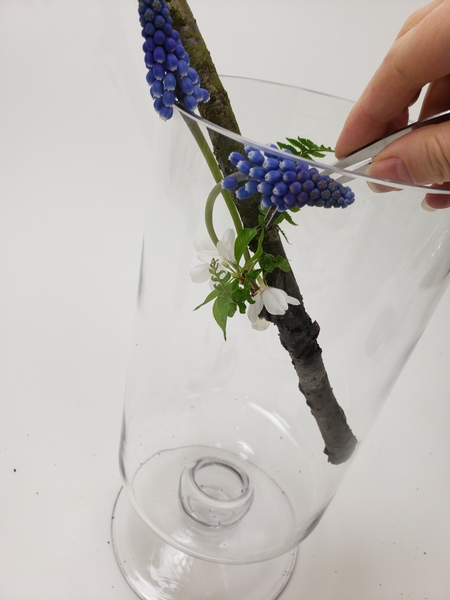
Glue in a few water tubes to give the fresh flowers their own water source. See the Tutorial below for detailed instructions on how I make water tubes.
The reason why I do this is two fold: firstly I want to place the tiny stems that I use in the design in specific positions and it is easier to control if they are in their own water source. And secondly, I am going to drop petals in the water which will make the water spoil. If the tiny stems are in a design of their own it is easier to lift out the entire branch, replace the water, replace the branch without disturbing the design.
Fill the tubes with water.
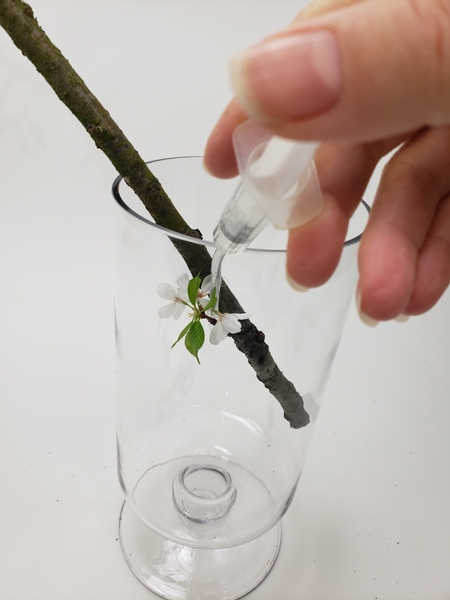
See the Tutorial below for how I make my own pipette from a syringe.
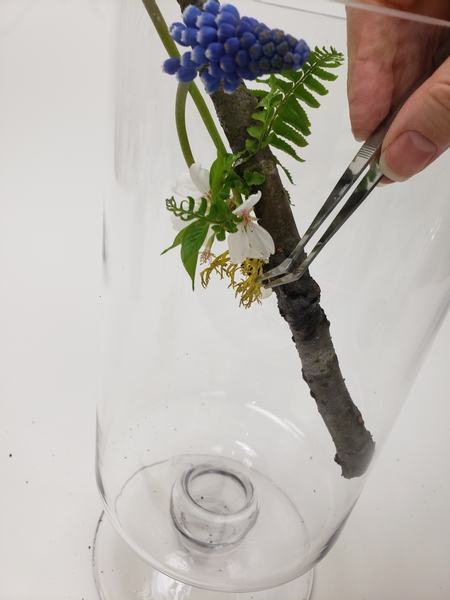
Add the fresh flowers to the design.
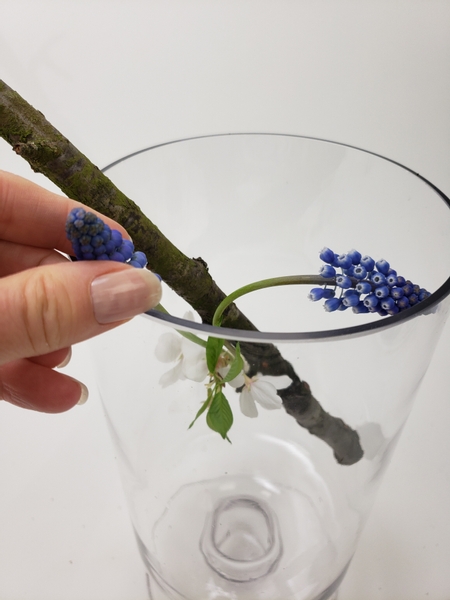
Do not cut the stems shorter... in fact the wilder and crazy the stems the better. I discuss this in our email this week. If you are not yet signed up make sure to do so. I send out one email a week, always on a Wednesday morning (Vancouver time) to notify readers that the design is ready and to discuss a weekly bonus tip.
Add a few fern fronts into the water tubes and carefully position them to look just right.
Glue in moss or lichen ( I loved the yellow against the blue!) to cover the tubes and add to the overgrown woodland look to the small design.
Book readers: for a tip on how to divide the moss or lichen so that it looks more natural turn to page: 95
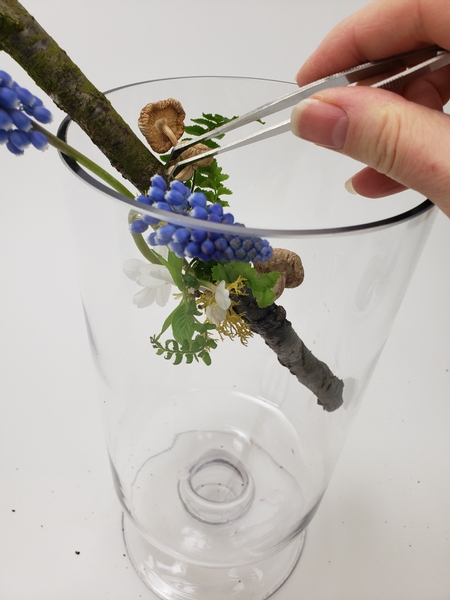
Glue in a few mushrooms.
I buy these from the grocery store and then air dry them overnight to get these fun and crazy twists and angles. I have a bit more information about this in my book but to get you started I also have a Tutorial for you that is linked below.
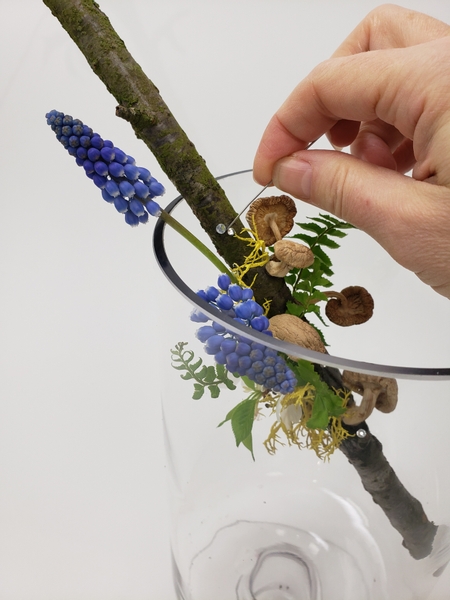
Add a bit of fairy sparkling dew drop... well... crystals, really.
See the Tutorial below for why and how to add the crystals with a pin.
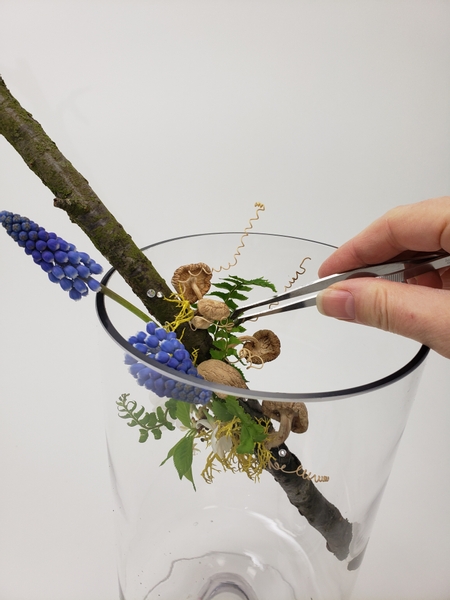
And add a few dried tendrils... just because they are pretty.
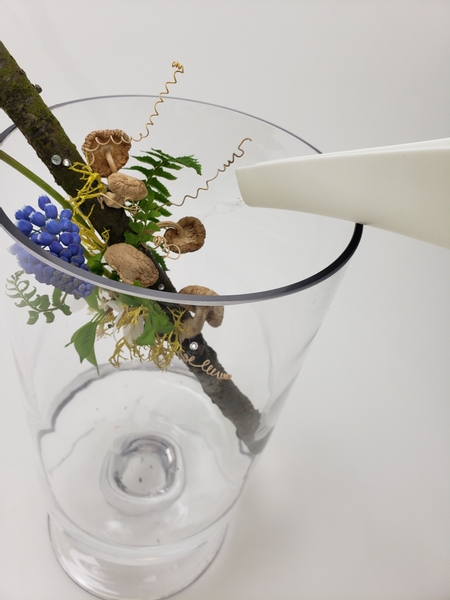
Fill the container with water so that the branch continues to grow into an ever changing design.
And sorry to state the obvious but you can, of course only replace the flowers with fresh ones for a really long lasting and ever growing design.
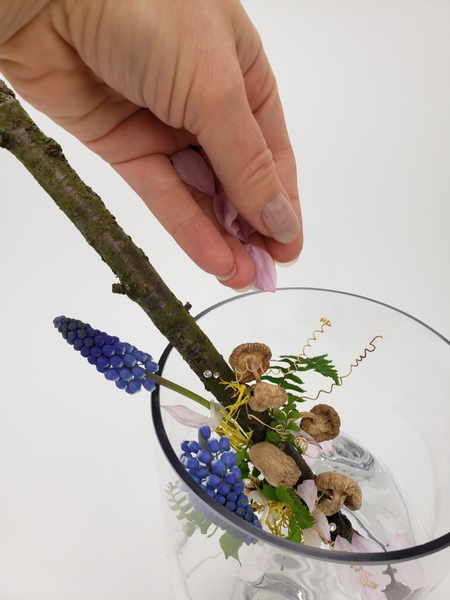
Sprinkle a handful of petals over the design so that they fall and float and flutter all over.
Sign up for my weekly newsletter
Every week I add a new design with related tutorials. Be sure to subscribe to receive an email notification with design inspiration.


