Christine de Beer - effortless floral craftsman
A dogwood frog with tiny dew drop crystal rafts that won't get lost in the twigs
- 4 February 2026
This week's design is going to need a bit of forcing...
Bring in a few variegated dogwood twigs indoors and wait for the leaf buds to appear.
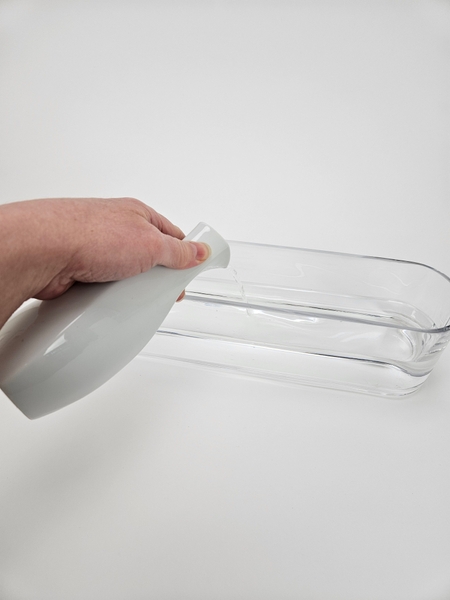
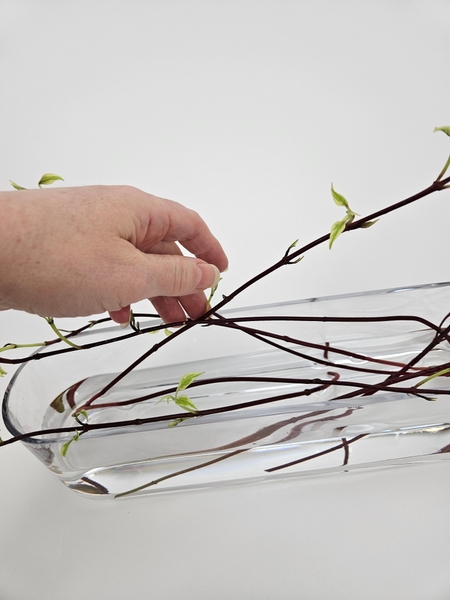
Pour room temperature water into a display container...
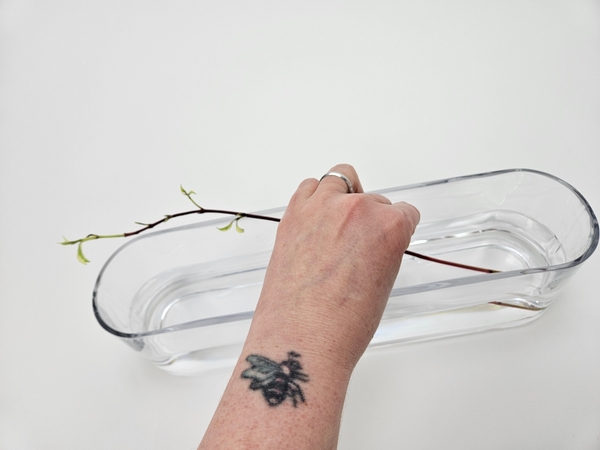
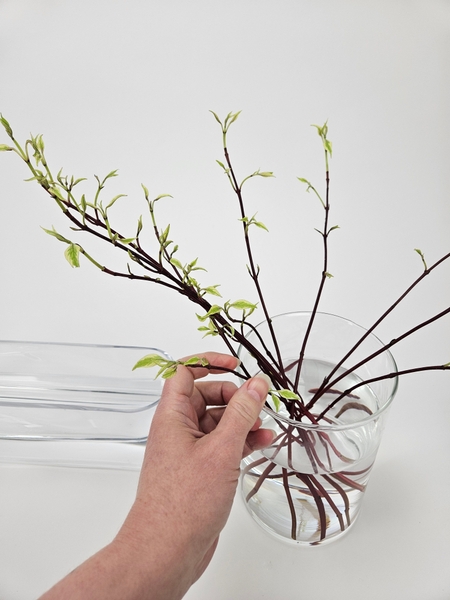
Set the dogwood twig into the water so that it leans from one side to the other. The colour of the twigs are on fire under the water! It is just the thing to brighten a winter's day and I want to display them as much as possible.
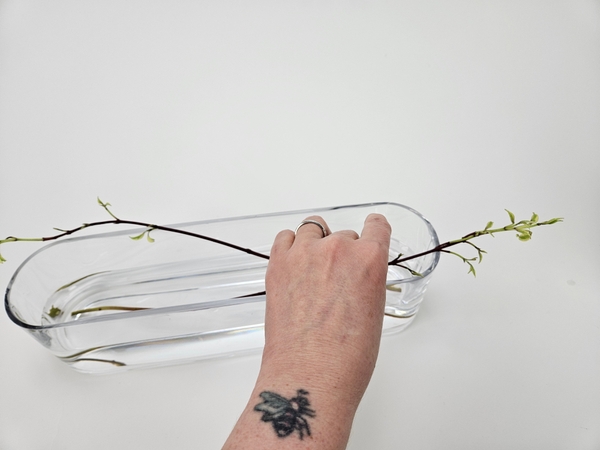
The next twig crosses over the first to lean to the other side.

Keep criss-crossing the twigs using the buds to lift some of the twigs to build up the design.
Book readers turn to page 284 where we discuss crafting floral illusions and I show you how to manipulate twigs. For more information about my book: The Effortless Floral Craftsman
But to get you started there is also a Tutorial linked below this post.
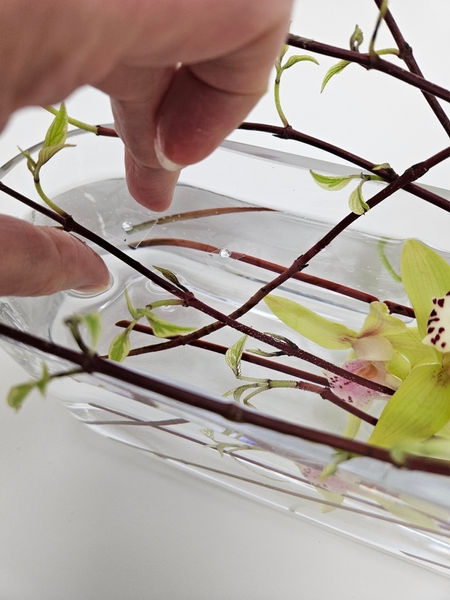
And you might want to secure a few twigs with a small drop of floral glue to position them... just so... or not. Up to you. Do you prefer the twigs to just fall any which way... or do you want it to look like they fell any which way but in reality they are carefully stacked? What is your "effortless style"?

Next I am bringing the spring into the water below by arranging a twig so that it dips below the surface...
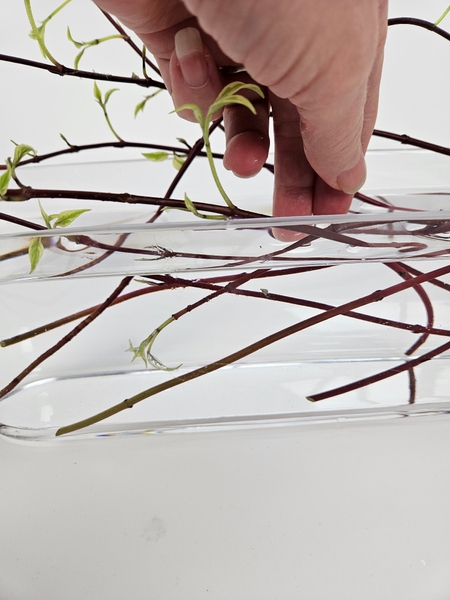
... and I am dipping a twig below the surface on the other side.
Design note: see the tiny glue drops? I am definitely one of the designers who wants the twigs just so... but I want it to look like it is just so naturally. I stare at a lot of plants to make sure I know how to design in some naturally falling twigs.
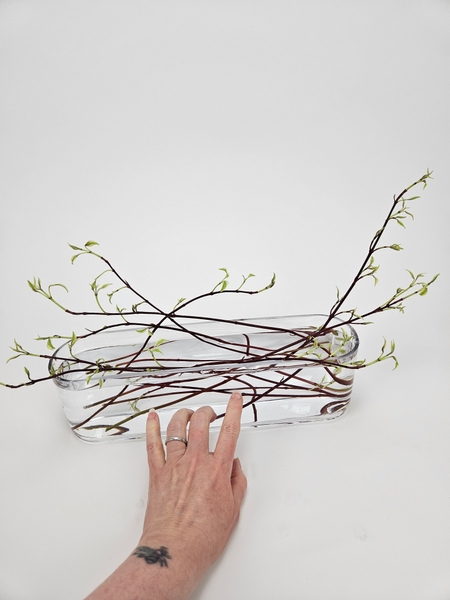
Our twig frog is ready to design with and I can add the flowers.
... Also I am pretty sure I could hear these dogwood twigs growing under the photography lights in my design room. Do they look bigger to you? They look bigger to me!
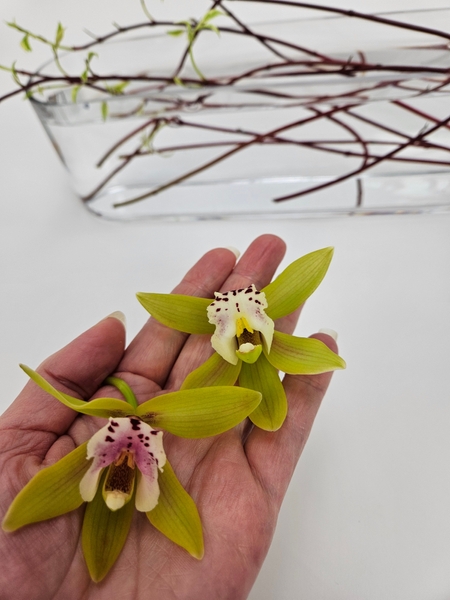
As I am already playing with burgundy and green I am also using a more mature (the one with the burgundy lip) orchid and 2 newly opened Cymbidium orchids for my design.
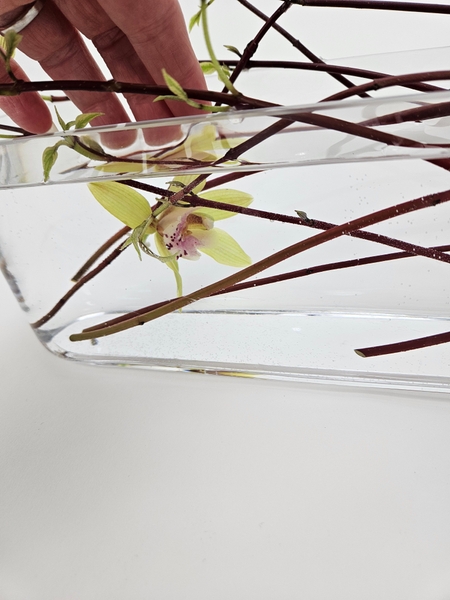
I am tucking the burgundy lip cymbidium below the surface between the twigs.
Design note: submerging flowers in water generally shortens their vase life. More mature flowers generally last longer if they are submerged in water. Weird how that evens out, right?
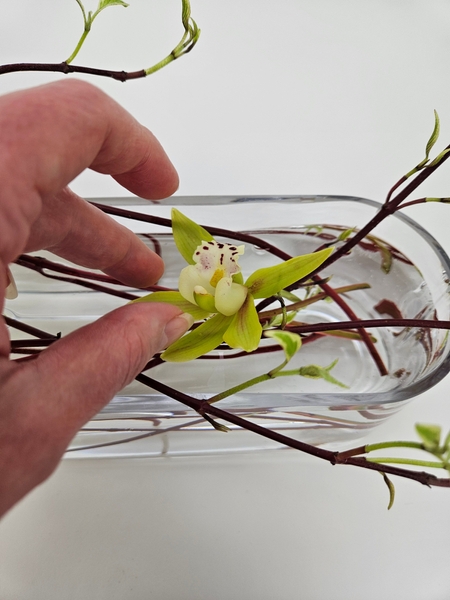
And I am tucking two cymbidium orchids between the twigs so that they are suspended above the water with their stems in the water to remain hydrated.
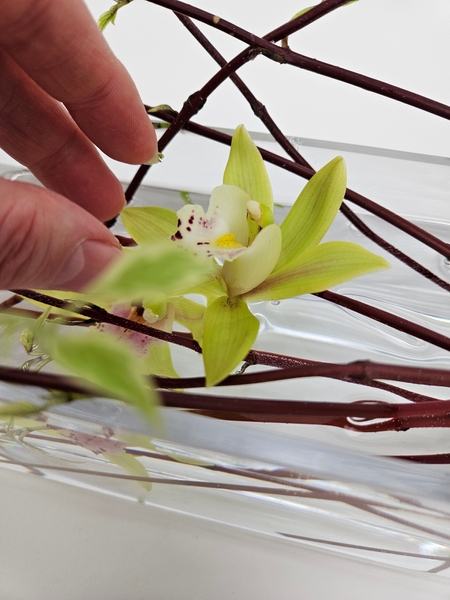
Same twigs but for the one orchid the twigs are keeping it below the water and for the other orchids the twigs are keeping it just above the water.
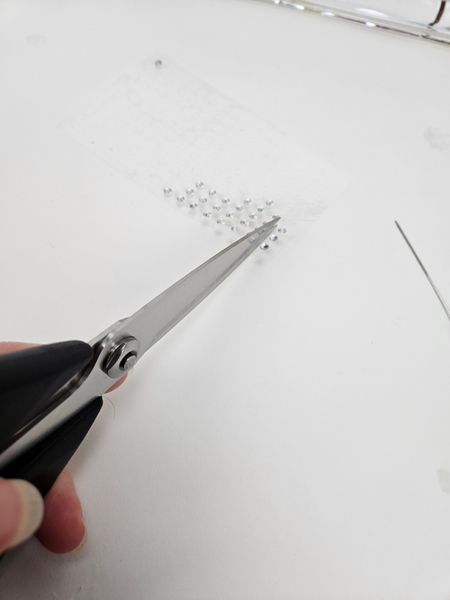
Now for the fun part of this design... we are cutting tiny rafts for our dew drop crystals this week. Without the rafts the dew drop crystals sink (which is great because it makes it really easy to fish out if one accidentally drops into the water, in other designs) but here we want them to float. Instead of lifting the crystals from the acetate, cut them into blocks
See the below for my Tutorial that I shared many, many years ago for making bubble wrap skirts to perfectly float flowers on (not just in) water. It has since been shared times without count and it is still, to this day the best known Tutorial of mine.
... well... this was inspired by that.
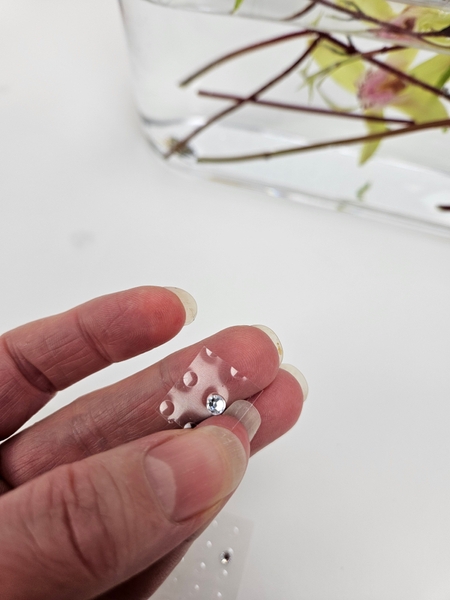
So that you have a generous clear piece of acetate "raft" around the crystal.
To place into the design so that the crystals float freely.
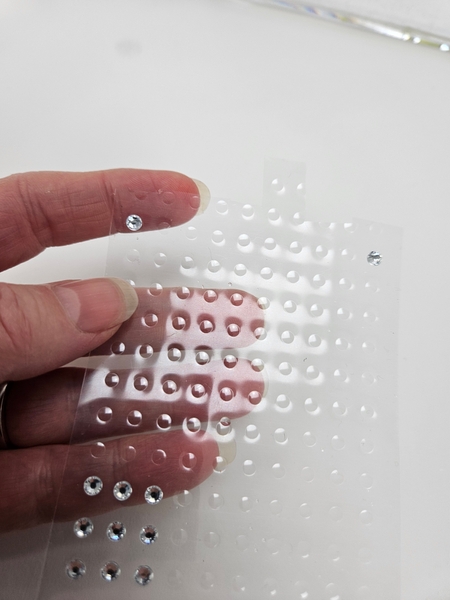
Also the rafts act as spacers and keep the crystals from clustering under the twigs. Wider rafts space the crystals out even further so that they float all over the surface and need no adjustments if the design is moved.
So move some of the crystals to where you have gaps on the acetate sheet to cut a bigger raft.
Once you are ready to take the design apart simply lift the crystals out, let them dry on their acetate backing and they are as good as new to design with again. The cut pieces are also convenient to tuck into your tool box because they take up no space.
Every Wednesday morning (Vancouver time), I send out a design note as an early glimpse at the newest Design and a few notes that I picked up creating the Tutorial that might be useful to you. This week, I show you a quick way to place the dew drop crystal rafts exactly where you want them without disturbing the twigs in your design where the gaps are tiny.
If you’re new here, you can sign up below this post. And if you’ve been receiving these notes for some time, I hope they feel like a welcome break in your busy week.
Sign up for my weekly newsletter
Every week I add a new design with related tutorials. Be sure to subscribe to receive an email notification with design inspiration.


