Christine de Beer - effortless floral craftsman
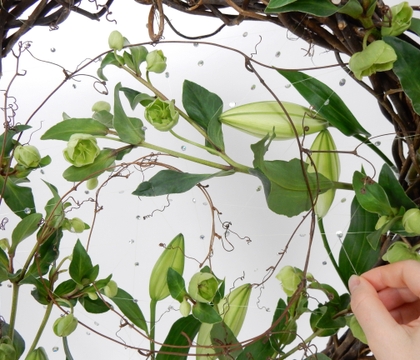
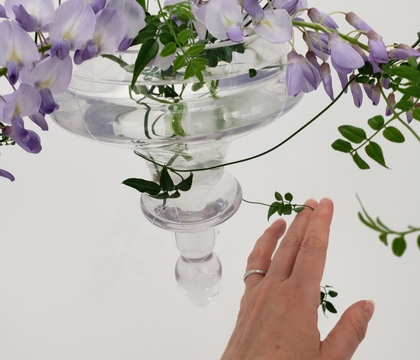
On a line pavé inspired floral design for a cooling water summer display
- 19 August 2026
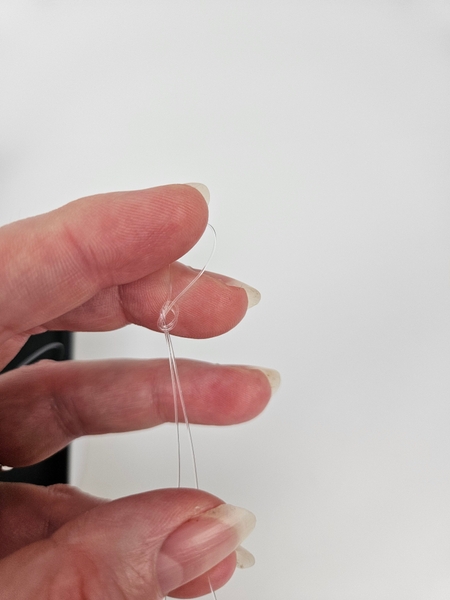
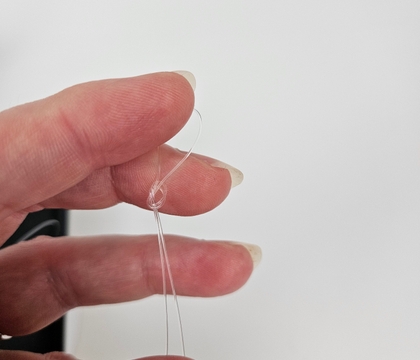
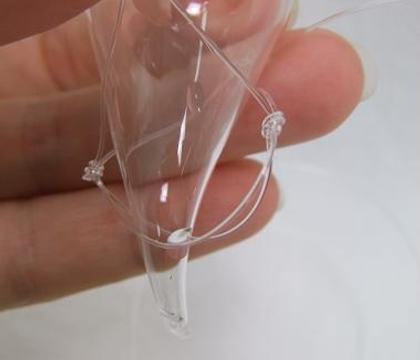
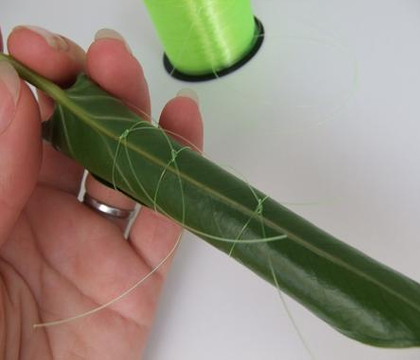
There are a few knots that every floral designer must master. I absolutely consider the lark's head knot a foundation skill knot.
Book readers turn to page 54 where we discuss tools and equipment and I show you a few knots that I consider part of our foundation skills. If you know how to knot these you can design your way to structures that are strong and durable.
For more information about my book: The Effortless Floral Craftsman
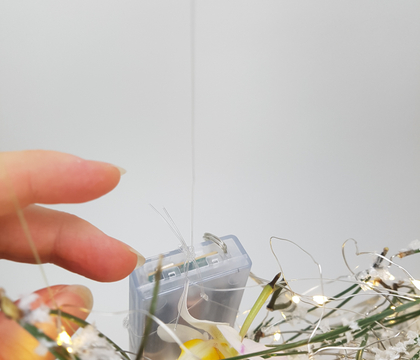
Design note: notice the long tail that I am leaving in the knot? We will use this to secure the knot at the end so make sure it is generous and let it dangle as you create the grid.
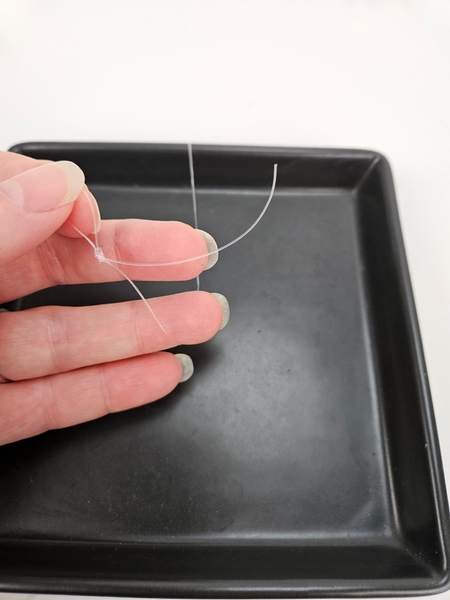
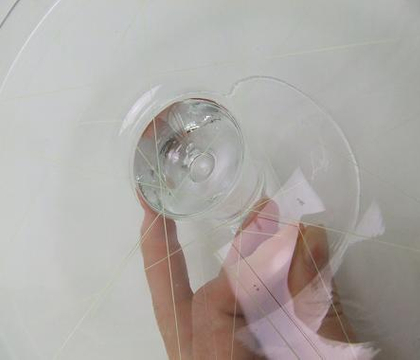
Place a shallow container on the line with the knot extending over. Roll out a generous amount of line and cut it.
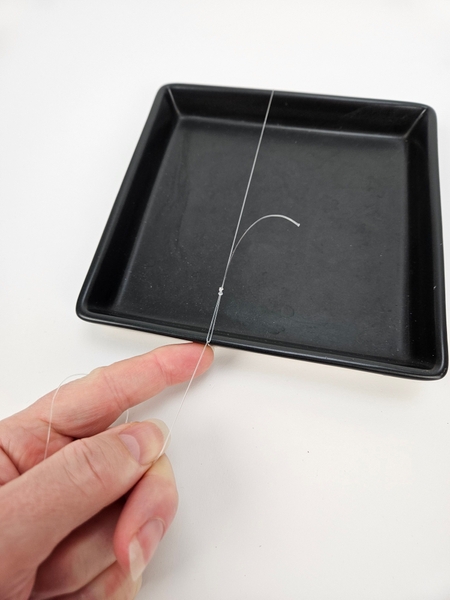
Catch the end of the line through the knot and pull it tight. Pull the line down back in the direction you wrapped it in so that it catches...
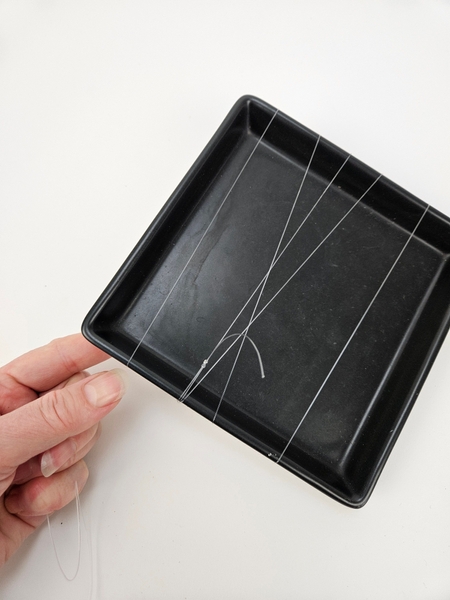
Start to wrap the line around the shallow container.
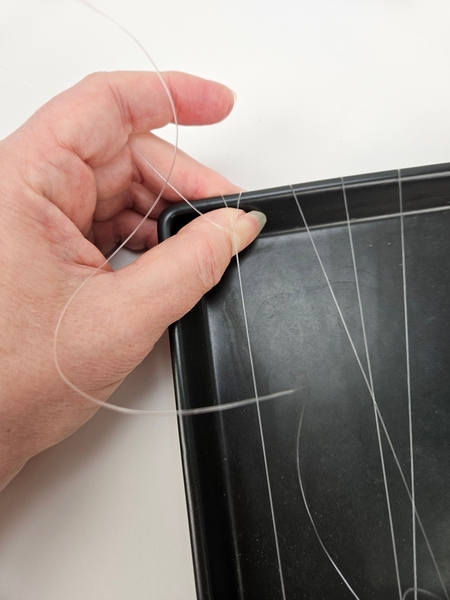
Move from one end to the other to create the first direction of the grid. To move on to the other direction, slip the line under the last wrapped line (the furthest away from the lark's head knot) and pull it tight to catch it...
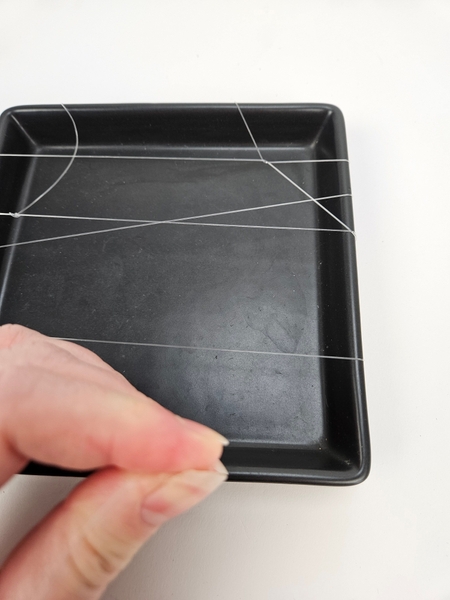
Note where the knot is?
Now, wrap the line in the new direction to cross over the first wrapped lines.
You can simply wrap the line from one side to the other and then cross over those lines with the next direction. Or...
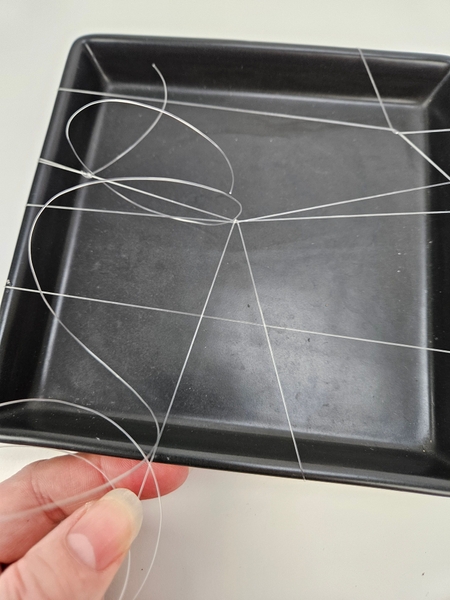
Create interesting gaps by catching the line here and here to change direction. This grid pattern is exactly where you can add your personality into the design. What would you prefer? A neat grid or some open spaces where you can play with empty space, like I did?
This week in our Design Note email I talk a bit about adding space into the Pavé Designs... a design that usually leaves no space for space and I am curious to hear what you think about that.
Every Wednesday morning (Vancouver time), I send out a design note as an early glimpse at the newest Design and a few notes that I picked up creating the Tutorial that might be useful to you.
If you’re new here, you can sign up below this post. And if you’ve been receiving these notes for some time, I hope they feel like a welcome break in your busy week.
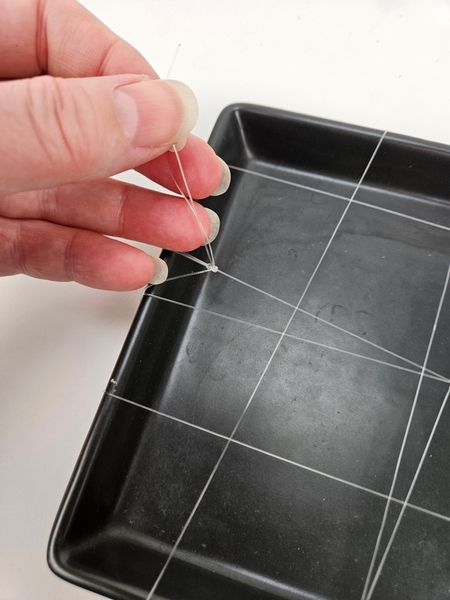
When you have the right sized gaps for the grid over the shallow container wrap your way towards the loose end of the knot to secure the line tightly with a granny knot (book readers it is on page 49... the line is slippery, pay special attention to the bit where I tell you how to make this simple knot more secure.)
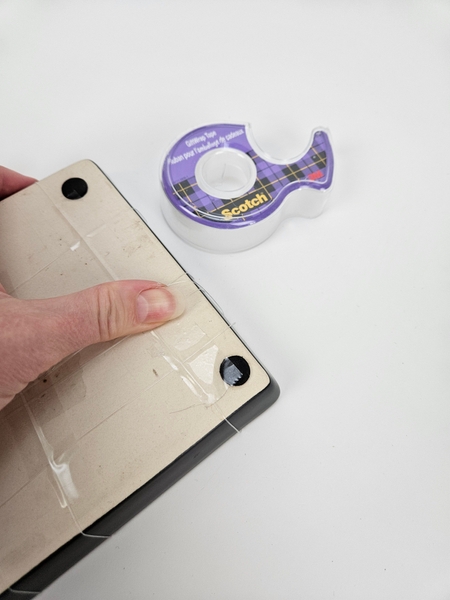
For our design this week I am designing with light floral details so the line will not stretch all that much. But you can (if you want to) also tape the back of the design to make sure the lines stay where you want them. This is especially important if you are using heavier floral details that stretches the line over time.
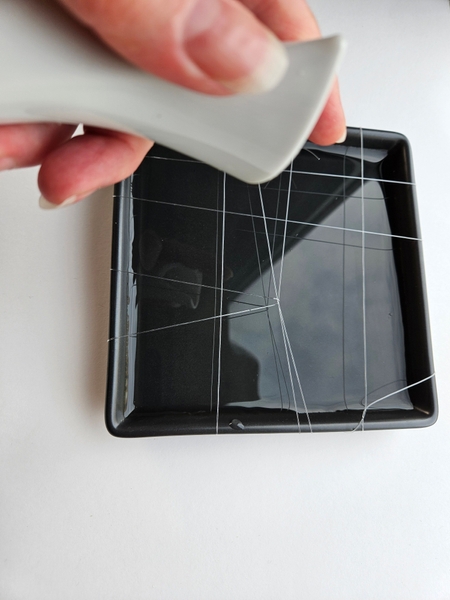
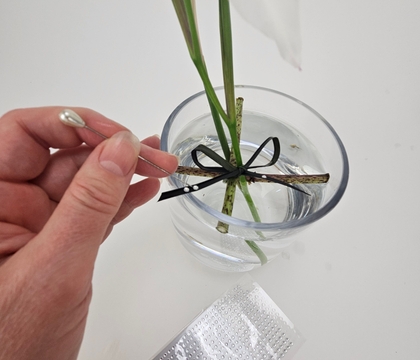
Fill the container with water so that it reflects through the line grid.
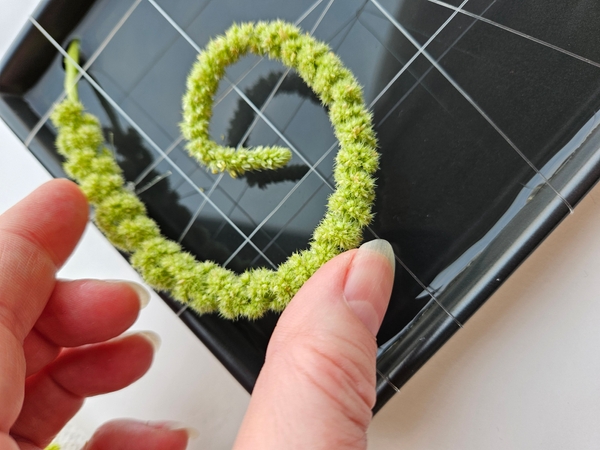
I drape the longer inflorescence of the Amaranthus to rest over the wire so that the cut end remains hydrated in the water below...
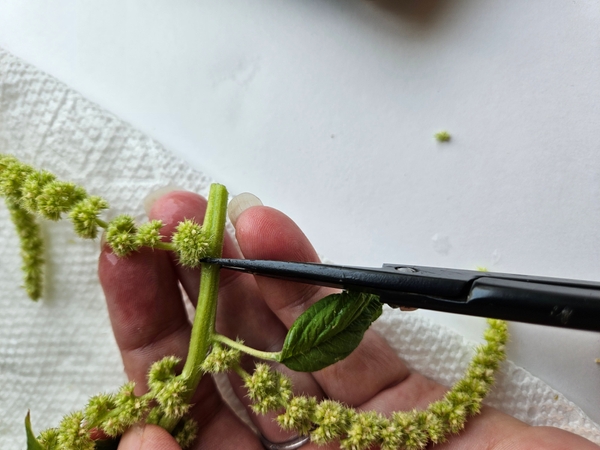
The shorter ones get a little foot so that they can stand in the water. Cut the inflorescence from the stem...
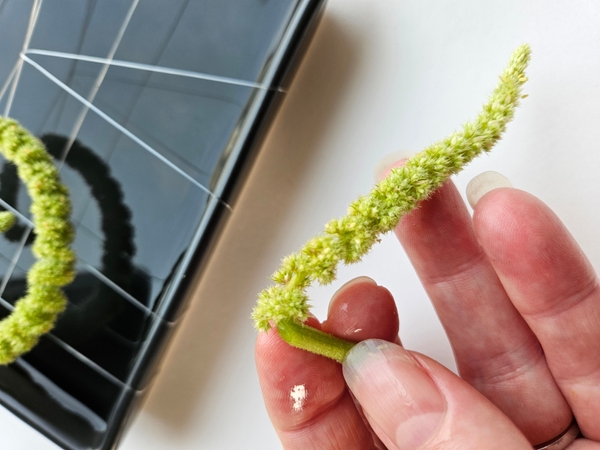
You need to cut a little stem so that the Amaranthus can drape flat over the line while still standing upright in the water.
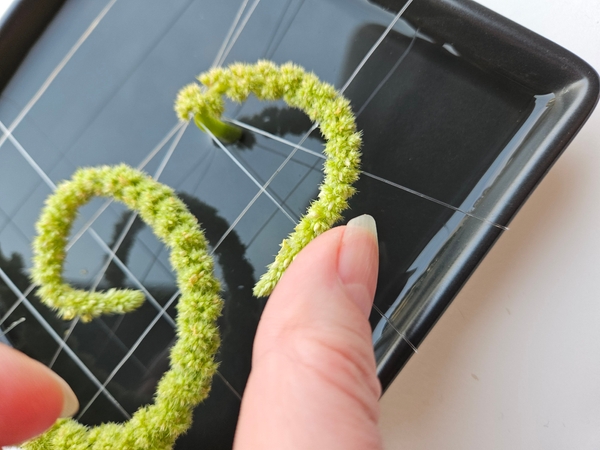
Slip the Amaranthus between the lines and drape it so that it is supported by the grid. Secure the Amaranthus with the tiniest bits of glue so that they stay in position.
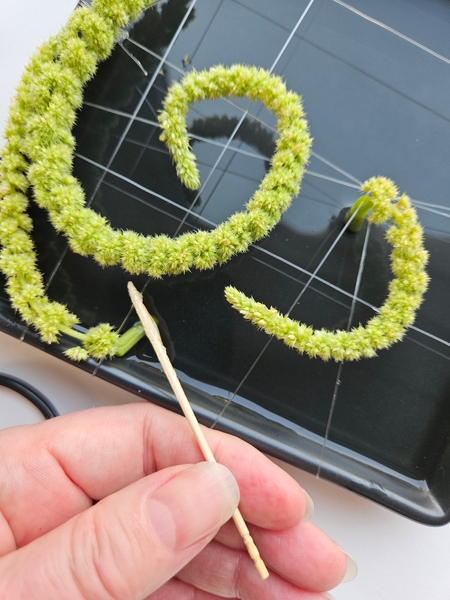
I use a bamboo skewer as an applicator for my floral glue. Dip the toothpick or skewer into the glue and apply the glue exactly where you want it. You have so much more control over where the glue gets placed than trying to apply it directly from the tube.
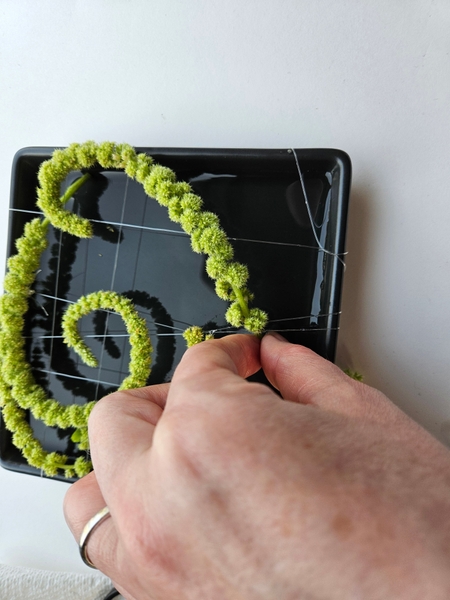
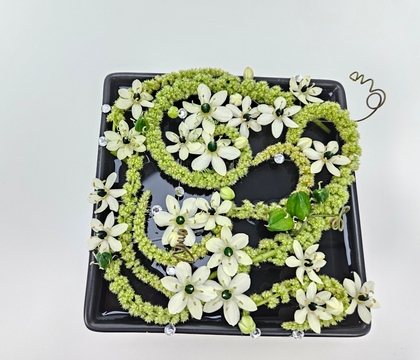
Create a swirled pattern on the line grid with the Amaranthus.
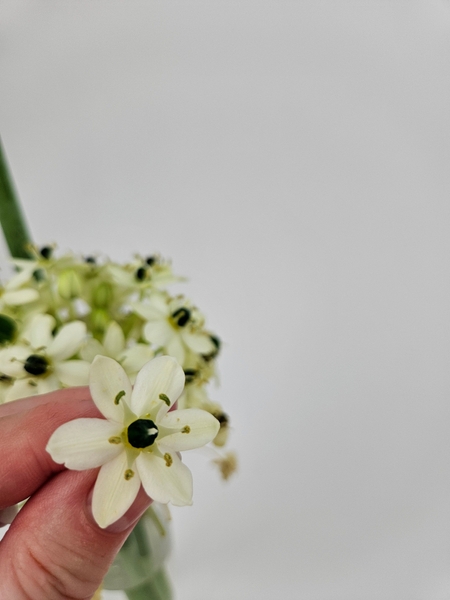
Snip the Eucomis floret away from the cluster...
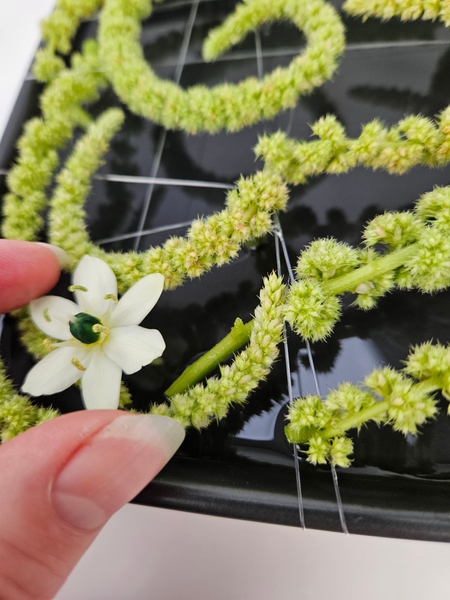
Make sure the tiny Eucomis florets have a long enough stem to stand upright in the design.
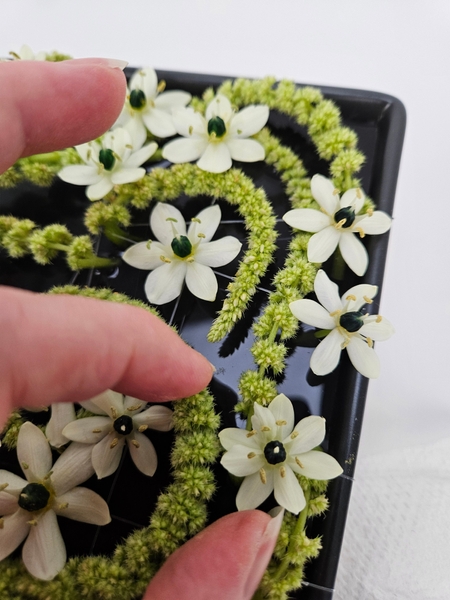
Build up the design with tiny Eucomis florets. I secured the flowers with a tiny drop of glue just to make sure they sit exactly where I want them.
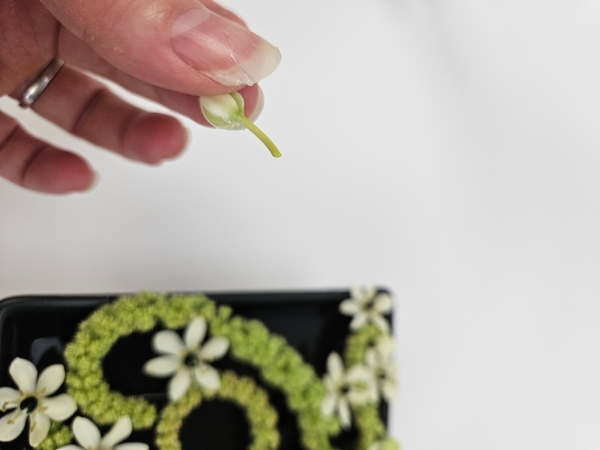
Let me show you close up where I add the glue... place the glue where the flower bud naturally forms a tiny ledge. Not on the petals (those rip way too easily if you want to reposition them) but here at the receptacle.
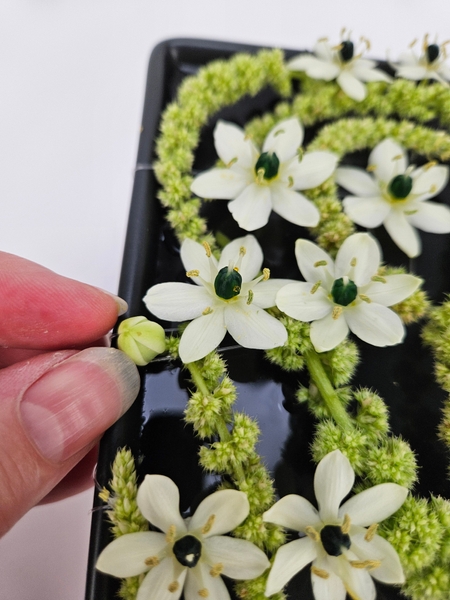
To place the now sticky part to lean on the line.
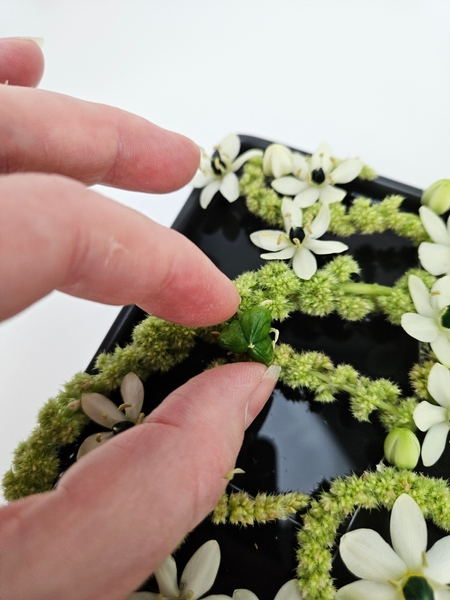
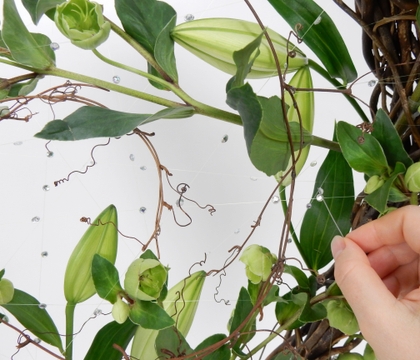
I also added a few seedpods...
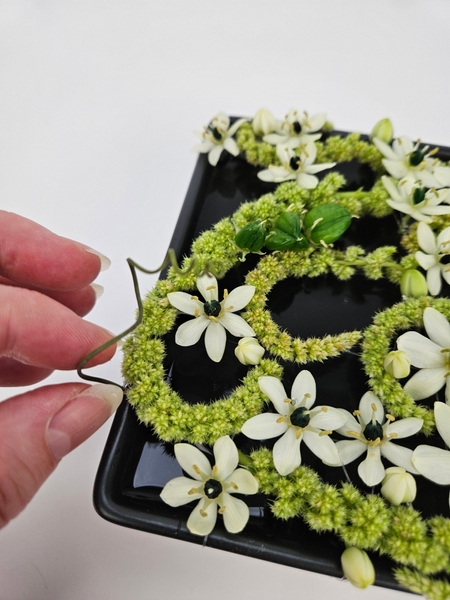
And a few Passiflora tendrils.
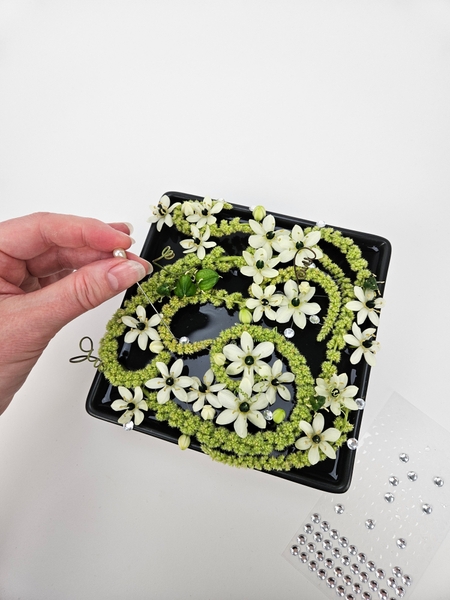
And I am balancing some of the larger crystals on the line to look like bubbles floating in the reflective pool.
Sign up for my weekly newsletter
Every week I add a new design with related tutorials. Be sure to subscribe to receive an email notification with design inspiration.
This section contains affiliate links. If you choose to explore any of these tools, I may earn a small commission at no extra cost to you.