Christine de Beer - effortless floral craftsman
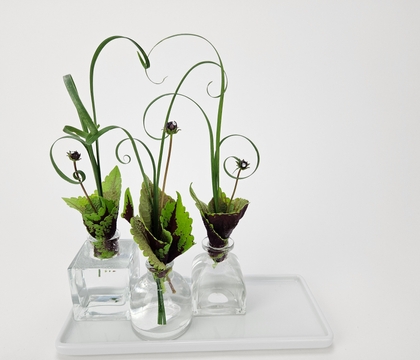
Foliage that sits under water (gasp, right!?!) to create a frilly design gap in bud vases
- 15 July 2026
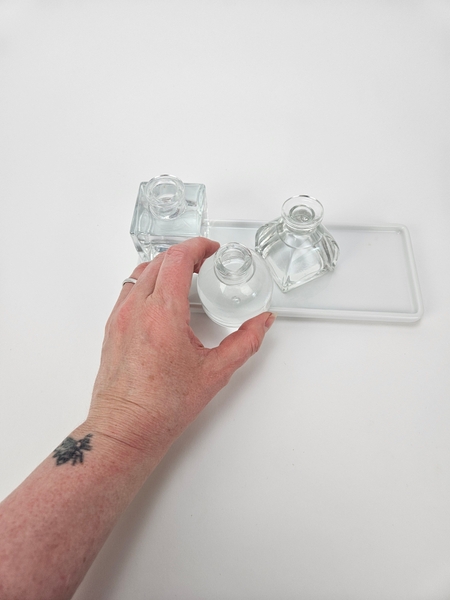
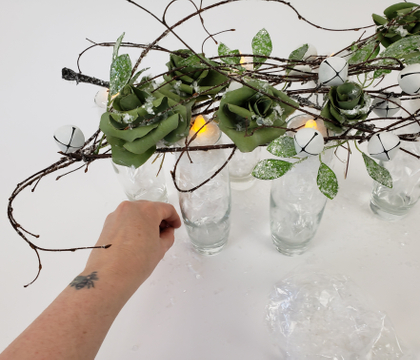
Arrange a few water filled bud vases on a display tray... be creative. Space them out, line them up, huddle them in a corner. Whatever your style.
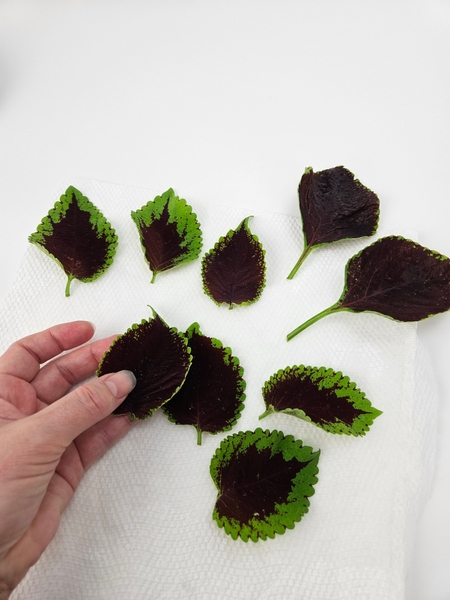
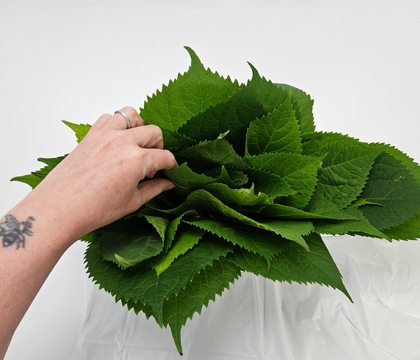
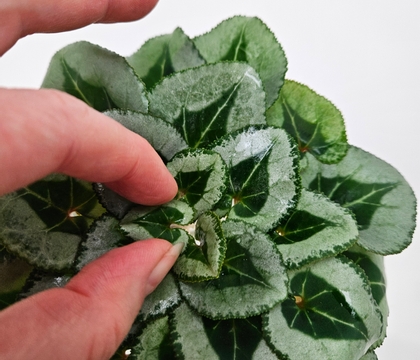
Wash a few coleus leaves and set them on a paper towel to dehydrate slightly.
Every Wednesday morning (Vancouver time), I send out a design note as an early glimpse at the newest Design and a few notes that I picked up creating the Tutorial that might be useful to you.
This week I tell you more about how you need to develop your own judgement and understanding of consequences while learning techniques so that you can instinctively know what "let the leaves dehydrate" means. It is one of those things that you learn by yourself while you are being taught something else.
If you’re new here, you can sign up below this post. And if you’ve been receiving these notes for some time, I hope they feel like a welcome break in your busy week.
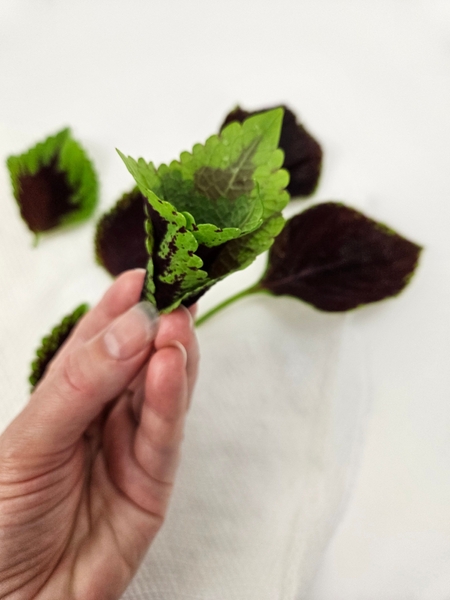
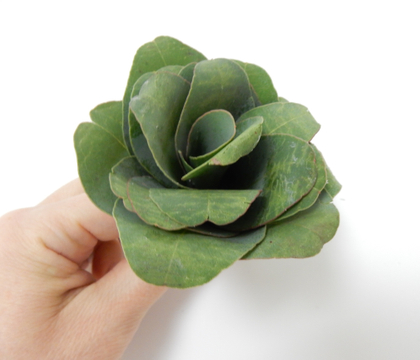
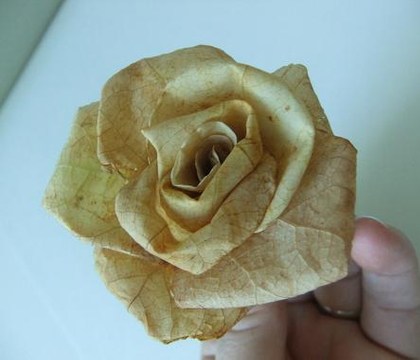
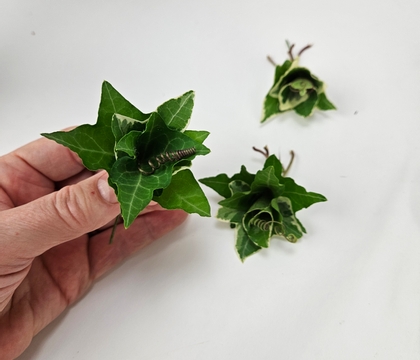
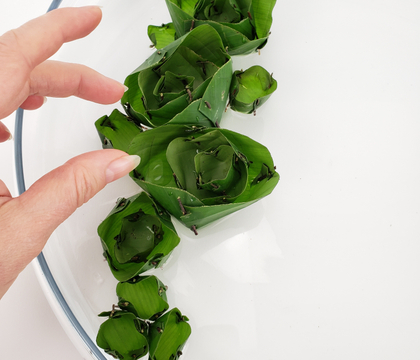
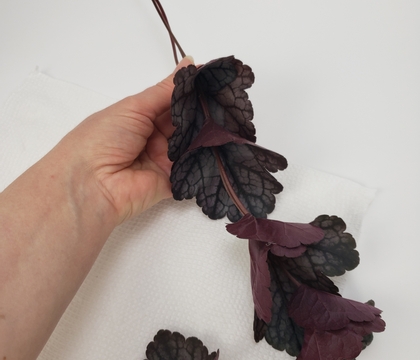
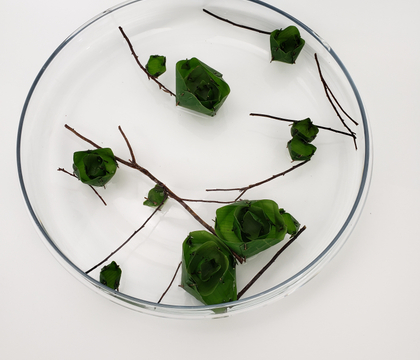
Roll three coleus leaves into a blossom. Are these not stunning? I grew them from seed this year. The coleus is called Mint Chocolate.
See the Tutorial below for more detailed instructions on how to roll leaf blossoms.
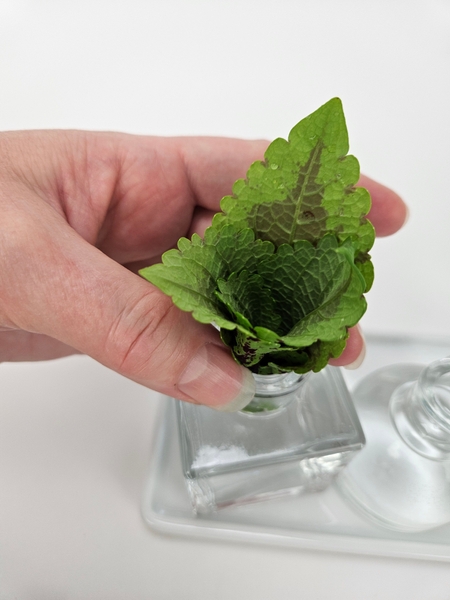
Set the leaf blossom with the cut stem deep into the budvase so that the blossom can rehydrate. On a really warm day you can spritz the blossom with water to help it rehydrate.
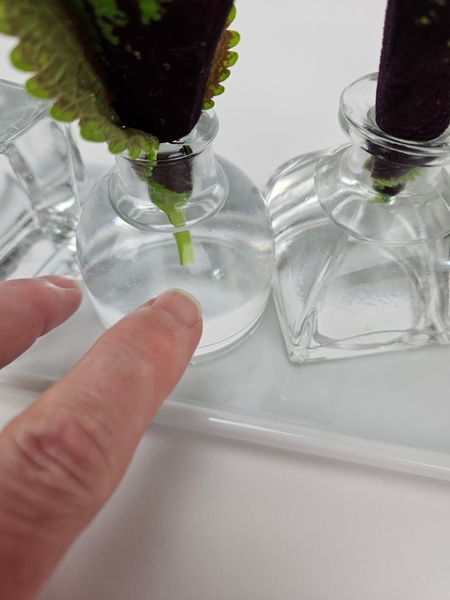
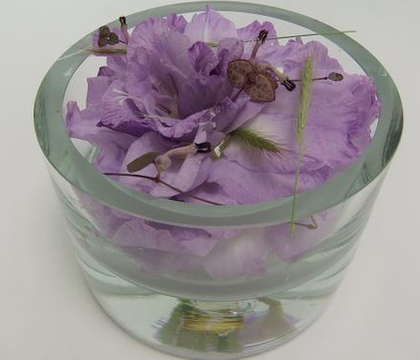
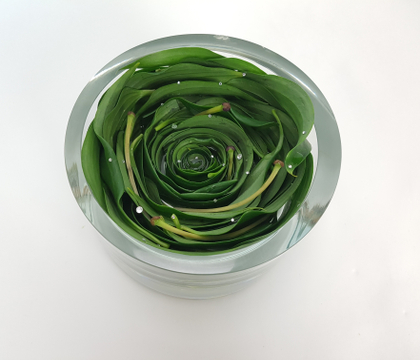
For this design we are not removing the foliage that falls below the waterline in our vases... we are designing the foliage to fall below the waterline.
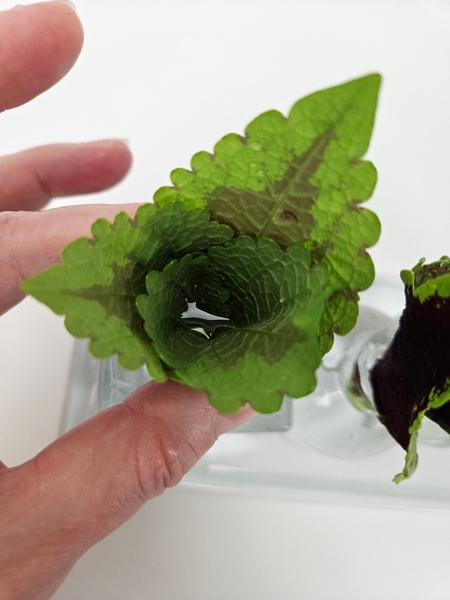
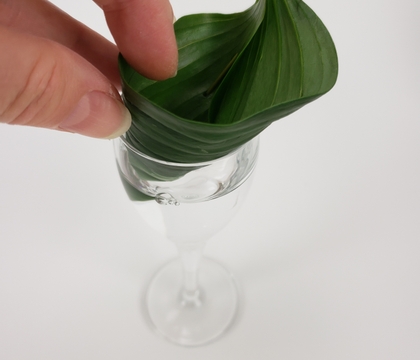
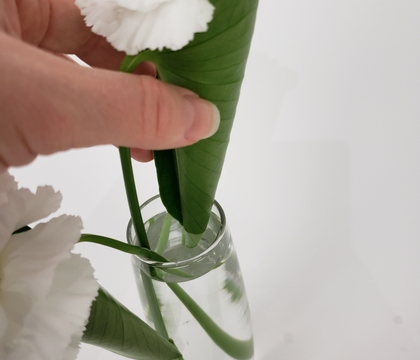
Top up the water to the top of the vase and then carefully pour water into the leaf cone as well.
Set the budvases aside until the leaf blossoms are fully hydrated and the leaf cone is no longer filled with water.
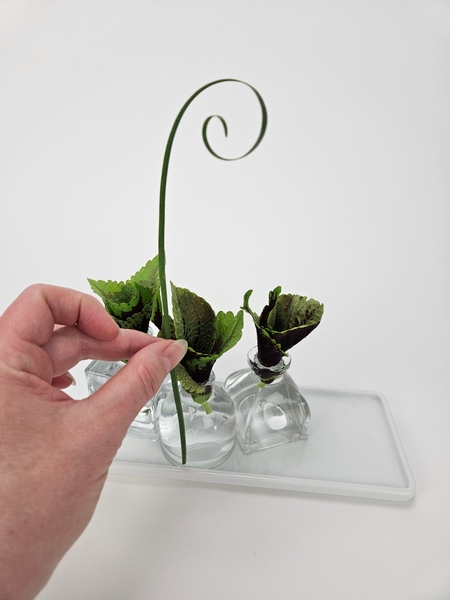
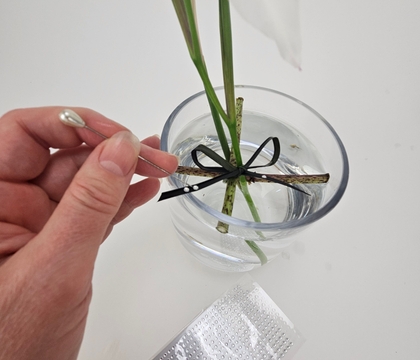
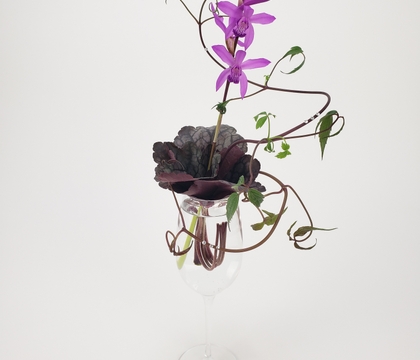
Measure a tall lily grass and curl it just enough to still give your budvase design the height you require. All the other grasses are now designed around this one to create little bundles that looks like blossom stamens growing out from the blossoms.
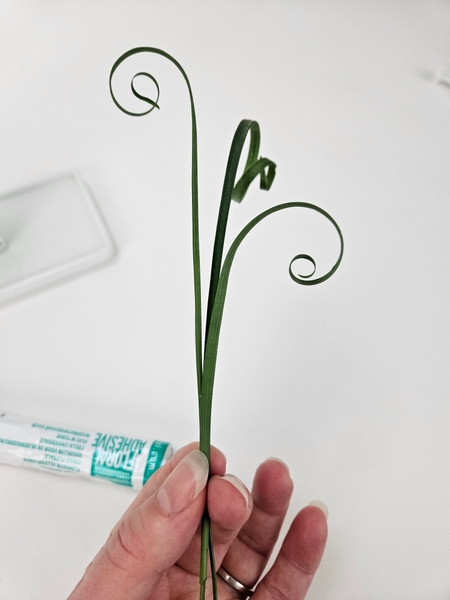
Design note: it is fairly easy to slip the lily grass into the coleus blossoms and the grass will remain upright but if you want to really design it to be... just so... design a small bundle of the curled grasses (see the Tutorial below for detailed instructions) and secure it with the smallest possible drop of floral glue. Then slip this entire bundle into the blossom.
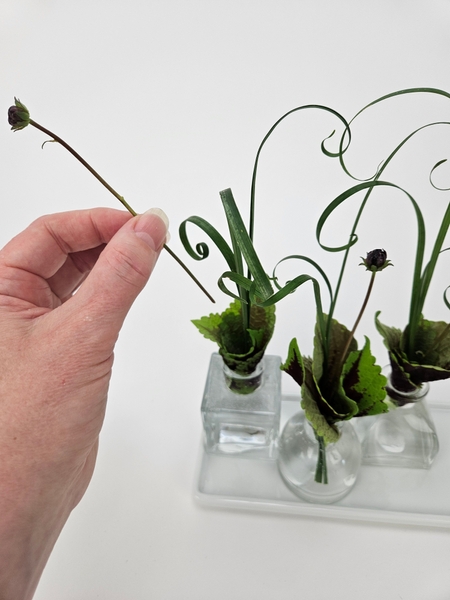
Insert a tight bud chocolate cosmos flower into each mint chocolate coleus leaf rosette as the pistil of the blossom.
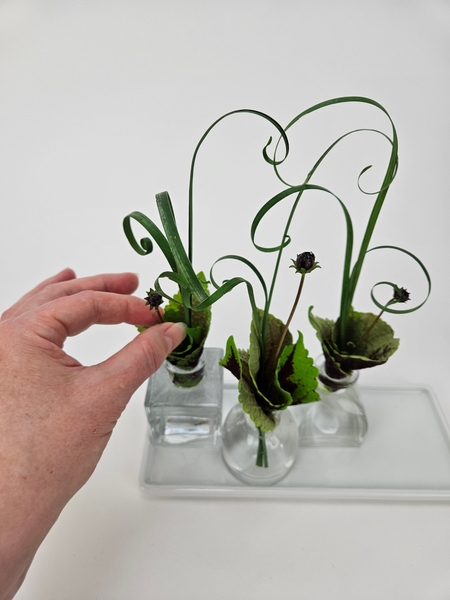
Design tip: screw in the firm chocolate cosmos bud stems rather than jab it in or pierce. Piercing the stem might damage the coleus leaves and this will be visible in the clear budvase. But if you twist the flower as you lower it in it will find its own way through the grass and settle exactly where you want it.
Make sure you do not damage the leaves so that the water in the budvases remain clean and bacteria free. You want the design to look at pretty as possible for as long as possible.
Book readers turn to page 69 to learn more about first aid for your design elements. Our plant material tell us exactly what they need to survive if we pay attention.
For more information about my book: The Effortless Floral Craftsman
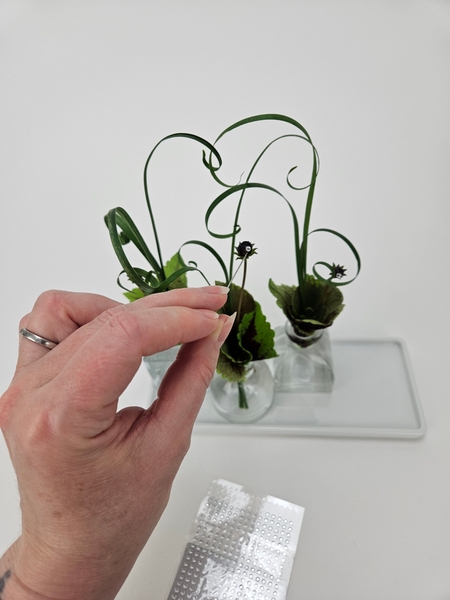
And I finish my design with a shiny dew drop crystal that sparkles on the chocolate cosmos buds like a lazy little pollinator in summer.
See the Tutorial below for detailed instructions.
Sign up for my weekly newsletter
Every week I add a new design with related tutorials. Be sure to subscribe to receive an email notification with design inspiration.
This section contains affiliate links. If you choose to explore any of these tools, I may earn a small commission at no extra cost to you.