Christine de Beer - effortless floral craftsman
Cupped Calla lily foliage sprouting seed pod shelter
- 8 April 2026
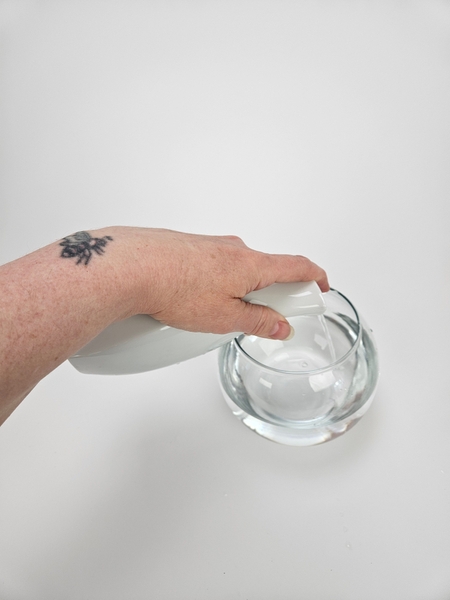
I am using my everyone-probably-has-at-least-one tried and tested fish-bowl vase to curve my stems into.
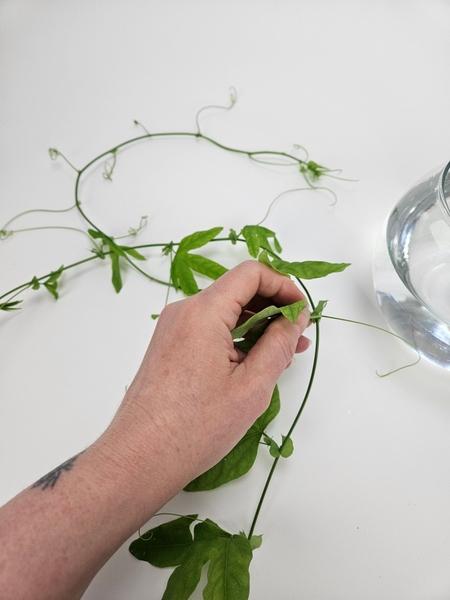
Prepare the Passiflora vines by carefully removing the foliage.
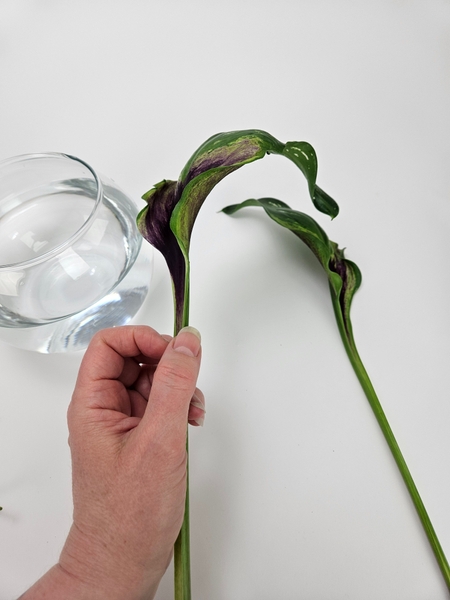
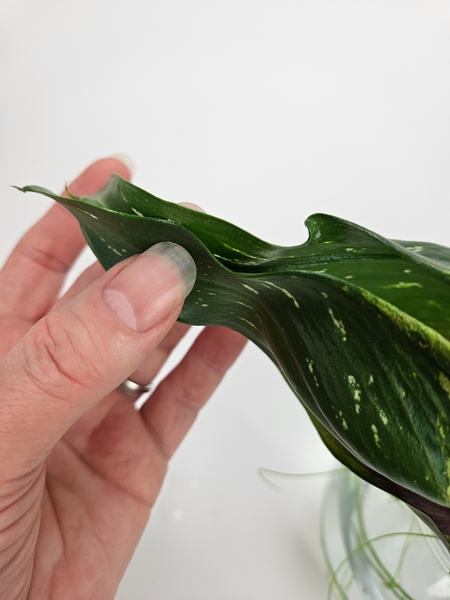
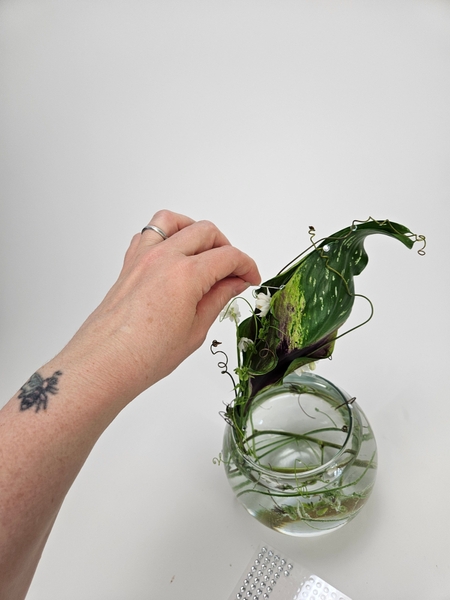
To design my pod armature I am using two curved arum lily leaves.
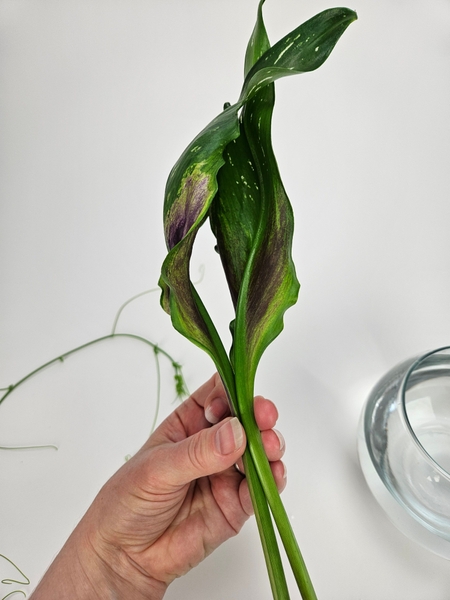
Match the two leaves together so that the undersides faces out (the pretty side in, for a change) to create a pod shape.
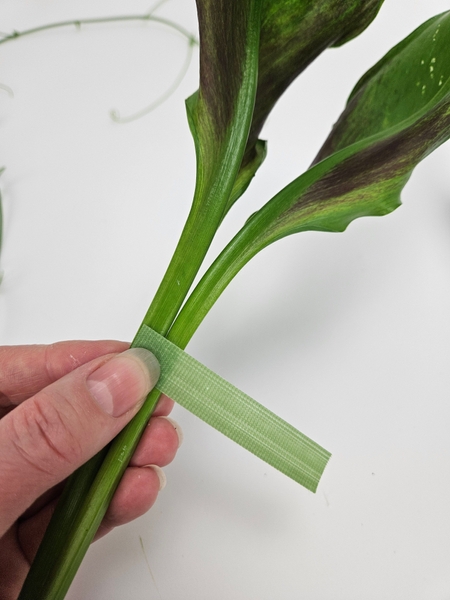
Use a small strip of green garden Velcro to secure the leaves, first high...
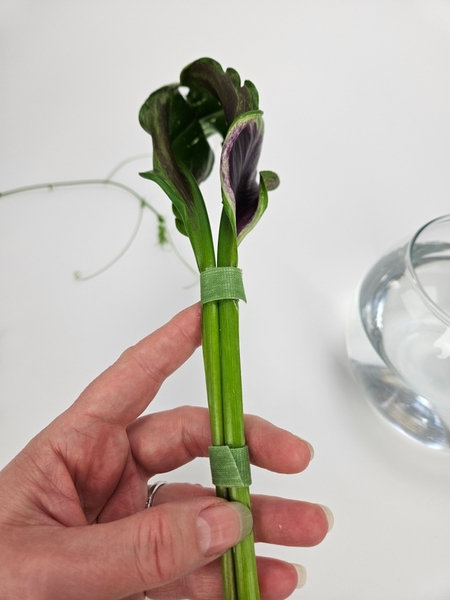
And another strip of Velcro slightly lower.
Make sure the Velcro hold the stems but is not so tight that it binds the stem so that it can't hydrate. Notice the gaps? These are perfect to slip flowers stems into to keep them in position below the water.
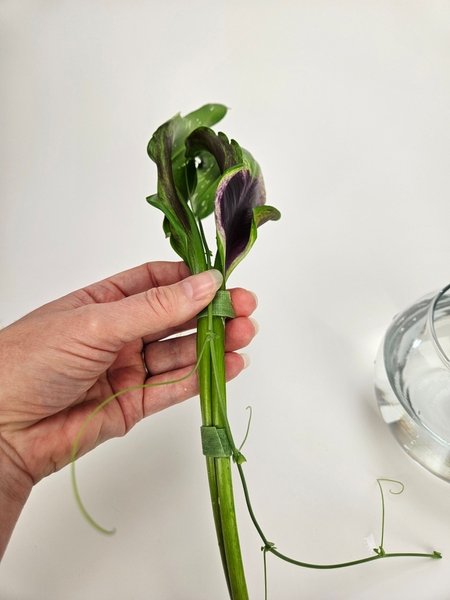
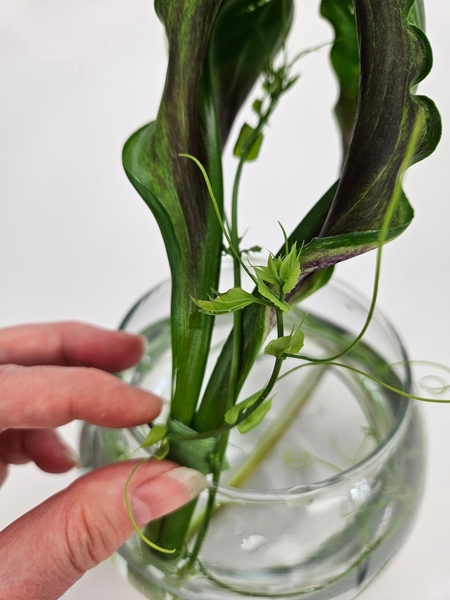
Slip a Passiflora vine through the two leaves to keep it in position...

... and wrap the rest of the vine around the stems of the foliage...
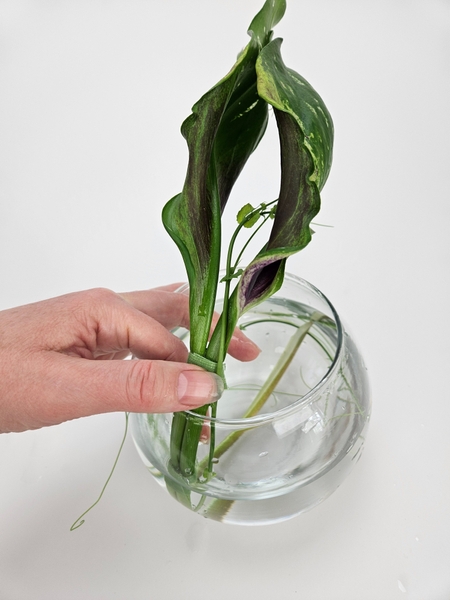
Slowly curve the arum lily foliage stems to follow the shape of the fish bowl vase and release the Passiflora vine to unroll under the water.
Book readers turn to page 299 where I talk about manipulating stems if you want to curve the calla lily foliage before adding it into the vase to make sure you have a perfect curve. For more information about my book: The Effortless Floral Craftsman
... but to get you started you can also find a Tutorial linked below this post with detailed instructions on how to curve the spongy calla stems.
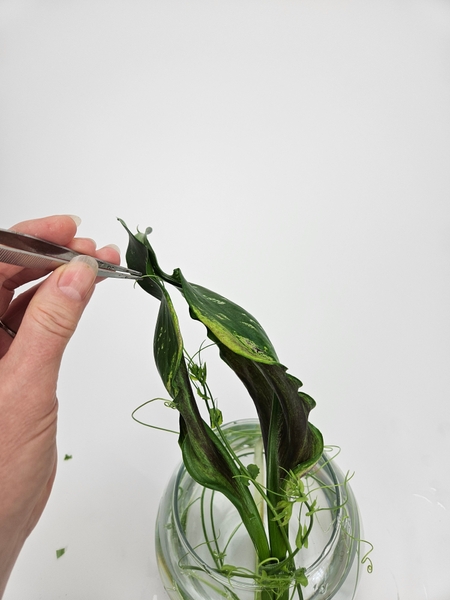
Use a tiny drop of floral glue to secure the foliage tips to close up your pod armature at the top.
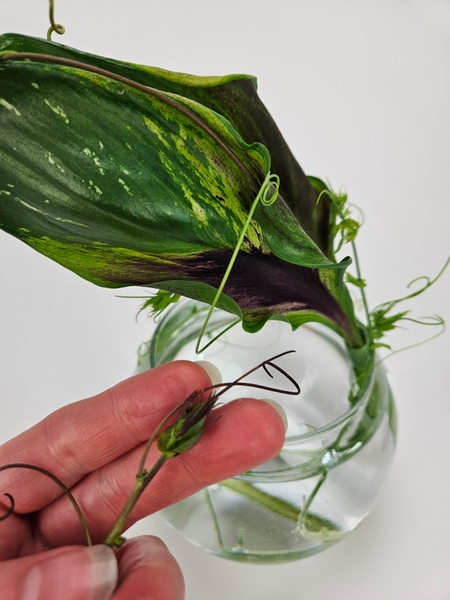
Carefully add in more Passiflora vines to look like they are vigorously growing up the pod shaped leaves.
Use a tweezer to adjust the tendrils so that they curl and grab onto the leaf-pod
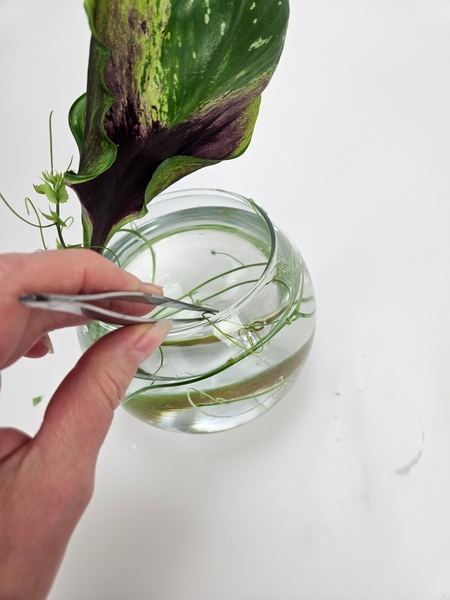
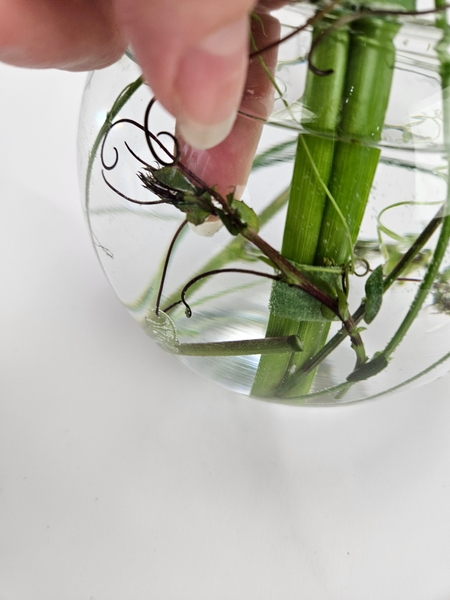
... And curl the tendrils over the edge of the fishbowl vase below.
Every Wednesday morning (Vancouver time), I send out a design note as an early glimpse at the newest Design and a few notes that I picked up creating the Tutorial that might be useful to you. This week, I show you why I take so much care to place the tendrils just so.
If you’re new here, you can sign up below this post. And if you’ve been receiving these notes for some time, I hope they feel like a welcome break in your busy week.
I am also adding darker Passiflora tendrils into the design to match the foliage colour.
Design note: I grow two Passiflora plants (I take cuttings and grow new vines every year) one in full sun and one in bright light. The one in full sun grows its own "sunscreen" and is burgundy in colour. The one in bright light grows less robust vines and is a bright green.
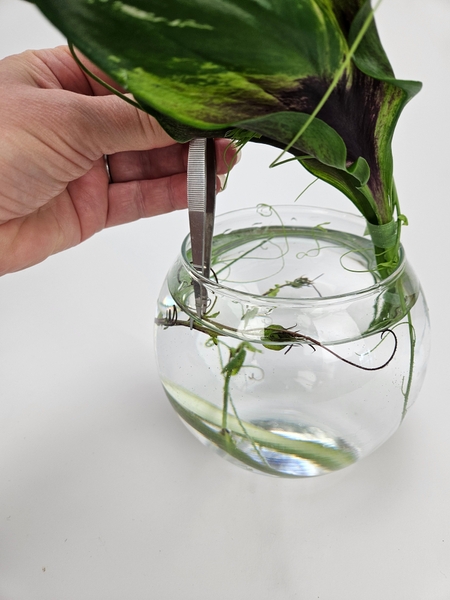
Adjust the vines under water with tweezers...
... to (at least) somewhat conceal the Velcro.
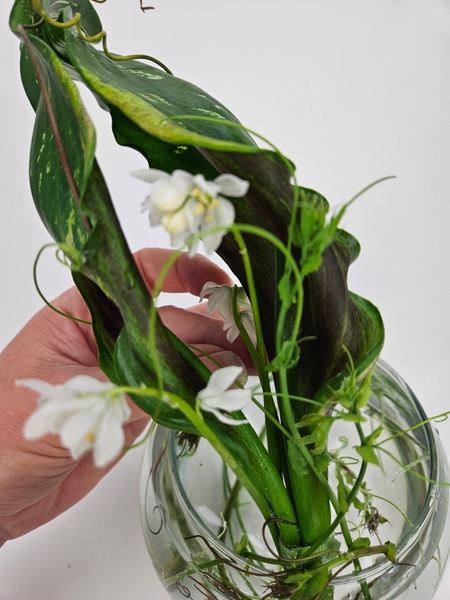
Slip the delicate Siberian Squill stem through the gap in the Velcro to keep it in position.
And I finish my leaf-pod design with large and dramatic dew drop crystals.
See the Tutorial below for detailed instructions on how I add the dew drop crystals without damaging the delicate plant material.
Sign up for my weekly newsletter
Every week I add a new design with related tutorials. Be sure to subscribe to receive an email notification with design inspiration.


 of autumn leaves so create a natural, upright flower frog")


 cap!")


