Christine de Beer - effortless floral craftsman
Using European OASIS floral glue to secure floral details… yes! It makes a difference
- 22 June 2022
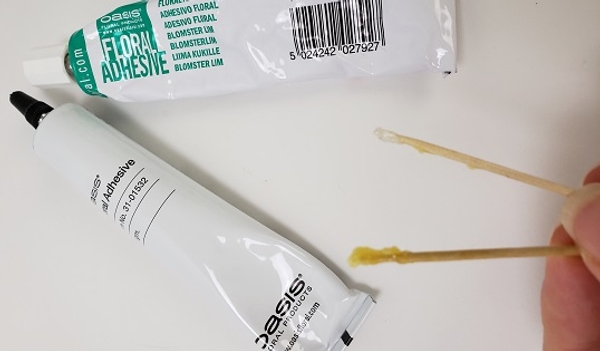
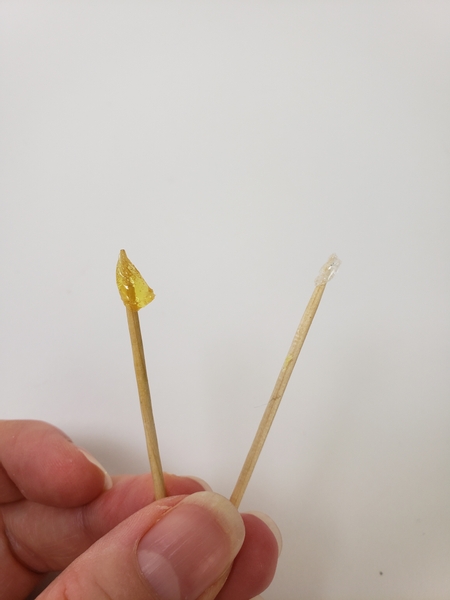
Before we get started with the design a spoiler alert: Both of these are OASIS floral glue. The yellow one is in available in America and the clear is the European one. For this design (actually all my designs) you need the clear one. I will show you why... but first let's get the design ready
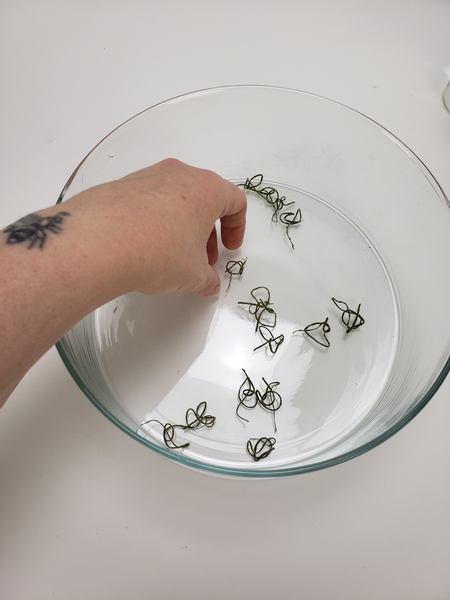
This design also requires a bit of preparation work first. So simply knot a few delicate stems (I use the flower stems that I cut away from my wisteria after the flowers drop) into the beginning of a wreath...
If you are unsure of how to begin weaving a wreath see the Tutorial below for detailed instructions.
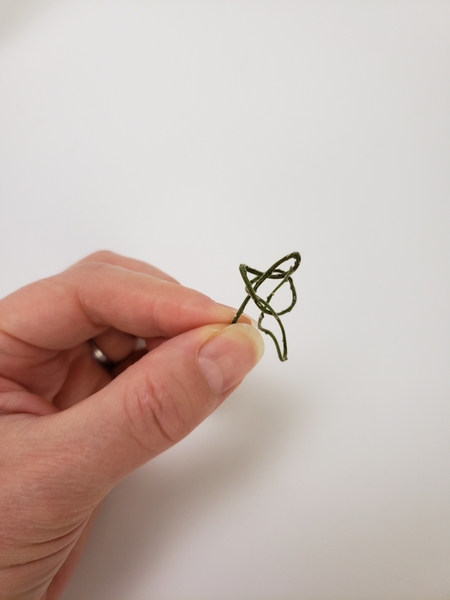
Simply set the knots somewhere where it can dry... and you naturally get these curly tendrils to add to a delicate design.
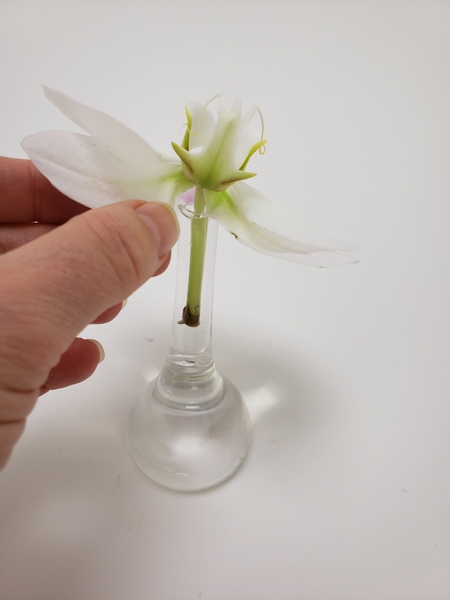
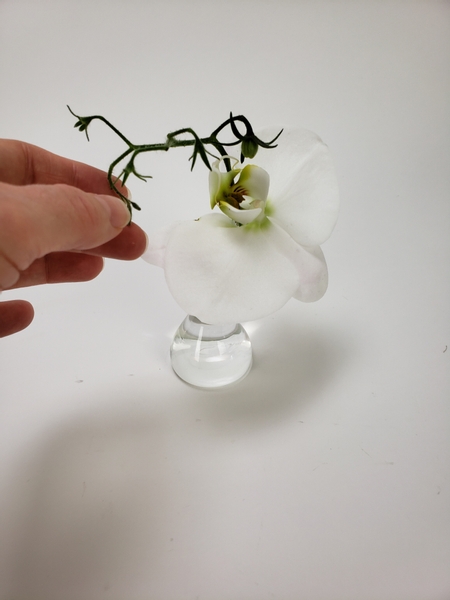
Place a Phalaenopsis orchid into a bud vase.
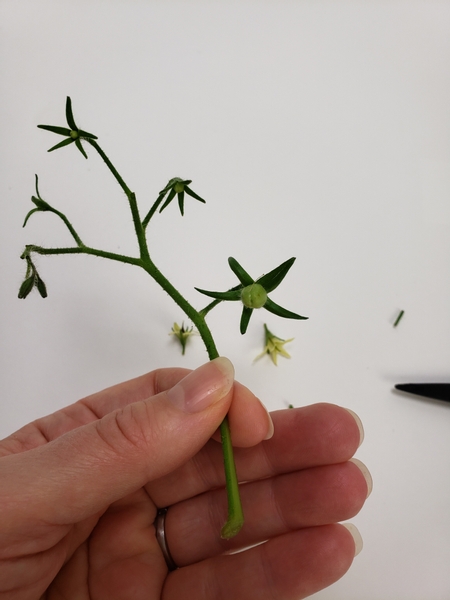
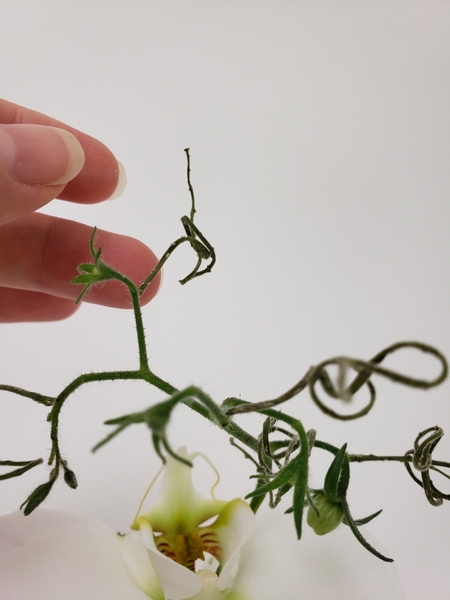
Groom a tomato stem by snipping away stems or wilting flowers. This also creates stems perfect for...
... gluing in design details. Place the tomato stem into the bud vase.
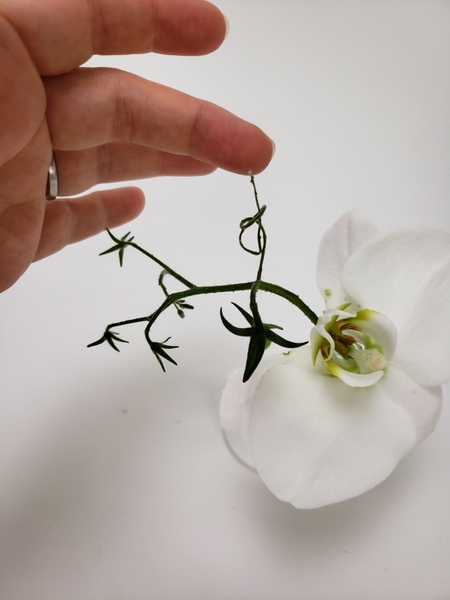
And glue in the dried stem tendrils.
I am always asked how do I glue such delicate, delicate details to stay just so.
Firstly the design details will sit seamlessly if you cut it just right. To show you how I do that I have added a detailed Tutorial below.
The next bit is... it's in my nature to do so. It comes naturally to me. Just as you have natural things you "just do" when designing, this is one of mine. It was actually the very first hint of what my design style would become and my design mentors would comment that they couldn't believe that I sat there and glue all these things to my design when I was still studying Floral Design. And I still do. You can read a lot more about developing your effortless style in my book The Effortless Floral Craftsman
But the easy part... the easier part... the "it should have been so easy" part... choose the right glue. Securing delicate design details takes practice and there are a few techniques that can make it a whole lot easier. I share some more of those with you in our email this week (the sign-up is below the post if you want to join the conversation) BUT the right glue also matters.
This is Oasis floral glue. Yes both.
The gum yellow glue is the American version and the clear glue is the European version.
I highly recommend that you get the European version of this glue. The yellow gummy glue is probably more suitable for less delicate work, although I don't really do those. I might keep this tube for securing autumn leaves in bulk just so that I don't trash it full.
But I order my tubes from Europe. The search continues for an alternative.
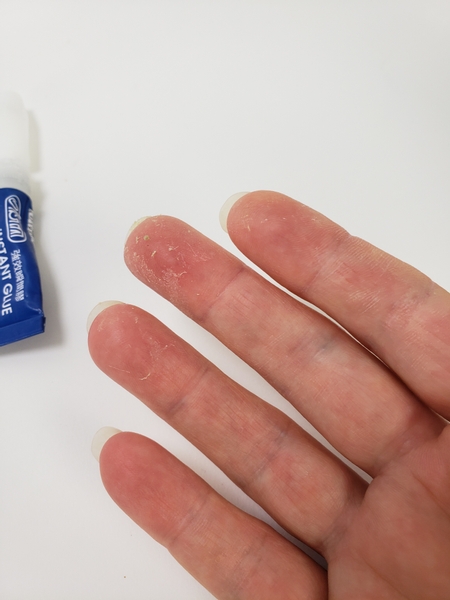
Design Note: I am experimenting with aquarium plant glues. So far I have glued my fingers perfectly and for one panicky moment I thought permanently... but oddly enough no glue stuck to the plants. Might work better if you glue the plant material under water. The search continues.
But I would love, love to hear from you. Do you have a suggestion for an alternative to the Oasis floral glue?
Use as little glue as possible. Just enough to set your design detail at the perfect angle.
Design note: Make sure the details point in a general upright position so that it looks perky and fresh. Book readers turn to page 378 for a design that relies on this kind of placement. Every single design detail is placed for its perkiness.
For more information about my book: The Effortless Floral Craftsman
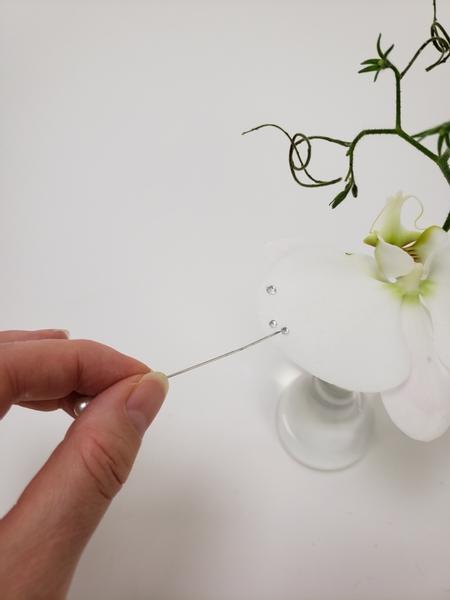
Finish the design with a few dew drop crystals.
See the Tutorial below for more detailed instructions on how (and why) I add the crystals with a pin.
Sign up for my weekly newsletter
Every week I add a new design with related tutorials. Be sure to subscribe to receive an email notification with design inspiration.


