Christine de Beer - effortless floral craftsman
Weave a small wreath in the side twig of a willow branch to keep a flower in place in your design
- 11 September 2019
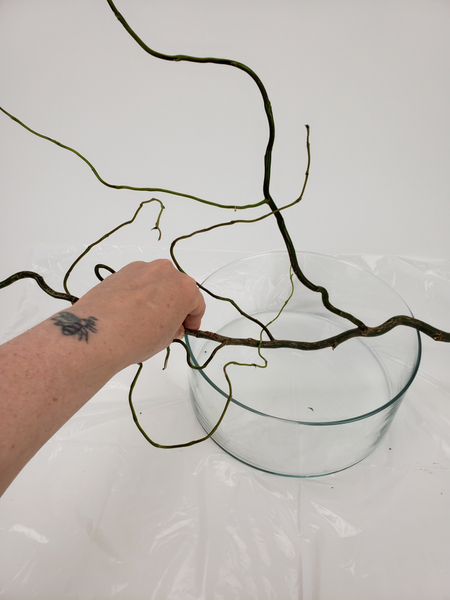
Pick out a sturdy willow branch with a pliable twig growing from it
If you are interested in learning more about the "how's" and "why's" of manipulating twigs you can find a lot of information in my book. I also have more information in the Tutorials below.
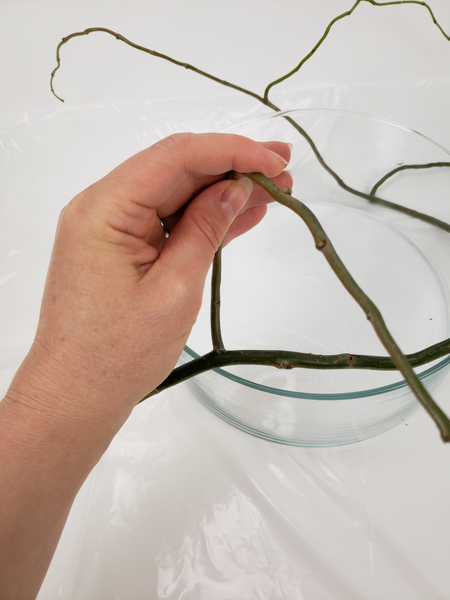
Carefully loop the side twig...
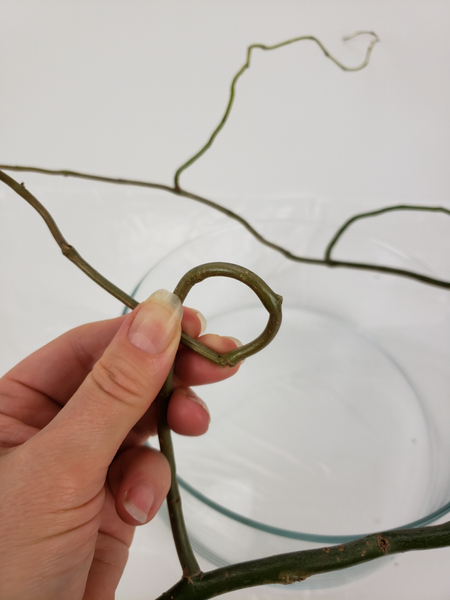
When you can bend it into a circle you can start to weave the tiny wreath.
See the Tutorial below in my Tutorial section for more detailed instructions on wreath weaving.
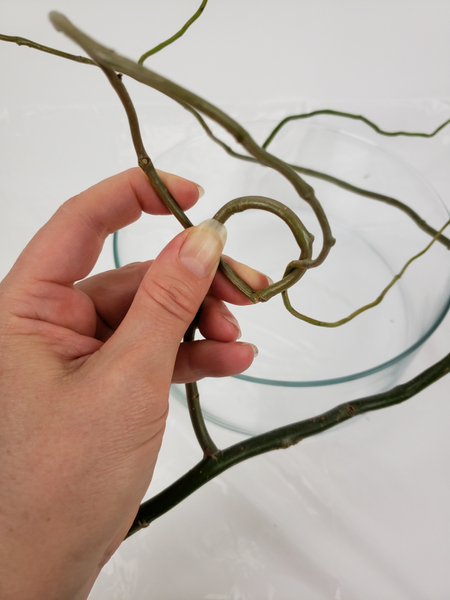
Slip the twig through the loop and start to weave.
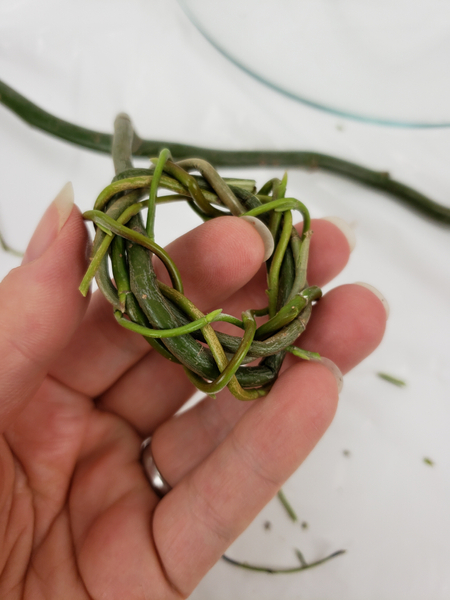
Weave the entire twig in on itself without cutting it from the main branch.
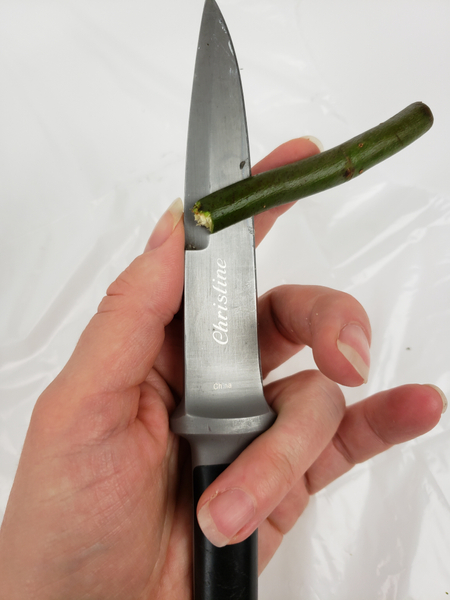
Split a part of another twig to peg the branch in place.
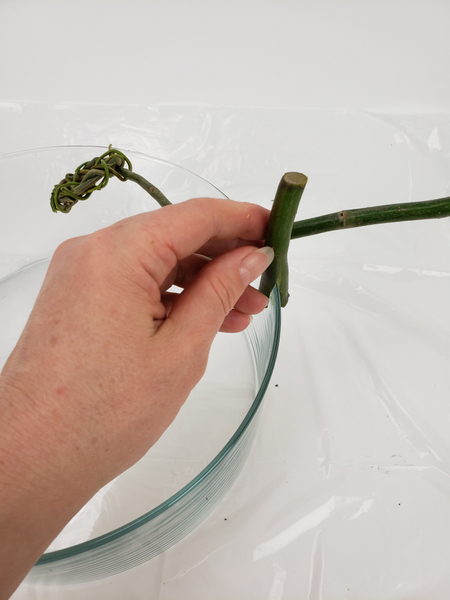
Slip the split twig over the edge of a container taking care not to split the entire twig in half.
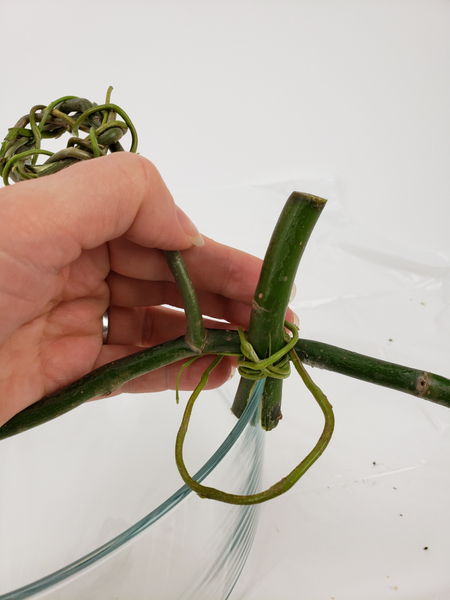
Place the branch with the wreath over a container with straight-up sides. Secure the branch to the split twig with a fresh willow twig
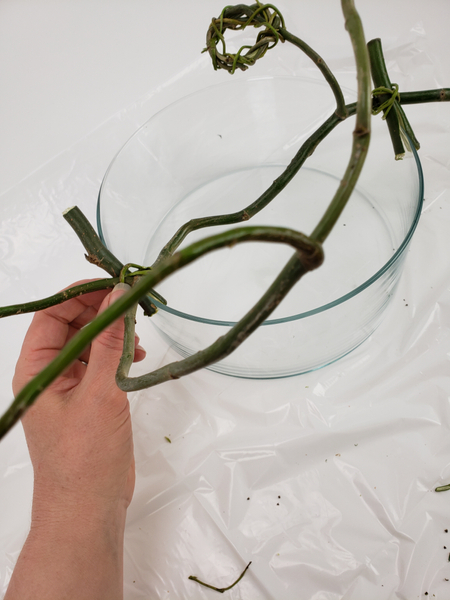
Secure the other side.
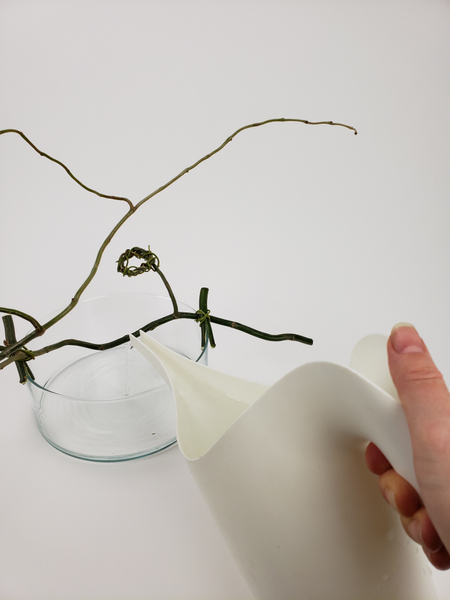
Fill the container with water so that the flower stem will remain hydrated.
Twist the willow branch so that the wreath is positioned over the water... and able to support the flower stem.
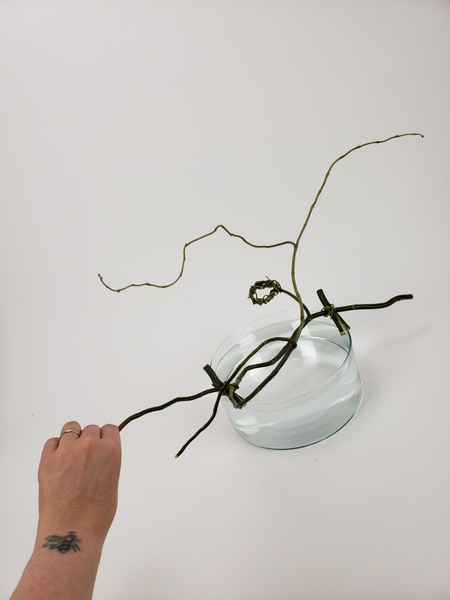
For this design it is important that the wreath is in such a position that the flower is fully balanced on the wreath and will not tip over at some point as the wreath dries.
Design Note: I have also included a bonus tip for newsletter subscribers to make extra sure the flower will not tip over.
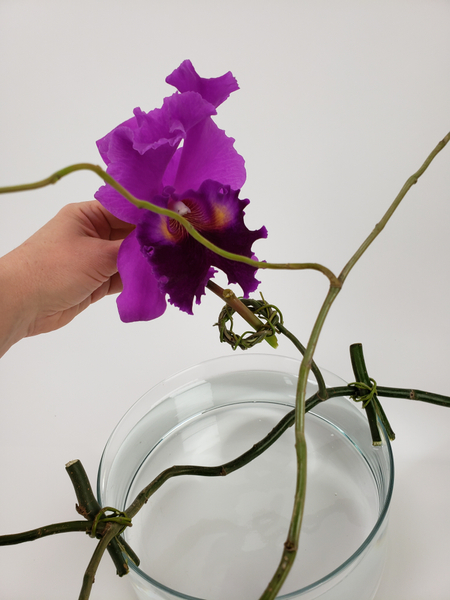
Slip the Cattleya orchid through the wreath making sure the stem end rests in the water.
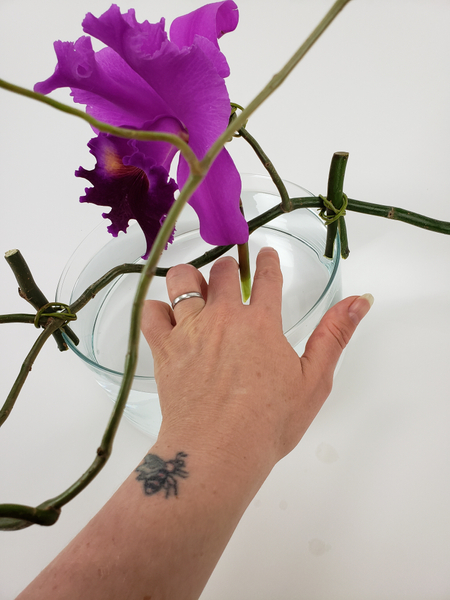
Play around with the balance to make sure the orchid stays in place. If the top heavy flower head tips over twist the entire branch carefully until it rests securely in the hollow of the wreath.
Sign up for my weekly newsletter
Every week I add a new design with related tutorials. Be sure to subscribe to receive an email notification with design inspiration.


