Christine de Beer - effortless floral craftsman
Latch an imperfect stem support for thin stemmed and heavy design details
- 5 July 2023
This time of year is perfect for harvesting... stems. As we deadhead some of our flowers we are left with rather pretty stems that can absolutely be used in a design.
This technique actually works better if your stems are not perfectly straight. I wanted to show you more about why I choose these crooked stems in a way that you can ask me questions... or comment on the idea so I added it as a tip in our email this week. You can subscribe below this post if you are not yet receiving your email. Also I would love to hear what you are designing or growing... or for you to say hi. Please be patient though... I do respond to all the emails but some weeks it takes me a few days to work through them all.
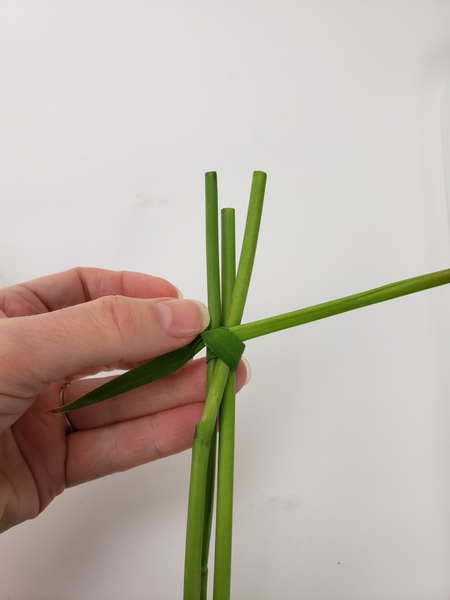
Use a blade of grass (or an iris leaf as I did here) to knot the ends of the stems to latch it together at both sides.
Book readers turn to page 59 for a gorgeous knot to try if you want to level up this design. It is absolutely a knot every floral designer needs to master.
For more information about my book: The Effortless Floral Craftsman

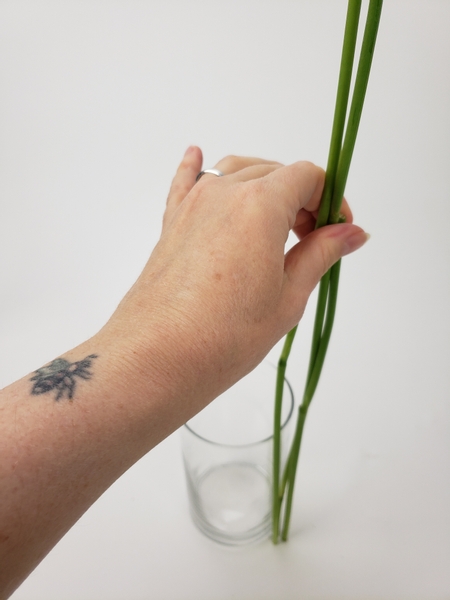
Rest the stem support over a water filled container.
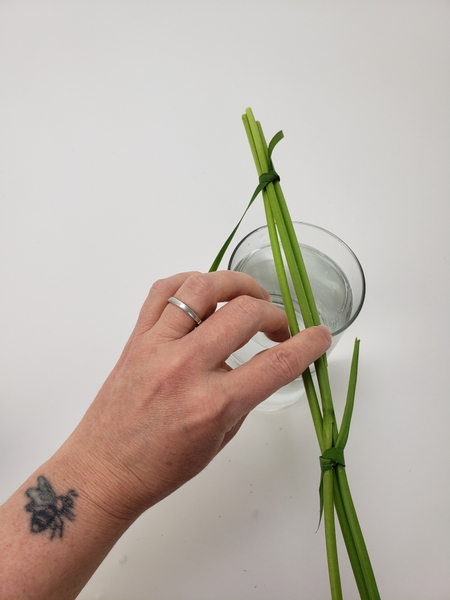
Wiggle the stems a bit so that they find a natural and balanced way to sit snugly on the container.
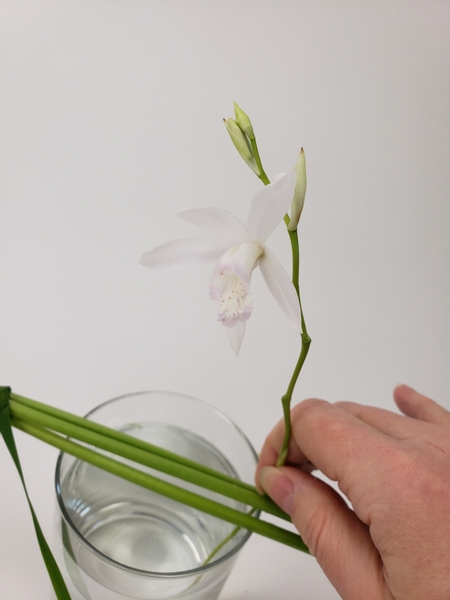
Slip the thin stem through a gap in the latched support stems. Move the stems into a position where they fit , but are not pinched, between the two stems.
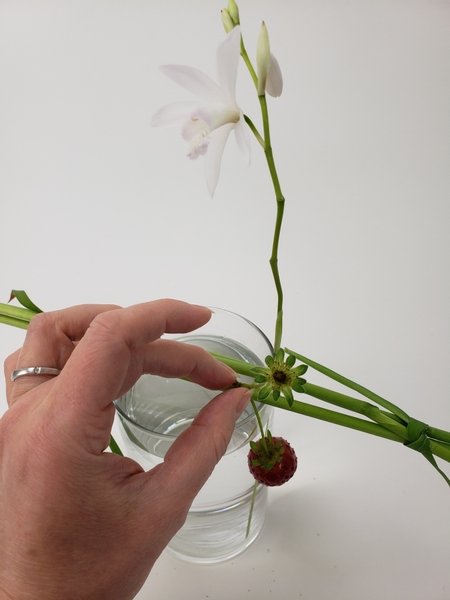
Do the same with the thin and droopy stems of the strawberries.
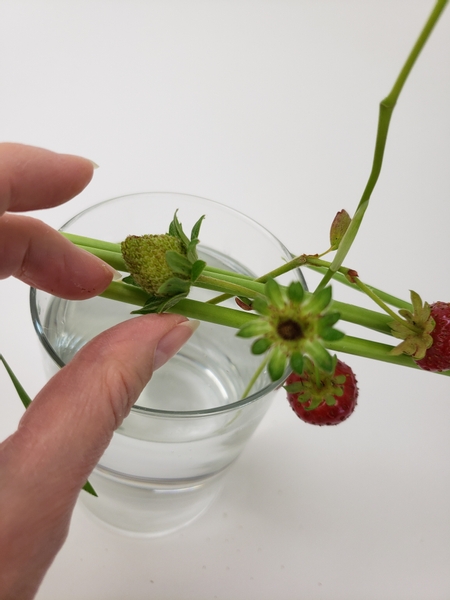
Gently thread the strawberry stems deeper into the water until you find a position where the stems carry some of the weight of the berry to tilt it slightly up to keep it from looking wilted or sad. Or where possible use the support stem to prop up a berry.
This is really important. Even more so when designing in summertime when flowers can start to look wilted really quickly. Make sure the design details have a general uptilt to it so that it looks fresh and happy. Like a smile... always curve the design details up.
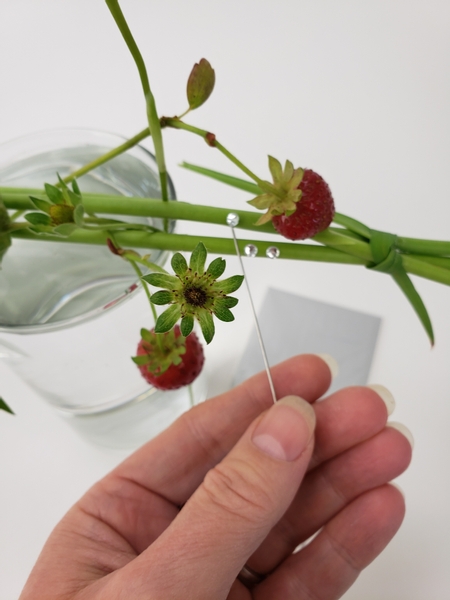
Finish your design with a few dew drop crystals.
See the Tutorial below for more detailed instructions on how and why I add the crystals with a pin.
Sign up for my weekly newsletter
Every week I add a new design with related tutorials. Be sure to subscribe to receive an email notification with design inspiration.


