My Creative Workbook

Christine de Beer - effortless floral craftsman

Three drop Lantern

Fill a floral vase with water

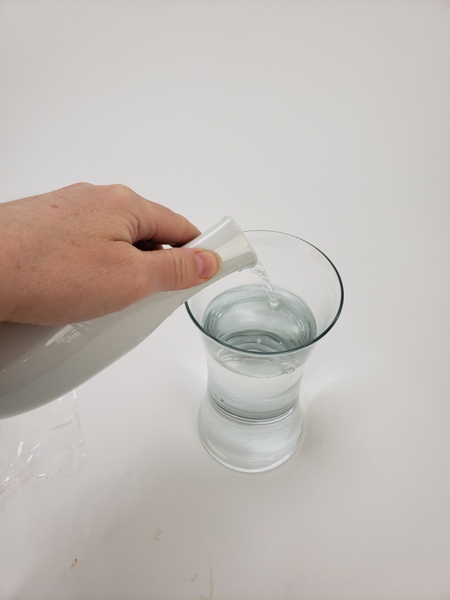
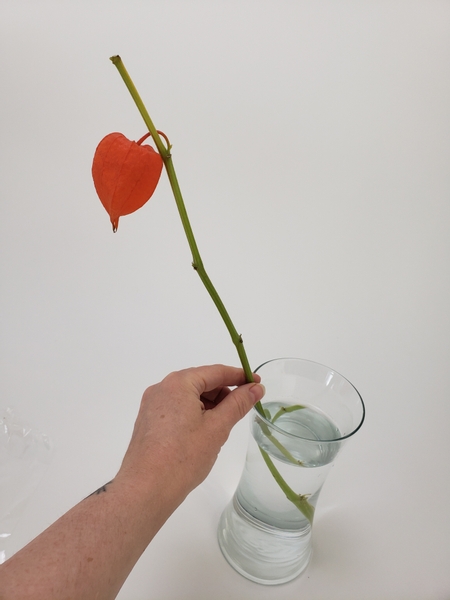
Fill a floral vase with water... you can (of course) skip this step if you dried the husks before designing. I liked the idea of the top most Chinese lantern still attached to its bright green stem... and I added water to preserve the bright green of the stem to match the dried hydrangeas I want to add. So the water is for the stem and not so much for the floral details.

Place a tall Chinese Lantern stem in the container

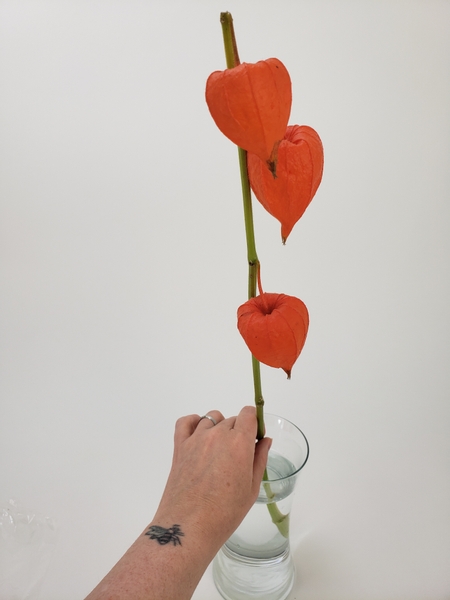
Place a tall Chinese Lantern stem in the container.

Pick out the prettiest lantern stem to hang the rest of the design on

Pick out the prettiest lantern stem to hang the rest of the design on. I love this curve of the stem. It will go so well with the rest of my design details... so...

Cut away all the other pods on the stem

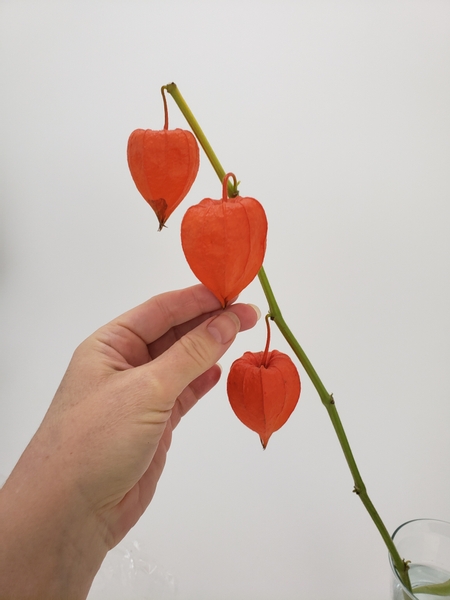
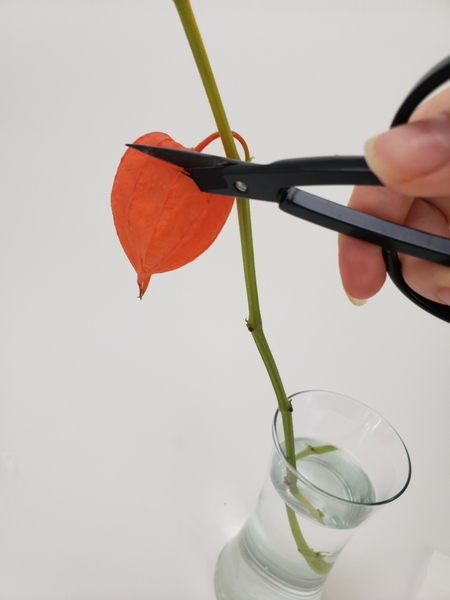
Cut away all the other pods on the stem.

Adjust the stem so that it sits securely at an angle to let the pods drop down

Adjust the stem so that it sits securely at an angle so that the pods that you glue in will dangle neatly down.

Cut a window out of the pod to expose the bright berry

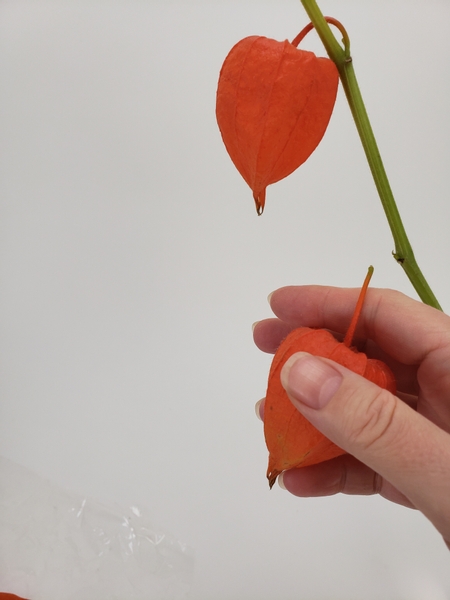
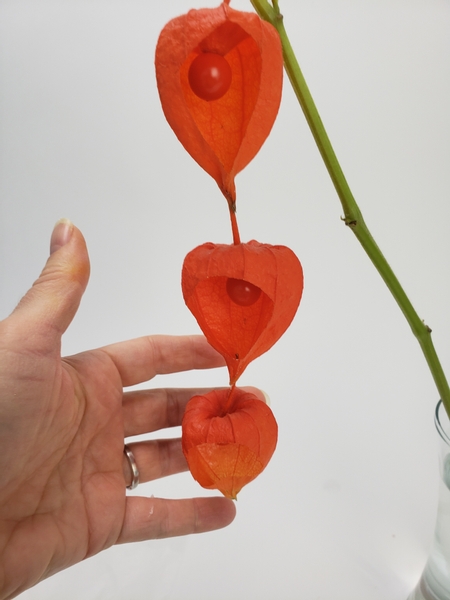
Cut a window out of the pod to...

Expose the bright berry

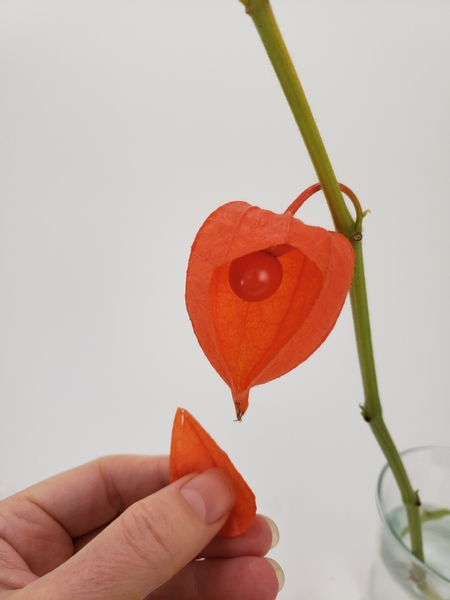
Expose the bright berry.

Do the same with the other two pods

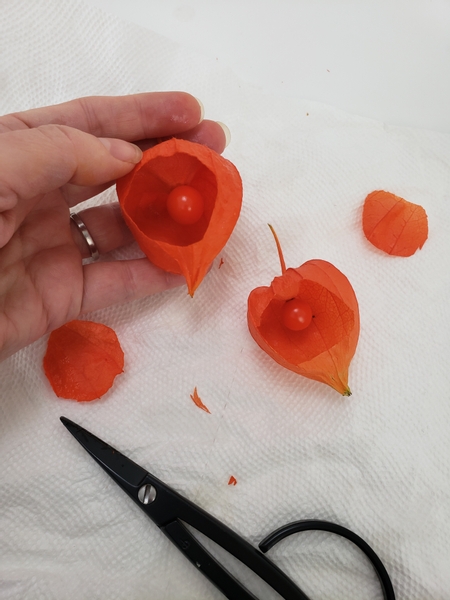
Do the same with the other two pods.

Design note: I cut the opening before I glue in the pods to make it easier for me to work inside the pod and keep the shape as pretty as possible. This week's email tip shows you how to secure these pods with floral glue. You can sign up for the email below this post if you are not yet receiving your notification the moment the new design is ready to look at.

Add the tiniest drop of floral glue to the stem

Add the tiniest drop of floral glue to the stem.

And slip the stem into the husk of the pod above

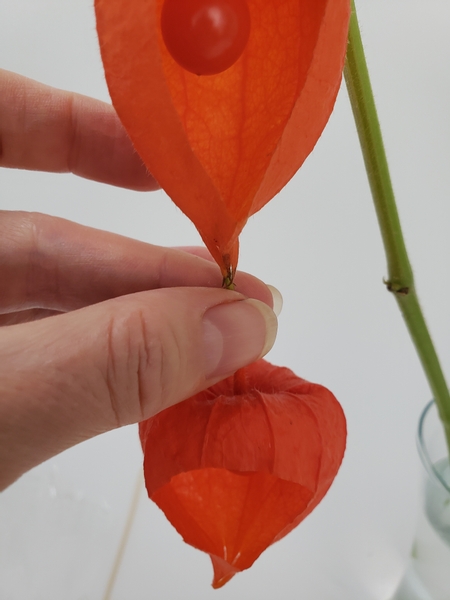
And slip the stem into the husk of the pod above.

Glue in the next pod to hang from the one above

Glue in the next pod to hang from the one above.

For my design I used dried hydrangeas

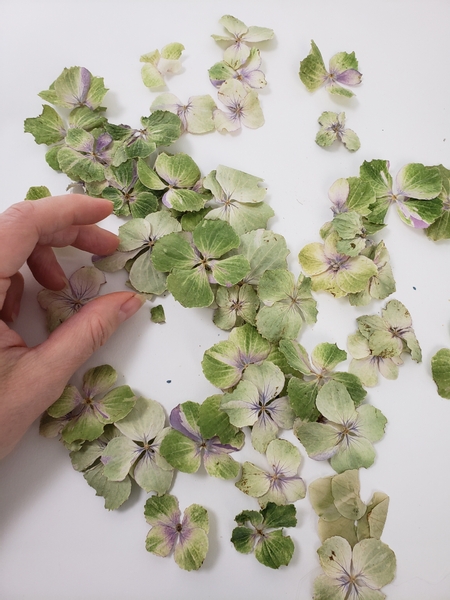
For my design I used dried hydrangeas.

Book readers turn to page 110 where I explain how to preserve flowers for designing. And to get you started I have a Tutorial for you linked below on how I dry hydrangeas.

For more information about my book: The Effortless Floral Craftsman

Glue the flowers to the husk

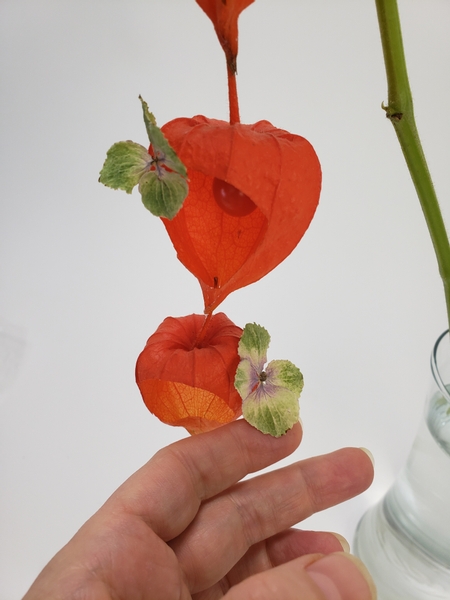
Glue the flowers to the husk...

Add in a few tendrils

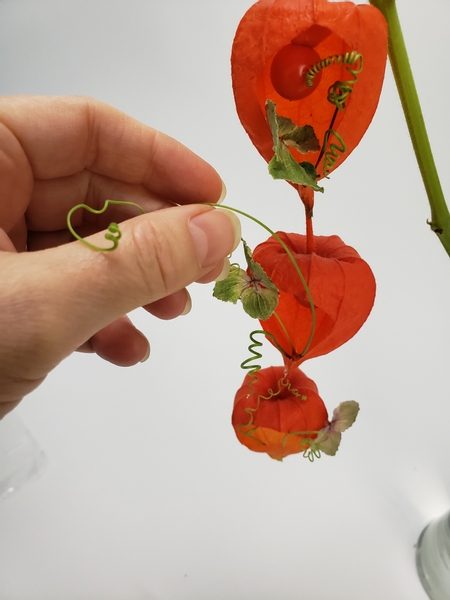
Add in a few tendrils...

Fold a floret over to insert into the pod

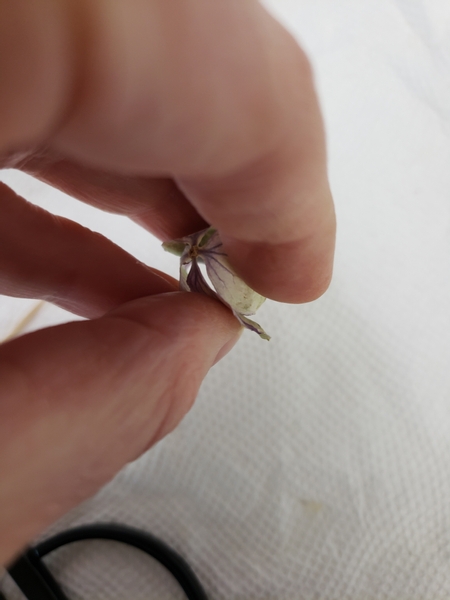
And to draw you in closer to look inside the husk... fold a floret over...

Book readers turn to page 111 for a tip to make dried flowers more pliable- it really works!

And slip it inside the pod.

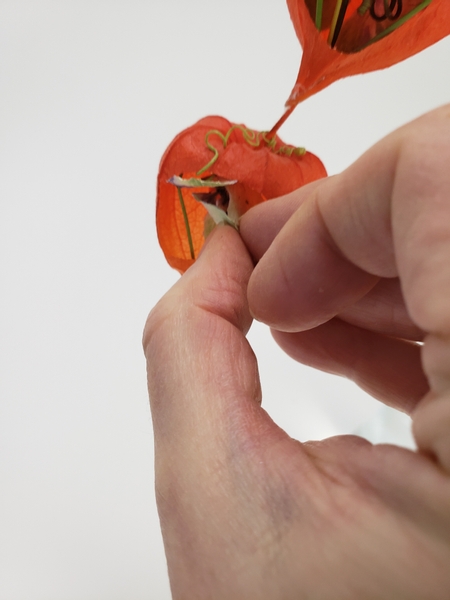
And slip it inside the pod..

Reposition the floret to line the back inside of the pod so that you can still see the berry.jpg

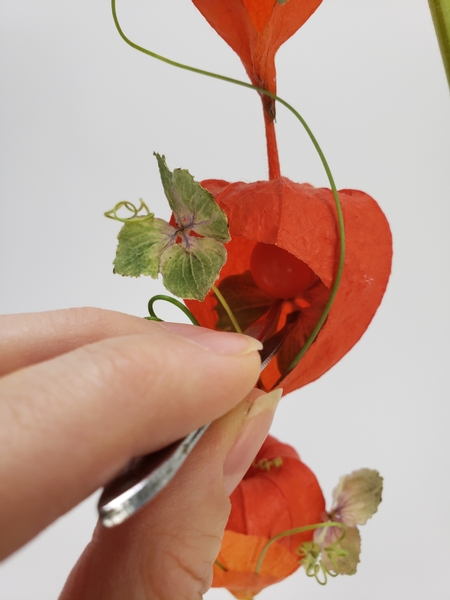
Reposition the floret with tweezers to line the back inside of the pod so that you can still see the berry.

Add in a few more hydrangeas and tendrils to complete the design

Add in a few more hydrangeas and tendrils to complete the design.

Finish the design with a few dew drop crystals

Finish the design with a few dew drop crystals.

See the Tutorial below for more detailed instructions on how I add these tiny crystals.

Every week I add a new design with related tutorials. Be sure to subscribe to receive an email notification with design inspiration.

Tutorials

30 May 2012 Drying Hydrangeas: Fast, Flat or Natural

Use all three methods to dry hydrangeas to get three very different textures to use in design work.

8 July 2015 Using a pin to place tiny dew drop crystals

It's sometimes difficult to place a tiny crystal or bead exactly where you want it.

3 October 2018 Inside Pod Designing

Snip open a Physalis pod to create a cavity for delicate floral details.

30 August 2011 Removing Oasis Floral Adhesive glue spills

The finish of every design should be flawless. Make sure there are no bits of glue visible in your design by carefully removing all traces of spills.

31 October 2017 Physalis Pod Stick-man

Glue twigs into a stick man for a Halloween design

8 October 2011 Roll spiral blossoms

Cut leaves and petals and roll a spiral blossom

3 September 2014 Skeletonize Physalis Pods

Remove the pulp from the papery pod (sepal) covering the little berry of Chinese lantern plant so that only the vain framework remain

19 April 2012 Floral Fridge magnet in a nutshell

Tuck one half of a corsage magnet in a nutshell before designing to create a floral fridge magnet

27 September 2017 Tendril vine Wreath Pumpkin

Reshape a vine wreath into smaller wreaths to combine as a pumpkin

Favourite Flowers

Physalis

Chinese lantern, cape gooseberry, Peruvian cherry, Inca berry

Hydrangea

Hydrangea, when cultivated as a cut flower rather as a plant it is often revered to as Hortensia

Related Designs

28 September 2022 Inside my world

Cut open a Chinese Lantern to show off that shiny berry inside.

12 October 2022 Ahead

Oh my... a corn leaf mummy head for autumn... looking ahead to Halloween styling.

3 October 2018 But what’s inside?

This week we are looking at the contents pages of my book... but more specifically at the sweet little pod design on the content page of my book.

2 October 2019 Cross-hatch a Shadow Bright Autumn

A clever trick borrowed from art techniques to add dimension to a bright and colourful Autumn floral design.

31 October 2017 Mr Twig-or-cheat

An extra Almost-a-Design for Halloween this year

14 April 2011 In the Bag

My bag was woven from re-purposed wire and recycled fishing line and tiny stems of growing sweet pea plants and orchids

7 October 2011 Thanksgiving Harvest

Thanksgiving pumpkin with Chinese lanterns and spiral blossoms

16 October 2012 Bright, brighter… brightest!

Celebrate the bright colours of autumn with lilies and Chinese lanterns

3 September 2014 What's done is done

My article and lace fine wreath design featured in the Autumn issue of DIY Weddings Magazine

27 September 2017 As tendrils tend to do

Curl a wreath with tendrils to create a twig-pumpkin

25 October 2017 When the pretty eyeballs you back!

Barely there skeleton blossoms with Eucalyptus eyes for my Halloween design... Oh! and a Willow Paddle, which probably should have been the main Tutorial... but... well...

25 January 2012 Three Drops of Floral Chocolate

The design drips down in three tiers each celebrating life, love and connection.