Christine de Beer - effortless floral craftsman
Skeleton eyeball blossoms
- 25 October 2017
For this Tutorial you will need a few Skeleton hydrangea florets. See below for detailed instructions.
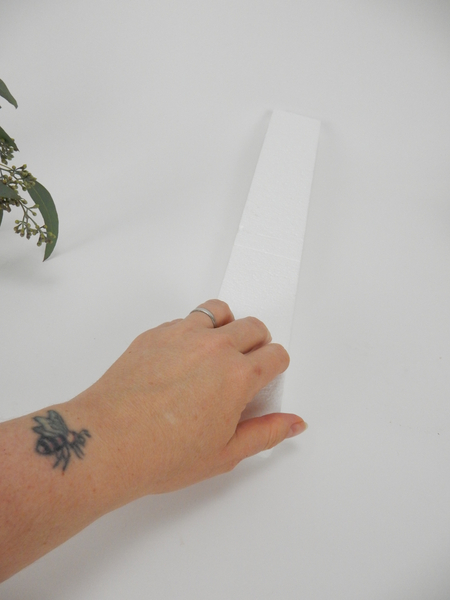
Place a length of Styrofoam on a working surface
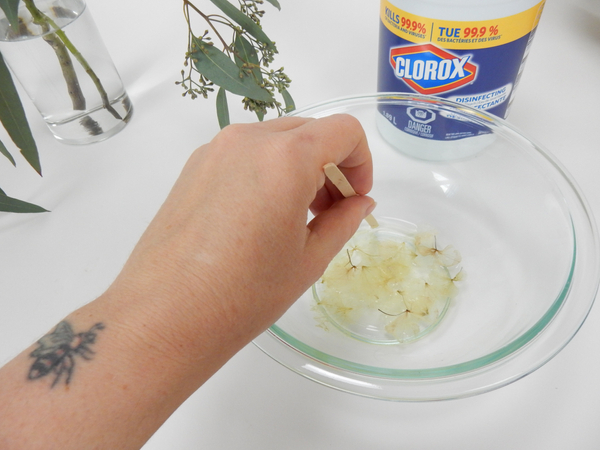
Cut the florets into petals. Soak a few skeleton hydrangea petals in bleach. Keep an eye on it though if it is soaked for too long it simply melts away.

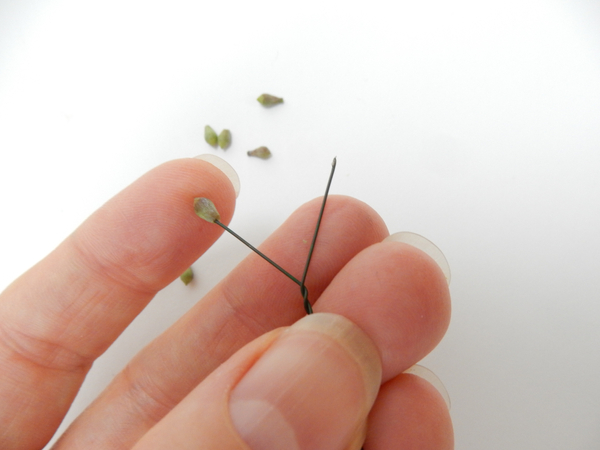
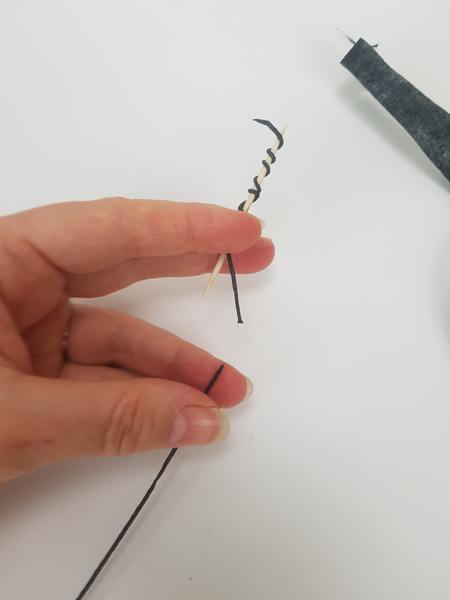
Cut wire at a sharp angle
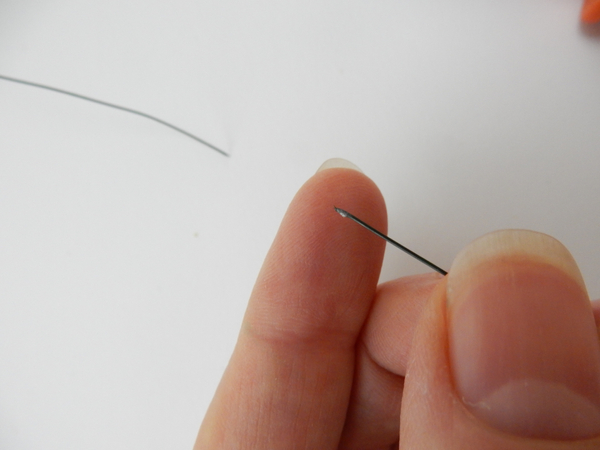
You will need two wires per blossom. Place it with the sharp ends pointing up.
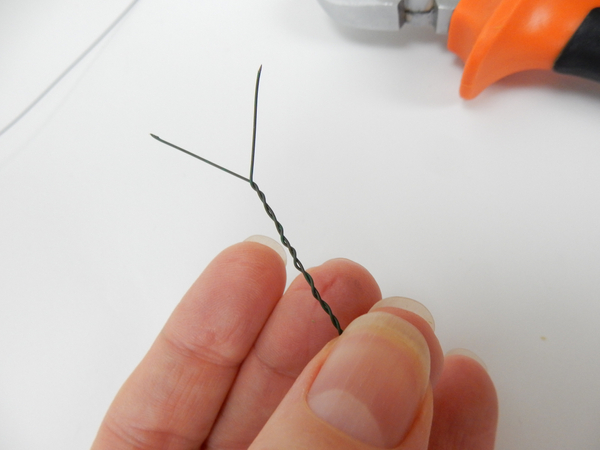
Combine the wires by twisting it, leaving a dramatic "v" at the sharp ends.
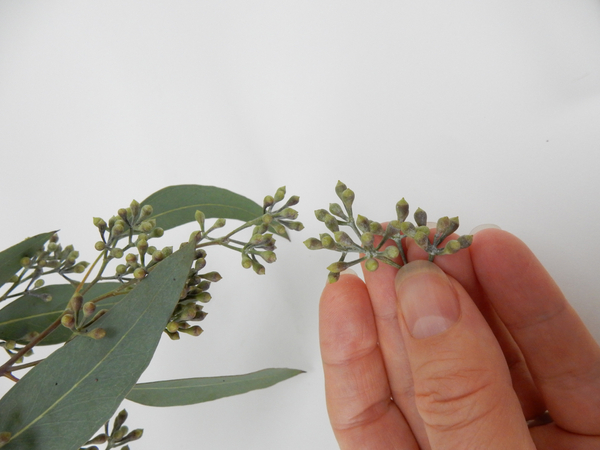
Cut some seeded Eucalyptus. You will need two cones per blossom.
Pierce the cone with the sharp end of the wire. Add another Eucalyptus cone to the other end.
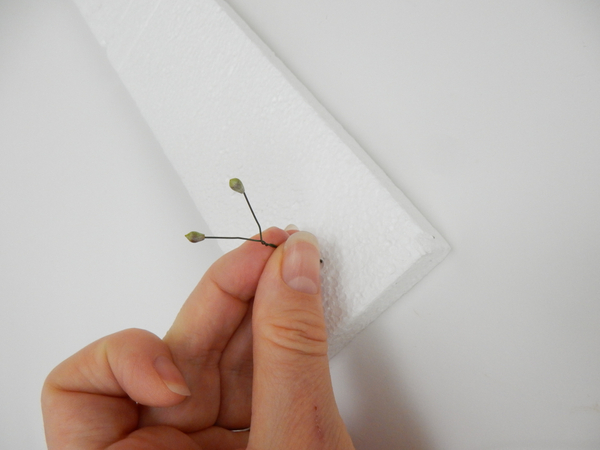
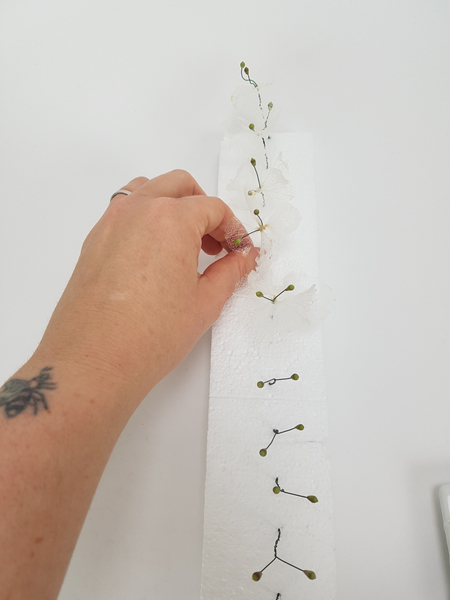
Place the wire in the Styrofoam so that it stands up making it easier to finish the blossom.
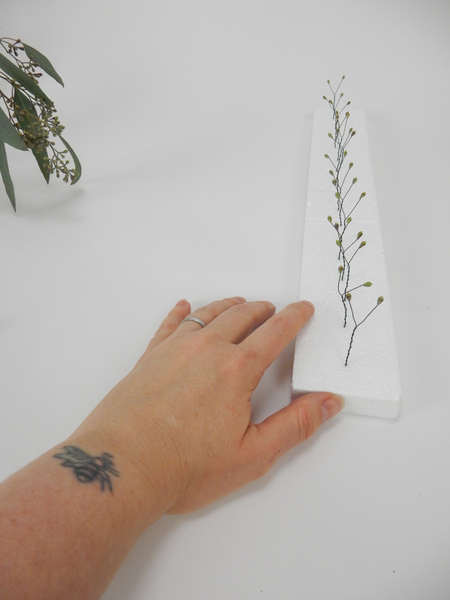
Finish all the wires.
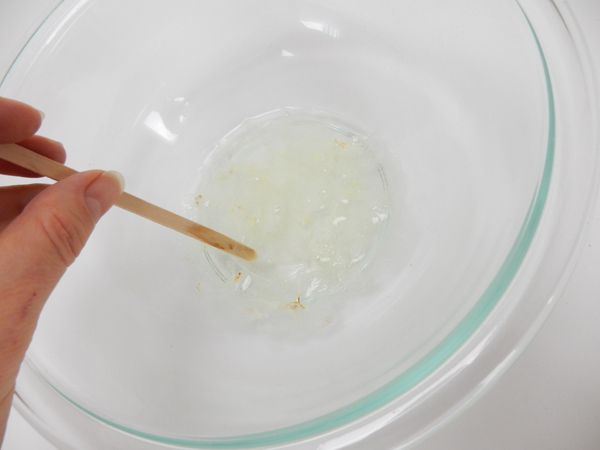
Lift the hydrangea from the bleach.
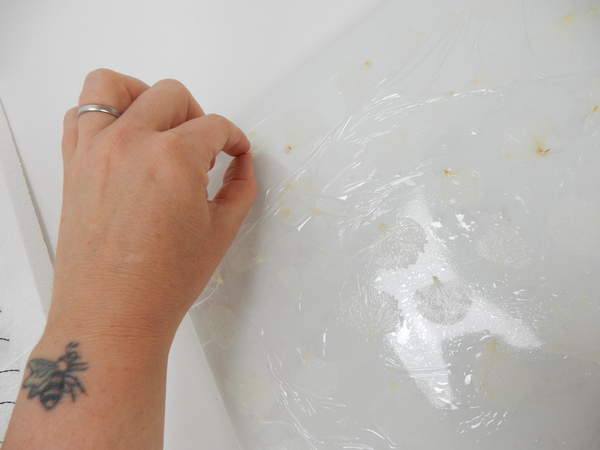
Place the petals on a plastic lined working surface. Blot with a paper towel and carefully lift once dry.
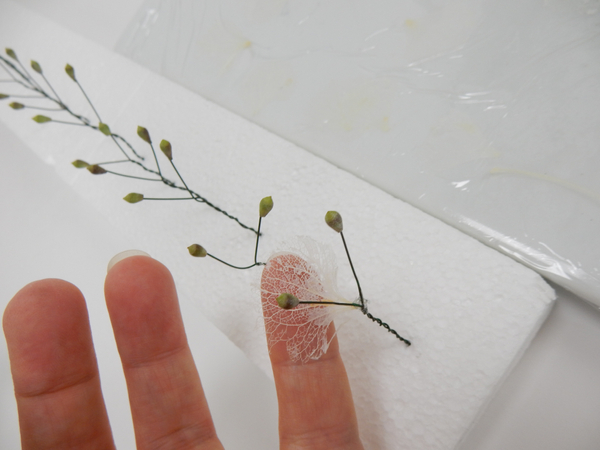
Glue four petals to a wire
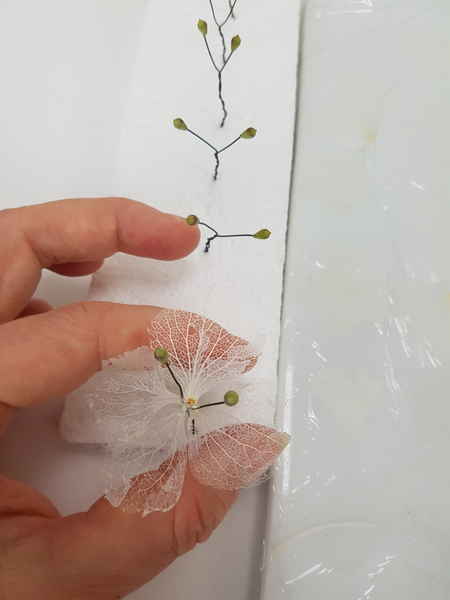
Gently cup the petals between your fingers to shape while the glue set.
Add petals to all the wires. I found it easiest to work on the front most one and then swap it with the back most one so that I don't accidentally bump into the fragile petals.
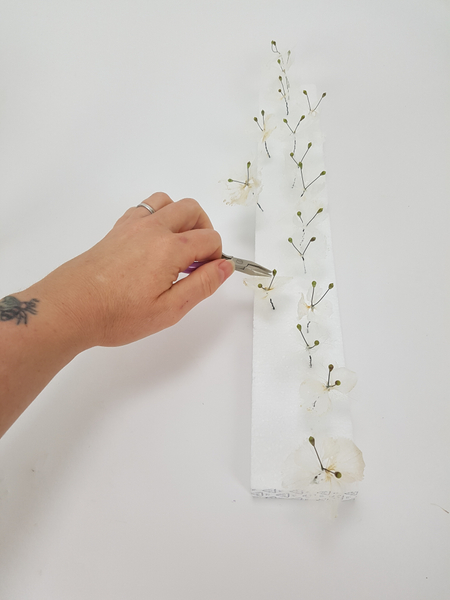
Give each blossom some personality by shaping the wire with the Eucalyptus eyeballs with pliers.
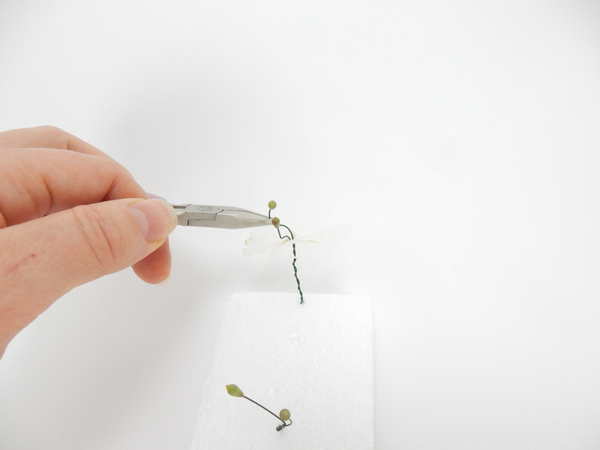
Simply bend and curve it at a curious angle.
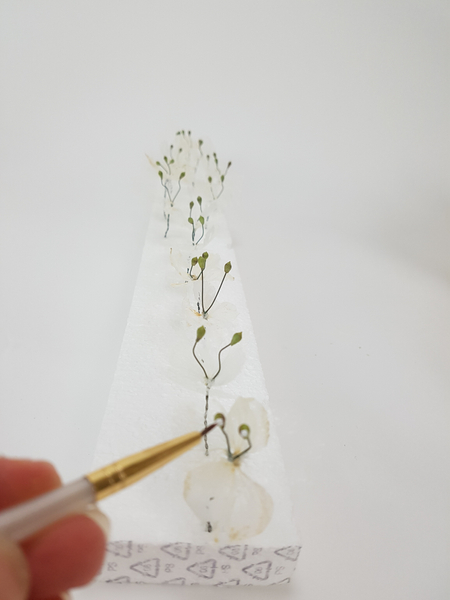
Paint a white dot on each eyeball...
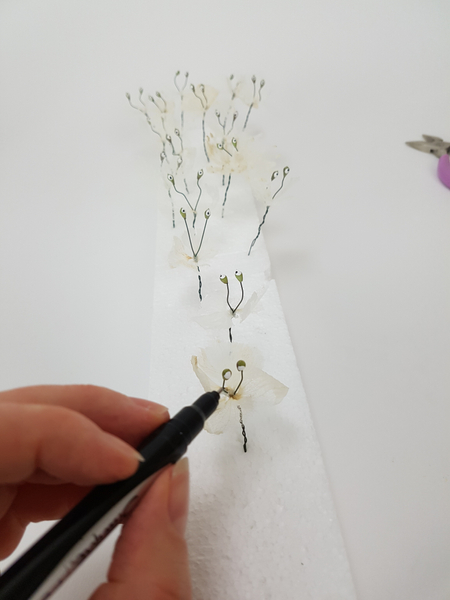
Then add a black dot. Again think of the personality of each blossom. If you curved the wire in a certain way make the focus of the eyeball follow it. This is important for placement in the design.
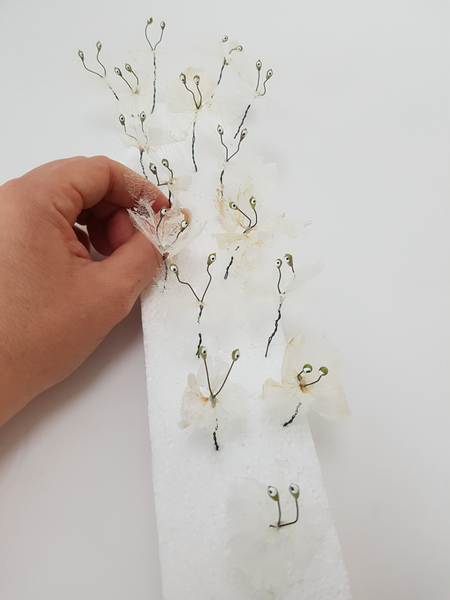
Each blossom now have a character... even this slightly quirky one over here.
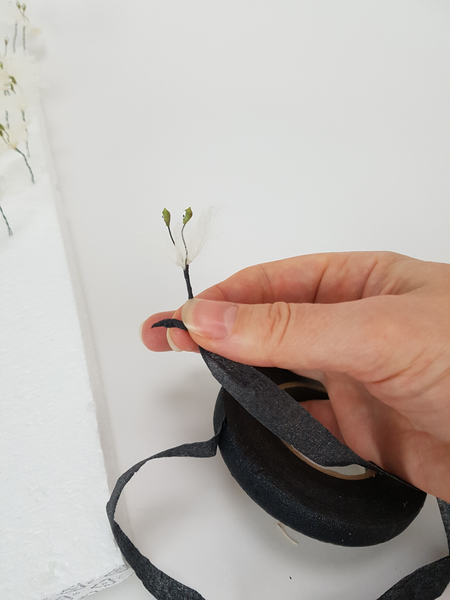
Wrap the wire in florist tape.
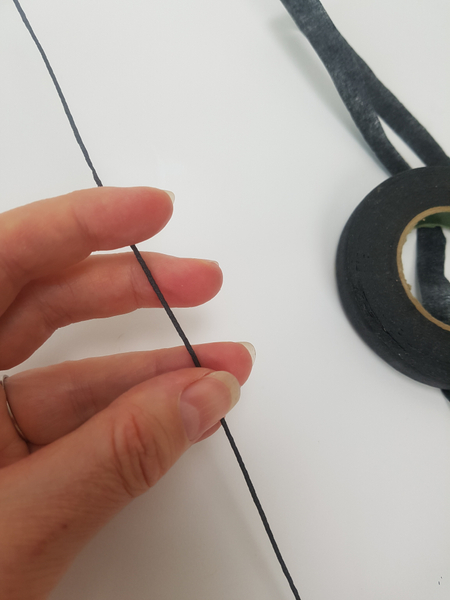
Wrap two long wires with tape, one as a stem and the other...
... to shape into tendrils.
See the Tutorial below for more detailed instructions on how to shape wire tendrils.
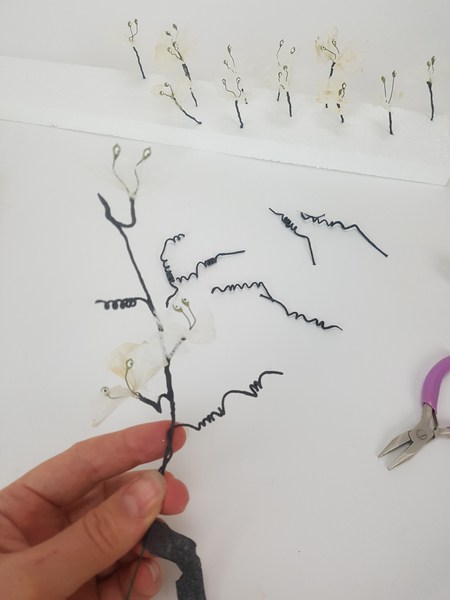
Carefully tape the tendrils and blossoms to the stem wire
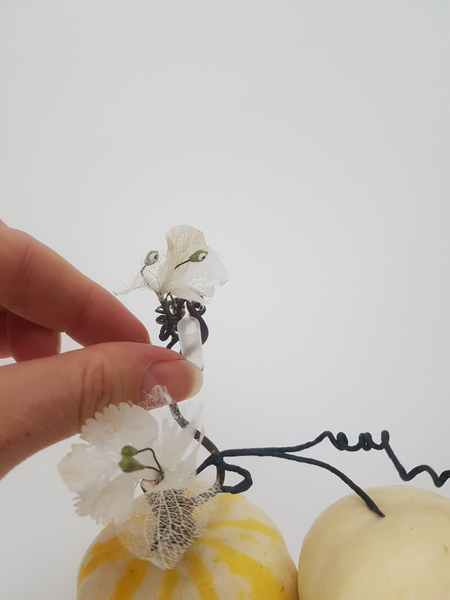
Shape the stem wire and add to the design. With the pliers gently twist each eyeball blossom to look at something of interest. Place some drinking straw water tubes (Tutorial below) in some places for the blossoms to stare at.
It is important if you add something in your design that it should look perfectly happy there. Make them chat or even better admire the flowers.
Sign up for my weekly newsletter
Every week I add a new design with related tutorials. Be sure to subscribe to receive an email notification with design inspiration.


