Christine de Beer - effortless floral craftsman
Add plant material and a wire support to sisal armatures
- 22 March 2017
- and more
See the Tutorial below for detailed instructions on how to use sisal to make armatures.
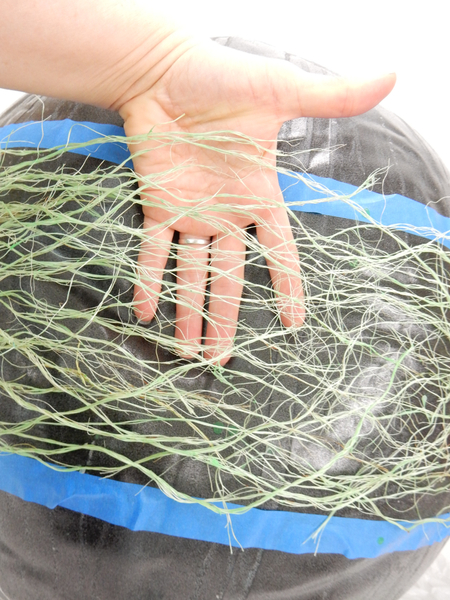
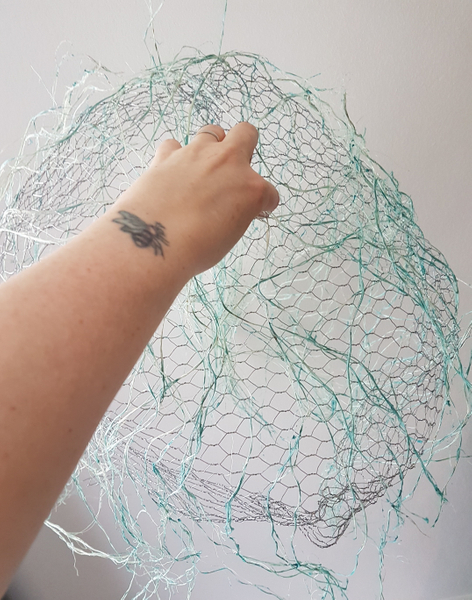
Sisal armatures are rigid and ready to use as is, but if it needs to travel to a location before you design with it or if it is going to be handled often, it is safer to add a chicken wire frame to the design.
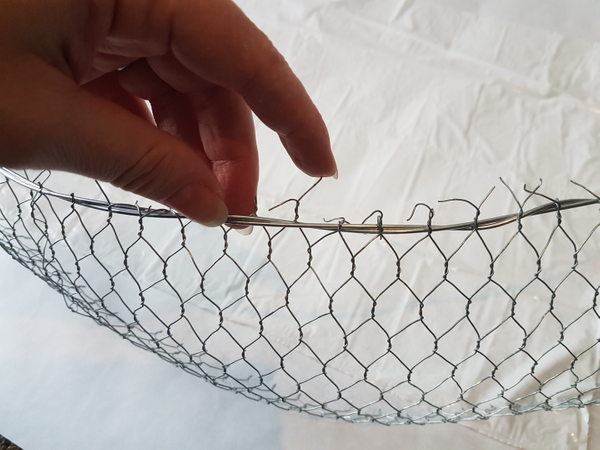
Cut the chicken-wire to fit your shape. Add a wire frame if it suits your design
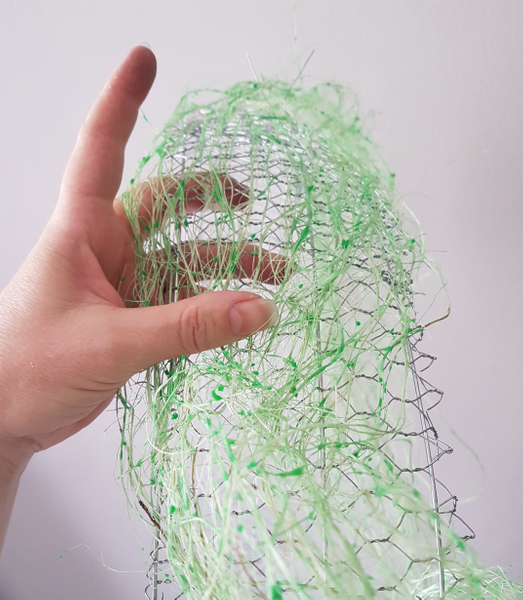
Slip the sisal around the frame and secure with wire
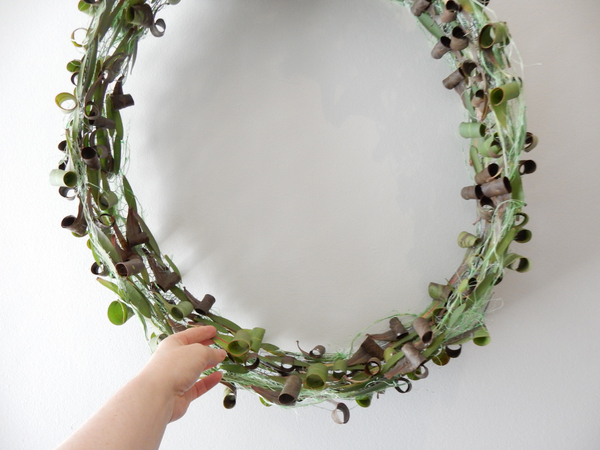
And glue in the additional plant material
See the Tutorial below for detailed instructions on how to make the leaf curls
More design ideas:
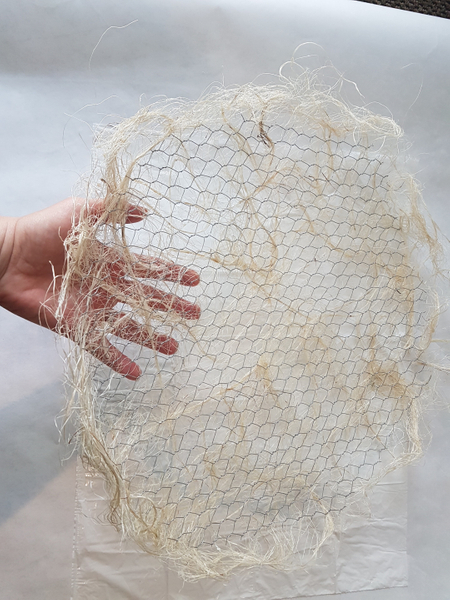
Fit the chicken-wire inside the disk shape.
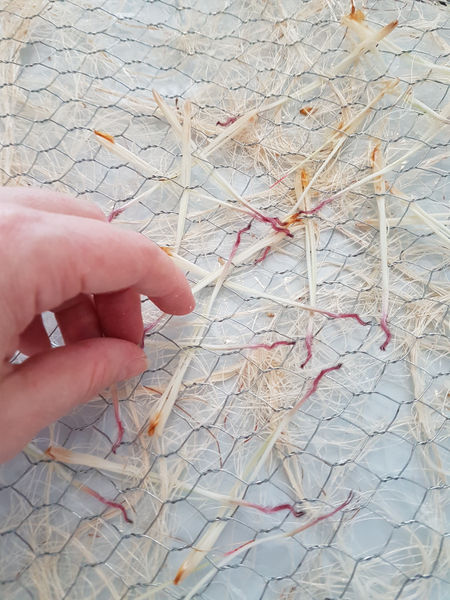
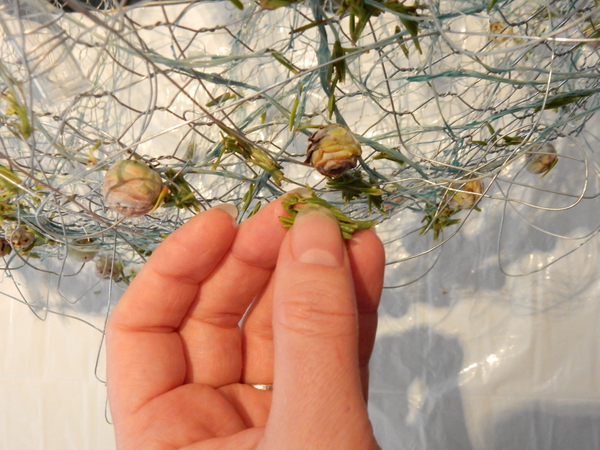
Dip the tepals of a protea flower in thinned glue and scatter...
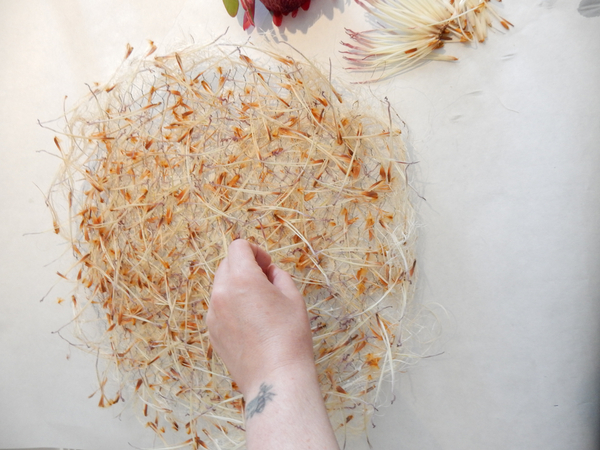
...to conceal the wire
See the Tutorial below for more detailed instructions on how to peel a protea flower.
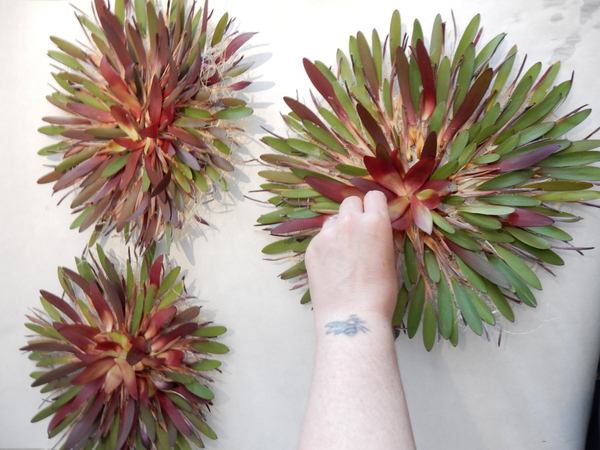
Or cover a few disks with Protea bracts and Leukadendron leaves
Or wrap the shape in a sphere of chicken-wire
and dip some Tortum snippets in glue and scatter all over the frame and sisal
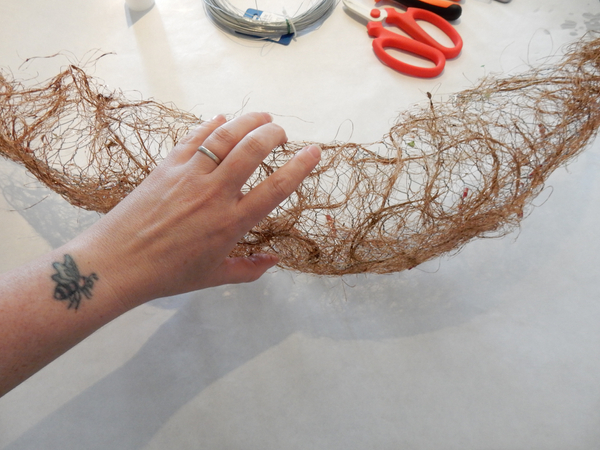
Or place the wire inside the shape and wrap in copper wire and shape.
I used a copper pot scrubber that I unravelled to make twig garlands, curls and baubles with. See the Tutorials below for more detailed instructions
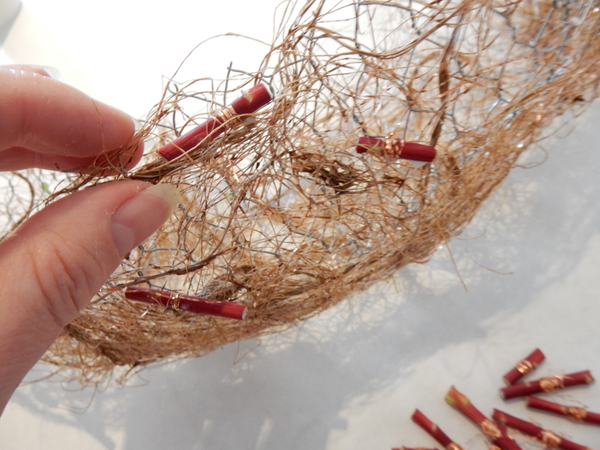
Weave the copper twig garlands around and through the armature frame
The armatures are now ready to design with. I placed my armatures on three legged acrylic tubes. See the Tutorial below for more detailed instructions on how to design on three legs
Sign up for my weekly newsletter
Every week I add a new design with related tutorials. Be sure to subscribe to receive an email notification with design inspiration.


