Christine de Beer - effortless floral craftsman
Peel a Protea flower
- 5 January 2011
- and more
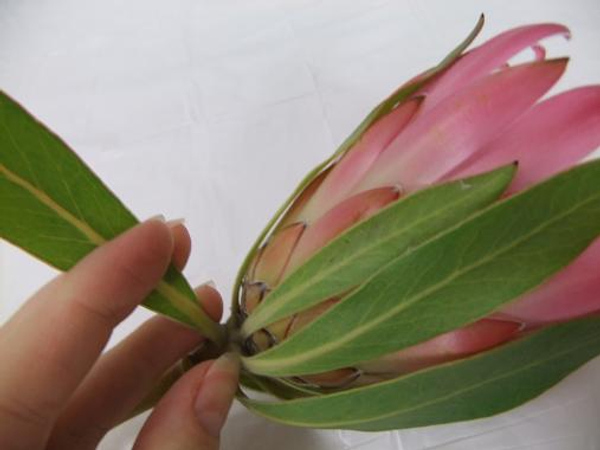
Condition the Proteas very well before peeling. Gently remove the green foliage.
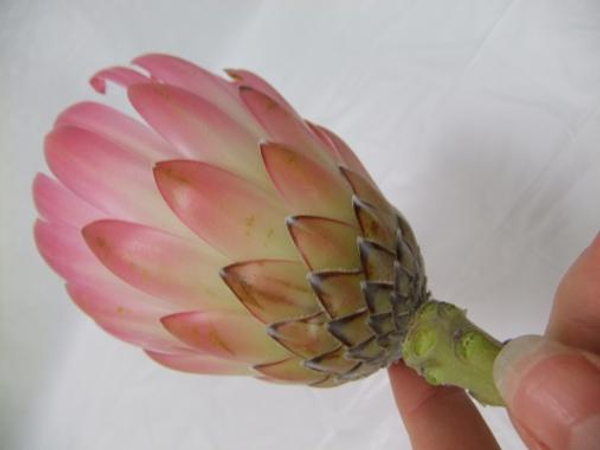
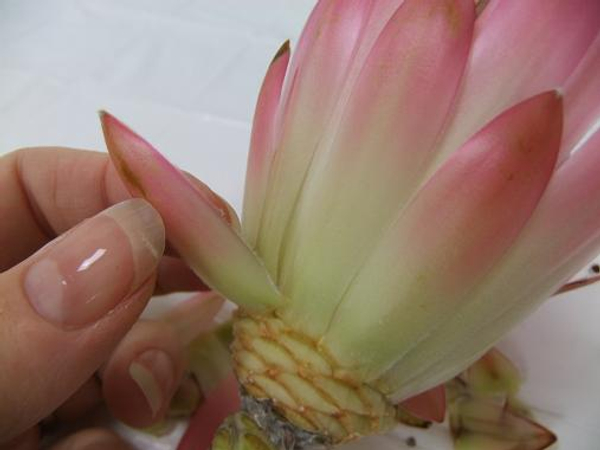
Clean Protea flower head (or spike)ready to peel.
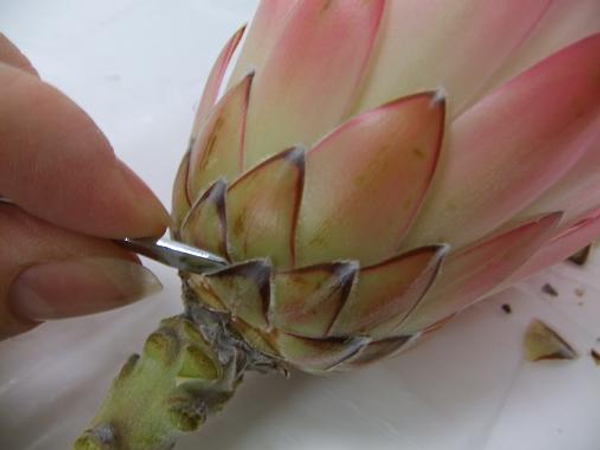
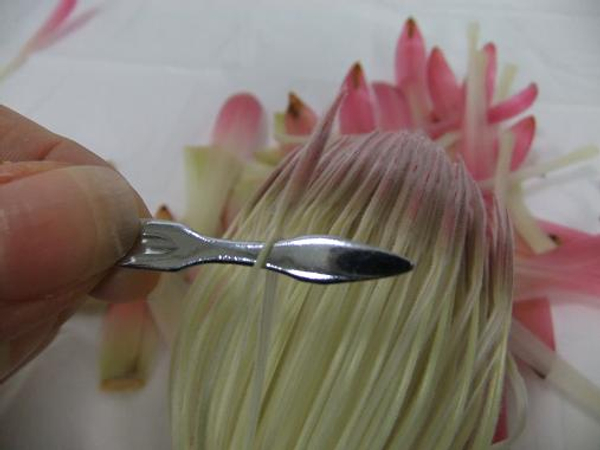
Start close to the stem and gently lift the outer involucral bracts away from the spike and peel. To make sure the bracts do not get damaged I use a finger nail cuticle pusher.
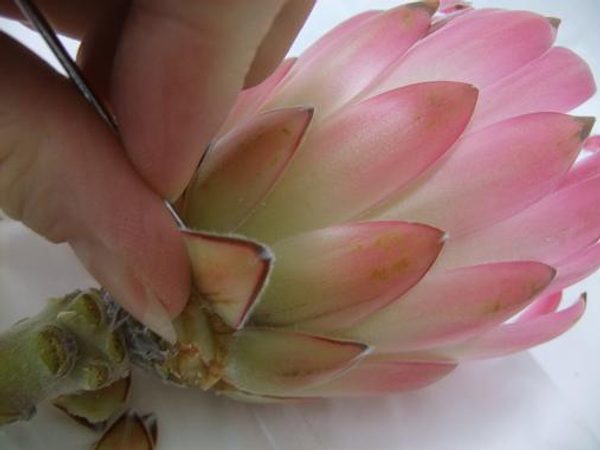
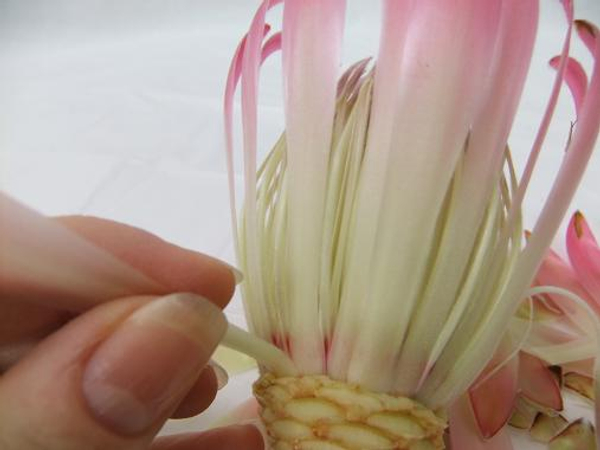
Continue to remove the bracts working with the natural growth of the terraced inflorescence.
It gets easier to remove the bracts closer to the florets
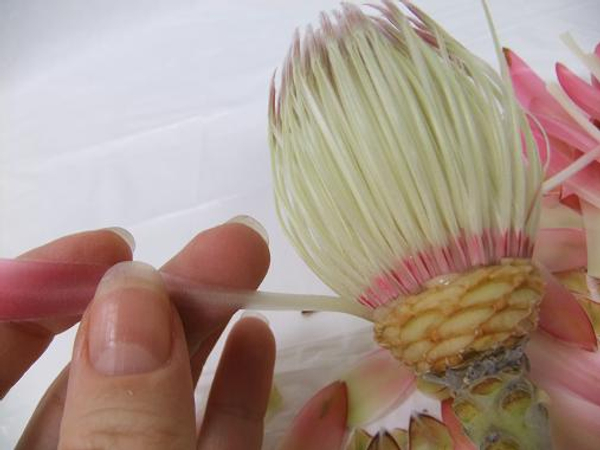
Peel away the last few bracts
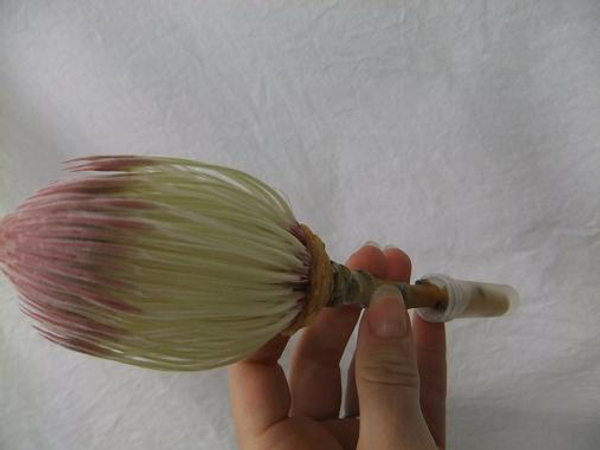
Place a perfect peeled flower head in a test tube to hydrate.
Continue to remove the bracts from 8 more flowers
Remove the florets from the last 6 flower heads in the same way. Make sure you remove the florets as one and be careful not to divide stigma, anthers and parianth segment to make it easier to glue the flower heads back.
Sign up for my weekly newsletter
Every week I add a new design with related tutorials. Be sure to subscribe to receive an email notification with design inspiration.


