Christine de Beer - effortless floral craftsman
Three tier dried autumn leaf armature
- 8 November 2017
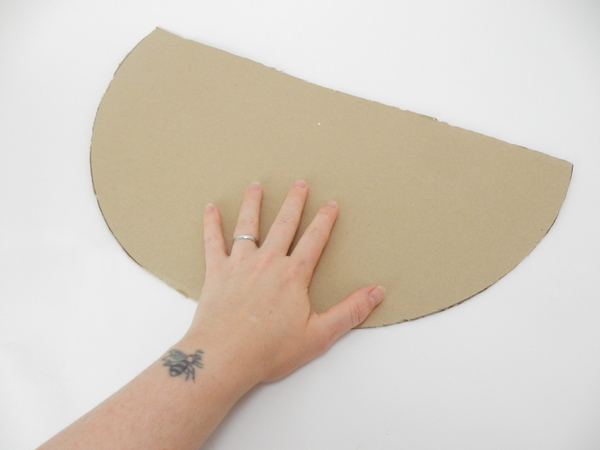
Cut a large cardboard circle to almost half. It should be just slightly bigger to create visual interest.
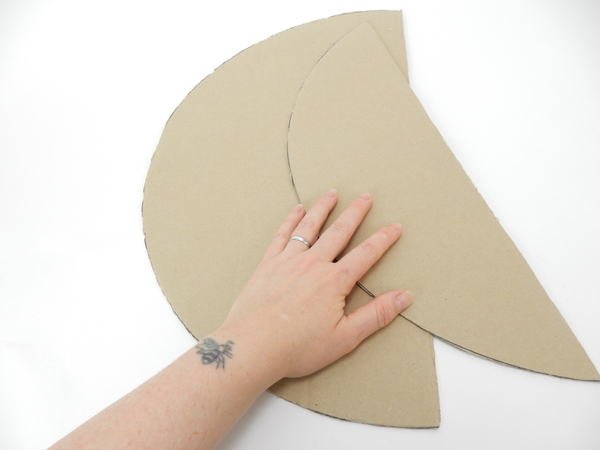
Cut a second smaller circle... this time just slightly less than half
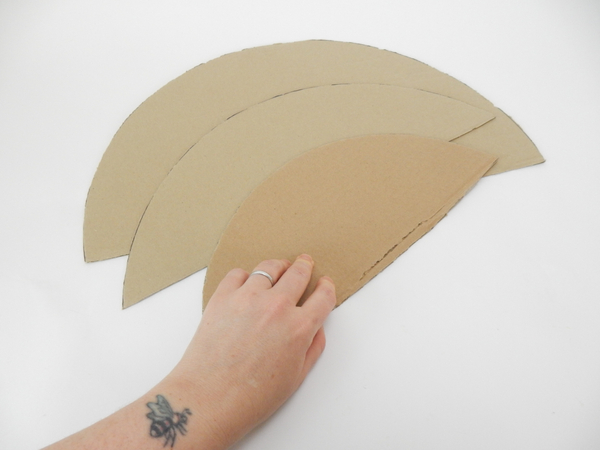
Cut a third slightly smaller cardboard circle, in half.

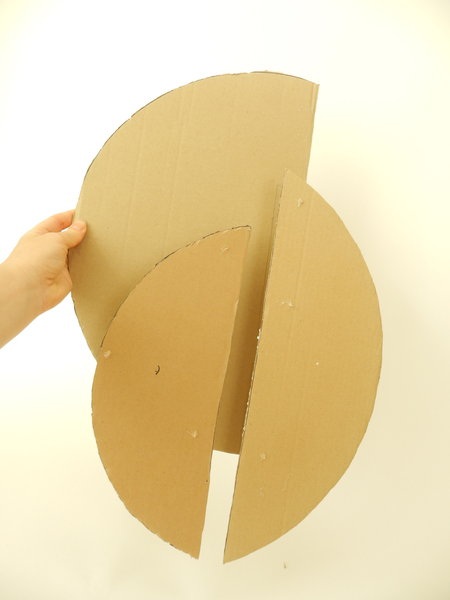
Place the cardboard circles on a flat work surface. Play around to create an interesting pattern. Mine turned out to look a bit like a shield. Mark the position of the cardboard with pencil.
Pierce a cocktail stick through the cardboard to create a spacer between the layers.
Glue the ends of the cocktail sticks with a bit of hot glue to keep it secure
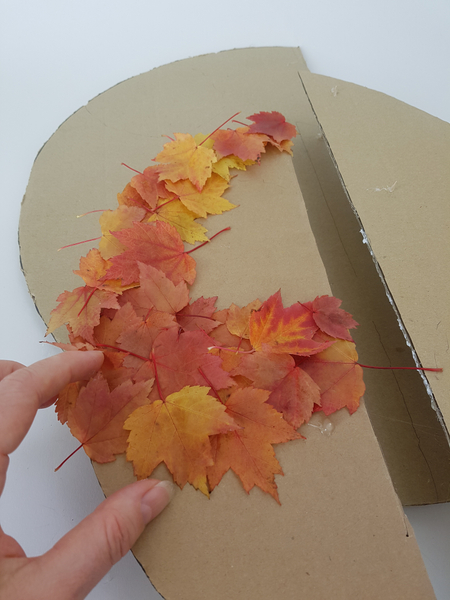
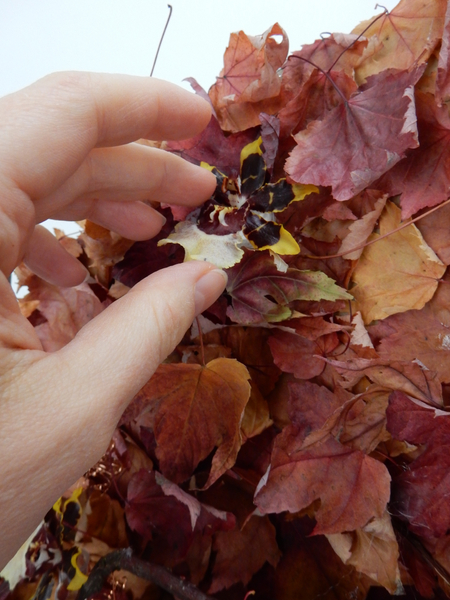
Cover the surfaces with autumn leaves following the shapes
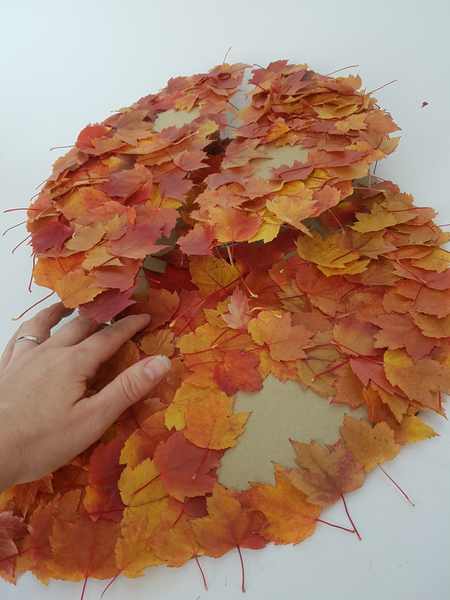
If it is difficult to glue the leaves on the bottom section simply lift it off and replace it once covered. But the gap from the cocktail sticks should leave enough space to place all the leaves at once.
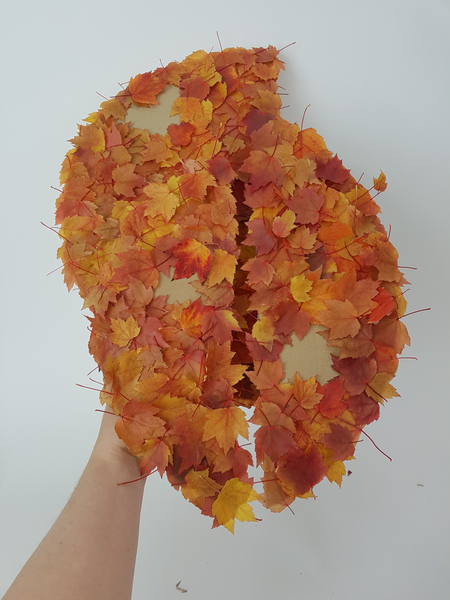
Lift the armature and make sure all the leaves are secure. I left a few gaps for my water tubes.
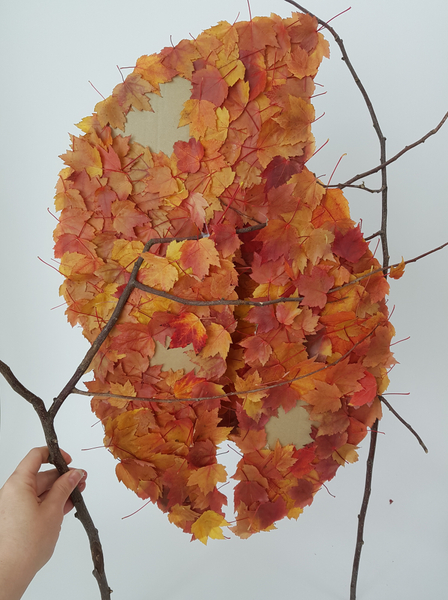
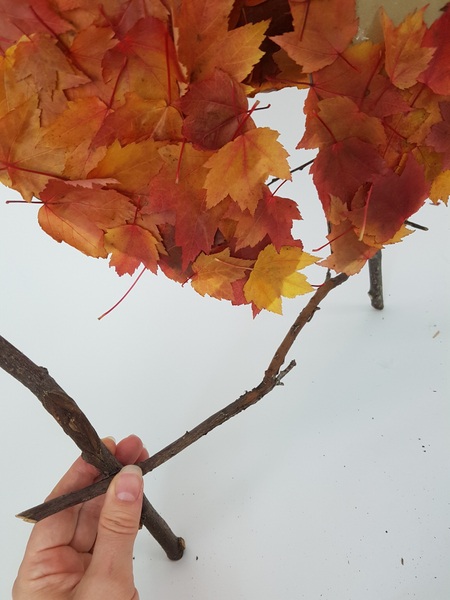
Craft legs for the armature by resting it on three sticks
For a more detailed information on how to craft three legged armatures see the Tutorial below.
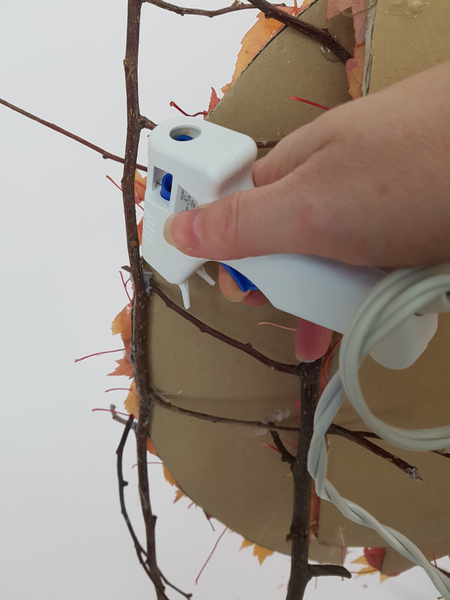
Glue the twigs to the cardboard at the back
Add a few twigs to make sure the entire armature is strong and stable
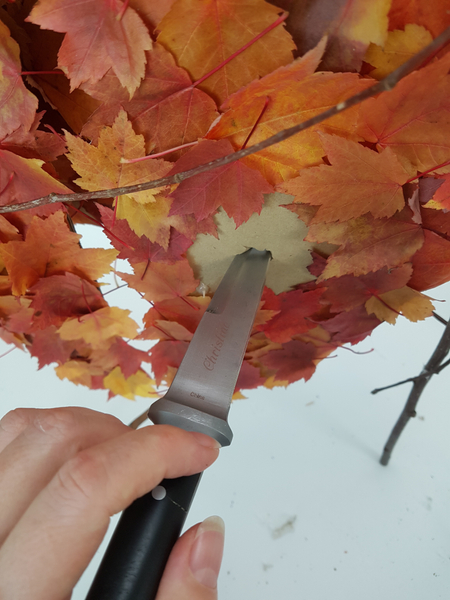
I wanted my water tubes to be part of the cardboard armature so that it looks like the orchids grow out of the leaves. Cut holes in the cardboard with a sharp knife.
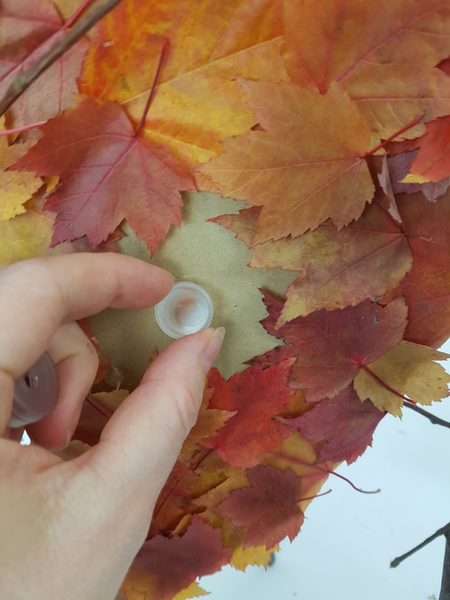
Sink the water tubes into the cardboard hole at an angle. The tubes should be pointing up so that the orchids can remain hydrated for as long as possible.
Set the armature aside so that the leaves shrivel and dry. This way you can cover any exposed cardboard gaps when you are ready to add the flowers.
Place the orchids in the water tubes...
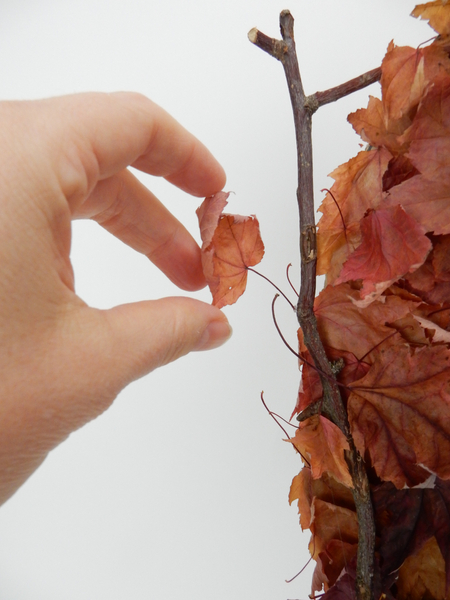
Glue in a few small leaves to extend beyond the armature.
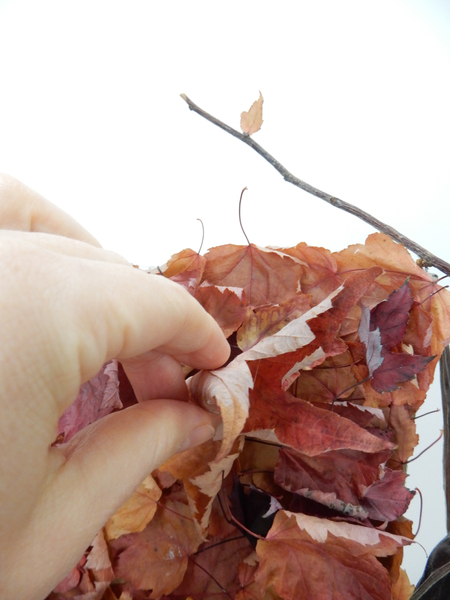
Glue in leaves to cover any gaps where the cardboard is visible
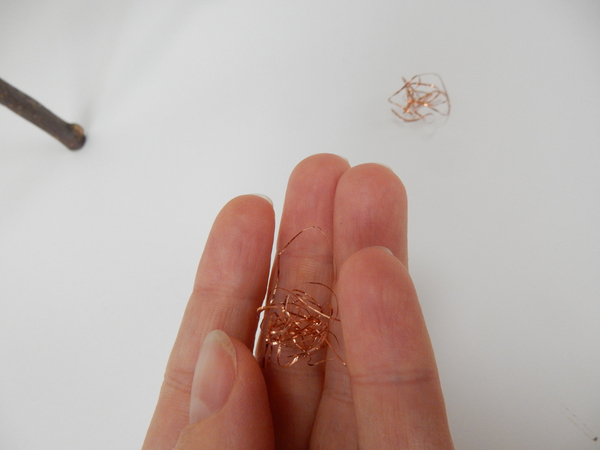
Roll bits of copper wire...
See the Tutorial below for more detailed information on how to roll wire baubles
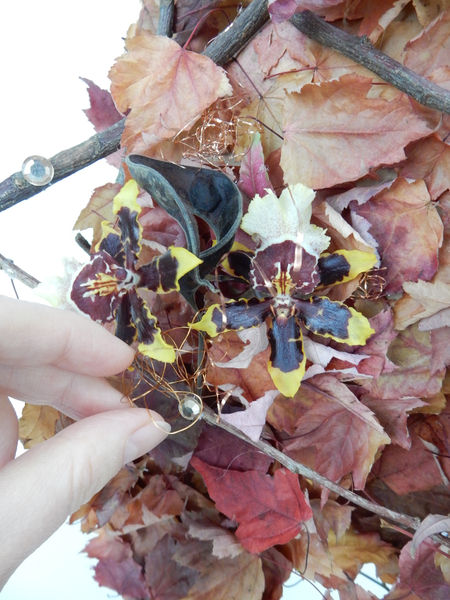
And place the wire and sparkling crystals around the flowers to draw your attention to your focal point.
Sign up for my weekly newsletter
Every week I add a new design with related tutorials. Be sure to subscribe to receive an email notification with design inspiration.


