Christine de Beer - effortless floral craftsman
Willow disk frog
- 7 September 2022
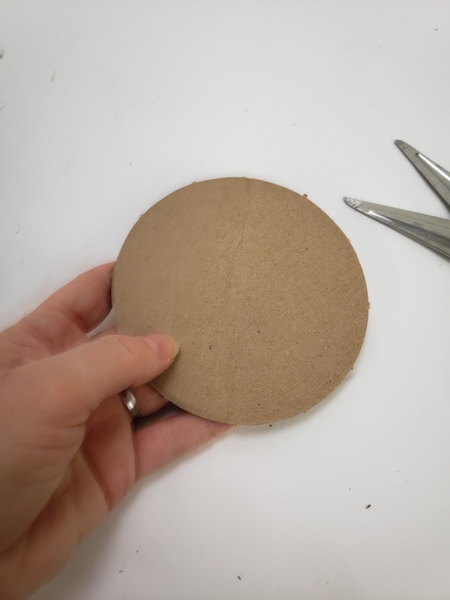
Cut your basic shape out of sturdy cardboard.
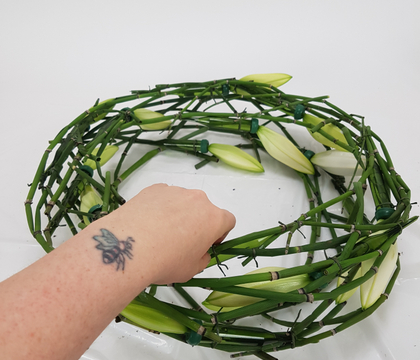
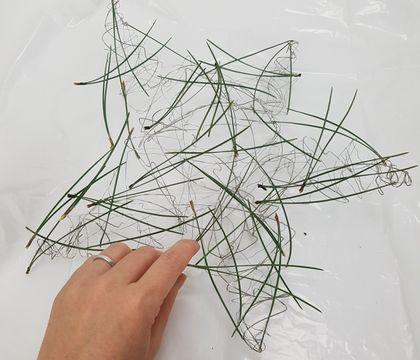
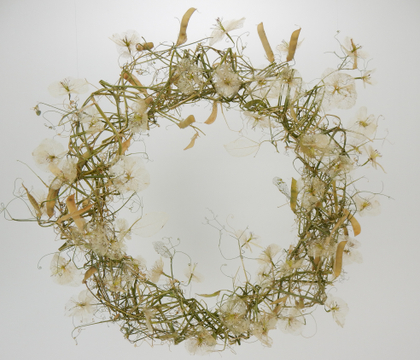
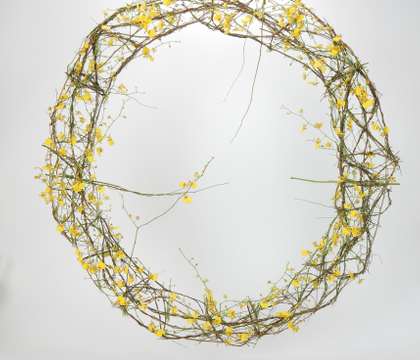
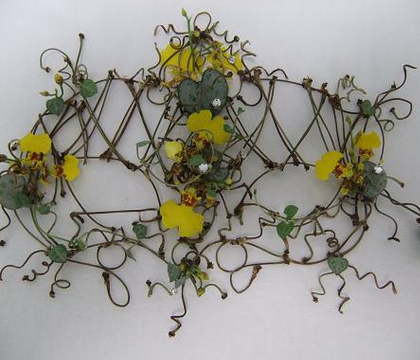
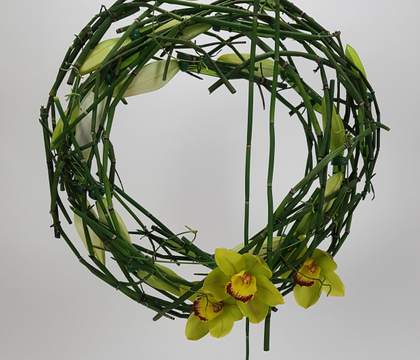
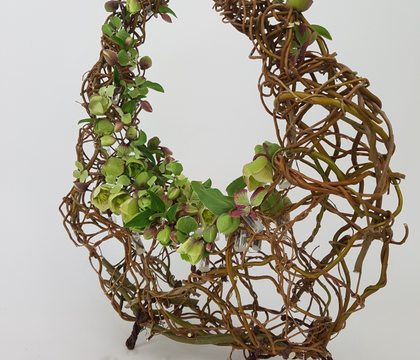
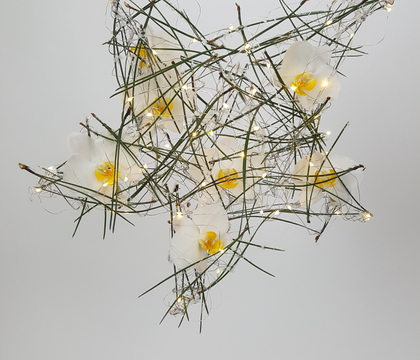
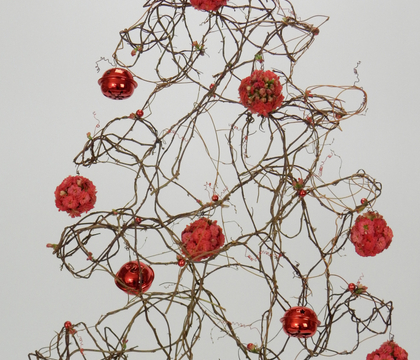
I say shape because you can really let your imagination run wild here. My favourite one is on page 195 of my book. It was huge! This is a fantastic way to craft three dimensional items from pliable stems that simply dry in place leaving you with a strong shape that looks impossibly delicate. You can find the How to in my book but to get you started I have a few links below for other shapes that I have created using cardboard.
For more information about my book: The Effortless Floral Craftsman
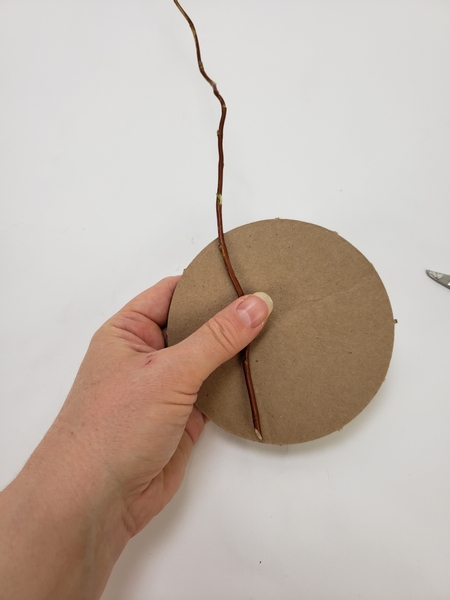
Place a pliable stem on the cardboard shape
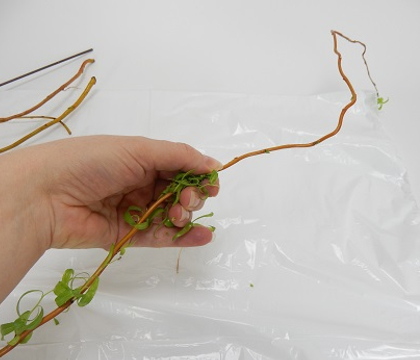
Design note: here I used willow and in my book I used eucalyptus. I love the results of both. Also see the Tutorial below for an easy way to strip the foliage from the stems.
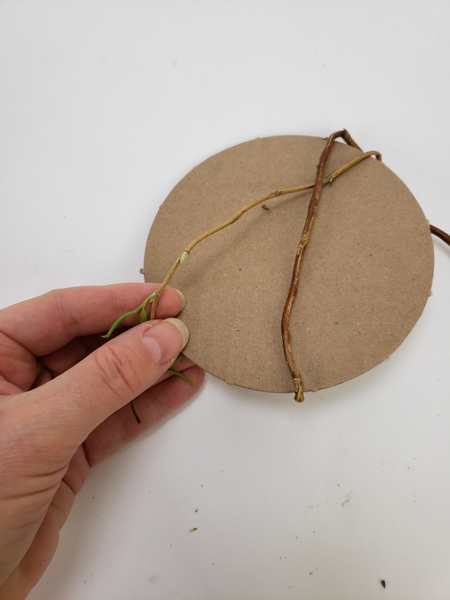
Fold the stem over the shape and tuck it under the stem in a single granny knot.
Not sure of your knots? Turn to page 49 of my book where I show you a few of my favourite knots for designing.
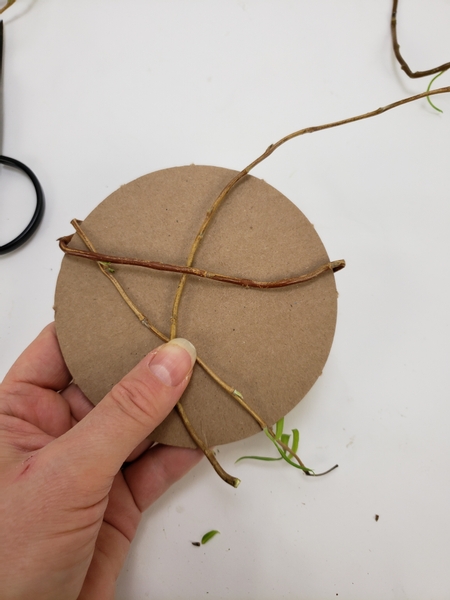
Weave in the next stem...
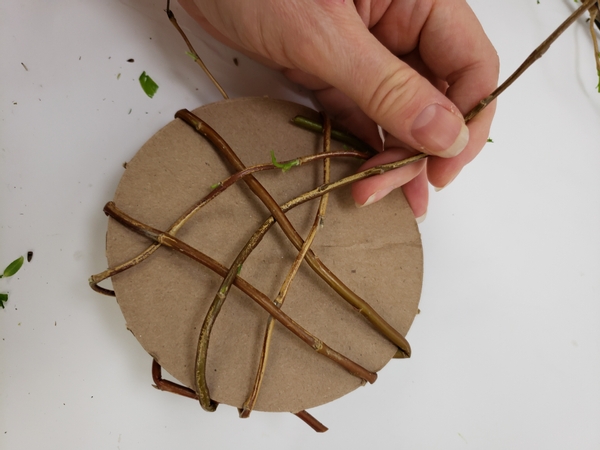
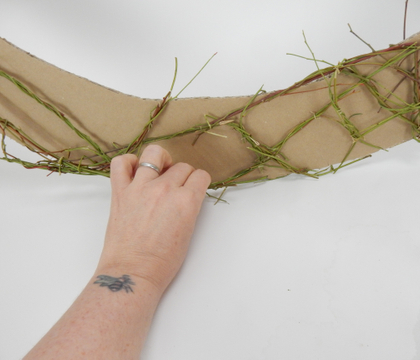
Add in another and another and another stem and wrap it tightly around the cardboard
Be careful not to bend or deform the cardboard. I have added a few tips for making sure the shape is secure in this week's notification email. If you are not yet signed up the sign up is below this post.
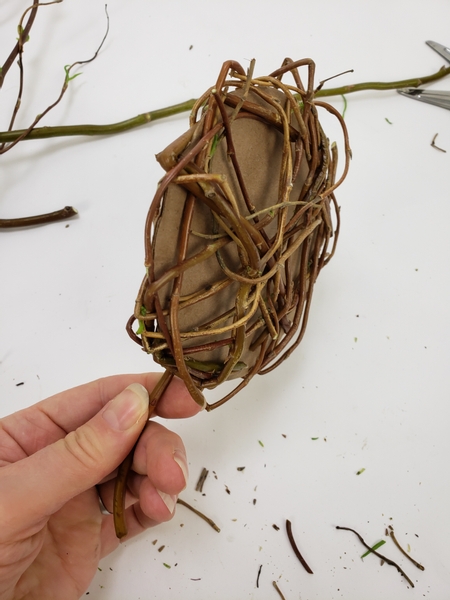
Keep checking the shape to make sure your disk is perfect... when you imagine it without the cardboard.
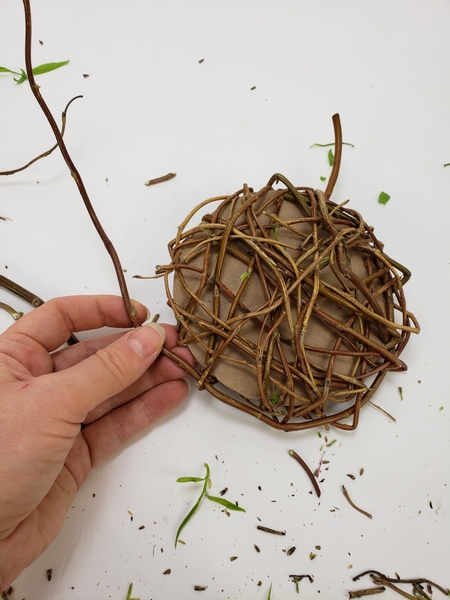
Work your way weaving around the edge to finish the disk.
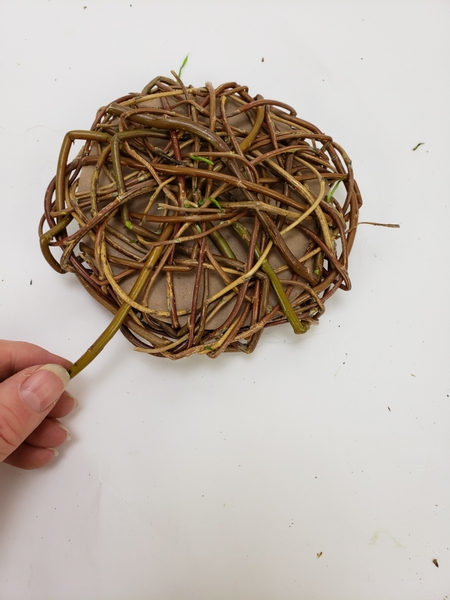
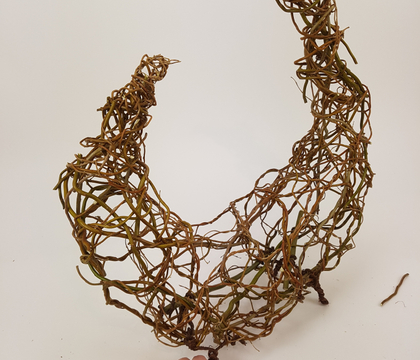
And now for the hardest part of the entire design... set the disk aside to dry completely so that it can hold your flowers in place.
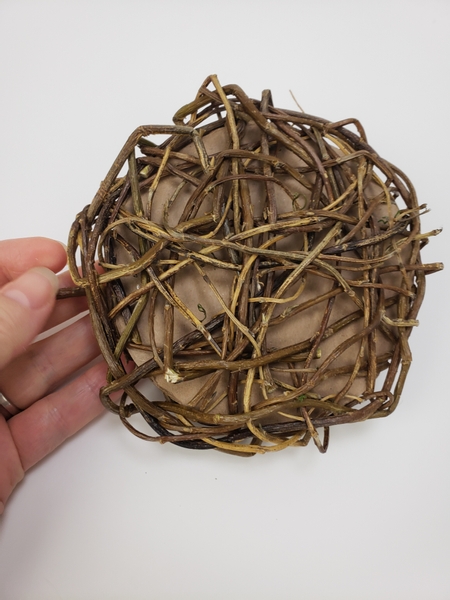
And when it is completely dry you are ready to design...
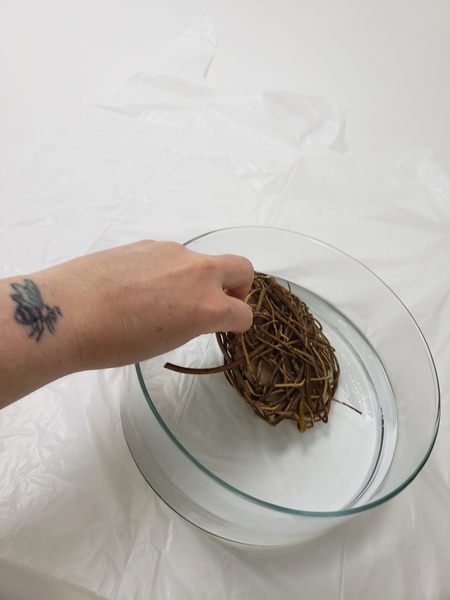
Soak the cardboard and stem disk in hot water.
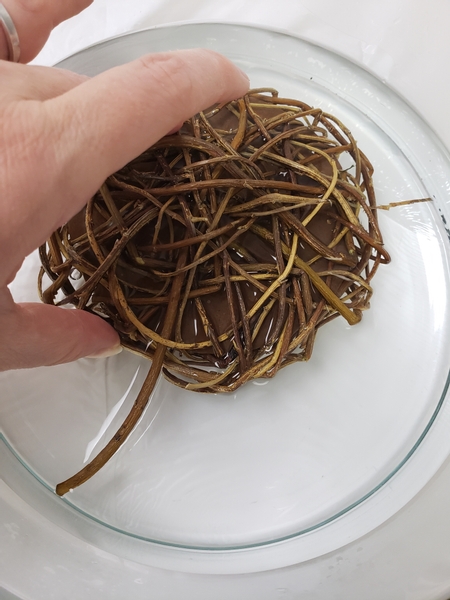
So that the paper becomes completely soggy.
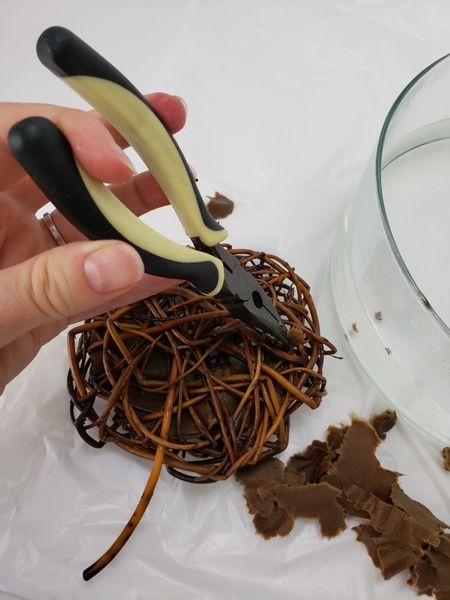
Pinch out the soggy cardboard. I use thin nose pliers to make it easier to get into the tiniest spaces.
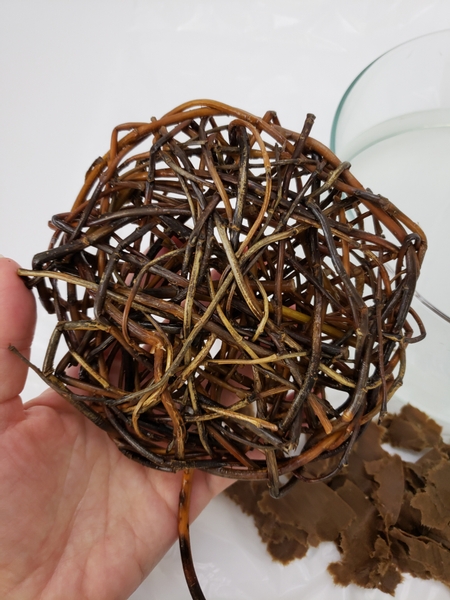
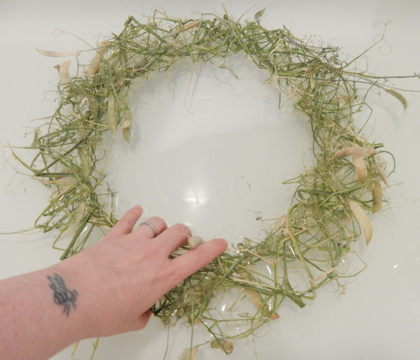
Your disk all clean and cardboard free...
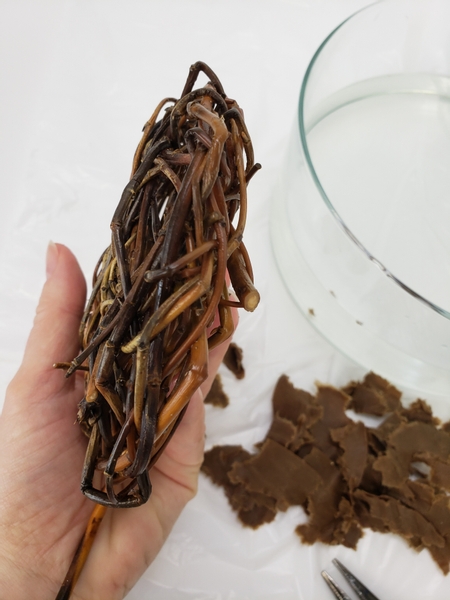
With the added benefit of having two layers that can help support the flowers and keep them from tipping.
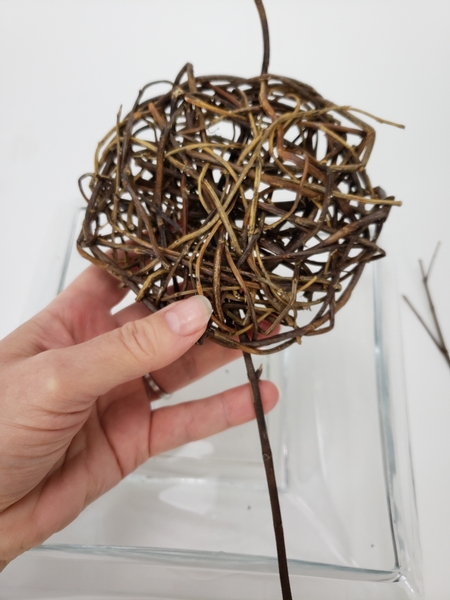
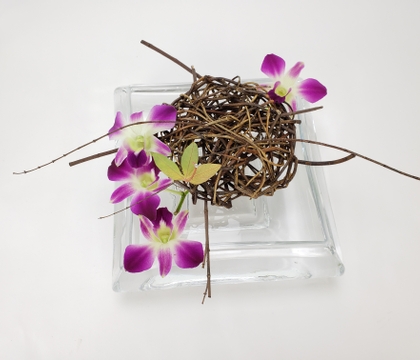
Insert a few stems to suspend the disk over your display container...
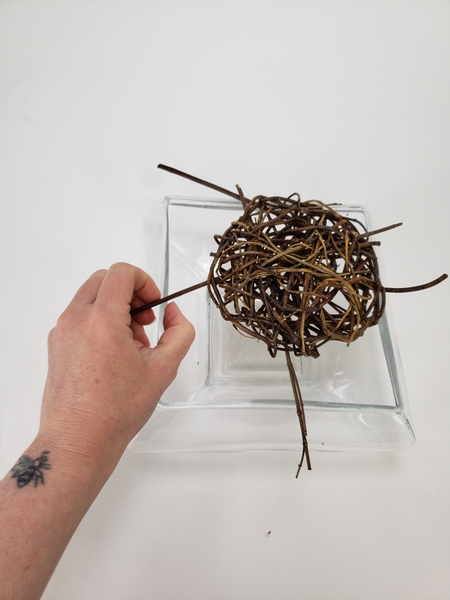
So that it fits snugly.
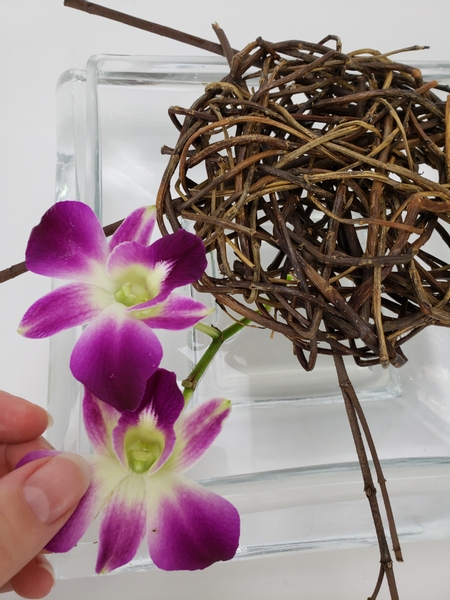
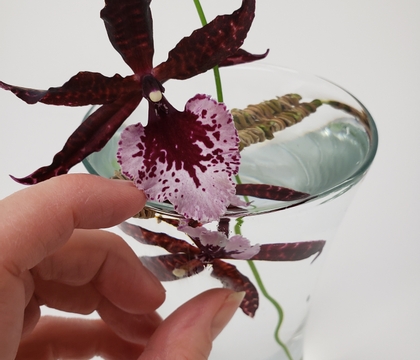
Add in the flowers to rest on the disk or...
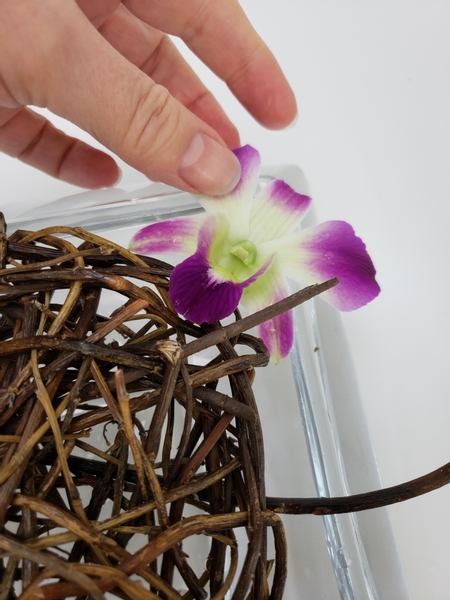
... if you want press the stems through the grid of the disk to keep them in place.
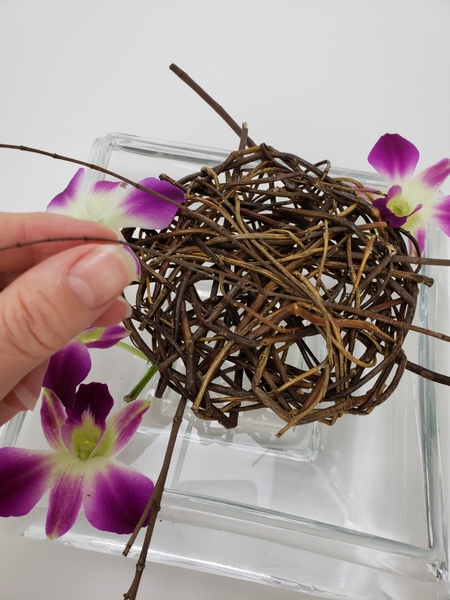
Add in a few decorative twigs to break the perfect disk shape to add a bit of height for the autumn leaf to rest on...

And add a tiny dew drop crystal on the autumn leaf stem end to finish the design
See the Tutorial below for detailed instructions on how... and why I use a pin to place the dew drop crystals.
Sign up for my weekly newsletter
Every week I add a new design with related tutorials. Be sure to subscribe to receive an email notification with design inspiration.
