Christine de Beer - effortless floral craftsman
Crescent willow moon
- 21 November 2018
- click to send Christine a smile
- and more
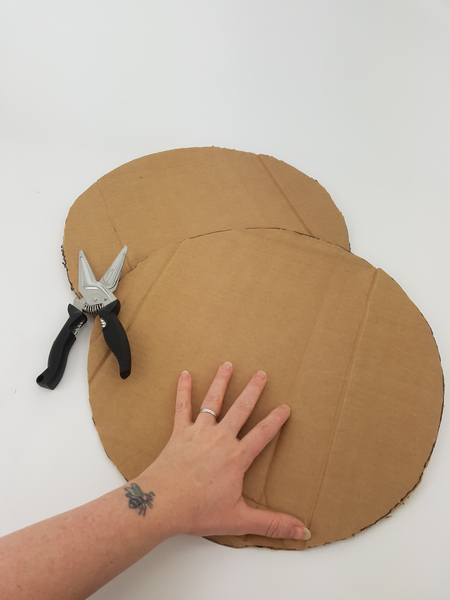
Cut two disks from cardboard.
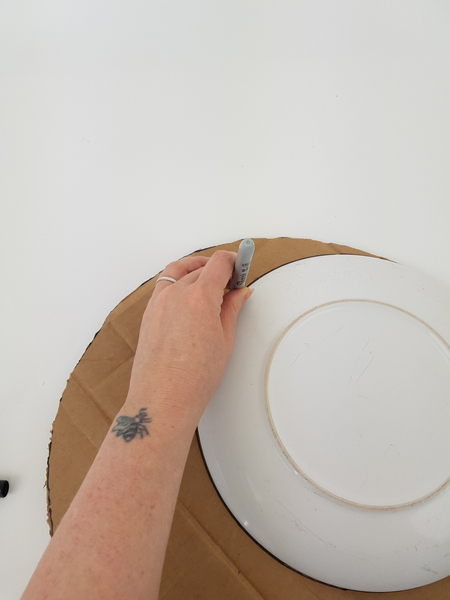
Draw another circle on each disk to create the crescent shape.
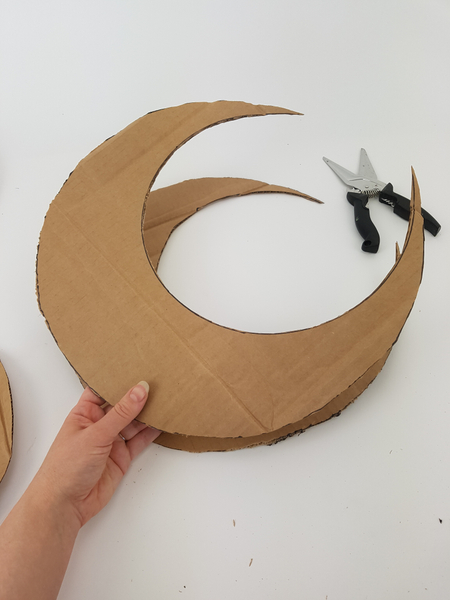
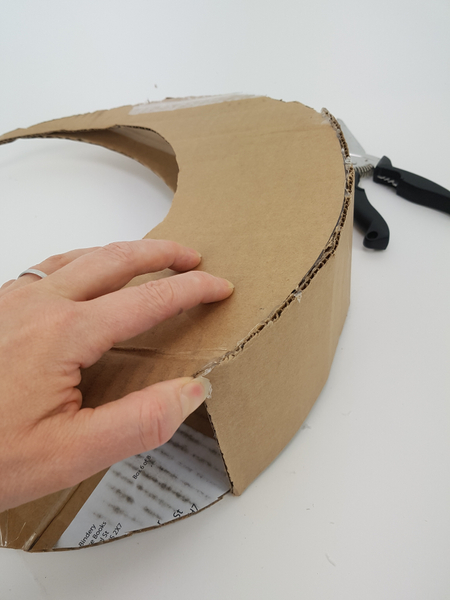
Cut out the half moon shapes.
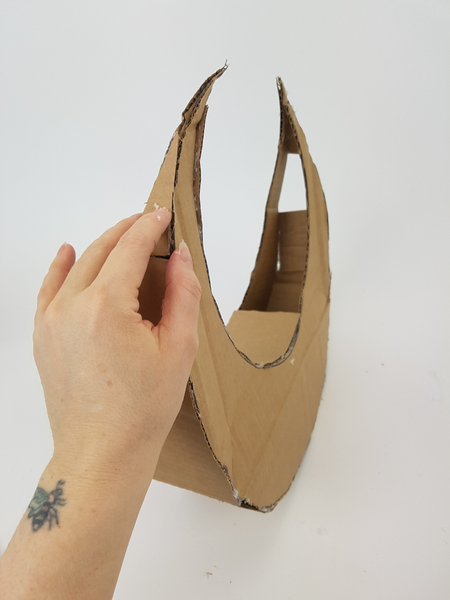
Glue the tips of the half moon to connect the shape.
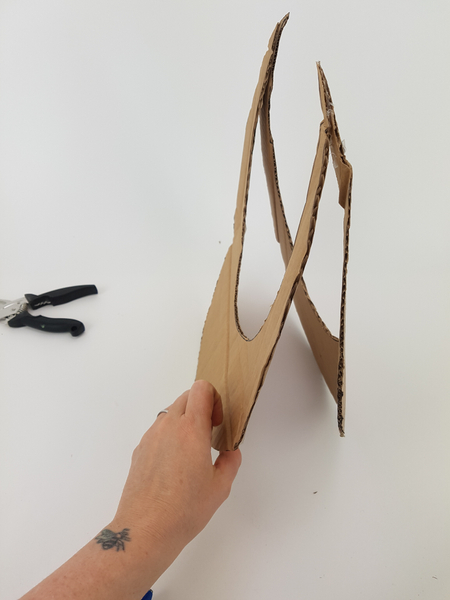
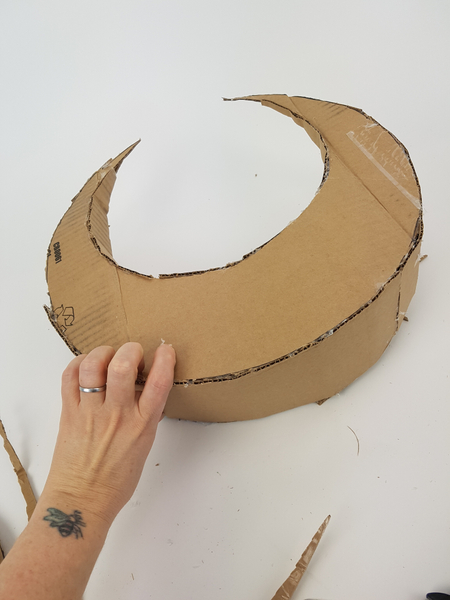
Glue in a strip of cardboard to separate the two halves.
Add a few more strips of cardboard to create a sturdy shape.
Make sure the shape will hold by pressing the edges. Add more cardboard to support any areas that buckles.
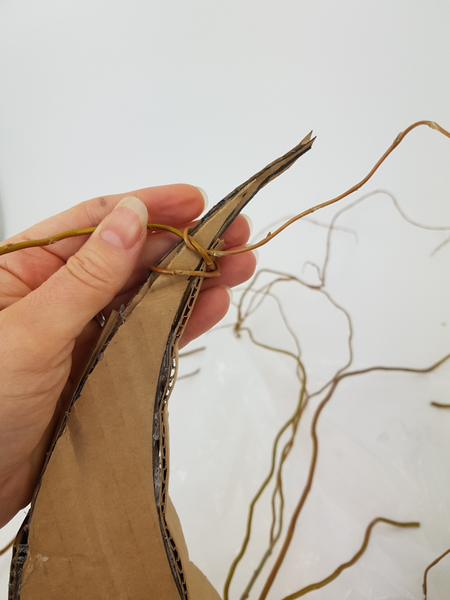
Knot a pliable willow stem around the cardboard.
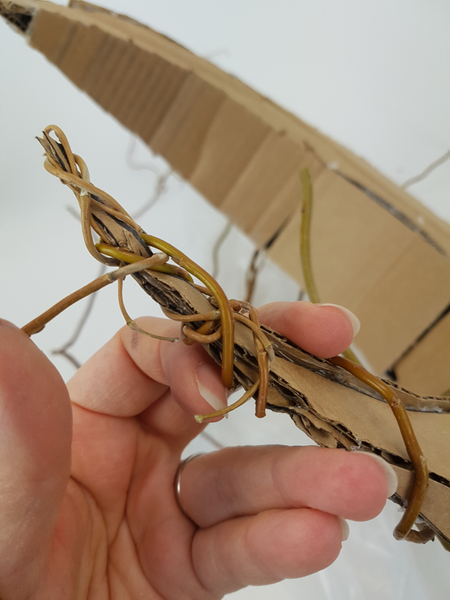
Wrap the willow to closely follow the cardboard shape.
Use the thinnest stems for the smaller end pieces so that you can wrap it closely to the cardboard.
Then wrap pliable willow tips around the thicker stems to secure it in place.
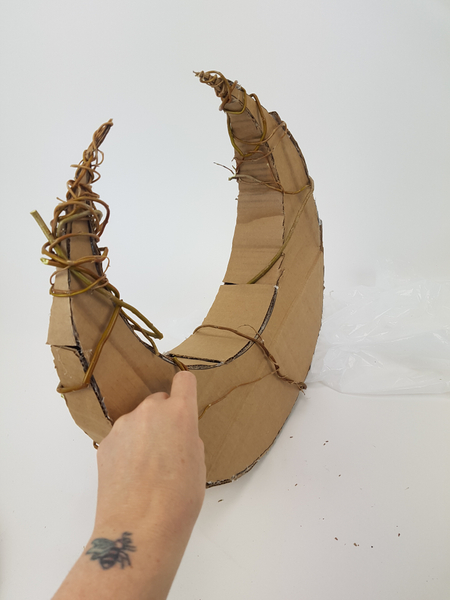
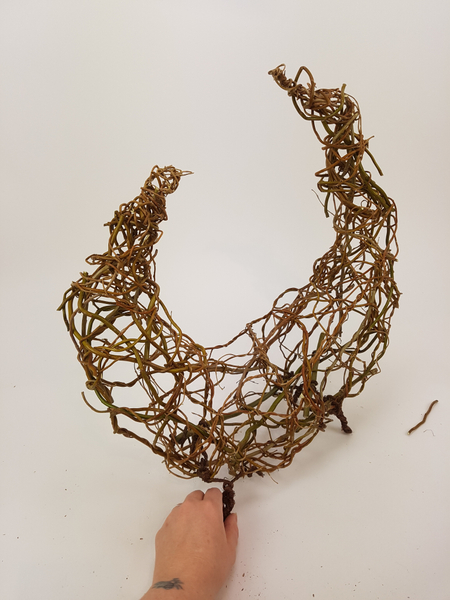
Set the willow armature aside so that the pliable stems can dry permanently into the crescent shape.
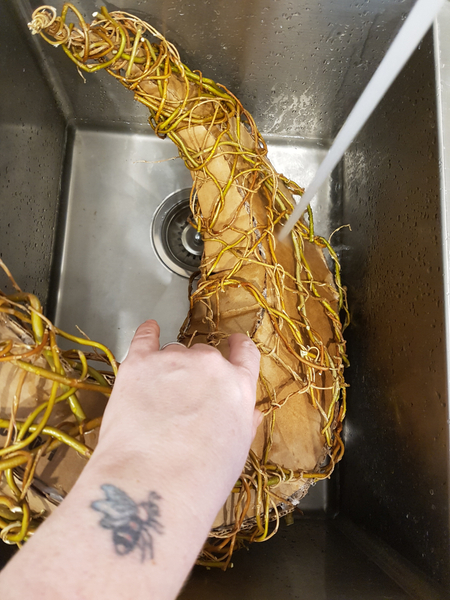
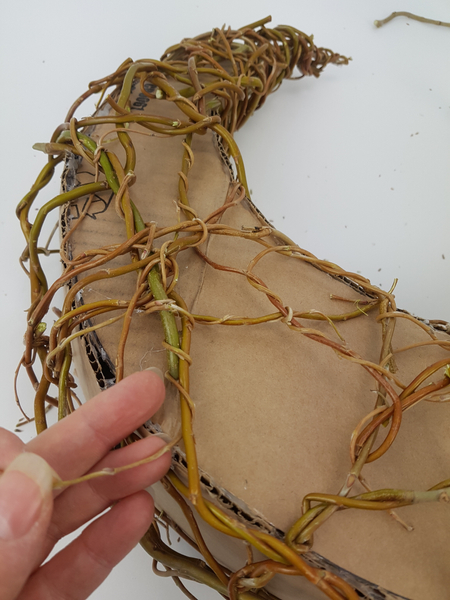
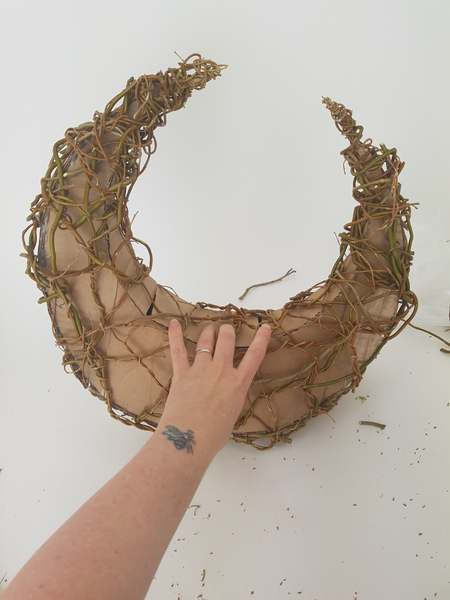
Once dry, soak the cardboard and willow in warm water
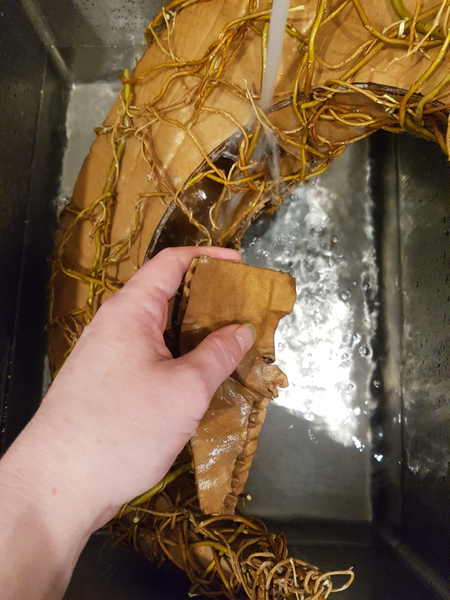
Carefully remove the soggy cardboard.
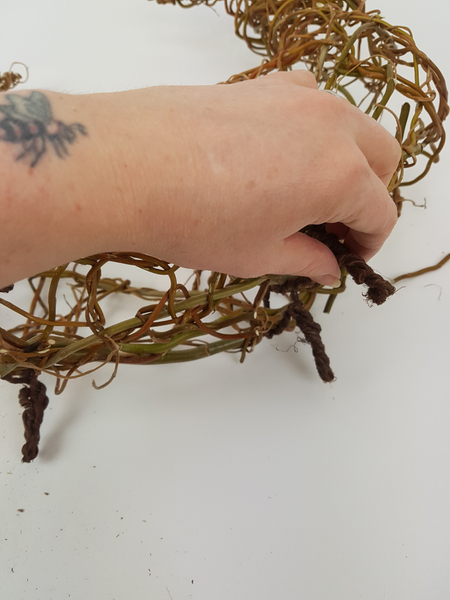
Bend wire into little legs...
And wrap the wire around the willow stems in the armature to secure
Sign up for my weekly newsletter
Every week I add a new design with related tutorials. Be sure to subscribe to receive an email notification with design inspiration.
Tutorials
When you need to keep a tiny stem hydrated this is just what you need. If you can't find a suitable drinking straw... I also have an upgrade: tiny food grade pipe water tubes.
Easy way to fill test tubes and easiest way to remove water from a vase
Use all three methods to dry hydrangeas to get three very different textures to use in design work.
Craft a slightly off center wreath from dried vines and grasses for Phalaenopsis orchids.
A perfect way to use a Lathyrus vine after all it flowered
Rip up the Washi paper for a lace fine armature for floral art
Twist ivy vines around a cardboard shape to create a lace fine Christmas tree mobile.
Favourite Flowers
Curly Willow, Chinese Willow, Tortured Willow, Globe Willow, Dragon's Claw, Hankow Willow
Hydrangea, when cultivated as a cut flower rather as a plant it is often revered to as Hortensia
Related Designs
The first design I did for my book launch demonstration looking at aspects that influences my effortless style of designing.
My book launch demonstration was hosted by my flower-buddies from the Capilano Flower Arranging Club. We looked at what influences our own effortless style... that "thing" that...
This design requires a bit of prep-time so it is perfect to make while waiting for the first autumn leaf to appear…
… and why we call this the special craftsmanship edition