Christine de Beer - effortless floral craftsman
Skeleton Leaves
- 22 September 2012
- click to send Christine a smile
- and more
This is not easy. Nor is it quick. At best I can tell you that it will definitely... maybe work. Or maybe... definitely. But it is great fun and when it works it is highly addictive and you will never look at leaves in quite the same way again.

Line a oven tray or casserole dish with baking paper.

Measure out 3/4 cup of the baking soda.

Bake the Baking Soda in an oven at 200'C for 30 minutes. This turns the Baking Soda (sodium bicarbonate) into Washing Soda (sodium carbonate)
Make sure you are extra careful when using Washing Soda. It has a pH of 11 so wear protective gloves and glasses to avoid skin or eye irritation.

Boil a full kettle of water. Measure out two cups and pour it into a saucepan. You will need the rest of the water to top up your leafy-soup as the water boils away.

Dissolve the sodium carbonate. When the mixture reaches boiling point turn the heat down to simmer.
Choose a few leaves. As a rule waxy leaves work best. Flip the leaf over and look at the veins. The more pronounced the vein network on the back of the leaf the better the end result. Some leaves will also discolour while others remain green.

For this tutorial I chose Ivy leaves to show you a leaf that remains green

and Salal (Lemon Leaf) to show how the leaves turn progressively darker as their chlorophyll breaks down.

Gently simmer the leafy soup for an hour and a half to two hours. Top up the water level as the water evaporates.
When you notice the flesh starts to become soft and float away from the veins, lift the leaf out of the water with a spatula or the back of a large spoon and rinse in cold water.

Place the leaf on a smooth flat surface and smooth any creases away with a brush.

Blot away any moisture with a cotton bud.

"Paint" the leaf with water and start to brush away the fleshy pulp.

Continue to blot away moisture and painting the leaf with clean water.

Set the leaf aside to dry, when the veins show through and the fleshy pulp is removed from this side of the leaf.

Flip the leaf over and clean the other side.

When the skeleton leaf is dry it will naturally pull away from the glass. But if any bits remain stuck carefully wiggle it loose with a needle

A batch of skeleton Ivy leaves, ready to design with

The Salal (Lemon Leaf) was a bit more robust and easier to work with. Paint the leaf with clean water and wash away the pulp.

Flip the leaf over and paint and wash away the other side.

Almost a skeleton leaf!

A batch of skeleton Salal leaves, ready to design with
To bleach the leaves:

Place the leaves in a shallow dish a pour in enough bleach to just cover the leaves

It will immediately start to bleach

After a few minutes the leaves will be a pale yellow

and then a beautiful winter white
Sign up for my weekly newsletter
Every week I add a new design with related tutorials. Be sure to subscribe to receive an email notification with design inspiration.
Tutorials
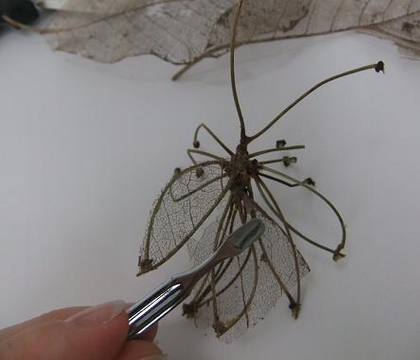
Made from dried cherry twigs and a skeleton leaf.
Related Designs
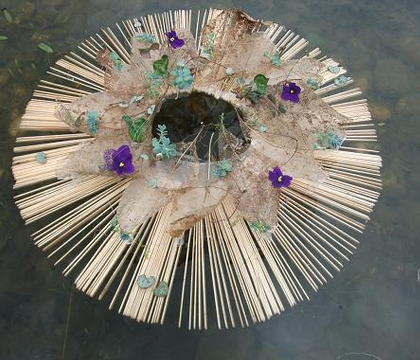
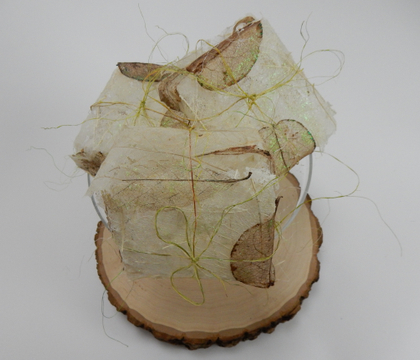
An Autumn Equinox design that captures the moment before the spectacular colour burst of autumn floats around again
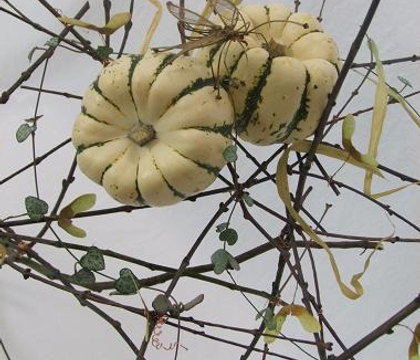
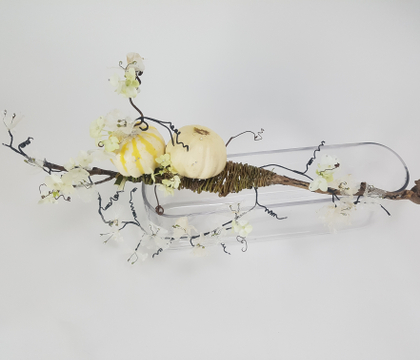
A twig and stick design with sweet dumpling pumpkins and rosary vine (Ceropegia woodii). I also made a cherry twig and skeleton leaf Stick Insect
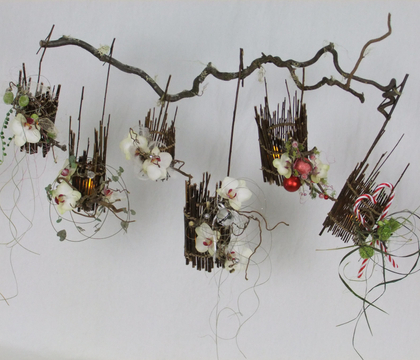
My article looking at contrasts and 6 winter lantern designs featured in the DIY Wedding Magazine
Barely there skeleton blossoms with Eucalyptus eyes for my Halloween design... Oh! and a Willow Paddle, which probably should have been the main Tutorial... but... well...
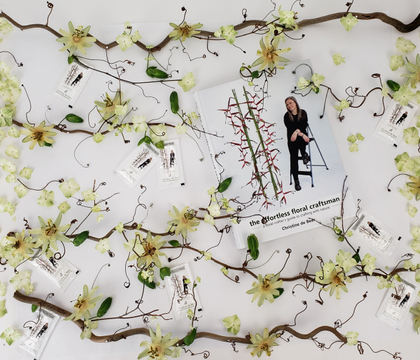
A flat-lay to celebrate finally finding the perfect way to dry passion fruit flowers... and my book's first birthday but mostly the drying of passion fruit flowers thing.
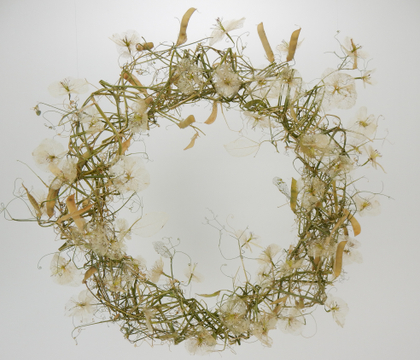
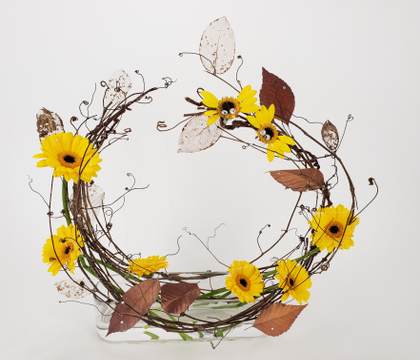
A hint of a wreath table top design for pre-Halloween decorating.
Not quite winter but also a bit late for autumn design that is somewhere between sparkle and flying leaves.
