Christine de Beer - effortless floral craftsman
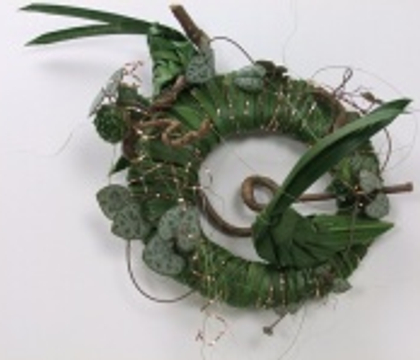
Fold a Grass Disk
- 16 September 2015
- click to send Christine a smile
- and more

Cut small strips of double sided tape and adhere it to a Styrofoam disk

Smooth the tape down all around the disk

Turn the disk over and tape the other side

Remove the tape cover to expose the sticky side and fold a blade of grass to stick to both sides

Place the next blade of grass to slightly overlap the first blade so that the Styrofoam will still be covered when the grass dries and shrinks

Continue to add blades of grass

Adhere the grass to point into the armature, with all the blades facing the same direction

Open the double sided tape as you go along

Disk armature ready to design with
Sign up for my weekly newsletter
Every week I add a new design with related tutorials. Be sure to subscribe to receive an email notification with design inspiration.
Tutorials
The finish of every design should be flawless. Make sure there are no bits of glue visible in your design by carefully removing all traces of spills.
"Plaid" and "braid" are synonyms, and where you are from will most likely dictate whether you use plait (British) or braid (American or Celtic). Some people also refer to...
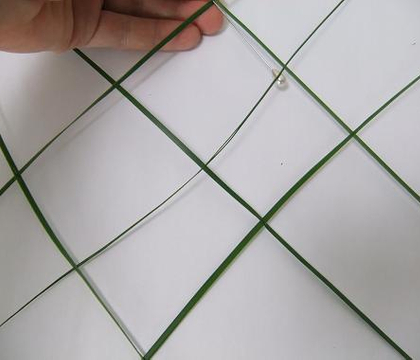
For this tutorial I focus on a simple weave pattern that does not require you to soften or prepare the leaves to be more durable or flexible. This is the starting point in...
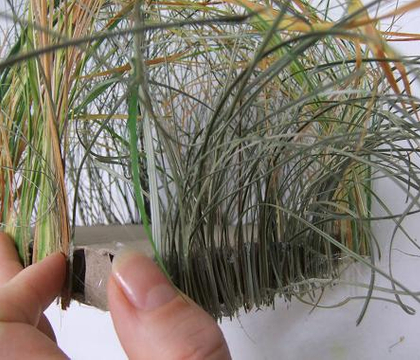
Create a sheltered or veiled design by framing the outer edge of your armature (in this case thick cardboard) with long strands of grass
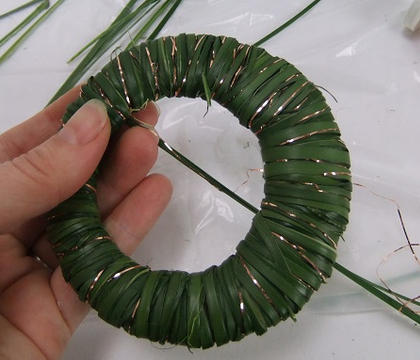
Wrap a foliage circle to9 create a base for a magnetized corsage
Related Designs
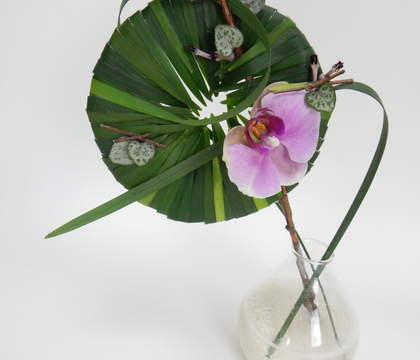
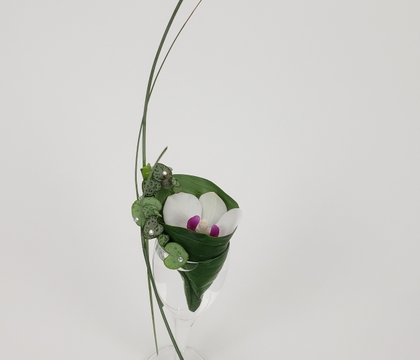
A tiny budvase design that rearranges basic ingredients, such as a single leaf and an orchid to create a new design concept.
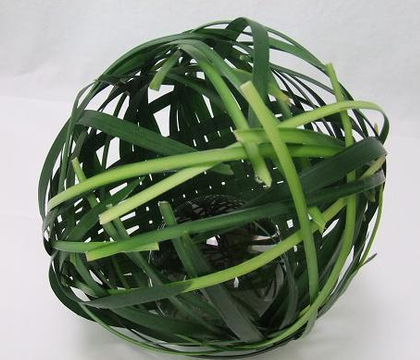
Weave a sphere from grass to catch a precious and exquisite and perfect glistening early autumn dew drop
Retail florists and wholesalers are already designing, ordering and preparing their product range for prom. This is my article that I wrote for the Prom Design Issue of Canadian...
