Christine de Beer - effortless floral craftsman
Make a Phalaenopsis Orchid from autumn leaves
- 25 September 2013
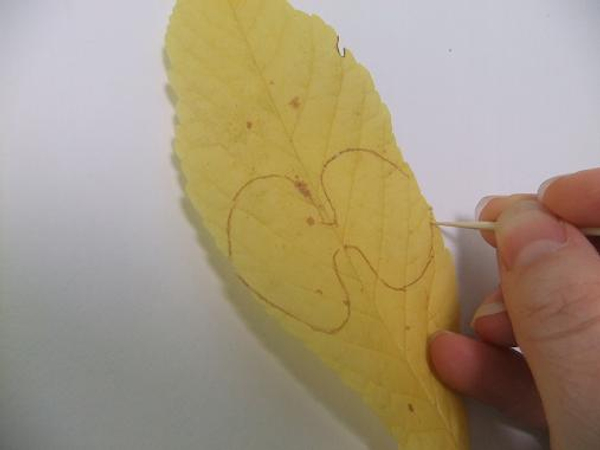
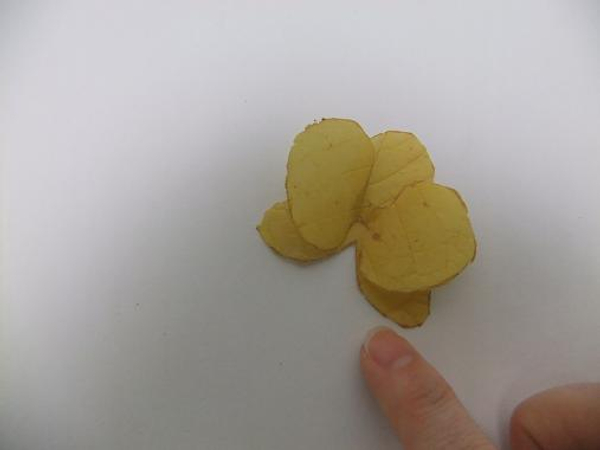
Score the outlines of the two petals on to a fall leave
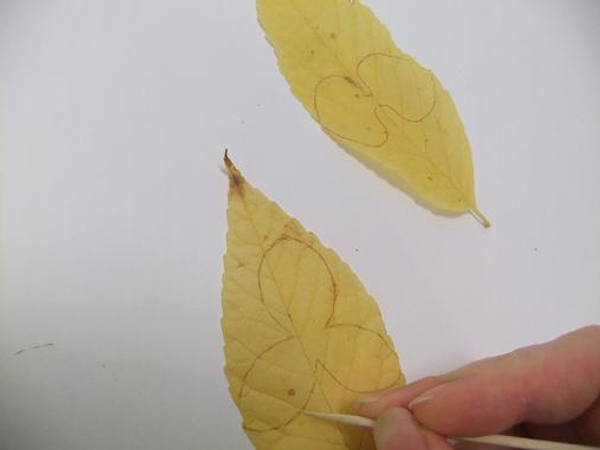
Score the outlines of the sepels...
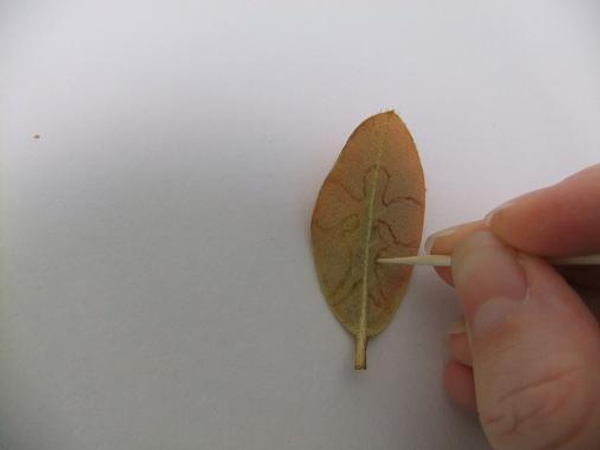
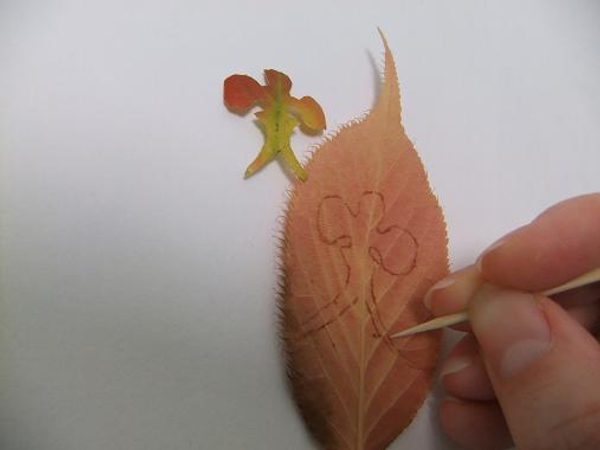
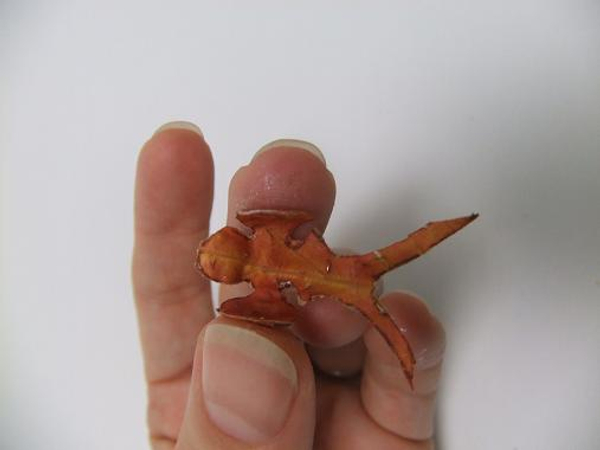
Score the outlines of the stigma and lobe on to a thicker orange leaf. Flip the leaf over to score the dull side.
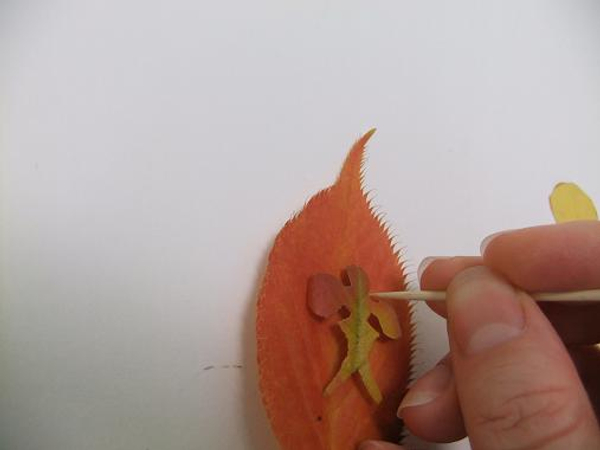
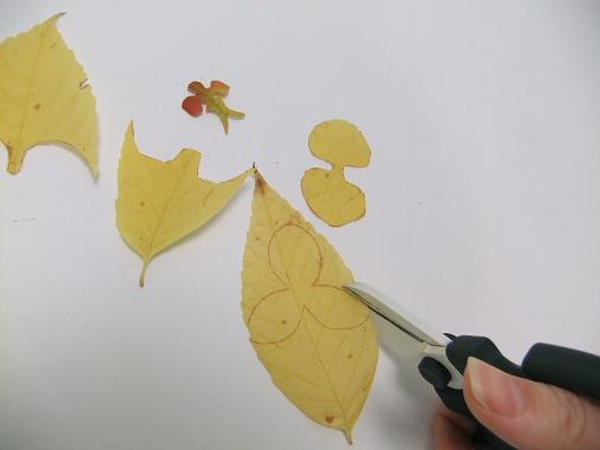
Cut out the lobe leaf and trace a second lobe, this time use a thinner leaf of similar colour.
Extend the lobe on the thinner leaf before cutting it out
Cut out the score pattern.
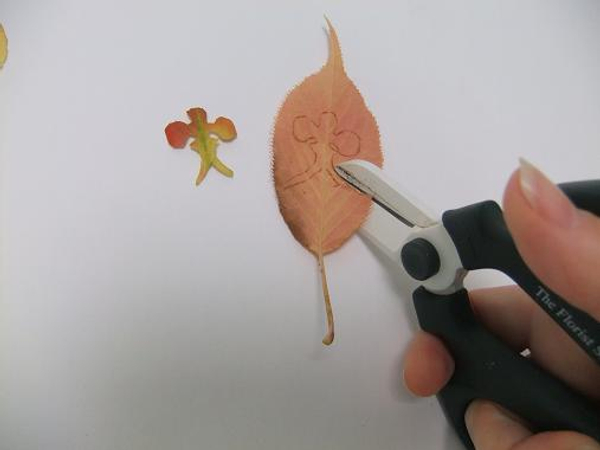
Cut out the second lobe.
Wiring the lobe:
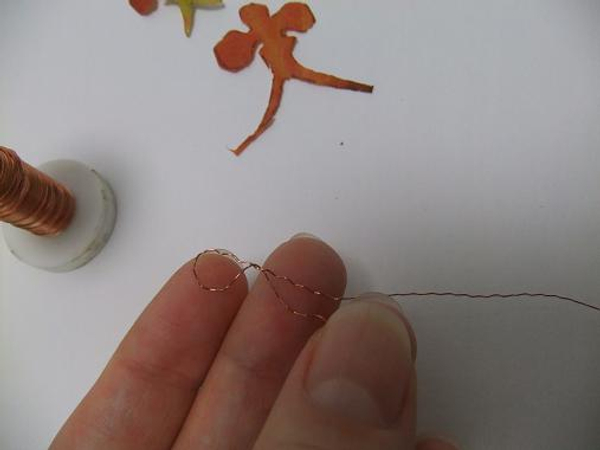
Make a small loop and twist the wire
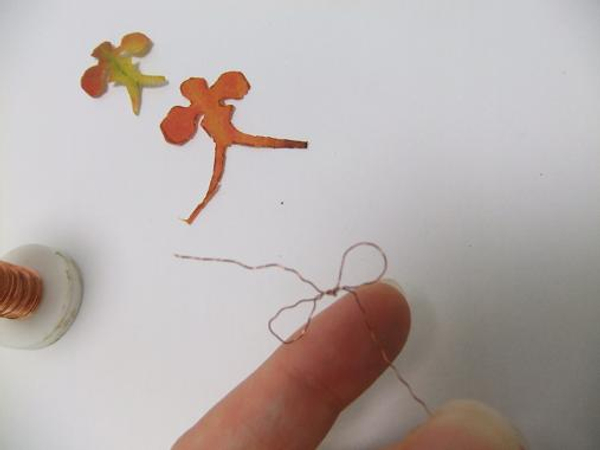
Make another loop to make a bow
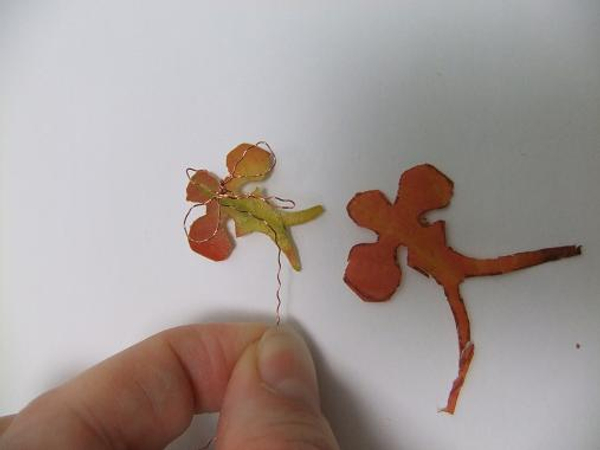
Bend one leg of the wire up and twist a loop. Bend the wire down and twist two longer "legs"
Match the wire to the lobe and adjust where needed so that it follows the shape perfectly
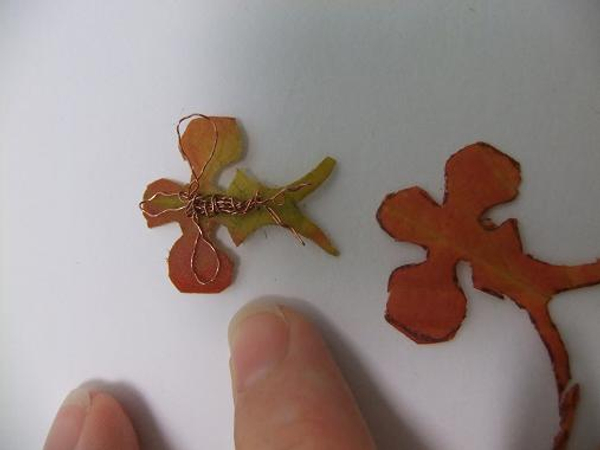
Evenly spread floral adhesive on the leaf lobe.
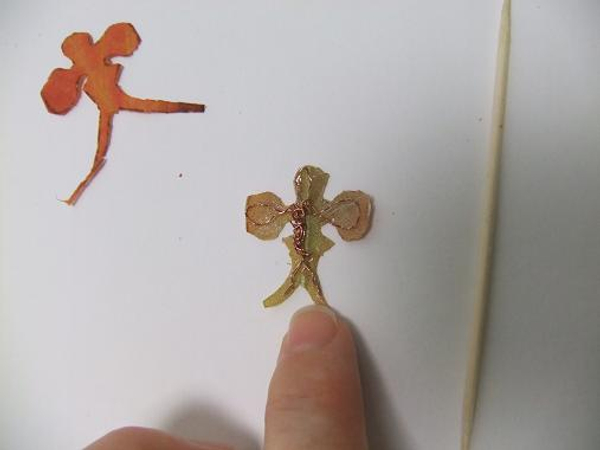
Glue the wire to the leaf
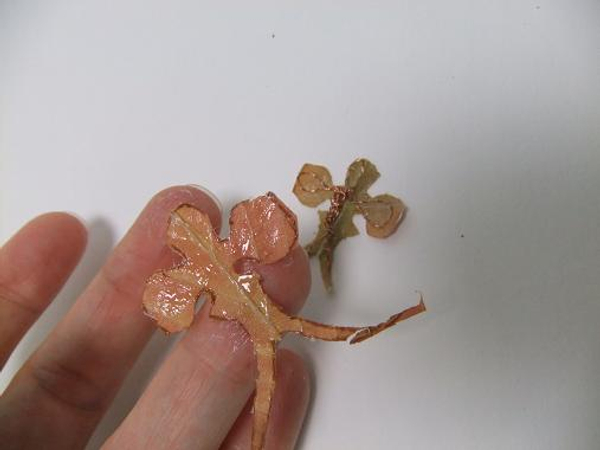
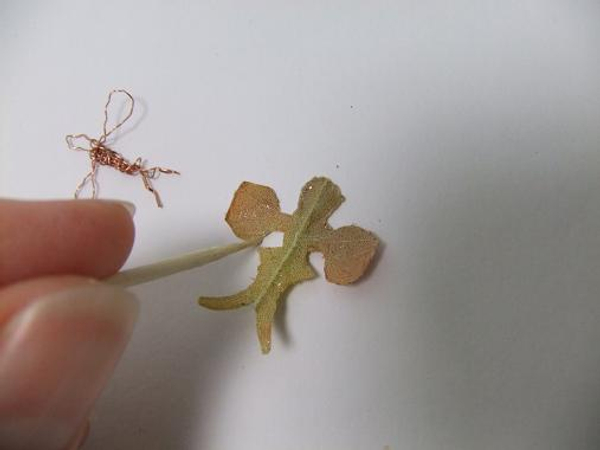
Spread glue on the second lobe.

Sandwich the two leaves
Press the edges to bond.
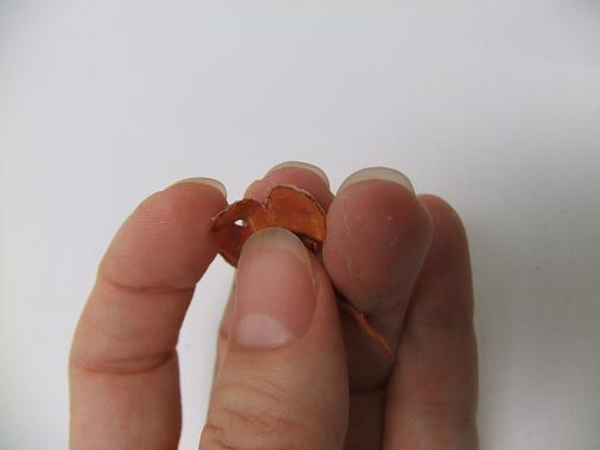
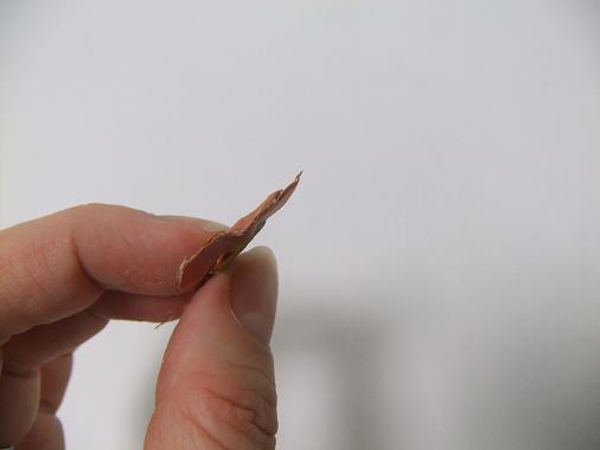
Bend the column over
Curve and bend the lateral lobes
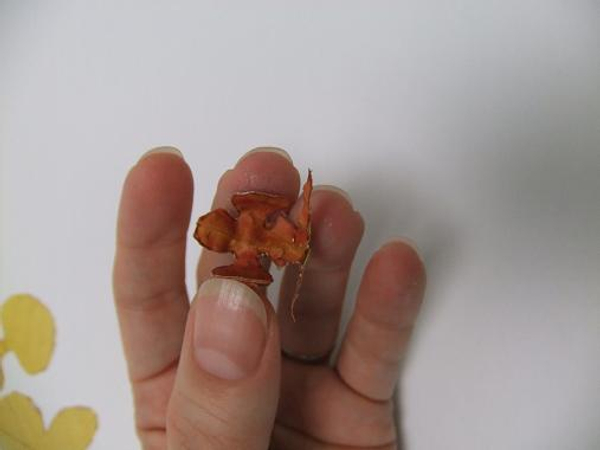
Curve and bend the labellum.
Assemble the orchid:
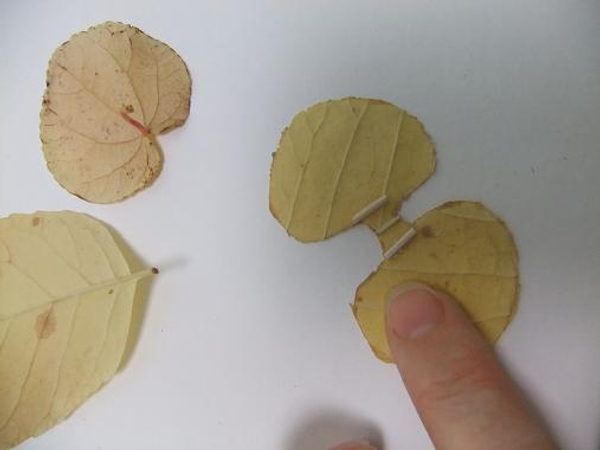
Glue two tiny stems to the underside of the petal leaves to slightly lift the petals when glued.
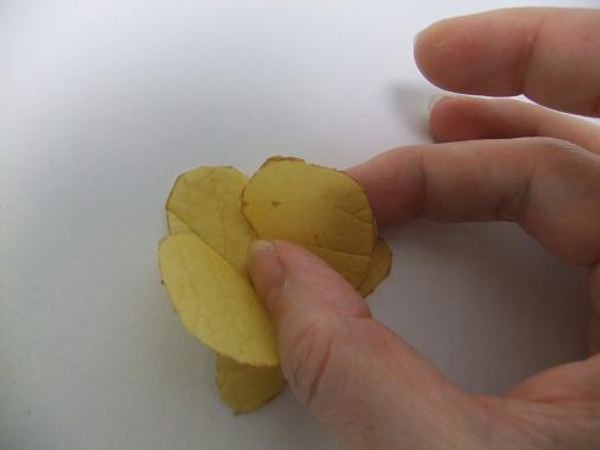
Glue the petals to the sepels
Press the connection point to bond flat and fold the petals slightly up
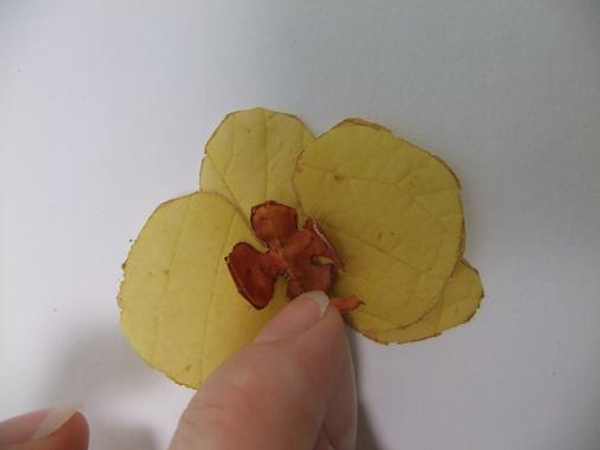
Glue the lobe in the center

Design note: I loved the way this leaf orchid dried.
Sign up for my weekly newsletter
Every week I add a new design with related tutorials. Be sure to subscribe to receive an email notification with design inspiration.


