Christine de Beer - effortless floral craftsman
Sticking a stick curve to create a hollowed out crescent armature
- 18 June 2014
- and more

Cut a large cardboard circle.

Measure the circle to fit the shallow container

Draw the crescent shape on the cardboard

Cut out the shape and measure it against the shallow container. It should be well within the limits of the container.
Temporarily keeping the cardboard upright:

Cut out three pieces of cardboard

The cardboard should fit snugly in the container

Cut into the cardboard.

Slip the crescent shape into the slit

This creates a very stable but easy to remove base

Measure the sticks against the cardboard and cut and glue.

Simply follow the cardboard outline.

Build up the sticks around the cardboard. Do not glue the sticks to the cardboard feet so that it is easy to remove

Turn the armature around and glue twigs to the other side

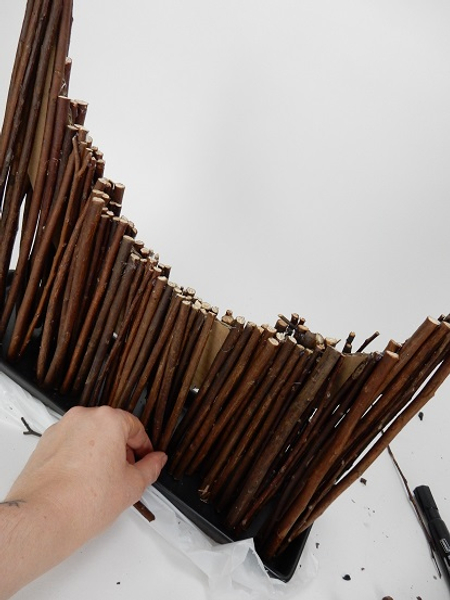
Continue to measure, cut and glue in sticks

Once you have enough sticks glued around the armature so that it can support itself you can remove the cardboard feet

Continue to add sticks making sure it is balanced and stable before adding bulk
Fill in any gaps with sticks

Turn the armature and makes sure the cardboard is completely concealed

Cut tiny bits sticks to cover the cardboard edge

Glue the tiny bits of stick into place

Look carefully and fill in any gaps.

Press a small test tube between the sticks to keep the strawberry runner hydrated
See the Tutorial below for more detailed instructions to make your own drinking straw test tubes and an easy way to blow away the hot glue strands.
Sign up for my weekly newsletter
Every week I add a new design with related tutorials. Be sure to subscribe to receive an email notification with design inspiration.


