Christine de Beer - effortless floral craftsman
Dried twig dome
- 11 December 2013
- and more
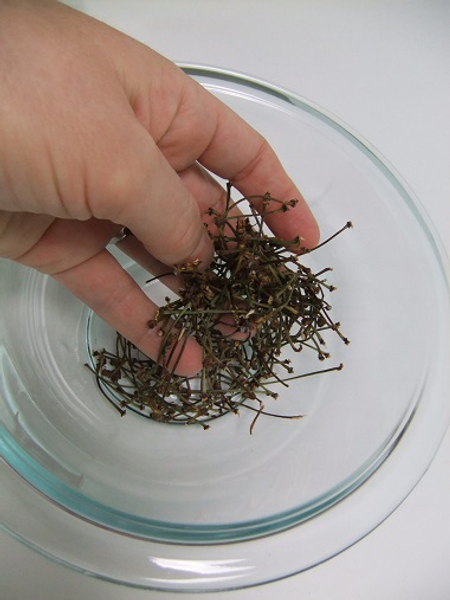
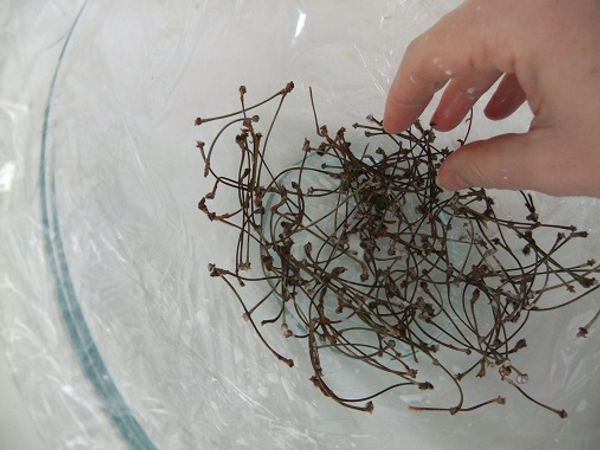
Place a few dried twigs in a bowl

Pour out wood glue into the bowl
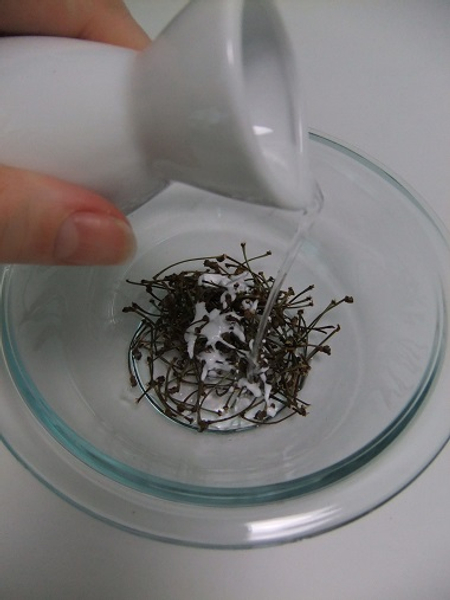
Mix in some water to thin the glue
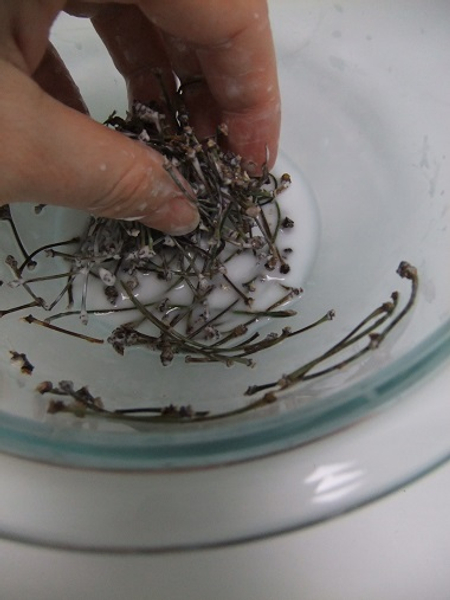
Mix to soak the twigs with glue
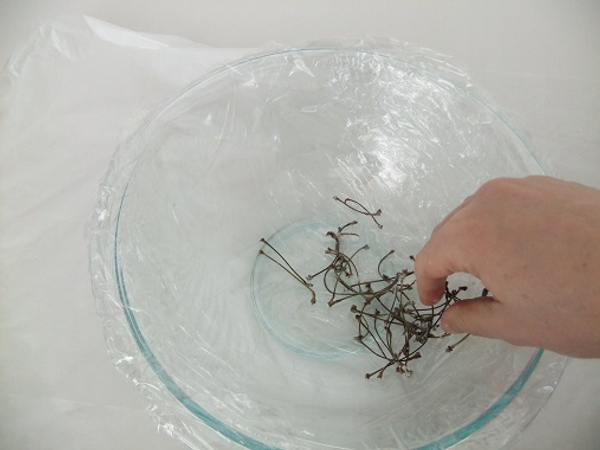
Line a round bowl with plastic wrap and start to stack the twigs to follow the shape
Keep adding twigs.
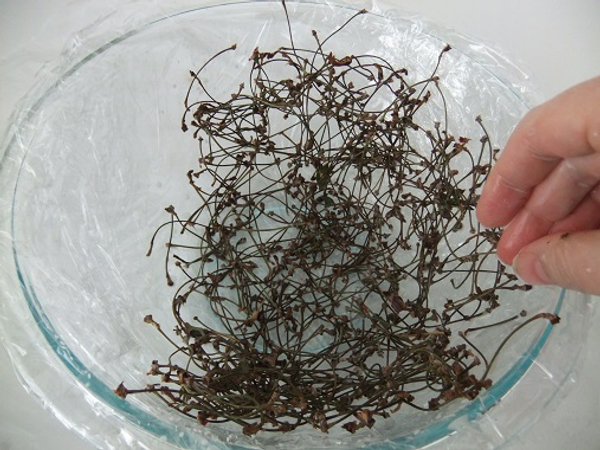
Follow the shape of the bowl
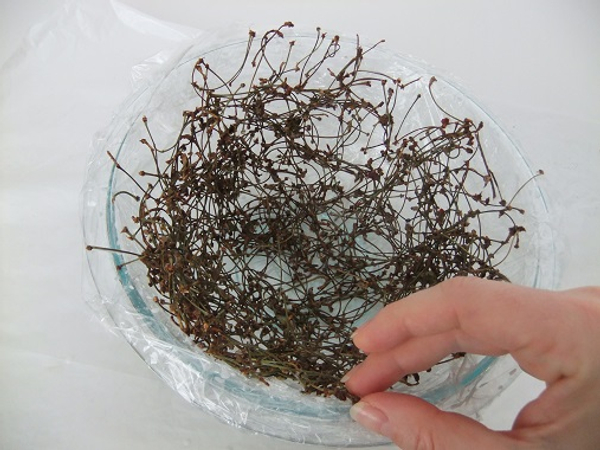
Stack the twigs up the side of the bowl
Set aside to dry completely
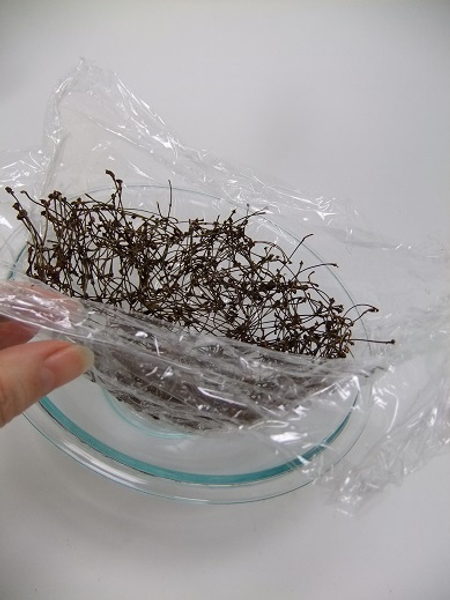
Carefully lift the twigs from the bowl
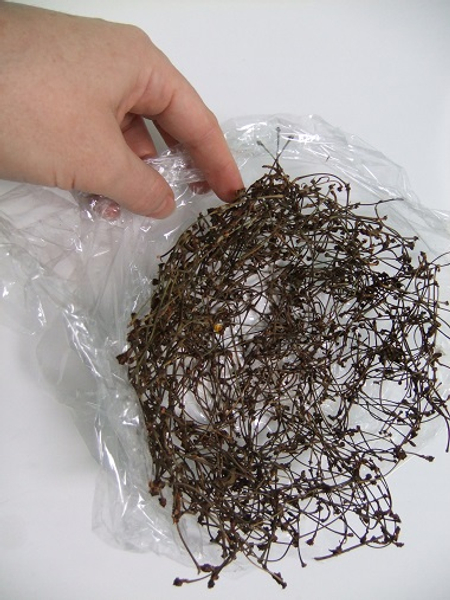
Peel away the plastic wrap
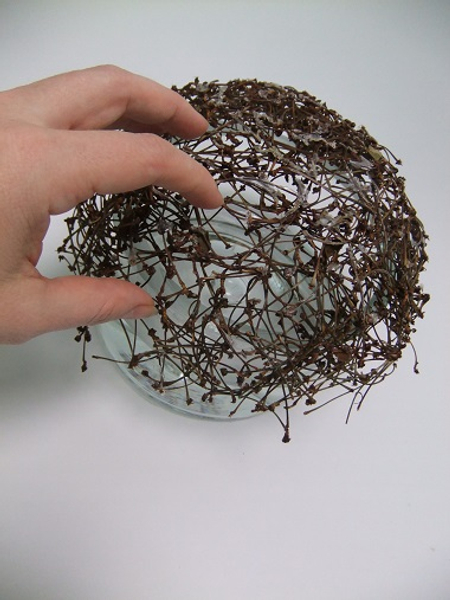
Set the dome over a container
Glue bigger twigs to the outside
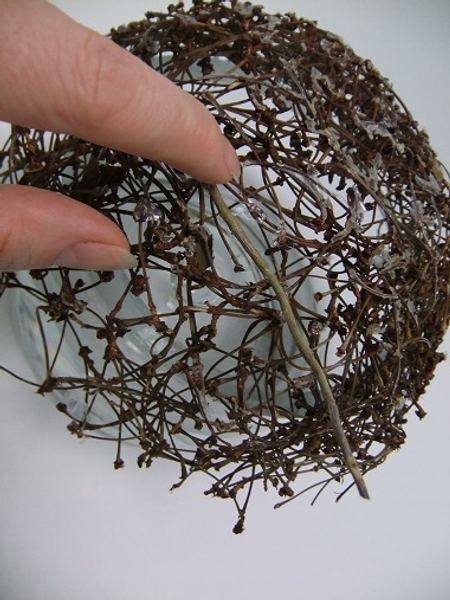
Add a few more twigs...

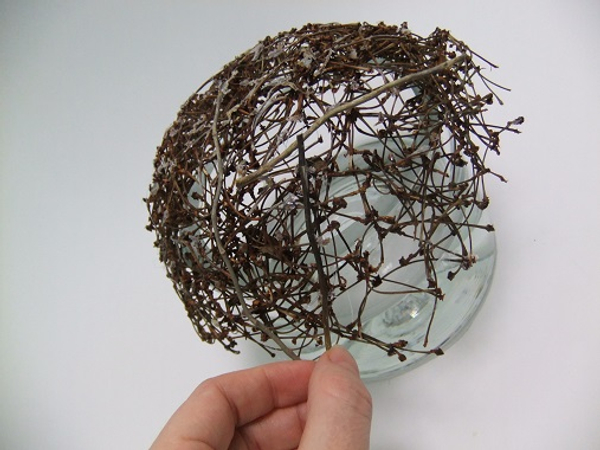
Cross the twigs to give it a scattered appearance.
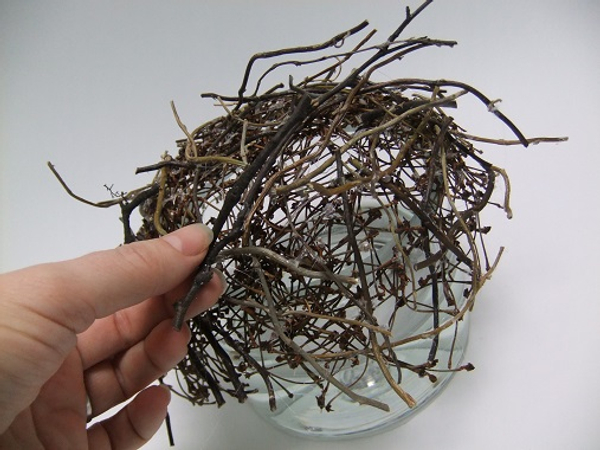
Lay a few bigger twigs over the dome.
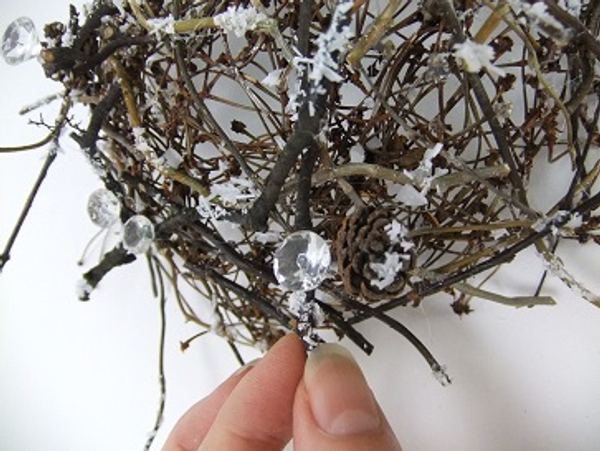
Finish the dome with a few crystals and scattered wax snow
See the Tutorial below for instructions on up-cycling wax as snow
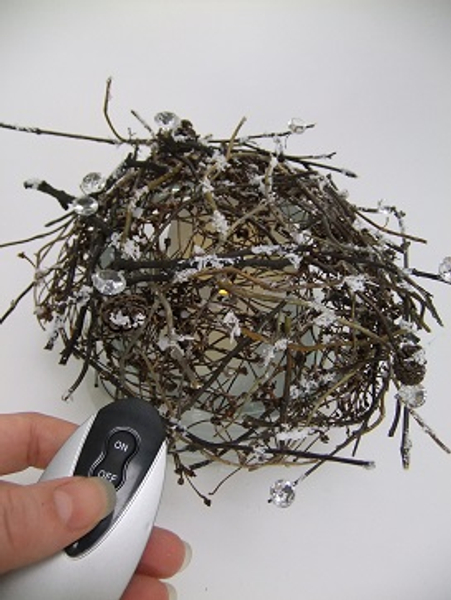
Lift the dome to set the flame-less candle in place. Add the fresh flowers
See the Tutorial below for instructions on how to temporarily secure a candle in a container.
See Tutorial below for making tiny drinking straw test tubes to keep the flower material fresh.
Or:
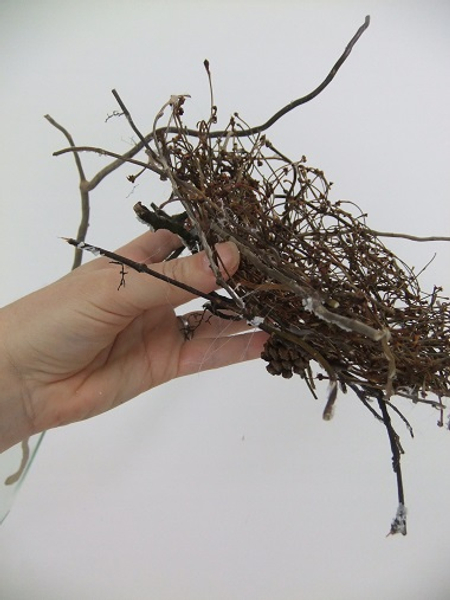
Carefully thread the twig dome through willow twigs and design a dried twig nest. See the detailed Tutorial below
Sign up for my weekly newsletter
Every week I add a new design with related tutorials. Be sure to subscribe to receive an email notification with design inspiration.


