Christine de Beer - effortless floral craftsman
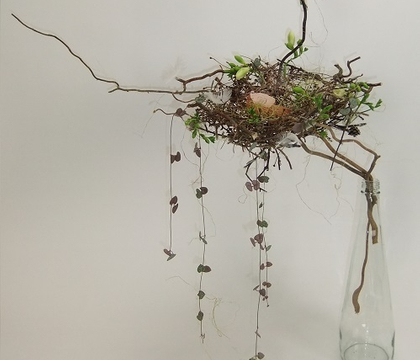
Suspending the twig nest
- 26 February 2014
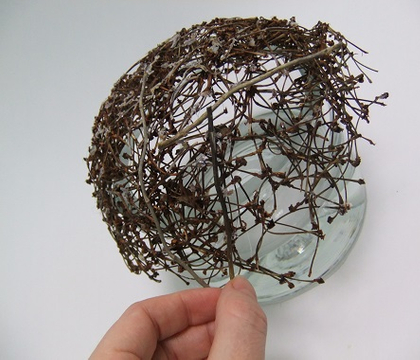
For this design I turned my dried twig dome upside down... for a very early spring nest armature design. See below for a detailed Tutorial on how to make the dried twig dome
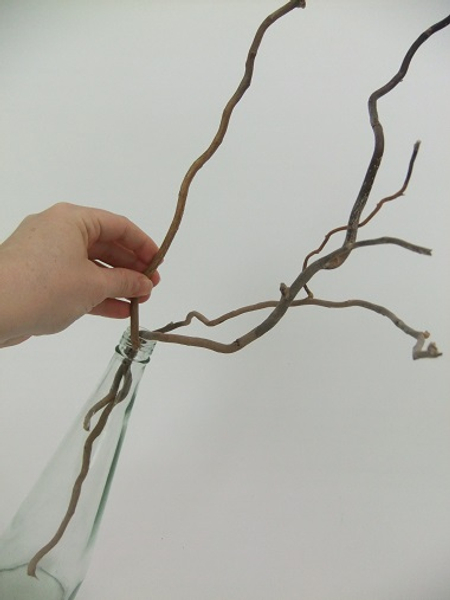
Place a few willow twigs in a upright container. Wedge the twigs tightly to carry the weight of the nest design, and remain balanced.
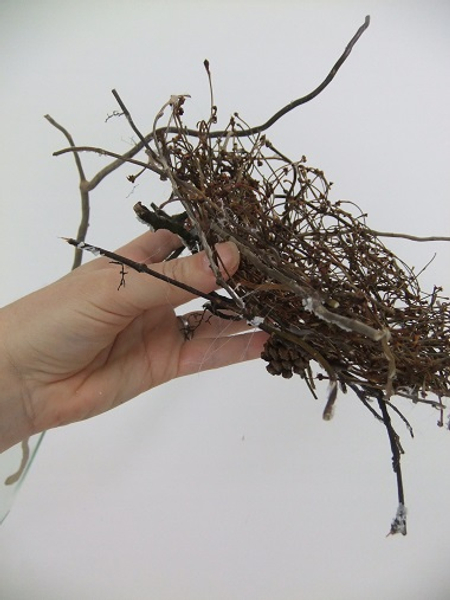
Carefully thread the twig dome through the willow. Set it deeply so that the twigs rest comfortably.
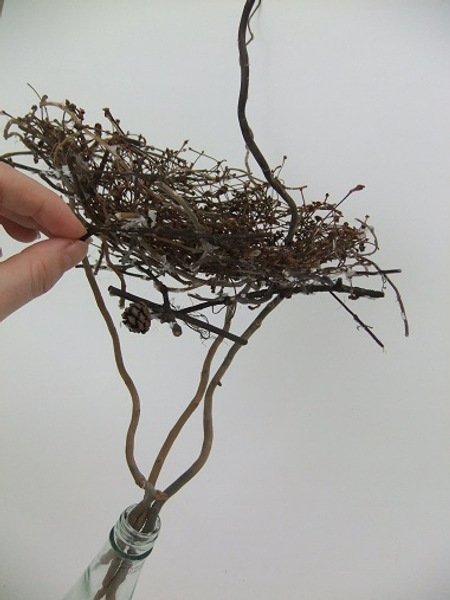
Wiggle the twigs to make sure it is secure. Also tip the armature slightly to see if you need to adjust the middle point. This will help the armature remain balanced once you add the test tubes, water and flowers
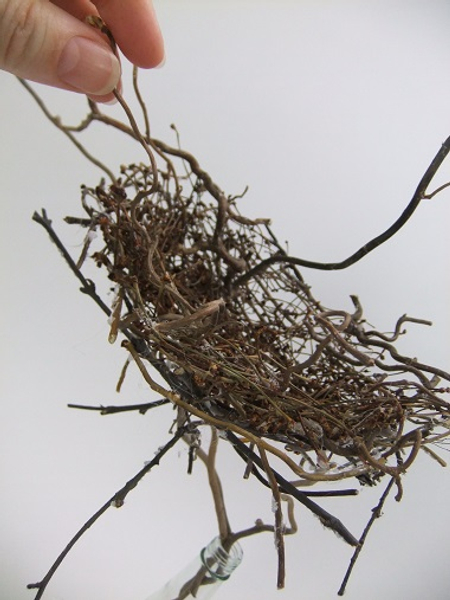
Glue in heavier twigs to adjust the tipping point if the armature is even slightly unstable. It is really important to create a steady base so that the design doesn't tip after you spend so much time adding the floral details
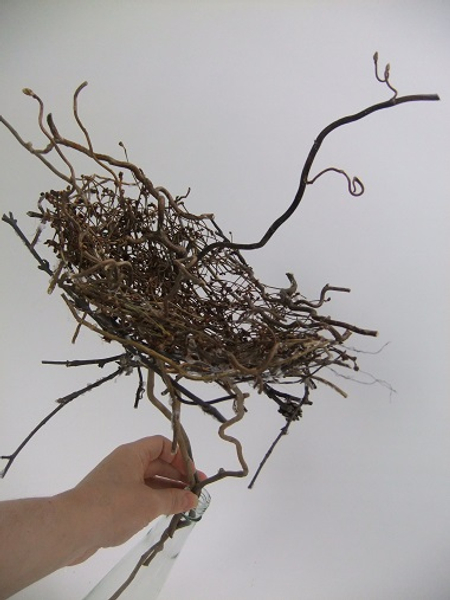
Dried twig nest ready to design with. Glue in a few test tubes and fill with water to keep the freesia buds fresh
Sign up for my weekly newsletter
Every week I add a new design with related tutorials. Be sure to subscribe to receive an email notification with design inspiration.
