Christine de Beer - effortless floral craftsman
Spiral Washi Rose armature
- 9 March 2016
For more detailed instructions on how I fold paper flowers see the Tutorial below
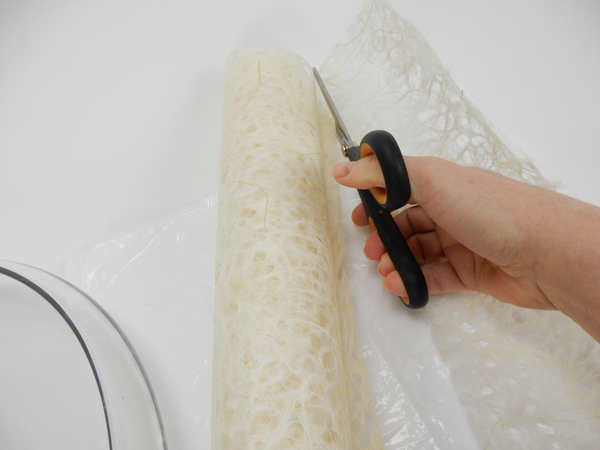
Cut a strip of Washi
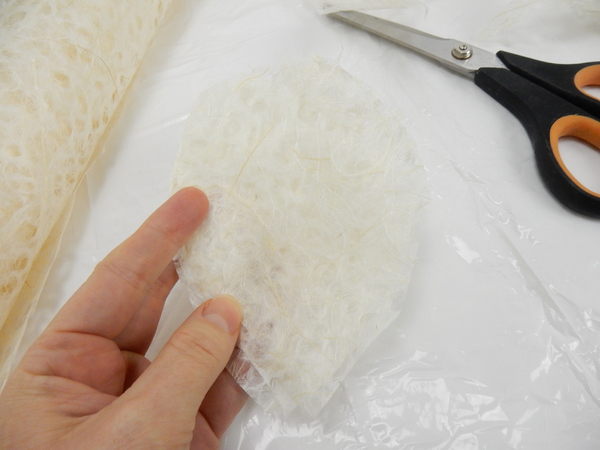
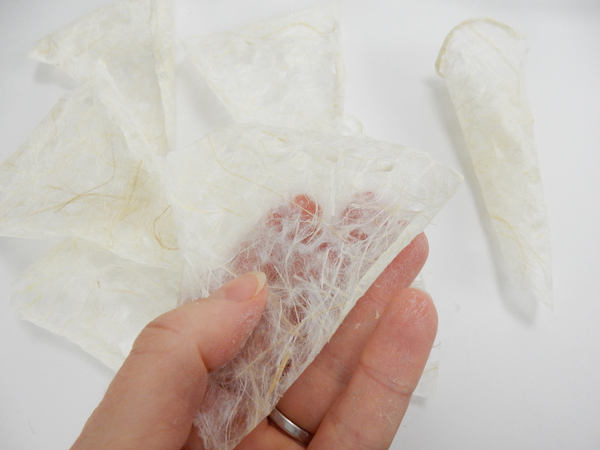
Cut out large petals
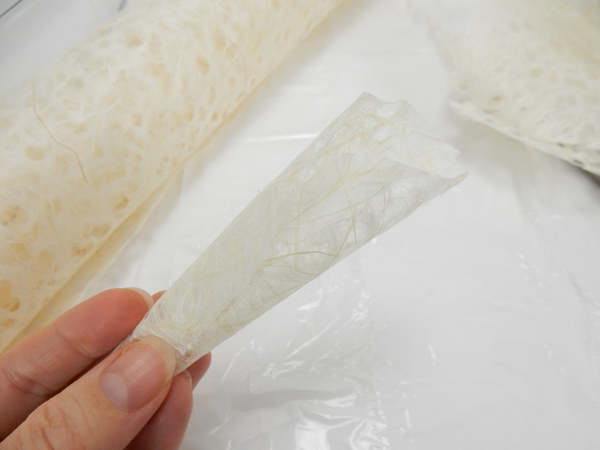
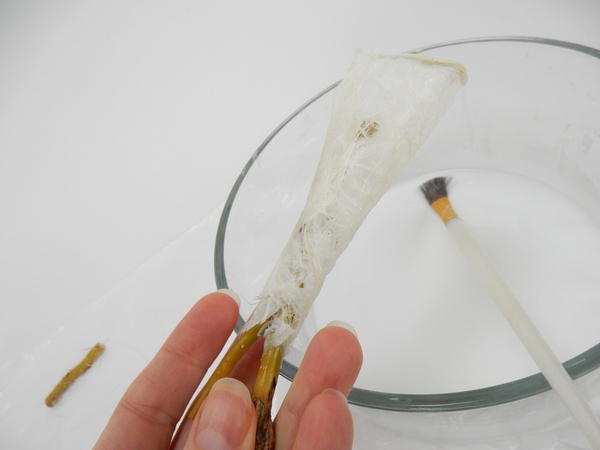
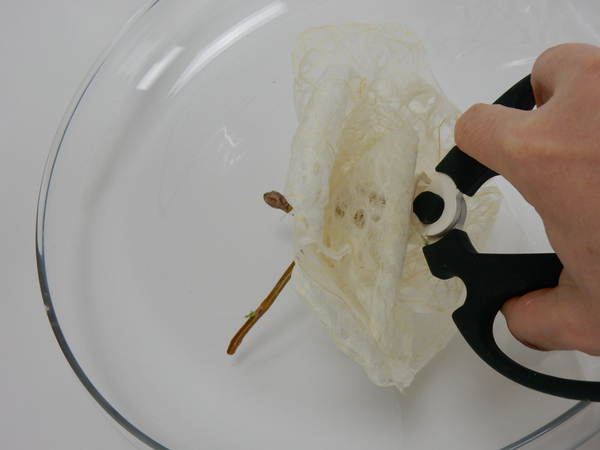
Fold the first petal into a tube and secure with a small bit of wood glue. with your fingers roll the top edge to the back
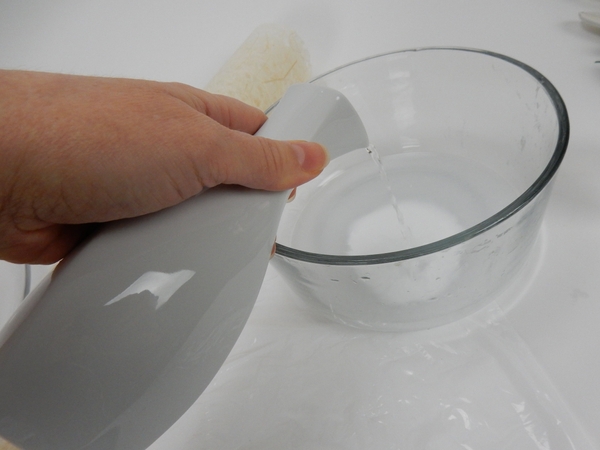
Pour out some wood glue into a container and thin the glue with warm water. It should be a milky consistency
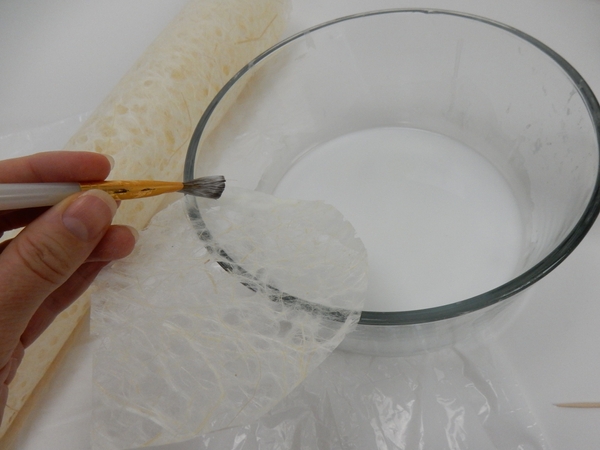
Paint the outer edge of all the other petals with thinned wood glue. Set the petal aside to dry
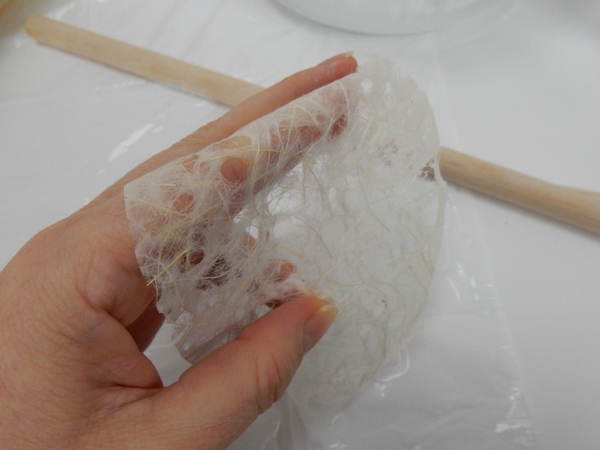
Curve the top edge of the petal around your finger to curl back. The dried glue sets the curl.
Curve the sides of the petal to curl inward
Cut a forked willow twig and slip the tube petal over the stem side
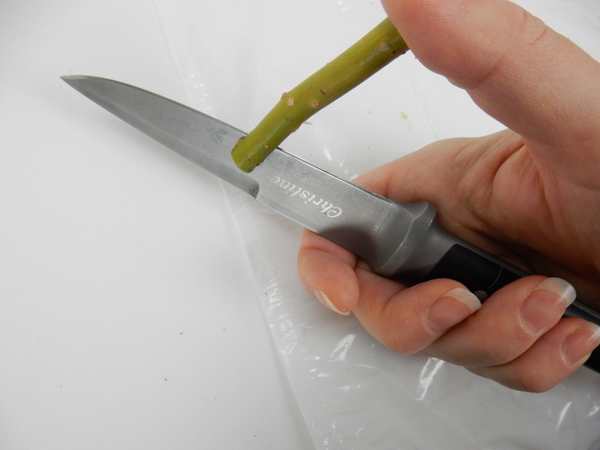
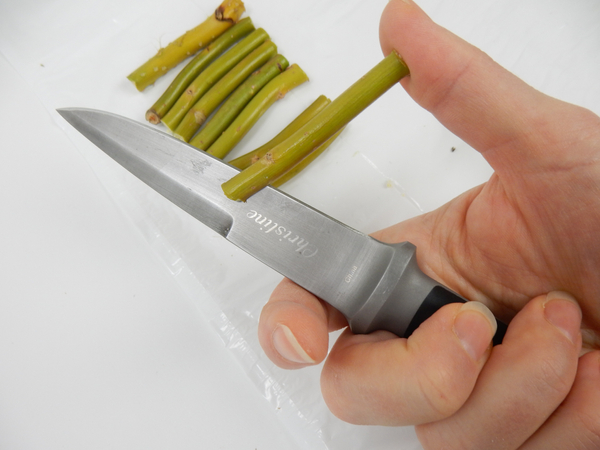
Split a twig with a sharp knife at one end
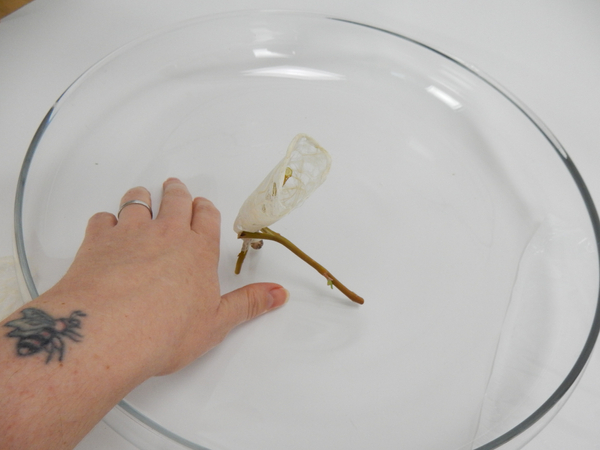
Slip the split end over the forked twig and waski tube. Set the tube in a shallow container to begin building up the rose
And wrap it loosely around the Washi tube
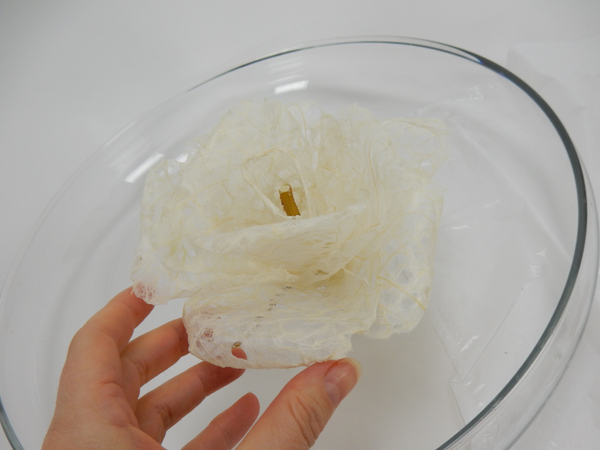
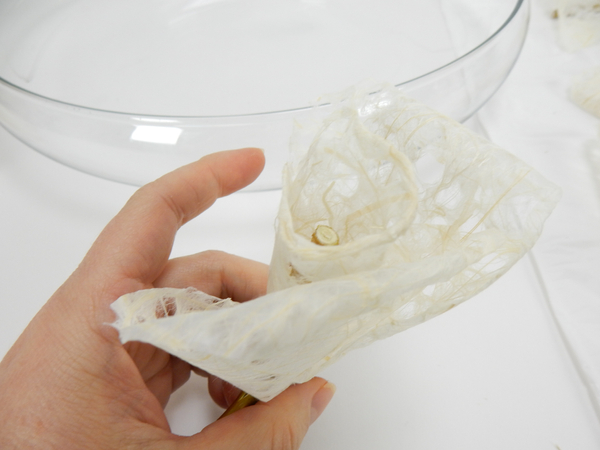
Keep adding petals to create a full rose shape
Cut the twig short so that it is no longer visible

Make sure the Washi rose stands firmly on its twig legs.
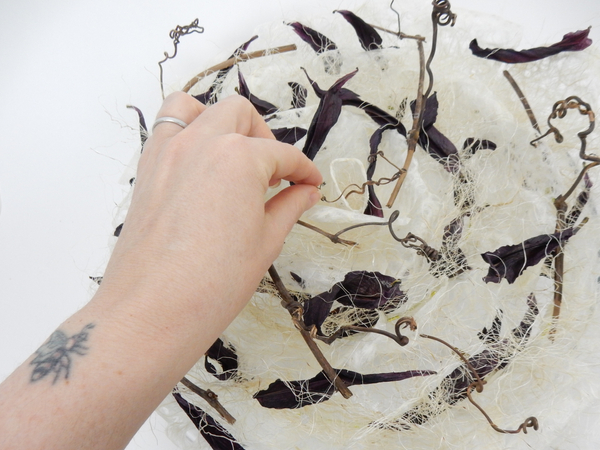
To suspend the rest of the rose you will need to split open a handful of twigs. Split just enough so that it pinches the wire in place
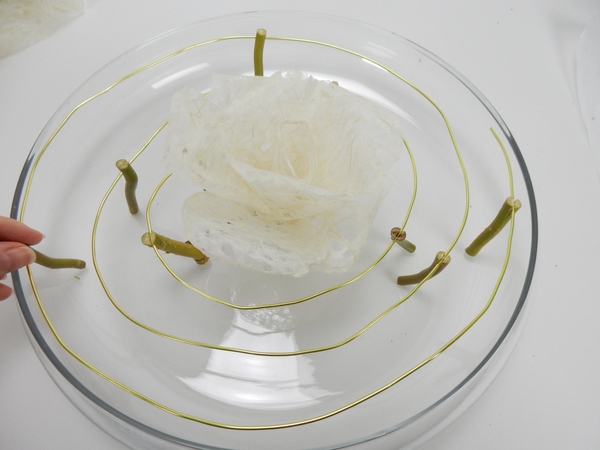
Bend a wide spiral from aluminium wire and slip the twigs in place so that the wire...
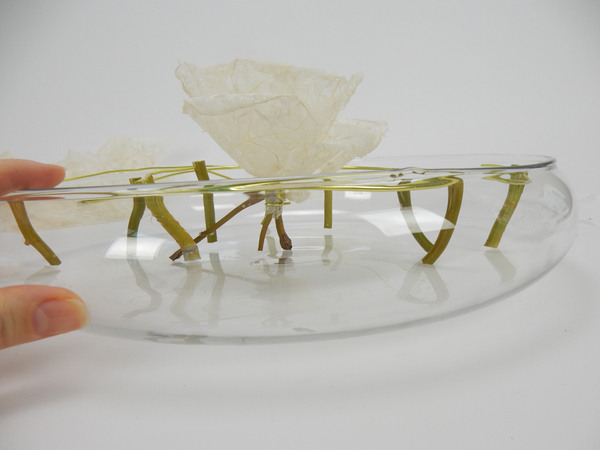
… stands firmly above what will be the water level
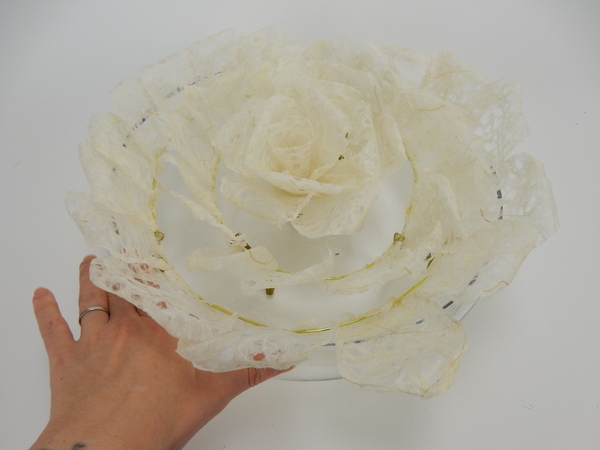
Glue petals to the spiralling out to cover the wire.
Fill the container with fresh water to just below the paper line and add the floral details
Sign up for my weekly newsletter
Every week I add a new design with related tutorials. Be sure to subscribe to receive an email notification with design inspiration.


 picked from your warm weather garden")


