Christine de Beer - effortless floral craftsman
See-through sisal basket
- 9 May 2014

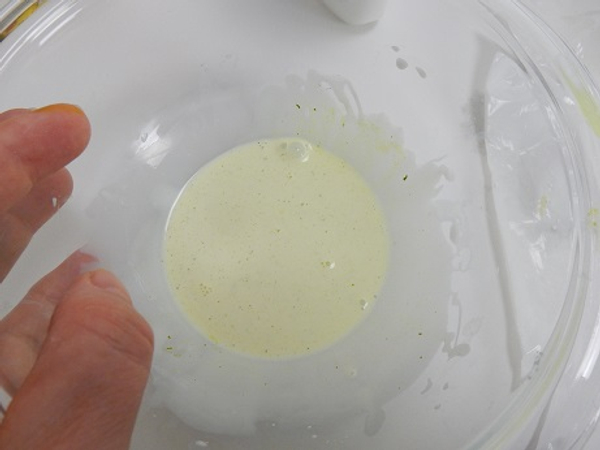
Pour glue into a bowl and thin it with warm water
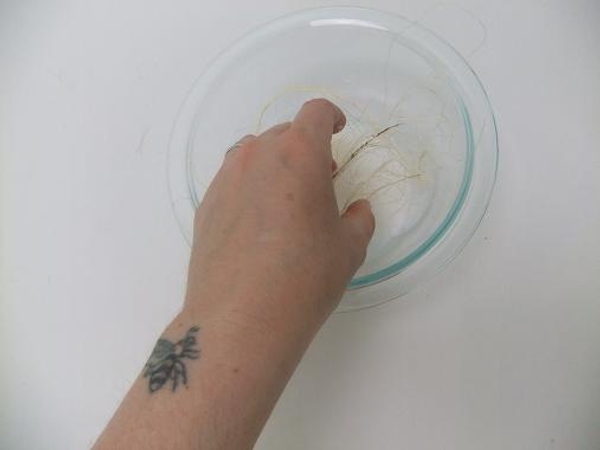
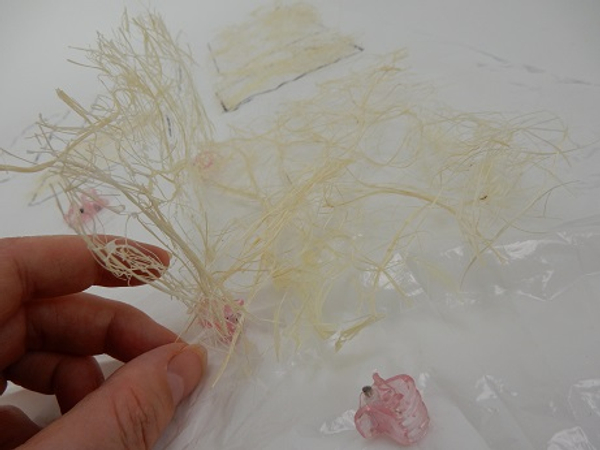
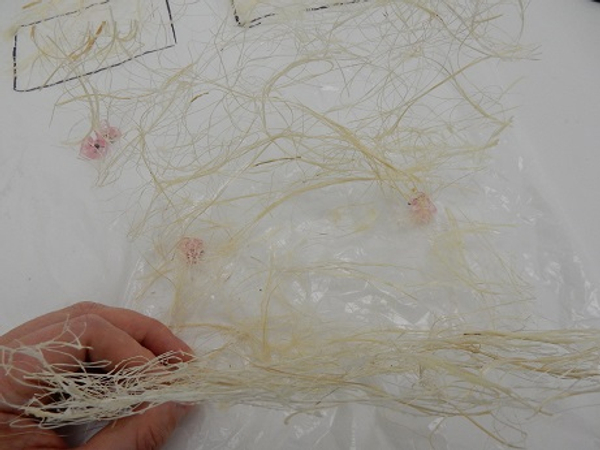
Soak some sisal in the glue mixture
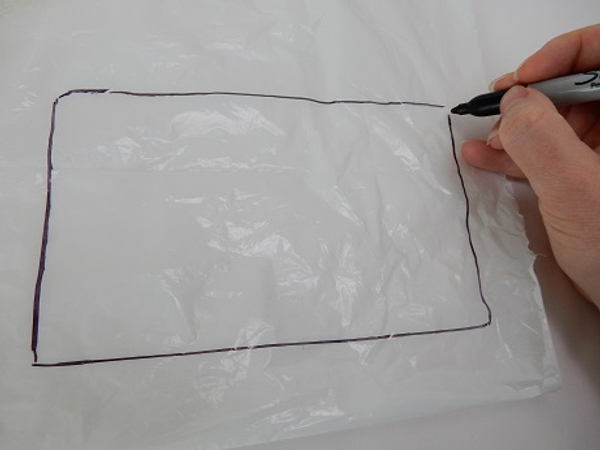
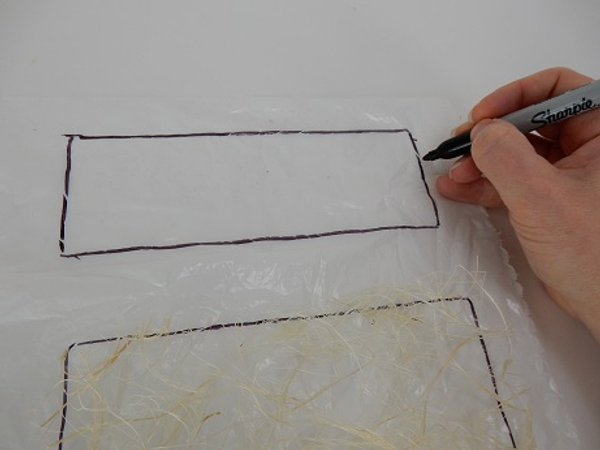
Draw a large rectangle on a plastic sheet
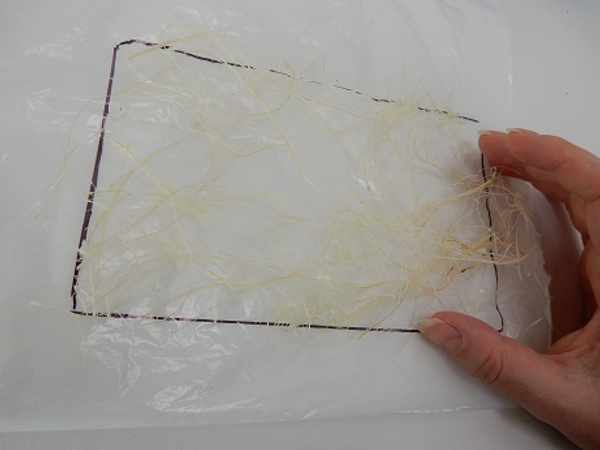
Fill the rectangle with glue soaked sisal
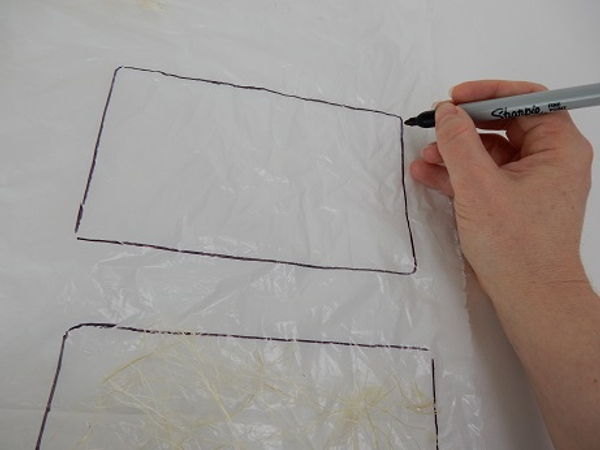
Draw a second rectangle, these form the front and back of the bag

Fill this rectangle with glue soaked sisal. Leave to dry
Draw a longer rectangle that will be the base of the bag
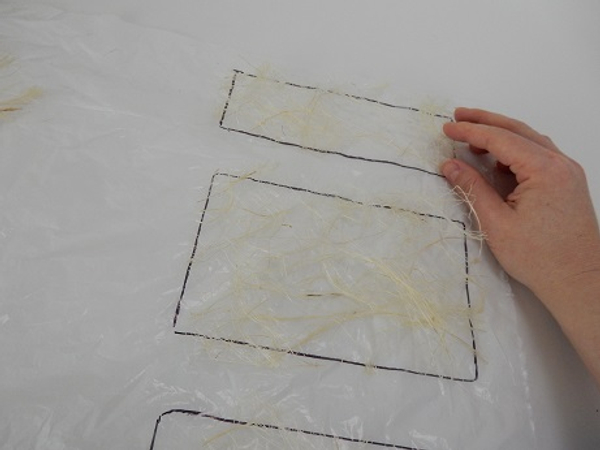
Fill the base rectangle with sisal
Draw the first of the rectangles that will shape the sides
And fill this with sisal
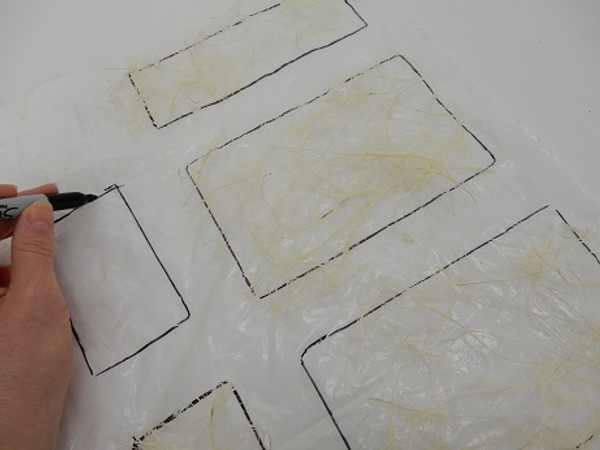
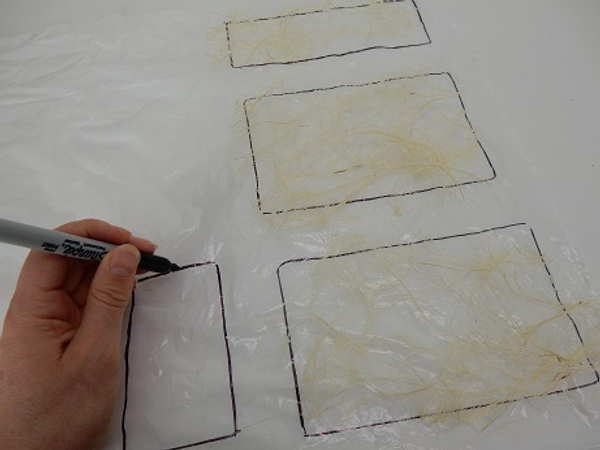
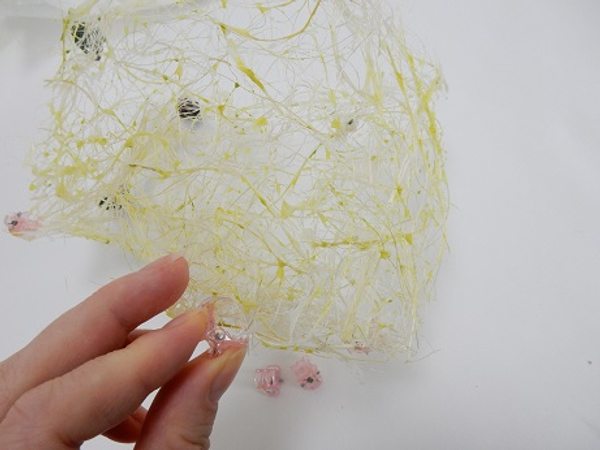
Draw the last side rectangle.
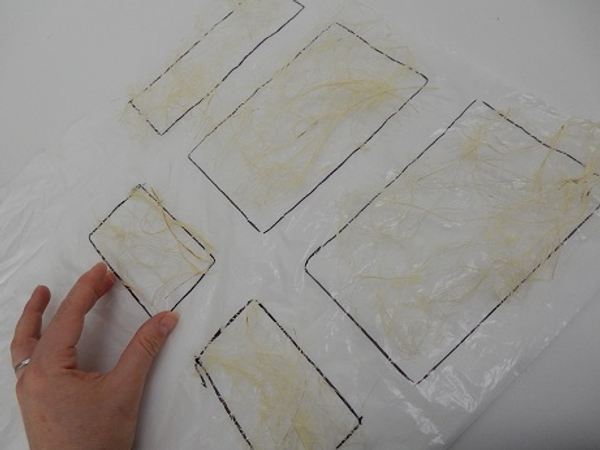
Fill this rectangle with sisal and set aside to dry completely
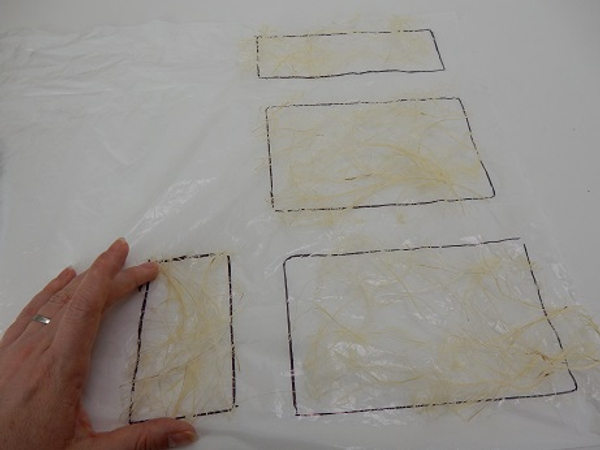
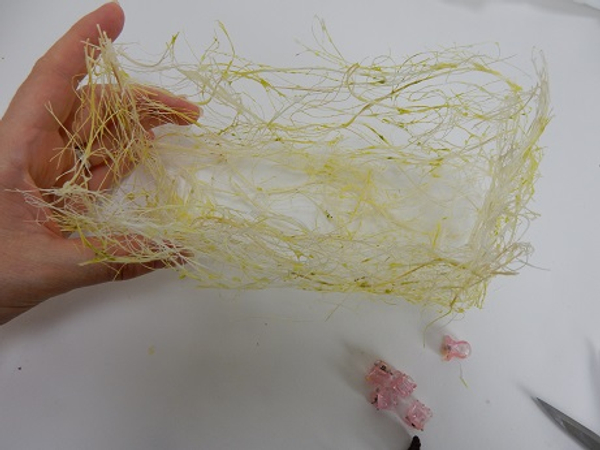
Once dry, carefully peel the panels from the plastic and start to assemble
Place the base rectangle flat on a working surface and stand the first of the side rectangles on the edge
I use butterfly hair-clips to keep the sisal in place. See the Tutorial below for detail instructions
Place the second rectangle and secure with a clip

Place the first side rectangle and clip in place

... and then the last side rectangle

The sisal shape is now ready to glue into place

I am painting the entire shape with glue. To make it easier (and to stain the sisal)I tint the sisal with a drop of paint so that I can see where I have already glued. Pour a drop paint into some wood glue...
... and mix well

Paint the entire sisal shape with glue. This creates a strong shape that will not buckle or warp. Smooth the loose fibers around the sides to ensure it bonds well. Pay extra care to the connection points
Set the sisal shape aside to dry completely
When dry loosen the butterfly clips
The sisal bag shape is now ready to design with
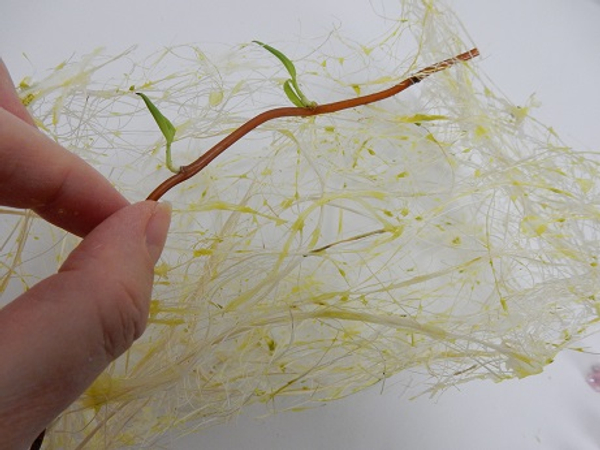
Weave in a few willow twigs...
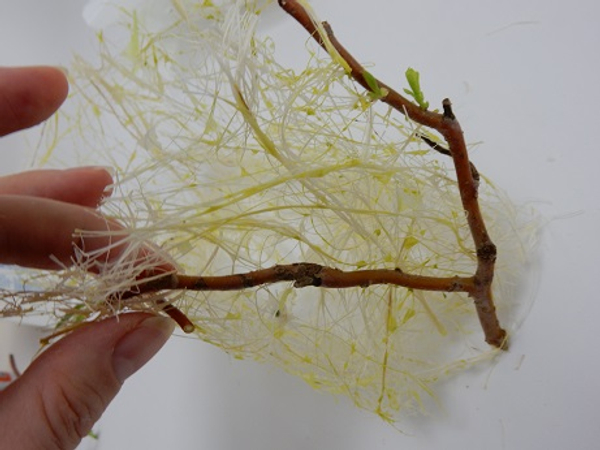
Follow the contours of the bag

This adds extra strenght to the design

Weave in two longer pieces of willow to twist as a handle
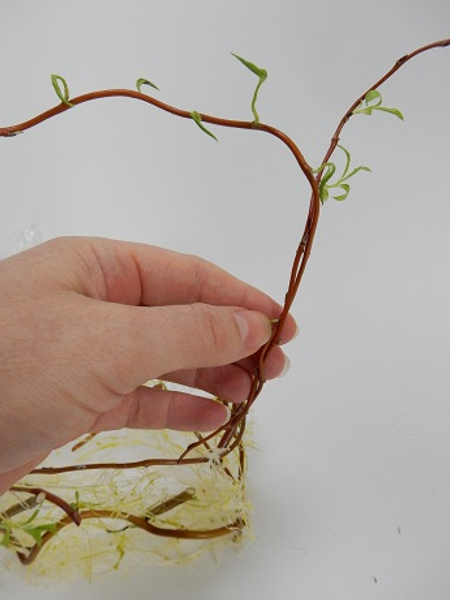
Add another stem by first weaving it into the sisal and then twisting it around the first willow stem
Continue weaving and twisting stems to create a strong handle

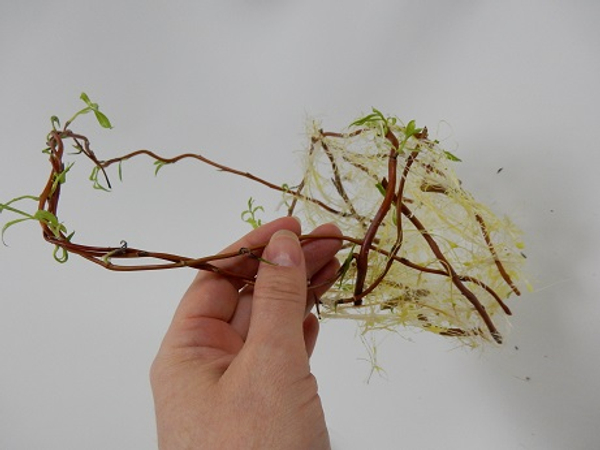
The basic basket is now ready for some floral details.
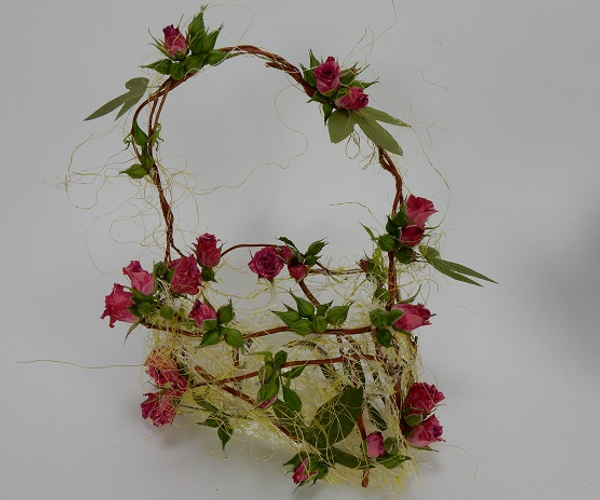
Rose bud basket.
Sign up for my weekly newsletter
Every week I add a new design with related tutorials. Be sure to subscribe to receive an email notification with design inspiration.


