Christine de Beer - effortless floral craftsman
Whisk basket
- 9 October 2013
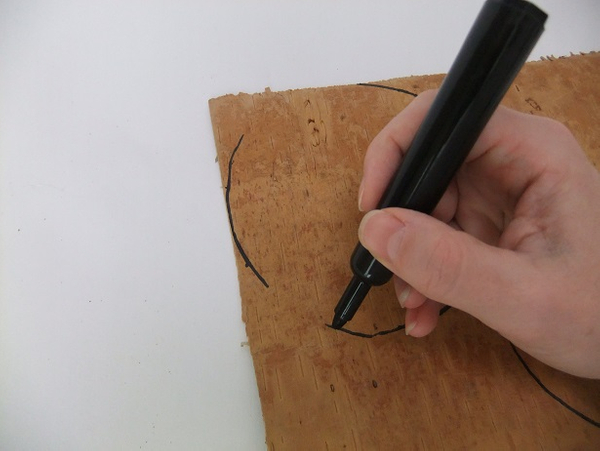
Draw two circles on bark

Cut both of the circles out

Soak the circles in warm water
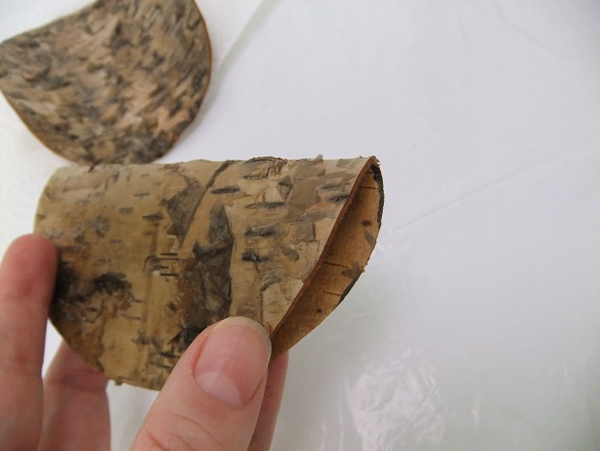
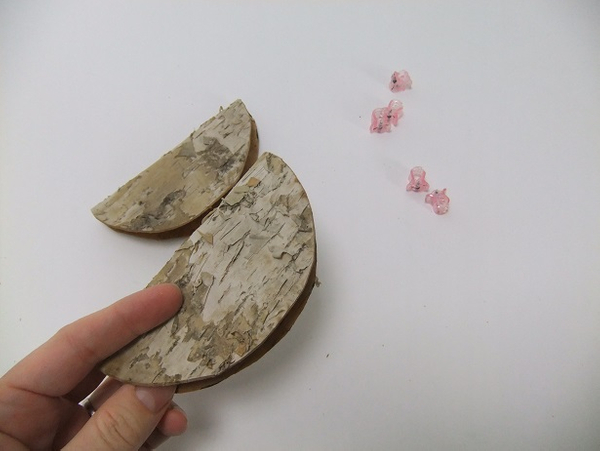
Fold the circles in half
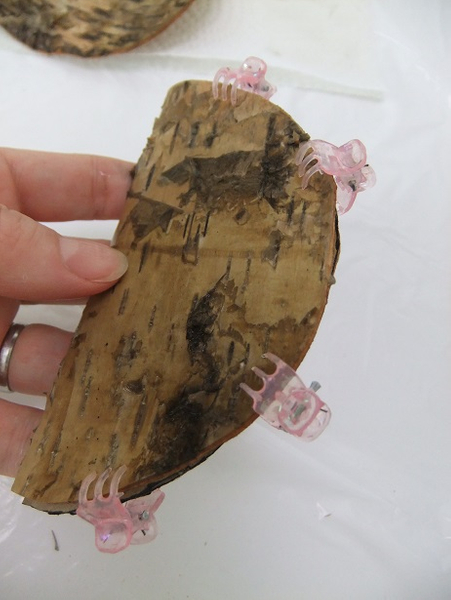
Secure the circles with clips to dry.
See the Tutorial below for more information on using butterfly hair clips.
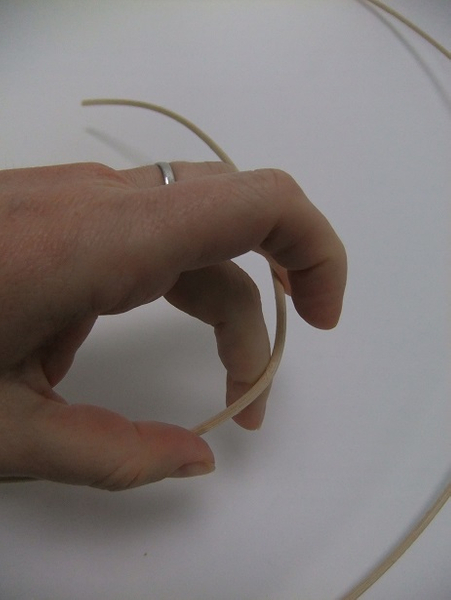
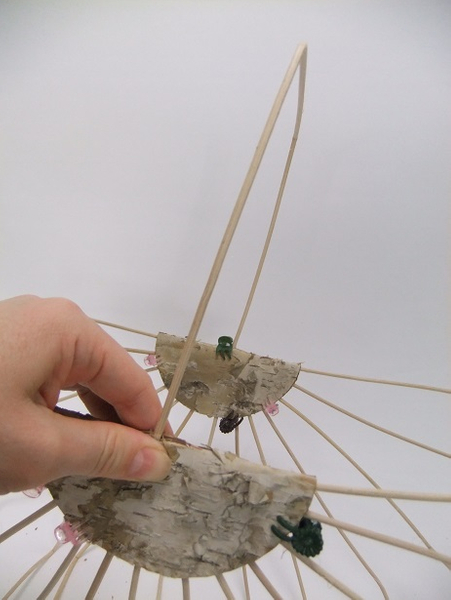
Cut a few lengths of cane to bend to shape the basket. Bend the cane at a sharp angle by supporting it with the pad of your finger. Do not snap the cane only bend.
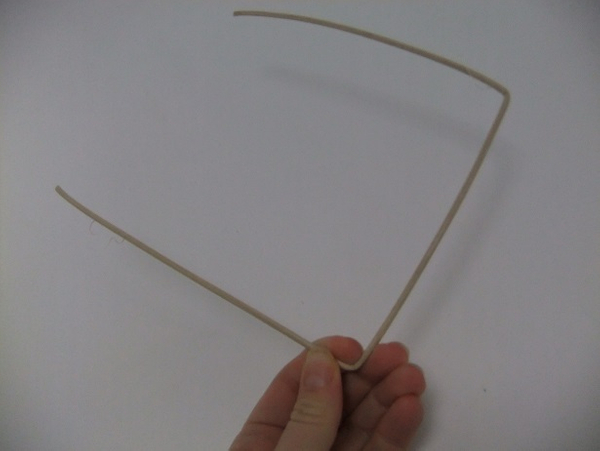
Bend the cane to have a flat section and two legs
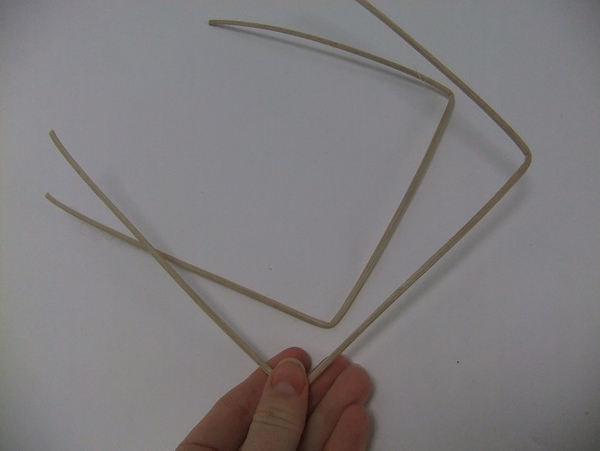
Bend another cane...
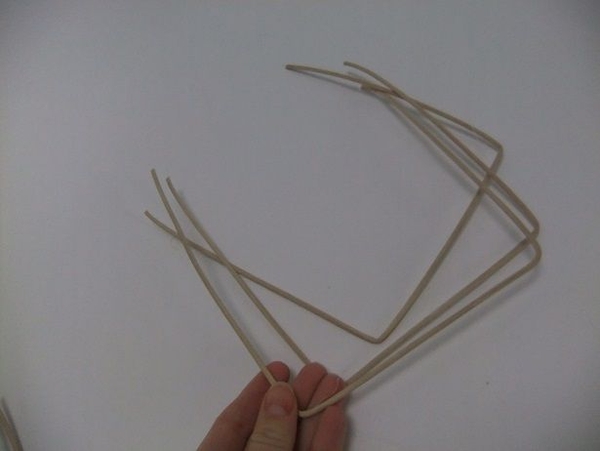
... and another
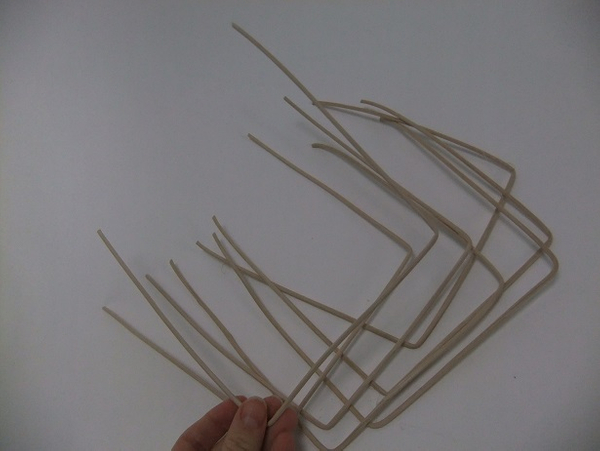
..and another. I used thirteen cane pieces for my basket.
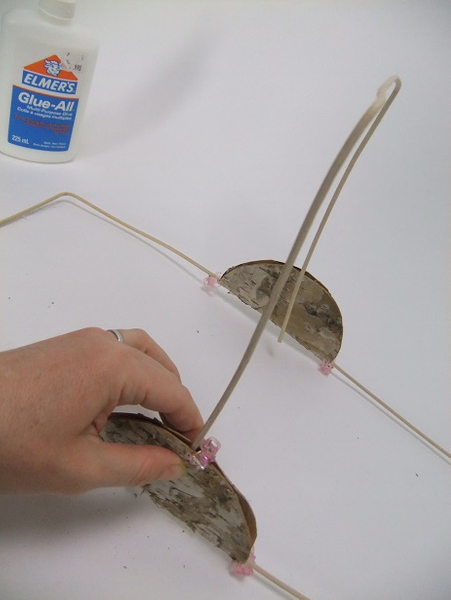
Remove the clips and slightly bend open the circles.

Glue the first leg to the bark
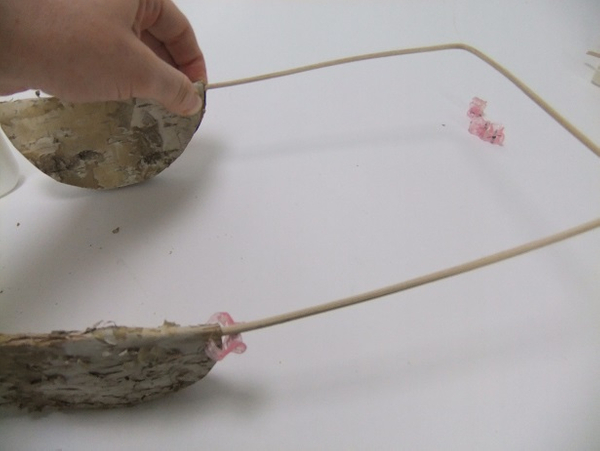
Glue the other leg to the second circle
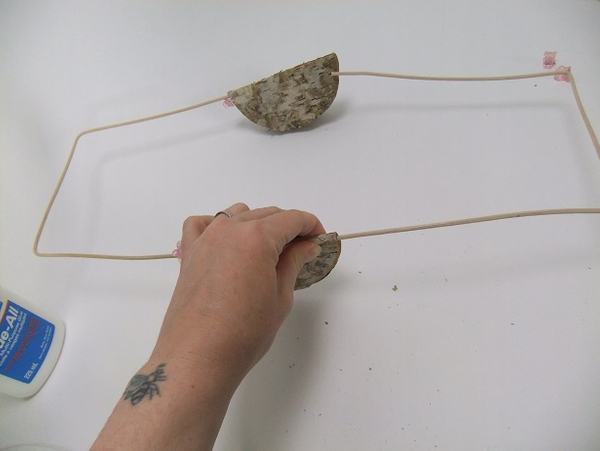
Do the same with the other side
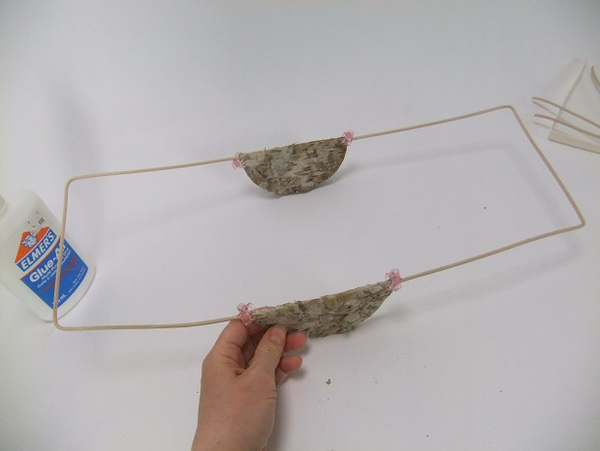
Secure the cane with clips while the glue dries
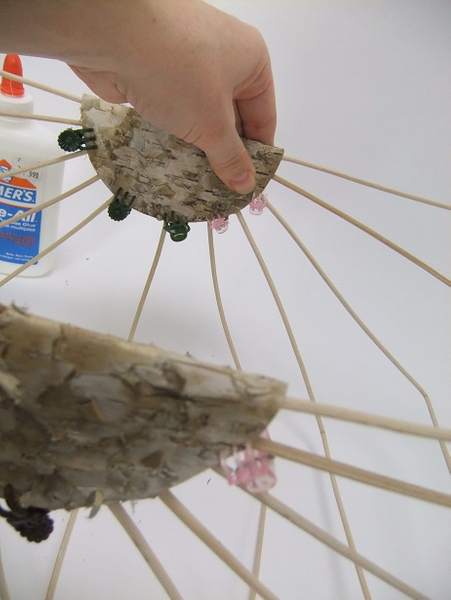
Glue the next cane piece to the middle of the circle curve. This makes it easier to space out the other cane pieces.
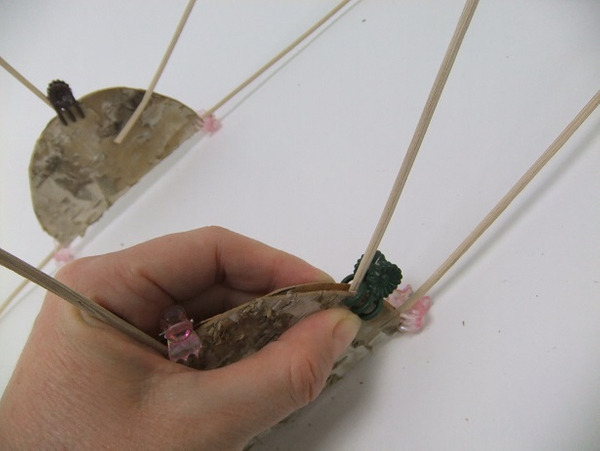
Add another cane piece
Glue the other side
Glue a cane piece to the other side
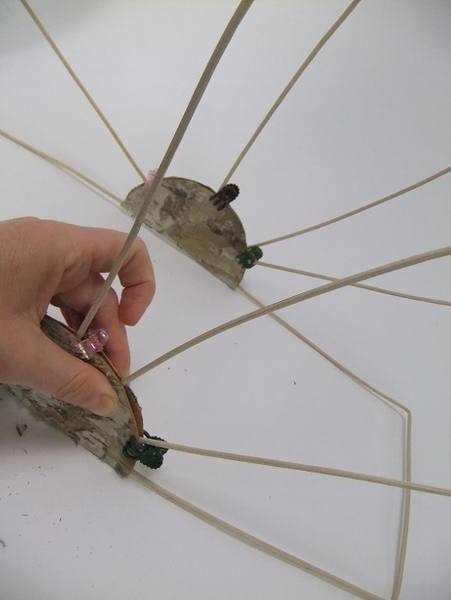
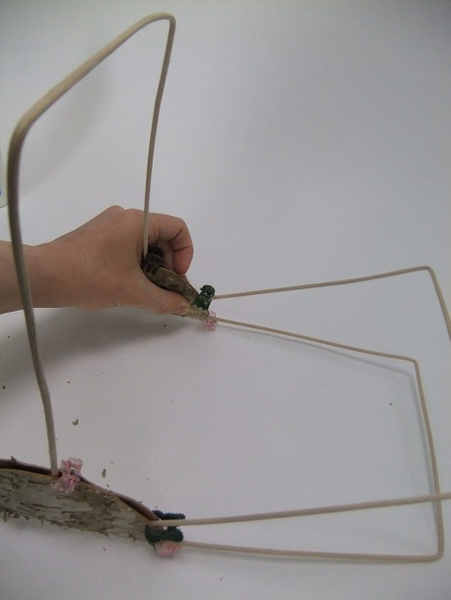
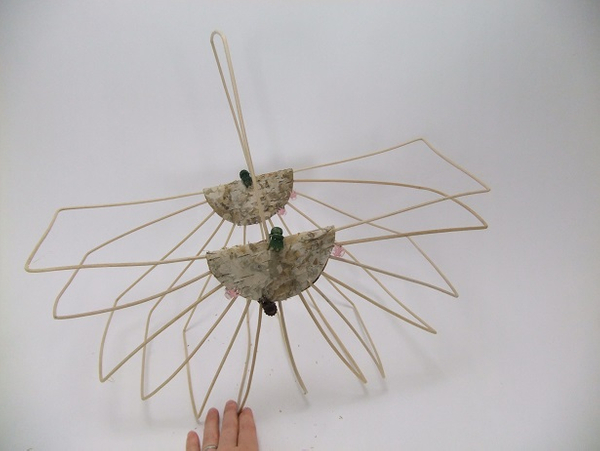
Continue to fill the gaps by gluing cane pieces
Space out the pieces by adding each new piece in the middle of the two you glued before
Keep the clips in place until the glue is completely dry
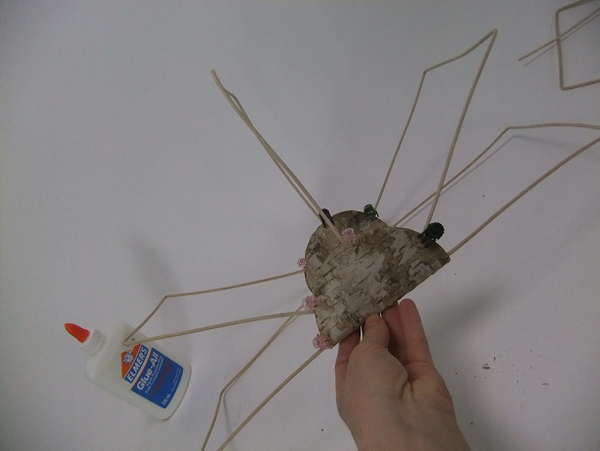
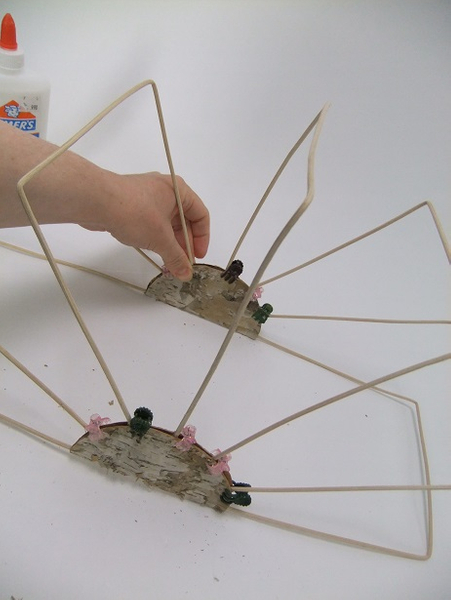
Add the next few cane pieces to close up the large gaps.
Press the bark to make sure it makes complete contact with the cane
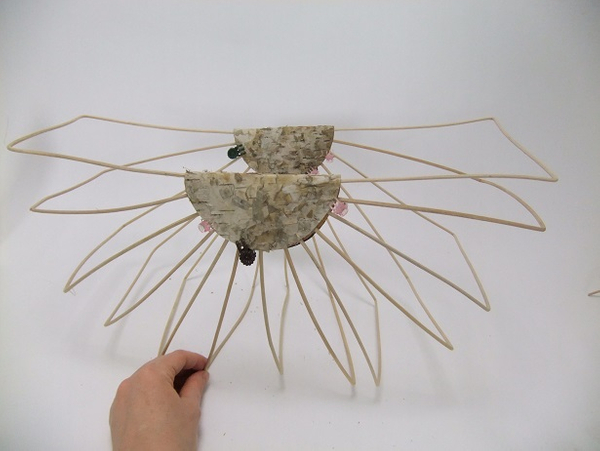
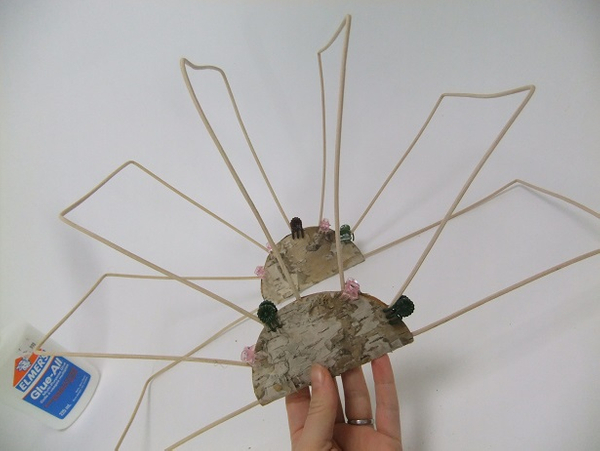
The basket should be able to balance on the cane legs
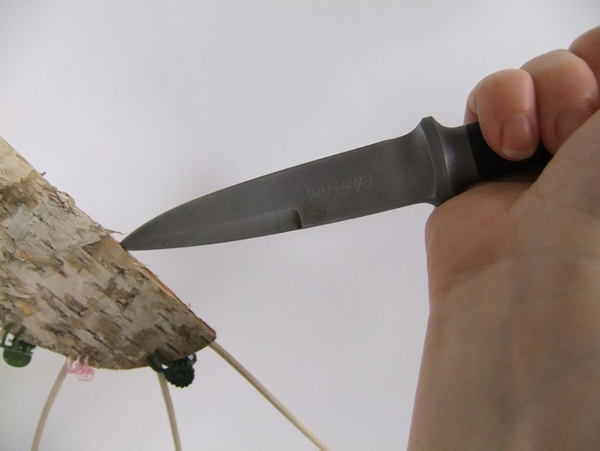
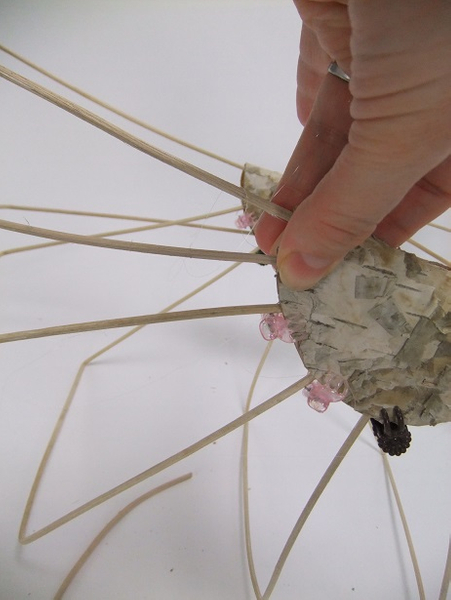
Use your knife to pierce a hole right in the middle of the fold side of the bark
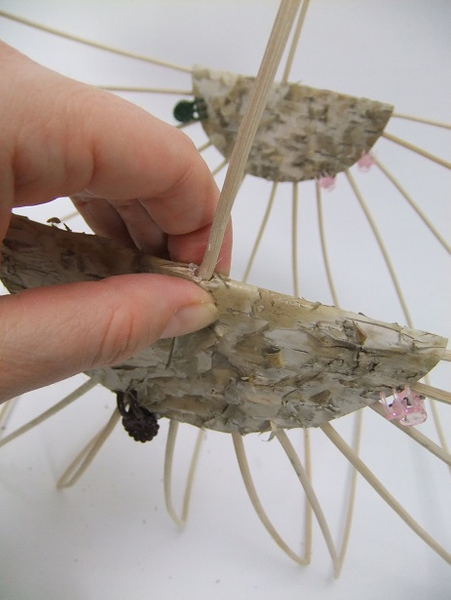
Glue a piece of cane into the hole for the handle
Secure with a clip and set aside to dry completely
All you need to do now is to remove the clips and the whisk basket ready to design with
Sign up for my weekly newsletter
Every week I add a new design with related tutorials. Be sure to subscribe to receive an email notification with design inspiration.

