Christine de Beer - effortless floral craftsman
Mud balls
- 30 March 2011
I covered Styrofoam, plastic, oasis and fibreglass balls with mud.
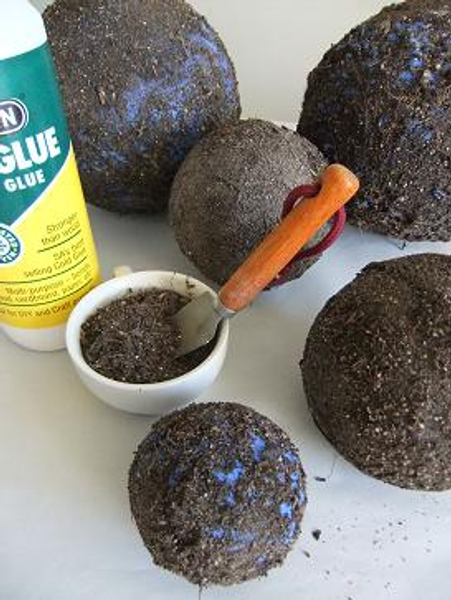
Paint the ball with a layer of wood glue. Sprinkle potting soil onto the ball. Paint the ball again with the glue to create a sticky mud. Let the ball dry. Paint again with glue and sprinkle potting soil anywhere you missed the first time around. Layer until the entire surface is covered.
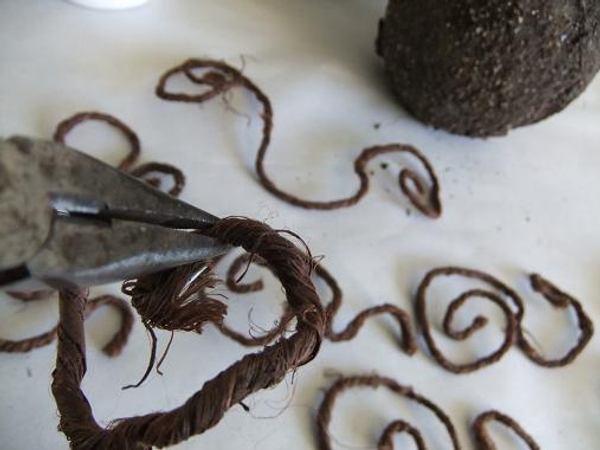
Next I glued twirls of wired rope onto the textured balls
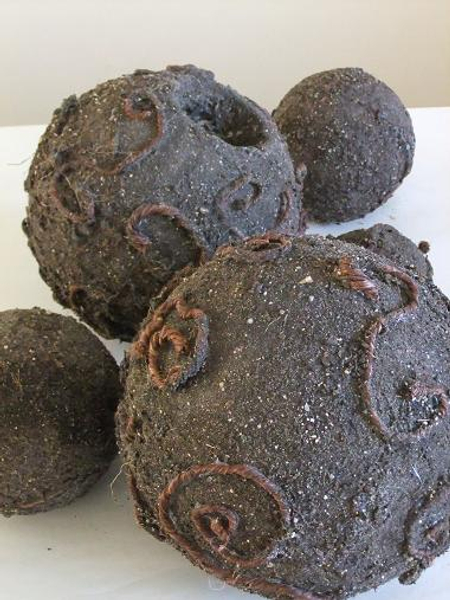
For variation you can also create patterns with different coloured mud alternating between soil and sand.
To remove the mud from the balls:
Soak the ball in warm water overnight and wipe the mud from the ball.
Sign up for my weekly newsletter
Every week I add a new design with related tutorials. Be sure to subscribe to receive an email notification with design inspiration.


