Christine de Beer - effortless floral craftsman
Oh Christmas tree!
- 13 December 2023
To recap: Here are 4 ways to help you set the mood for your design:
Develop Intrinsic Motivation Design to enjoy designing. Whether that is creating a soundtrack for your design or simply adding those things that remind you of the mood you are setting for the design... make it "you specific" so that you enjoy creating it.
Develop Expertise Continue learning and trying new techniques so the you have the "know-how" when inspiration hits.
Boost positive emotions One way is to use scent to set the mood. A tip from the perfume industry: the chemicals in citrus (Limonene and Linalool- I still think it would be great names for dogs!) are added to any fragrance to make it bright and uplifting.
My Christmas simmer-pot recipe: place peel of 1 orange, 3 cinnamon sticks and cloves in a sauce pan filled with water and simmer and simmer to release the fragrance. Top up the water as needed.
... and then the last one: Challenge yourself! When you feel bored with your designs it is a sure sign that you are not challenging yourself enough. Too much of a challenge and you will feel frustrated. What you want is to design somewhere in between so that you are excited to try your new idea and energized by your work.
Talking about a challenge...
When you need inspiration you can't go wrong with looking at traditional craft techniques... like folding paper decorations. Its been a 'go-to' for decades.
You will find many versions... and I am sure come up with your own version of this paper tree, of course. Some people cut it, some rip into it. Some fold the corners up and some down and some go for a minimalist version and simply fold the tree without the diagonal cuts. For more information look at paper craft/origami/book folding techniques... especially the traditional ones that again fashionable.
If your paper is oversized and waxed it's going to be a challenge! Rather choose paper without a waxy layer so that you can fold the layers neatly without it slipping out from under you... especially when you reverse the fold lines as we need to do for the second last step in making the trees where my fold lines came undone on Tuesday.
And the step by step:
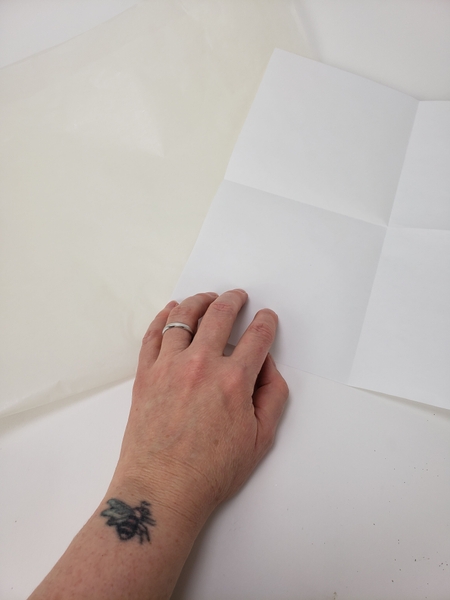
On your working surface fold a square sheet of paper in four...
Open up the page and fold it into a triangle corner to corner.
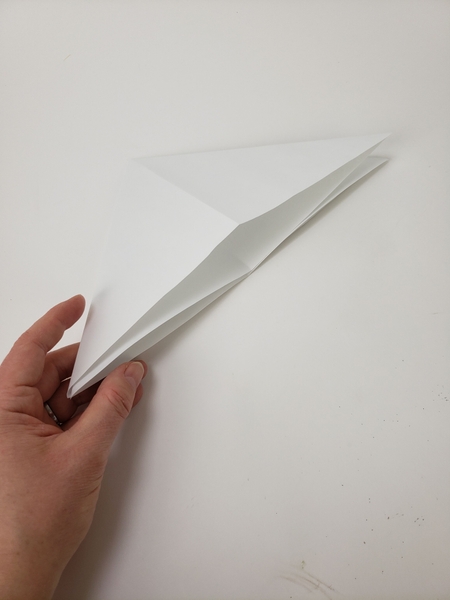
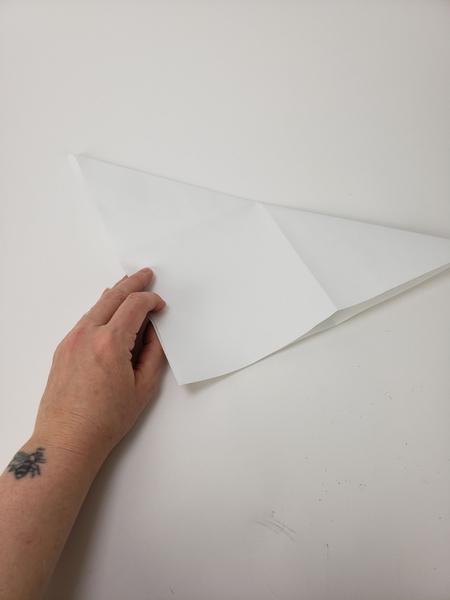
Fold it again from corner to corner into a triangle.
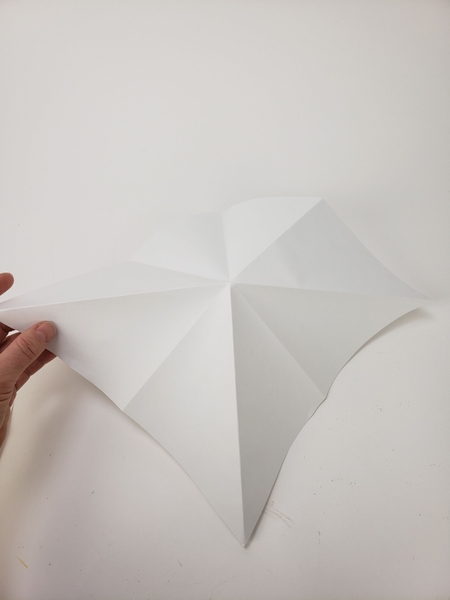
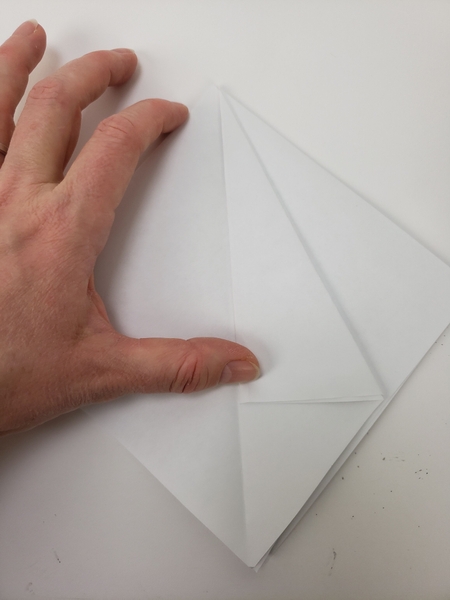
Open up the sheet. Place the sheet in a diamond shape ...
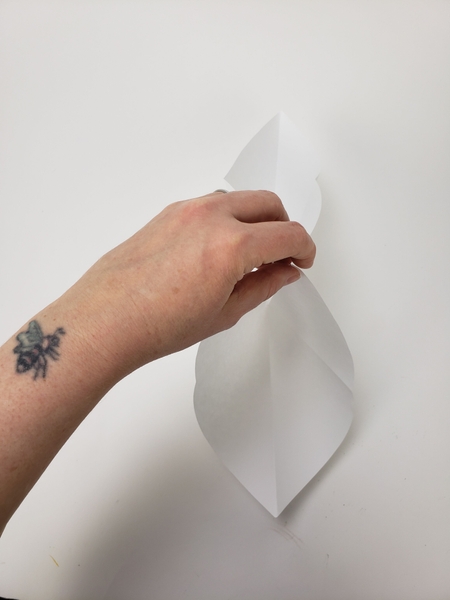
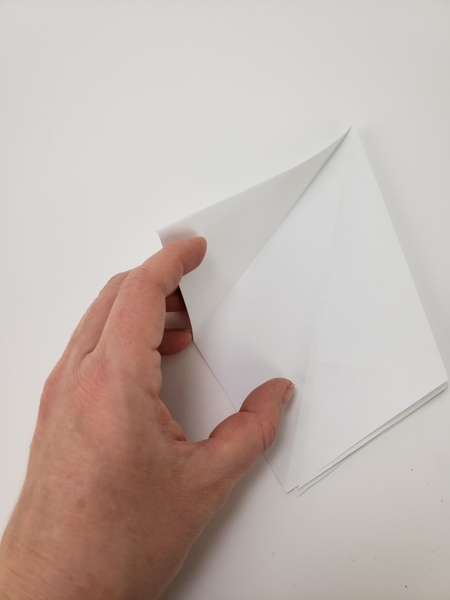
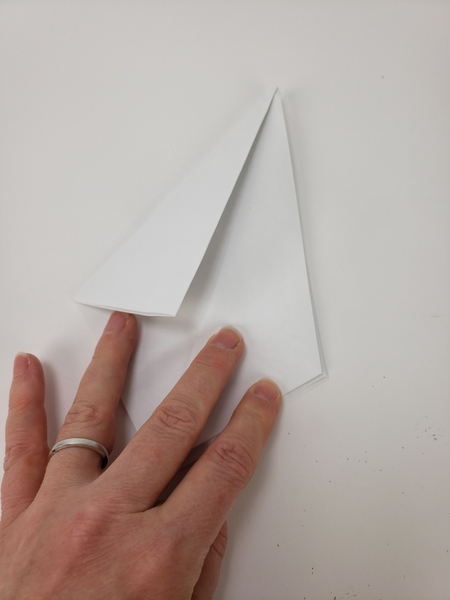
Gather the two corners that point to the sides together in the air in the middle...
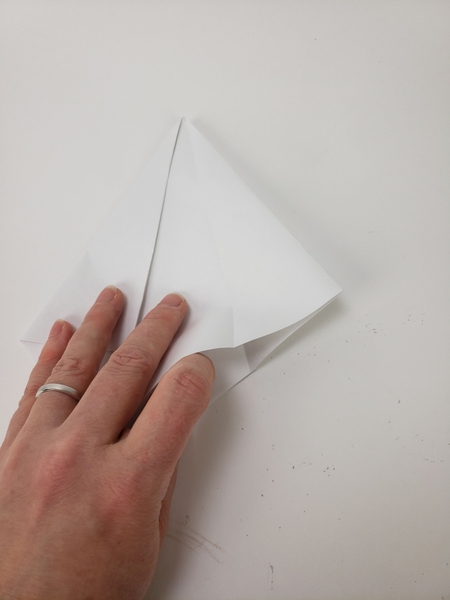
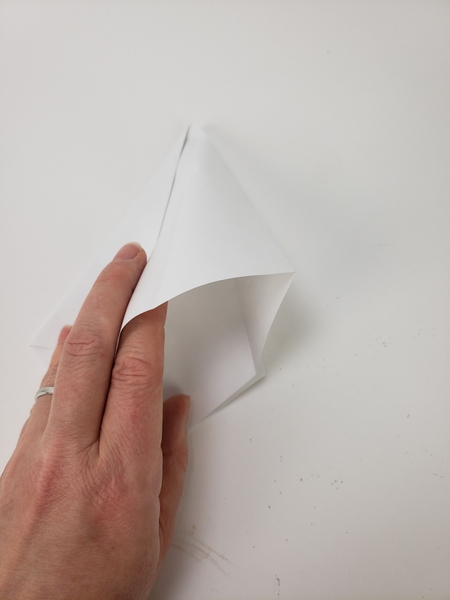
Allow the paper to flop over to the back...
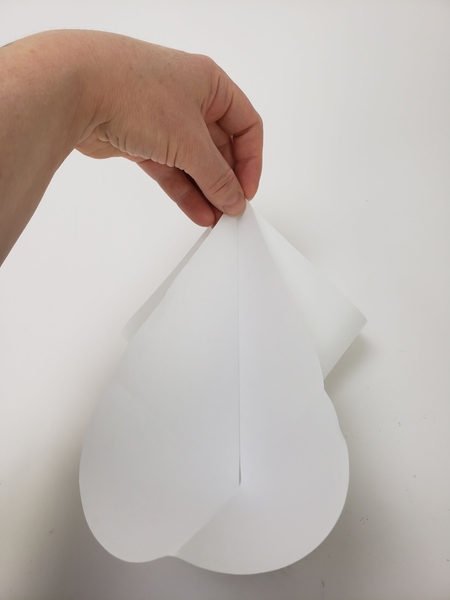
So that it folds flat again.
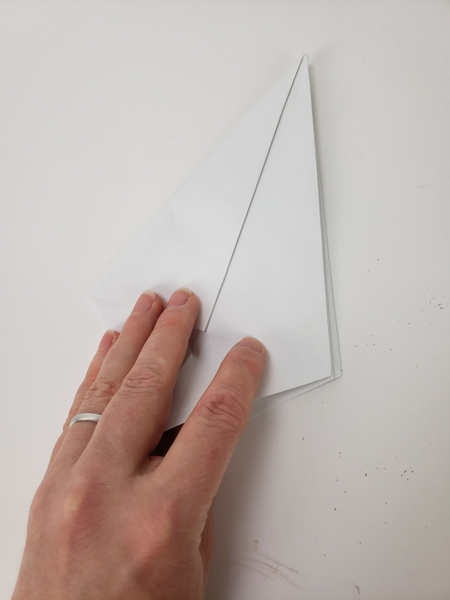
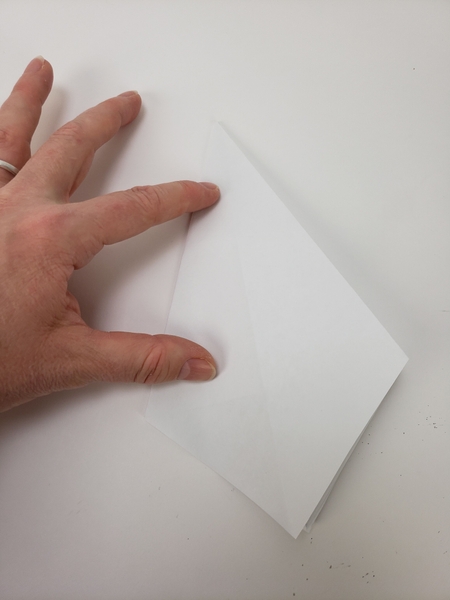
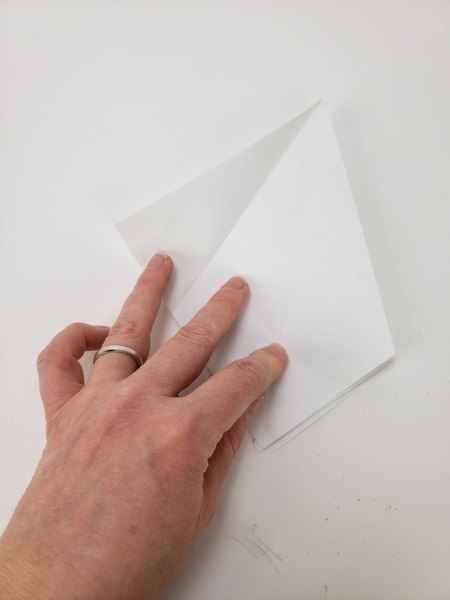
Smooth the folds flat at the sides.
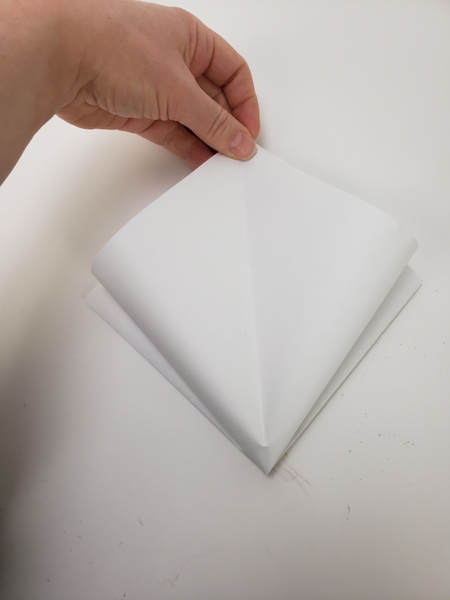
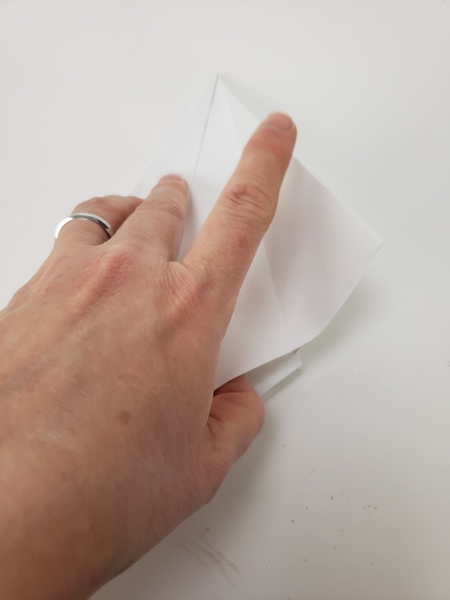
Turn the paper so that the folded side is at the top and fold the sides in to the middle.

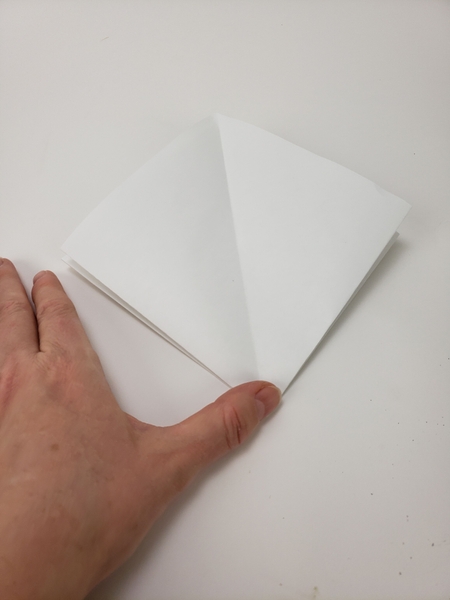
Fold in the corner next to it to meet in the middle.

Flip the paper over and do the same on the other side.
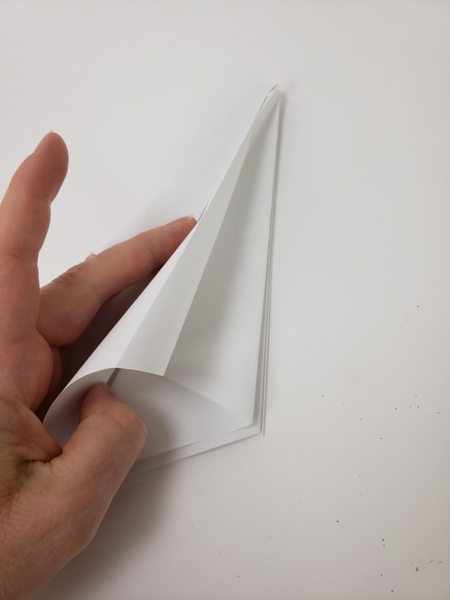
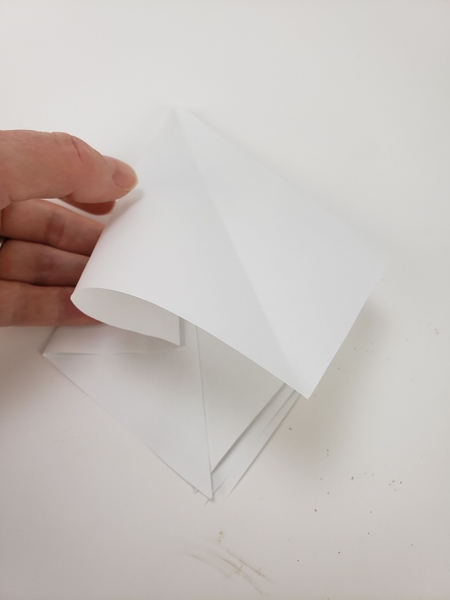
This is the dreaded step: fold the paper in against the fold line.
My tip for you is to press the cone of folded paper firmly in place on your working surface while opening one flap at a time. If it slips the stack opens up and well... you know... it flops about making it impossible to get back into a cone.
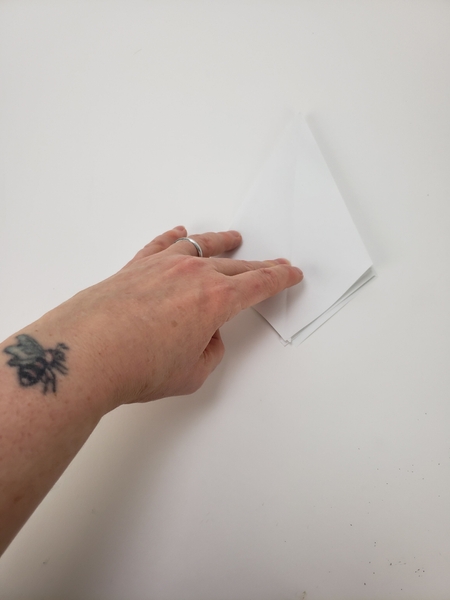
Puff the flap out all the way to the tip...

Reverse the fold line in the middle so that it now folds in towards the middle line.
Smooth the fold in the paper flat and shift your fingers so that you can open up and fold in the flap next to it.
Hold the paper down on your surface and open the flap...

Puff out the fold, reverse the fold and tuck it into the paper tree. Same as you did with the first one.
Smooth the creases flat.

You now have two flaps folded in and two still folded towards the middle line. Flip the paper over to fold the last two flaps in.
Open up the flap...
Reverse the fold so that it can now fold into the paper towards the middle- exactly like you did on the other side.
Smooth the fold so that it is flat... last fold...
Open up the last flap...
Fold the flap in on itself to tuck into the paper.
And smooth the creases down.
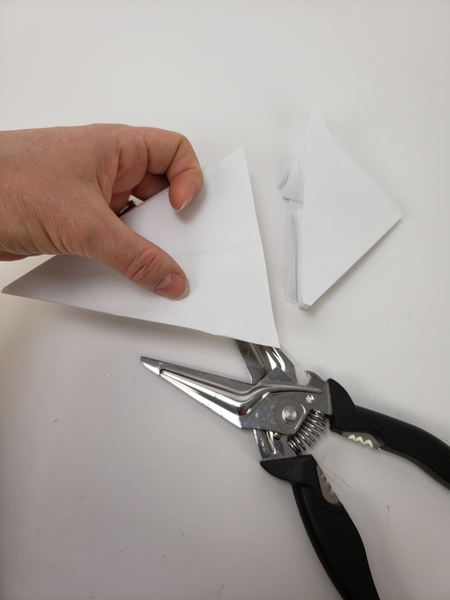
Cut the open side of the tree from corner to corner to give it a flat edge.
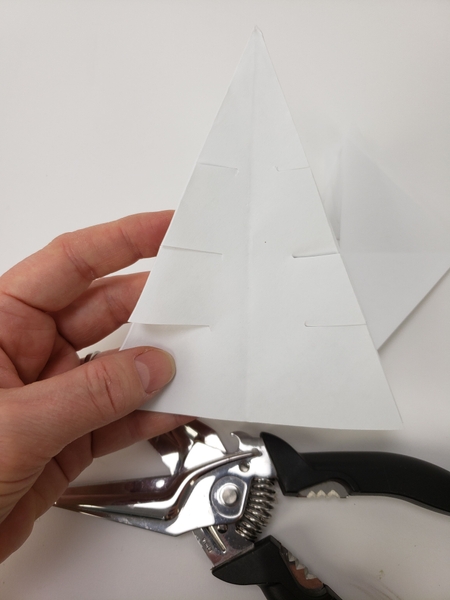
Snip three horizontal lines into the paper on each side...
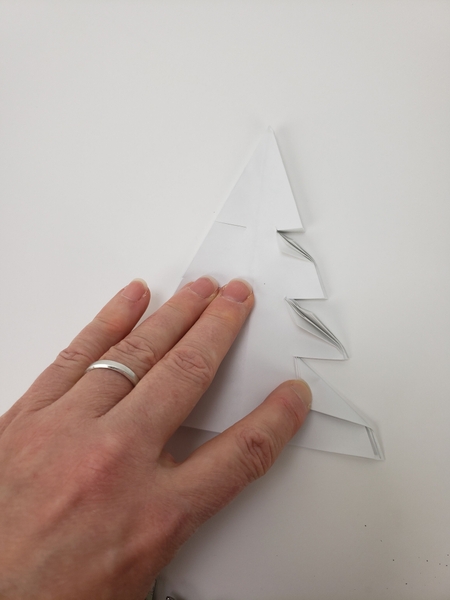
Fold the corners in were you cut the horizontal lines on one side...
Flip the paper over and fold the corners in on the other side.

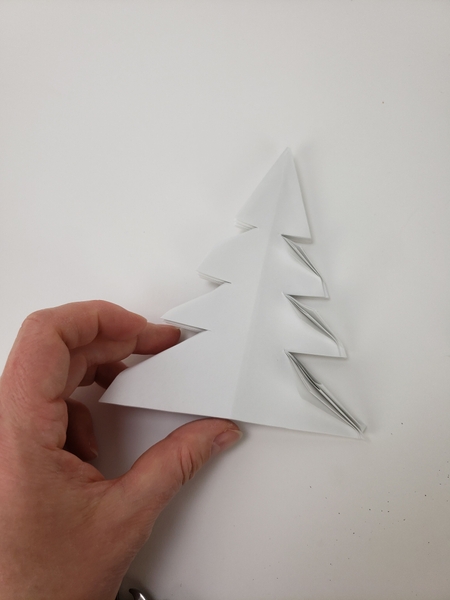
Fold over the top two segments to open up the tree...

Flip the tree over and fold open the opposite end and place the tree upright to open all the segments all around your tree...
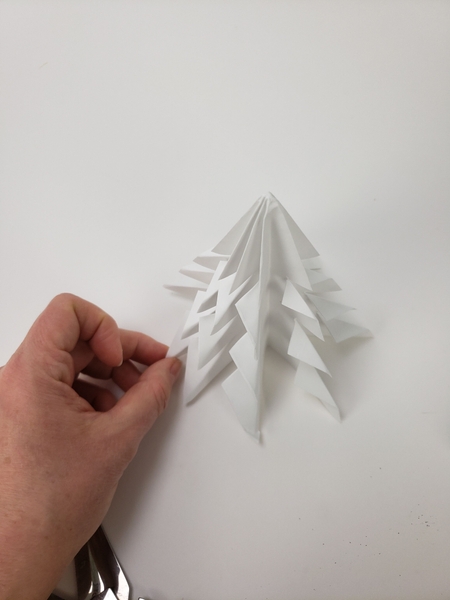
... and done!
Once you get the hang of it it is rather fun. And the next big challenge will be...

... to STOP folding trees!!!
Please try it. I would love to see your trees.
All the other Tutorials will be on my website, one design per week.
Thanks again for a lovely Christmas Celebration. The tables looked amazing!
Have a wonderful Festive Design Season and a Merry Christmas.
See you in the New Year.
ps: a few members asked about my book. I have noticed that it is now frightfully expensive at the online retailers. I do have a few of the special craftsmanship edition books that I can bring along for anyone who wanted to buy one. The club price is $100 (instead of the retail price of $120 plus shipping)
Sign up for my weekly newsletter
Every week I add a new design with related tutorials. Be sure to subscribe to receive an email notification with design inspiration.