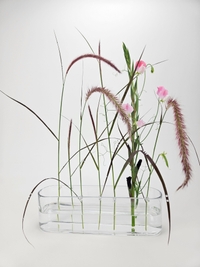
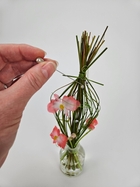
On my online workbook this week: Sparkle on tiny dew drop crystals!
Dear
This week’s inspiration is how design inspiration truly is ageless. You never know how things might spark inspiration... and when! Something you shared 11 years ago can suddenly become a design spark for so many talented designers.
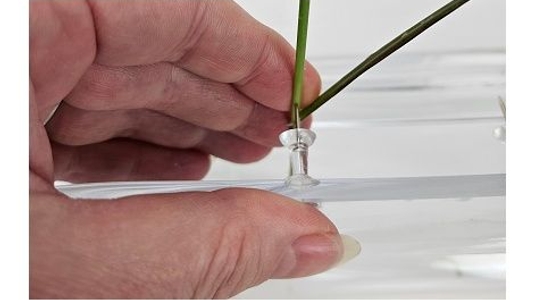
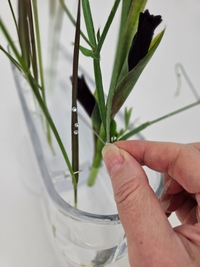
My design note for you is about piercing the stems for this week's design. First, position the stem next to or in front of the pin so that you can make sure it is the exact right length to kick into place once pinned. You do not really have a “do over” unless you are willing to cut the stem shorter every time you need to try again. But the design rely on the tall elegant stems so try to get it right before piercing. Once you are confident the stem will kick into place (I show you how in the Tutorial) you can pierce it into position.
Depending on how you feel about pins, the best way to protect the stem is to pierce it with the pad of your finger. Your finger adds a bit of stem support as the peg pushes through the stem preventing it from snapping, splitting or bending. And you will feel the sharpness of the pin (before it hurts!) and can stop putting pressure on the stem to position it or in the case of the thicker flower stems, before it pierces right through and becomes visible on the “nice” front side of the design.
Sure, you can wear gloves to protect your fingers but I found these then reduces the sensitivity you need to feel how much pressure you need to cleanly pierce the stem. Instead, if you do not like the idea of the pin possibly piercing your finger I would suggest using a rubbery hot glue stick. Push the stem into the pin with a thin glue stick. It has a similar amount of “give” than the pad of your finger and makes it easier for you to see how the stem is positioned on the pin.
Enjoy!
Every good wish,
Christine