On my online workbook this week: All Pumpkind Out
Dear
This week's inspiration is a when autumn starts to twinkle...
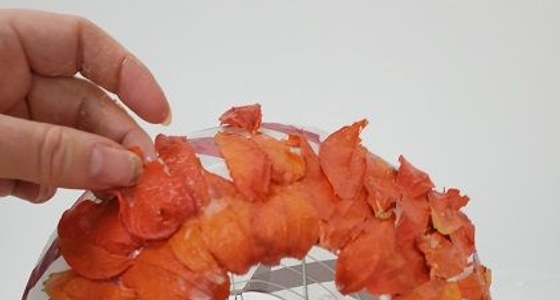
As you cut the husk it shapes from the flat tip end into a curve there where it covered the berry. The curve side is also thicker than the tip end. Smooth the tip end down onto the lantern so that it is smooth and flat. By allowing the curvy, thicker berry-end to remain curvy. This created a lovely scale effect.
Now, it is tricky to stick this down… because it desperately wants to pop back up! My tip is to keep a hair dryer blowing directly towards the husk. The air pushes the husk down for just long enough for the glue to become tacky and leaves your hands free to place, smooth and hook the curved end over the previous “tile”. It takes a bit of time… but I am sure you will agree the result is well worth it.
The husks dry hard and the colour of the physalis is preserved… oh wait… talking about colour… set the hairdryer on warm not on hot. Or if you ever want to alter the orange colour of physalis pods give them a blast of warm air- the air turns the pods into a bright yellow colour. Which is why I do not use hot glue to secure the pods. Unless (of course) you want a polka yellow-ish dot effect… maybe..?
Enjoy!
Every good wish,
Christine